Introduction
Welcome to the world of Non-Fungible Tokens (NFTs) and the exciting possibilities they offer for artists, collectors, and creators. In recent years, the popularity of NFTs has skyrocketed, with platforms like Opensea leading the way in the digital art marketplace. If you’re interested in learning how to create and sell NFTs on Opensea, you’ve come to the right place.
Opensea is a decentralized marketplace built on the Ethereum blockchain that allows anyone to create, buy, and sell NFTs. Whether you’re an artist looking to showcase your digital artwork, a collector searching for unique digital assets, or a creator exploring the potential of blockchain technology, Opensea provides the tools and platform to turn your visions into reality.
Before we dive into the process of creating NFTs on Opensea, let’s first understand what NFTs are and how they differ from traditional digital assets.
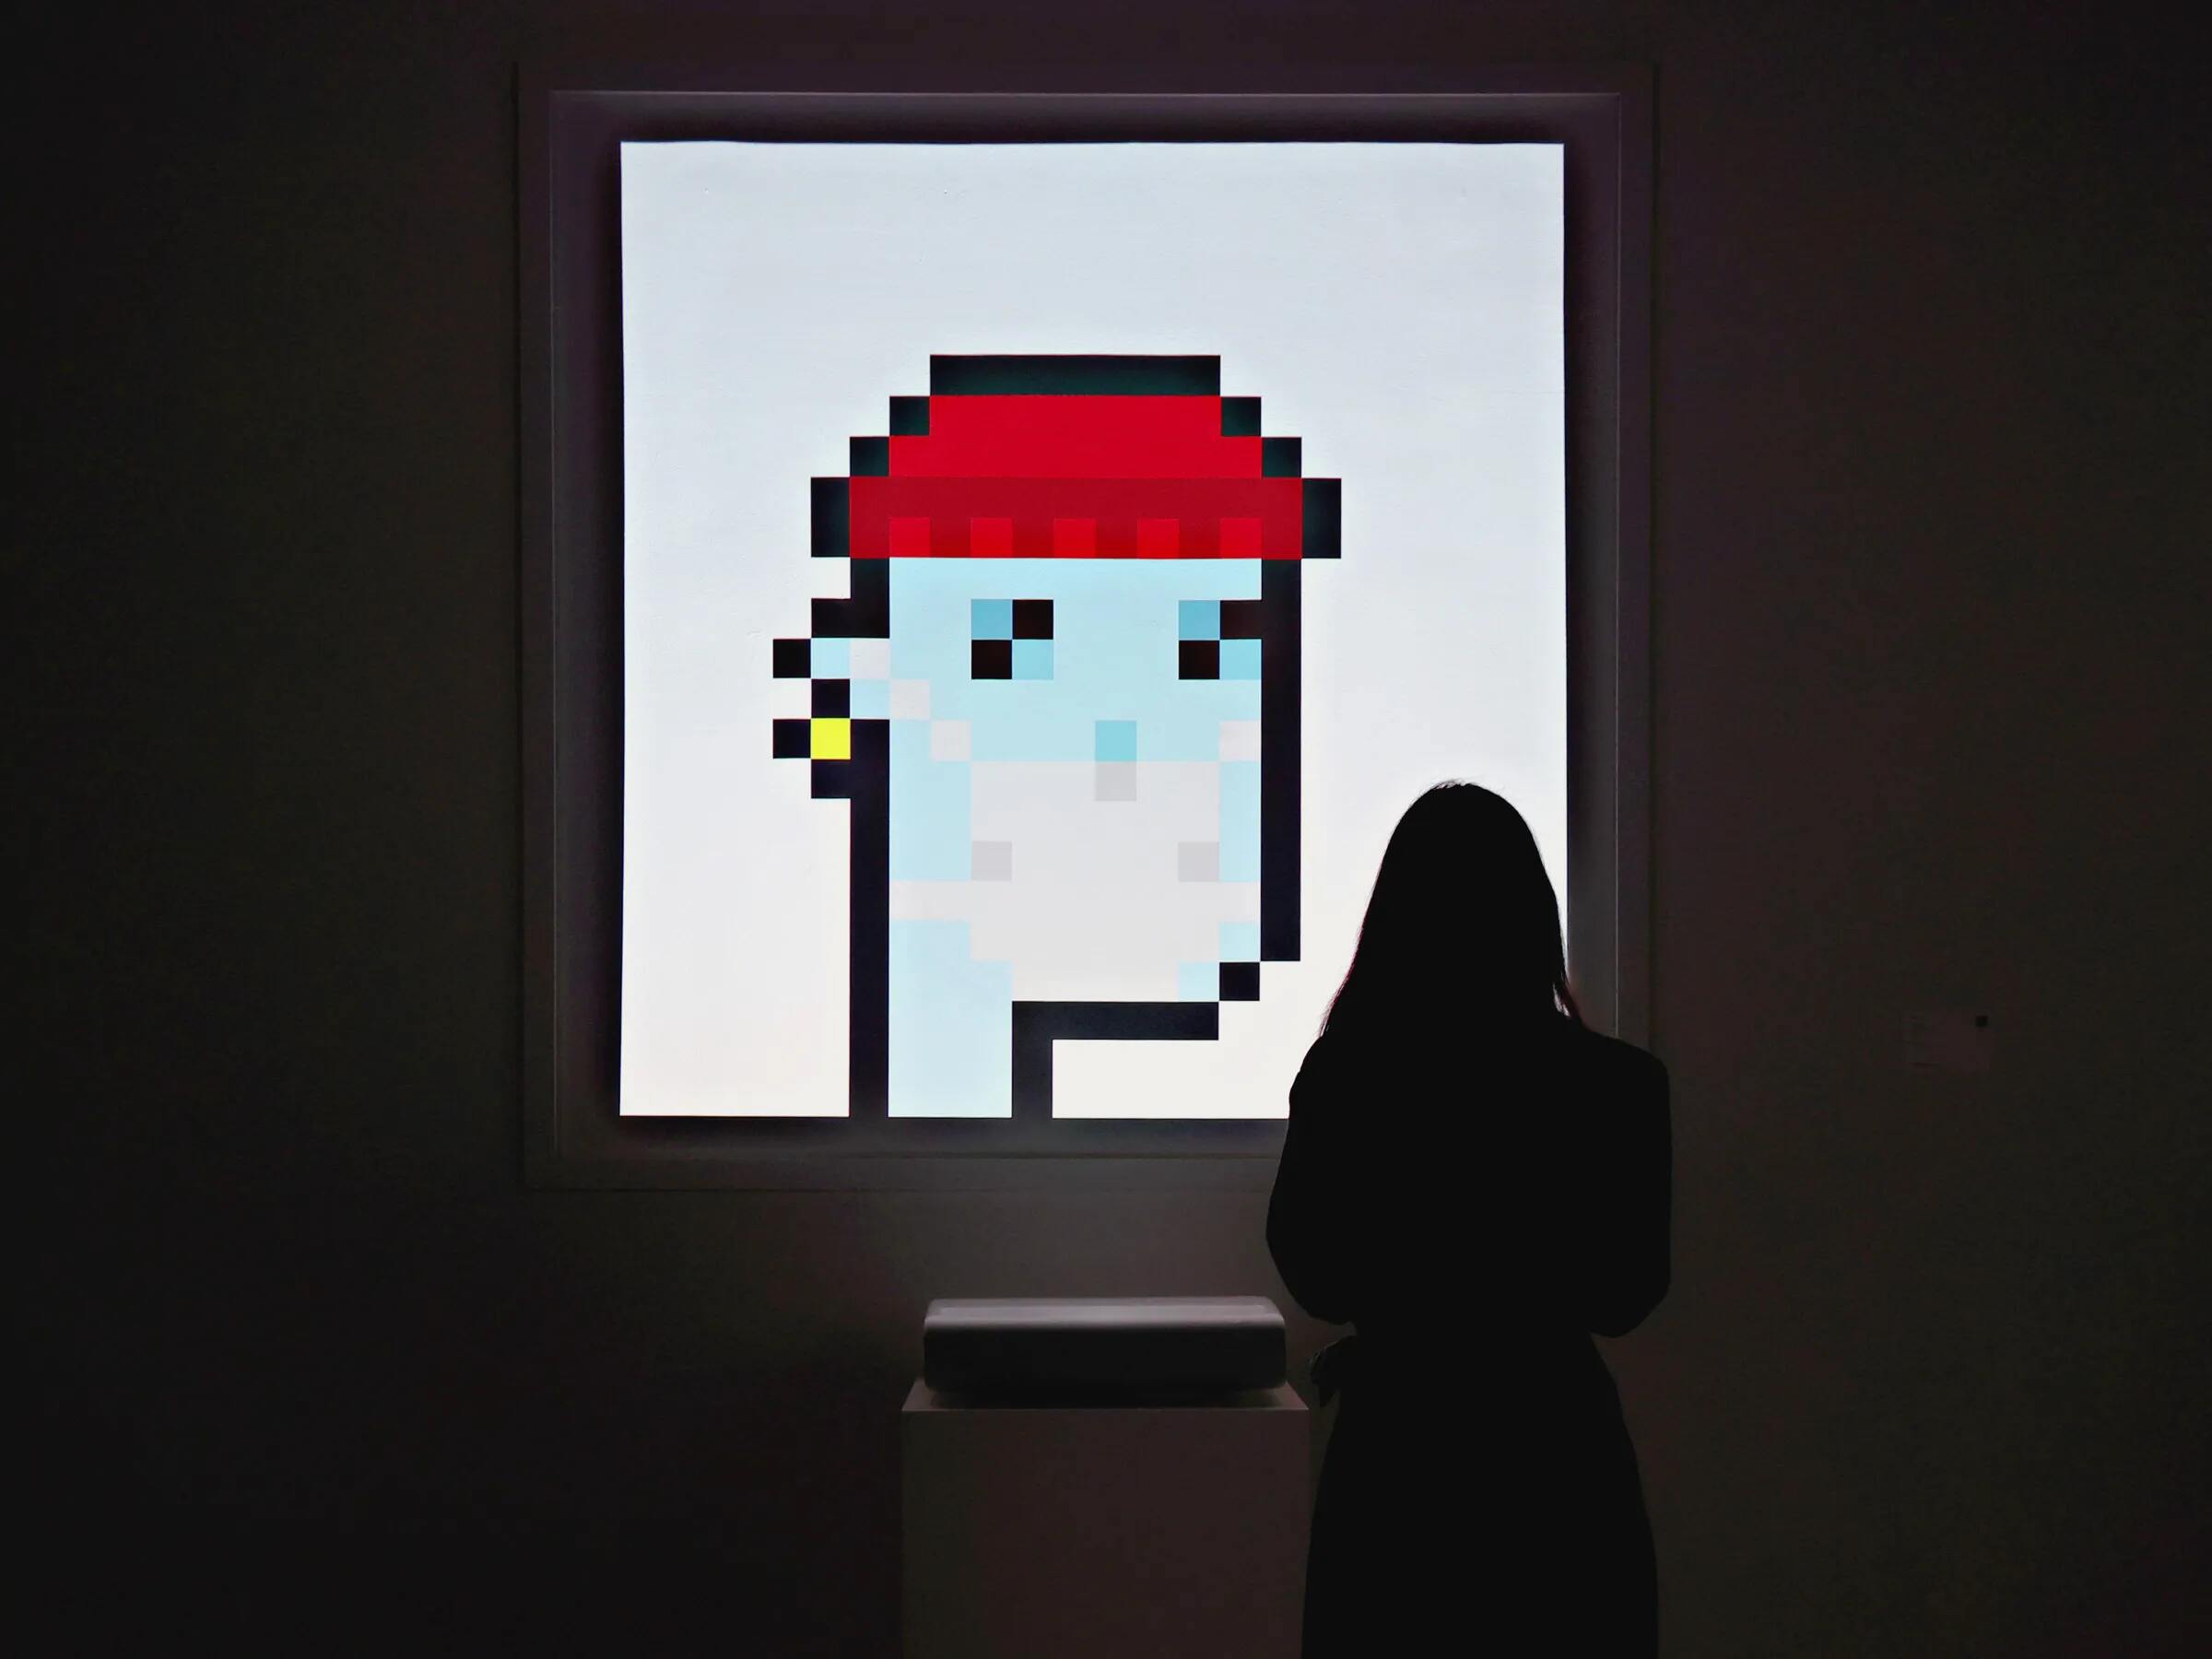
NFTs, or Non-Fungible Tokens, are digital assets that represent ownership or proof of authenticity of a unique item or piece of content, such as artwork, music, videos, or virtual land. Unlike cryptocurrencies such as Bitcoin or Ethereum, which are fungible and can be exchanged on a one-to-one basis, NFTs are one-of-a-kind and cannot be replicated.
The uniqueness of NFTs is made possible through blockchain technology, specifically the Ethereum blockchain. Each NFT is stored on the blockchain as a digital token, containing metadata that verifies its authenticity, ownership, and transaction history. This ensures that each NFT is indivisible, tamper-proof, and can be traced back to its original creator.
Now that we have a basic understanding of Opensea and NFTs, let’s explore the step-by-step process of creating NFTs and getting started on Opensea. But first, you’ll need to set up an Opensea account and connect it to a compatible cryptocurrency wallet.
What is Opensea?
Opensea is the largest decentralized marketplace for buying, selling, and trading NFTs. It was founded in 2017 and has quickly become the go-to platform for artists, collectors, and enthusiasts in the NFT community. With thousands of assets available for purchase and a user-friendly interface, Opensea has revolutionized the way digital art and collectibles are bought and sold.
As a decentralized marketplace, Opensea operates on the Ethereum blockchain, which means that all transactions and NFT listings are recorded on the blockchain and can be verified by anyone. This transparency ensures the authenticity and provenance of each NFT, giving buyers confidence in their purchases.
Opensea offers a wide variety of NFTs, including digital art, virtual real estate, virtual characters, and collectibles from popular blockchain-based games. Artists and creators can easily list their NFTs on Opensea, reaching a global audience and potentially earning royalties from secondary sales.
One of the key features that sets Opensea apart is its compatibility with various digital wallets. Users can connect their Ethereum-based wallets, such as MetaMask, WalletConnect, and Fortmatic, to seamlessly transact on the platform. This makes it easy for both buyers and sellers to manage their NFTs and participate in the market.
Opensea also offers additional features to enhance the user experience. Users can filter and search for specific NFTs based on various criteria, such as price range, category, and rarity. They can also view the transaction history and ownership details of each NFT, providing transparency and peace of mind.
Furthermore, Opensea has a social element, allowing users to follow their favorite artists and creators, join discussions in the community forums, and participate in auctions and sales. This creates a vibrant and interactive environment where users can connect with like-minded individuals and discover new and exciting NFTs.
Whether you’re a seasoned collector or new to the world of NFTs, Opensea offers a user-friendly and accessible platform to explore, buy, and sell digital assets. Now that we have an overview of Opensea, let’s dive into the process of creating an account and setting up a wallet to get started on this exciting marketplace.
Understanding NFTs
NFTs, or Non-Fungible Tokens, have taken the world by storm, sparking conversations and debates about the future of digital ownership. To fully grasp the concept of NFTs, it’s crucial to understand how they differ from traditional digital assets.
Unlike cryptocurrencies, which are interchangeable and hold the same value, NFTs represent unique digital items or pieces of content. Each NFT is indivisible, unique, and cannot be replicated, making it truly one-of-a-kind. This uniqueness is made possible through the use of blockchain technology, specifically the Ethereum blockchain.
When someone purchases an NFT, they acquire ownership of the digital asset, whether it’s a piece of digital art, a music album, a video, or even virtual real estate. The ownership is verified and recorded on the blockchain, providing a transparent and immutable record of ownership history.
One of the key benefits of NFTs is their ability to provide artists and creators with greater control and monetization opportunities. By minting and selling NFTs of their work, artists can establish a direct relationship with their audience and retain a portion of the revenue from secondary sales.
Additionally, NFTs offer collectors and enthusiasts a new way to engage with digital art and collectibles. Owning an NFT gives individuals a sense of exclusivity and uniqueness, as they possess the original or limited edition of a digital item. The ability to showcase these NFTs in virtual galleries or share them on social media adds another layer of interaction and pride for collectors.
It’s important to note that NFTs have faced criticism regarding their environmental impact and potential for copyright infringement. The energy consumption associated with blockchain transactions, particularly on the Ethereum network, has raised concerns about the carbon footprint of NFTs.
Furthermore, the ease of creating and selling NFTs has led to instances of artwork being tokenized without the permission or knowledge of the original artist. This raises questions about intellectual property rights and the need for clearer guidelines and ethical practices in the NFT space.
Despite the challenges and controversies, NFTs continue to shape the digital landscape, opening up new opportunities for artists, collectors, and creators. Now that we understand the basics of NFTs, let’s explore the process of creating and selling NFTs on Opensea, one of the leading platforms in the NFT ecosystem.
Creating an Opensea Account
Before you can start creating and selling NFTs on Opensea, you’ll need to create an account. The process is simple and can be completed in just a few steps. Here’s how:
1. Visit the Opensea website: Go to the Opensea website on your preferred web browser. The platform is accessible on desktop and mobile devices, so choose the option that suits you.
2. Click on “Sign Up”: On the Opensea homepage, look for the “Sign Up” button and click on it. This will take you to the account creation page.
3. Choose your preferred sign-up method: Opensea currently offers two sign-up options. You can either sign up with your email address or connect with your existing Ethereum wallet. If you choose to sign up with your email address, you’ll need to provide a valid email and create a secure password.
4. Confirm your email: If you sign up with your email address, Opensea will send you a confirmation email. Open your email inbox and click on the confirmation link to verify your account.
5. Set up your profile: Once you’ve created your account, you’ll have the opportunity to set up your profile. You can add a profile picture, write a bio, and provide any other relevant information that you’d like to share with the Opensea community. This step is optional but recommended to enhance your presence on the platform.
6. Agree to the terms and conditions: Before you can access all the features on Opensea, you’ll need to agree to the platform’s terms and conditions. Take the time to read through the terms and ensure that you understand and agree to them.
7. Verify your identity (if required): In certain cases, Opensea may require users to verify their identity to comply with legal and regulatory requirements. This may include submitting additional personal information or documentation. If the verification process is necessary, follow the instructions provided by Opensea to complete it.
Once you’ve completed these steps, congratulations! You now have an Opensea account and can start exploring the world of NFTs. However, to fully transact on the platform, it’s essential to set up a compatible cryptocurrency wallet and connect it to your Opensea account. This will be covered in the next section.
Setting Up a Wallet
In order to create and sell NFTs on Opensea, you’ll need to set up a compatible cryptocurrency wallet. A wallet is a digital tool that allows you to securely store, manage, and transact with your cryptocurrencies and NFTs. Here’s how you can set up a wallet to get started:
1. Choose a compatible wallet: Opensea supports various Ethereum-based wallets, so you’ll need to select one that is compatible with the platform. Some popular wallets include MetaMask, Trust Wallet, Ledger, and Coinbase Wallet. Research the features and security measures of each wallet before making a decision.
2. Download and install the wallet: Visit the official website or app store for your chosen wallet and download the application onto your device. Follow the instructions provided by the wallet provider to complete the installation process.
3. Create a new wallet or import an existing one: Depending on the wallet you choose, you’ll have the option to either create a new wallet or import an existing one. If you’re new to cryptocurrency wallets, select the “Create New Wallet” option and follow the prompts to generate a new wallet address and recovery seed phrase. If you already have a wallet, you can import it by selecting the “Import Wallet” option and entering your recovery phrase or private key.
4. Secure your wallet: Once your wallet is set up, it’s crucial to take steps to secure it. Enable two-factor authentication (2FA) if available, set a strong password, and consider backing up your wallet’s recovery phrase in a safe and secure location.
5. Fund your wallet with Ethereum (ETH): To create and sell NFTs on Opensea, you’ll need to have ETH in your wallet. You can purchase ETH from a reputable cryptocurrency exchange and transfer it to your wallet address. Make sure to double-check the address before initiating the transfer to avoid any potential mistakes.
6. Ensure your wallet is connected to the Ethereum network: Before proceeding to connect your wallet to Opensea, ensure that your wallet is connected to the Ethereum network. This will enable smooth and secure transactions on the platform.
Now that your wallet is set up and funded, you’re ready to connect it to Opensea and begin creating and selling NFTs. The next section will guide you through the process of connecting your wallet to your Opensea account.
Connecting Your Wallet to Opensea
Once you have set up a compatible cryptocurrency wallet, the next step is to connect it to your Opensea account. Connecting your wallet is essential for creating, buying, and selling NFTs on the platform. Here’s how you can connect your wallet to Opensea:
1. Login to your Opensea account: Visit the Opensea website and login to your account using the login credentials you created during the account creation process.
2. Access your account settings: Once you are logged in, navigate to your account settings. You can typically find the account settings option by clicking on your profile picture or username at the top right corner of the website.
3. Connect your wallet: In the account settings, you will find an option to connect your wallet. Click on this option to initiate the process of connecting your wallet to Opensea.
4. Select your wallet provider: Opensea supports a variety of wallet providers such as MetaMask, Trust Wallet, and Coinbase Wallet. Choose the wallet provider that you have set up and wish to connect to Opensea.
5. Confirm the connection: Your chosen wallet provider will prompt you to confirm the connection to Opensea. Follow the instructions provided by your wallet provider to authorize the connection.
6. Grant permission to Opensea: After confirming the connection, your wallet will prompt you to grant permission for Opensea to interact with your wallet. This permission is necessary for Opensea to read your wallet’s address, balances, and conduct transactions on your behalf. Authorize this permission to proceed.
7. Wallet successfully connected: Once the permission is granted, you will receive a notification or confirmation that your wallet has been successfully connected to Opensea. At this point, you are ready to explore, create, buy, and sell NFTs on the platform.
It’s important to note that while Opensea securely interacts with your wallet, you still maintain full control over your assets. All transactions are authorized by you within your wallet, ensuring the security and privacy of your funds.
Now that your wallet is connected to Opensea, you can take advantage of the platform’s features and start participating in the exciting world of NFT creation and trading. The next section will guide you through the process of creating an NFT on Opensea.
How to Create an NFT on Opensea
Creating and selling NFTs on Opensea is a straightforward process that allows artists, creators, and collectors to showcase their digital assets and monetize their work. If you’re ready to create your own NFTs, follow these steps:
1. Login to your Opensea account: Visit the Opensea website and login to your account using your credentials.
2. Access your account settings: Once logged in, navigate to your account settings by clicking on your profile picture or username at the top right corner of the website.
3. Create a collection: In the account settings, you will find an option to create a collection. Click on this option to start creating a collection for your NFTs. Give your collection a name, description, and choose whether it will be public or hidden.
4. Customize your collection: After creating the collection, you can customize it by adding a banner image, description, and external links that provide more information about your collection. These customizations will help attract potential buyers and give your collection a unique identity.
5. Mint your NFTs: Once your collection is set up, navigate to the “My Collections” tab and select the collection you would like to add your NFTs to. Click on the “Add New Item” button to start minting your NFTs. You will be prompted to upload the file or asset that you want to turn into an NFT.
6. Add metadata and descriptions: After uploading the file, you’ll need to add metadata and descriptions to provide more details about your NFT. This can include the title, description, and additional attributes or properties that make your NFT unique. Opensea utilizes various metadata standards, such as JSON Metadata Schema, to ensure compatibility and consistency.
7. Set a price for your NFT: Once you have added the necessary metadata, you can set a price for your NFT. Opensea allows you to choose between auction-style listings or fixed-price listings. You can decide whether to sell your NFT at a specific price or allow buyers to place bids on it. Consider factors such as the rarity and demand for your NFT when determining the price.
8. Mint and finalize your NFT: After setting the price, review all the details of your NFT and click on the “Create” or “Mint” button to finalize the process. This action will mint your NFT on the Ethereum blockchain, making it an immutable and tradable digital asset on the Opensea marketplace.
9. Promote and sell your NFT: Once your NFT is created, it’s time to promote and sell it to potential buyers. Share your NFT on social media, reach out to your audiences, participate in community forums, and explore marketing strategies that can help increase visibility and demand for your NFT.
By following these steps, you can create and sell your own NFTs on Opensea, tapping into the growing market for digital assets. Remember to continuously engage with the community and stay updated with the latest trends and developments in the NFT space to maximize your success.
Uploading Your NFTs
Uploading your NFTs is a crucial step in the process of creating and selling digital assets on Opensea. It allows you to showcase your unique creations to potential buyers and share your artistic vision with the world. Here’s how you can upload your NFTs on Opensea:
1. Login to your Opensea account: Visit the Opensea website and log in to your account using your credentials.
2. Access your account settings: Once logged in, navigate to your account settings by clicking on your profile picture or username at the top right corner of the website.
3. Select the collection: In the account settings, find the collection to which you want to upload your NFT. Click on the collection to access it.
4. Click on “Add New Item”: Inside your chosen collection, you will see an “Add New Item” button. Click on this button to start uploading your NFT.
5. Upload the NFT file: You will be prompted to upload the file or asset that you want to turn into an NFT. This can be a digital image, video, audio file, or any other digital content that you want to represent your NFT. Ensure your file meets the size and format requirements specified by Opensea.
6. Add metadata and descriptions: After uploading the file, you’ll need to add metadata and descriptions to provide more details about your NFT. This can include the title, description, tags, and other descriptive information that helps potential buyers understand and appreciate your NFT. Take the time to provide accurate and engaging descriptions that highlight the unique aspects of your NFT.
7. Set a royalty percentage (optional): Opensea allows creators to set a royalty percentage, which entitles them to a percentage of any future sales of the NFT. This means that even if your NFT is resold by a buyer, you can earn a percentage of the sale price. Consider the value of your work and the potential for future sales when determining the royalty percentage.
8. Review and finalize: After adding the necessary metadata and descriptions, review all the details of your NFT. Check for any errors or inaccuracies and ensure that your NFT is presented in the best possible way. Once you are satisfied with the information provided, click on the “Create” or “Mint” button to finalize the upload process.
9. Verification and confirmation: Opensea will verify and confirm the upload of your NFT. This process typically involves interacting with the Ethereum network to mint your NFT on the blockchain. You will receive a notification or confirmation once your NFT is successfully uploaded and minted.
By following these steps, you can proudly upload and showcase your NFTs on Opensea. Remember to put thought and effort into your metadata and descriptions to make your NFTs stand out, and consider exploring different ways to promote and market them to reach a wider audience.
Adding Metadata and Descriptions
Adding metadata and descriptions is a crucial step in the process of creating and selling NFTs on Opensea. Metadata provides important information about your NFT, while descriptions give potential buyers insight into your artistic vision and the unique qualities of your digital asset. Here’s how you can add metadata and descriptions to your NFT on Opensea:
1. Login to your Opensea account: Visit the Opensea website and log in to your account using your credentials.
2. Access your account settings: Once logged in, navigate to your account settings by clicking on your profile picture or username at the top right corner of the website.
3. Select the NFT: In the account settings, find the NFT that you want to add metadata and descriptions to. Click on the NFT to access its details.
4. Open the metadata editor: Inside the details of your NFT, locate the option to edit the metadata. This can typically be found under the “Metadata” or “Edit” section.
5. Title your NFT: Start by giving your NFT a compelling and descriptive title. A good title can grab a potential buyer’s attention and give them an idea of what your NFT represents.
6. Write a detailed description: Craft a detailed and engaging description that provides more information about your NFT. Consider the story behind your artwork, the techniques used, and any unique qualities or features that make your NFT special. The description should be informative, enticing, and showcase your artistic vision.
7. Add additional attributes or properties: Opensea allows you to add additional attributes or properties to enrich the metadata of your NFT. These can include details such as the artist’s name, artwork dimensions, edition number, and any other relevant information that adds value to your NFT.
8. Set categories and tags: Assigning categories and relevant tags to your NFT can help potential buyers discover your artwork more easily. Choose categories that align with the theme or style of your NFT and use tags that accurately depict its content and characteristics.
9. Upload images and multimedia (if applicable): If your NFT contains multiple images or multimedia elements, make sure to upload and include them in the metadata. This allows buyers to see the full scope of your artwork and understand its intricacies.
10. Review and finalize: After adding the metadata and descriptions, carefully review all the information you have provided. Ensure that it accurately represents your NFT and effectively communicates its value. Once you are satisfied, save or update the metadata to finalize the process.
By adding metadata and descriptions, you enhance the discoverability and appeal of your NFT on Opensea. Potential buyers can gain a deeper understanding of your artistic intent, making them more likely to engage with and purchase your digital asset.
Setting a Price for Your NFTs
Setting a price for your NFT is a crucial step in the process of creating and selling digital assets on Opensea. The price you set should reflect the value of your artwork and attract potential buyers. Here’s how you can set a price for your NFT on Opensea:
1. Login to your Opensea account: Visit the Opensea website and log in to your account using your credentials.
2. Access your account settings: Once logged in, navigate to your account settings by clicking on your profile picture or username at the top right corner of the website.
3. Select the NFT: In the account settings, find the NFT for which you want to set a price. Click on the NFT to access its details.
4. Set a fixed price or auction: Opensea provides two options for pricing your NFT: a fixed price or an auction. If you opt for a fixed price, you can enter a specific amount at which you want to sell your NFT. This option allows potential buyers to purchase your NFT directly at the set price. On the other hand, if you choose an auction, you can set a starting price and duration for potential buyers to place bids on your NFT. The highest bidder at the end of the auction period will win the NFT.
5. Consider the value and demand: When setting a price for your NFT, consider various factors such as the uniqueness, quality, and demand for your artwork. Research what similar NFTs are being sold for on Opensea and other marketplaces. Assess the perceived value of your NFT, taking into account any notable achievements, reputation, or recognition you may have as an artist.
6. Rarities and editions: If your NFT is part of a limited edition or has different rarity levels, you can adjust the price accordingly. Pieces that are more scarce or have higher rarity levels can generally command a higher price. Additionally, you can create different pricing tiers for different editions if you wish to offer variations of your artwork.
7. Continuous or declining pricing: Opensea also offers the option to set pricing tiers that either remain constant or decline over time. Some creators choose to lower the price of their NFTs gradually to incentivize early buyers or increase demand over time. Consider your marketing strategy and the perceived value of your art when deciding which pricing model to use.
8. Royalties: Opensea allows creators to set royalty percentages on their NFTs. This means that you can receive a percentage of each resale of your NFT. Consider setting a fair royalty percentage that rewards your ongoing contribution and potential appreciation of your artwork.
9. Review and finalize: After setting the price and considering all relevant aspects, review all the details and ensure they accurately represent the value of your NFT. Make any necessary adjustments and then save or update the pricing information to finalize the process.
By setting a well-considered price for your NFT, you increase the chances of attracting potential buyers who recognize the value and uniqueness of your digital art. Regularly reassess the market and your own artistic growth to ensure your pricing remains competitive and aligned with your artistic journey.
Minting and Finalizing Your NFTs
Minting and finalizing your NFT is the process of creating a unique token on the blockchain that represents your digital artwork on Opensea. This step is crucial in establishing the authenticity and ownership of your NFT. Here’s how you can mint and finalize your NFT on Opensea:
1. Login to your Opensea account: Visit the Opensea website and log in to your account using your credentials.
2. Access your account settings: Once logged in, navigate to your account settings by clicking on your profile picture or username at the top right corner of the website.
3. Select the NFT: In the account settings, find the NFT that you want to mint and finalize. Click on the NFT to access its details.
4. Verify metadata and descriptions: Before minting, double-check the metadata and descriptions of your NFT to ensure accuracy and completeness. Review the title, description, attributes, categories, and tags to make sure they represent your digital artwork properly.
5. Set a supply (if applicable): If your NFT is part of a limited edition or has a set supply, specify the number of tokens available. This will determine the scarcity and exclusivity of your NFT. Decide the total supply based on your artistic vision and marketing strategy.
6. Mint your NFT: After verifying the metadata and setting the supply (if applicable), you are ready to mint your NFT. Click on the “Mint” or “Create” button to initiate the minting process. Opensea will interact with the Ethereum blockchain to generate a unique token that represents your NFT.
7. Transaction confirmation: Minting your NFT requires interacting with the Ethereum network and paying a transaction fee. The specific steps and confirmation process may depend on your chosen wallet and its integration with Opensea. Be sure to follow the prompts and review the transaction details before confirming the minting.
8. Finalize the process: Once the transaction is confirmed, your NFT is now minted and finalized on the blockchain. You will receive a confirmation from Opensea indicating the successful completion of the minting process. Your NFT is now publicly visible on Opensea and can be discovered, bought, and sold by collectors and enthusiasts.
9. Share and promote: After minting and finalizing your NFT, it’s time to share and promote it to the world. Utilize social media, online platforms, and your network to showcase your artwork and generate interest. Engage with the community, participate in discussions, and explore marketing strategies to increase the visibility of your NFT.
By minting and finalizing your NFT, you establish its authenticity and ownership on the blockchain. This process empowers you as an artist and enables you to participate in the vibrant marketplace of digital art on Opensea.
Promoting and Selling Your NFTs
Promoting and selling your NFTs is a critical step in gaining exposure, increasing demand, and ultimately generating sales on Opensea. To effectively market your digital artwork, consider the following strategies:
1. Social media promotion: Leverage the power of social media platforms to showcase your NFTs. Share high-quality images or videos of your artwork and provide engaging descriptions to captivate your audience. Utilize platforms like Twitter, Instagram, and TikTok to reach potential buyers and art enthusiasts. Engage with your followers, participate in relevant conversations, and use relevant hashtags to increase visibility.
2. Engage with the community: Participate in online forums, communities, and Discord channels dedicated to NFTs and digital art. Share your NFTs with like-minded individuals, seek feedback, and join discussions. By actively engaging with the community, you can build relationships, gain exposure, and establish yourself as an artist to watch.
3. Collaborations and partnerships: Consider collaborating with other artists, creators, or influential figures in the NFT space. Joint projects can help expand your reach and introduce your artwork to new audiences. Look for opportunities to work together on collections, events, or shared initiatives that align with your artistic vision.
4. Virtual exhibitions and galleries: Explore virtual exhibition spaces or galleries that specialize in showcasing NFTs. These platforms provide unique and immersive experiences for art lovers and collectors, allowing them to view and interact with your artwork in virtual environments. Take advantage of these opportunities to present your NFTs in a visually appealing and engaging manner.
5. Limited editions and exclusivity: Consider offering limited editions of your NFTs to create a sense of scarcity and exclusivity. Limited edition NFTs can increase demand and generate a sense of urgency among potential buyers. Additionally, you can reward early purchasers with special perks or incentives, such as access to future releases or exclusive content.
6. Influencer marketing: Collaborate with influencers in the NFT and digital art space who have a dedicated following. Influencers can help promote your NFTs to their audience, increasing visibility and driving potential buyers to your artworks. Seek out influencers whose values align with your artistic style and create genuine partnerships that resonate with their followers.
7. Consistent branding and storytelling: Develop a compelling brand narrative and story behind your NFTs. Share the inspiration, techniques, and process that went into creating your artwork. By incorporating storytelling into your marketing strategy, you can forge a deeper connection with your audience, making your NFTs more meaningful and desirable.
8. Secondary market participation: Monitor the secondary market on Opensea and other marketplaces to stay informed about trends and sales. Engage with buyers and collectors who show interest in your NFTs, and consider offering incentives or bonuses to repeat buyers. Building a reputation and strong relationships within the community can lead to more sales and potential collaborations in the future.
Remember, promoting and selling NFTs requires consistent effort, engagement, and adaptability. Stay active, listen to feedback, and continuously refine your marketing strategies to maximize the visibility and success of your NFTs on Opensea.
Conclusion
Congratulations on your journey into the world of NFTs and exploring the process of creating and selling NFTs on Opensea. With Opensea’s user-friendly platform, you have the opportunity to showcase your digital art, connect with collectors, and potentially monetize your creations.
Throughout this guide, we’ve covered the key steps involved in creating and selling NFTs on Opensea. From understanding Opensea and NFTs to setting up a wallet, connecting it to Opensea, and uploading your NFTs, you now have the foundation to embark on this exciting digital art marketplace.
Remember that creating and selling NFTs is not just about the technical process, but also about engaging with the community, promoting your artwork, and building your personal brand as an artist. By utilizing social media, participating in online communities, collaborating with others, and leveraging various marketing strategies, you can increase the visibility and demand for your NFTs.
As you navigate the world of NFTs, it’s important to stay informed about industry trends, evolving market conditions, and emerging best practices. The NFT space is constantly evolving, so keeping up with the latest developments can help you make informed decisions and position yourself for success.
Additionally, ensure that you educate yourself about the potential environmental impacts and ethical considerations surrounding NFTs. Stay mindful of the carbon footprint associated with blockchain transactions and be conscious of intellectual property rights to foster a positive and sustainable digital art ecosystem.
Always remember to create with passion and authenticity. Your unique artistic vision and voice are what make your NFTs special and valuable. Nurture your creativity, experiment with different techniques and styles, and continue to refine your craft as you grow as an artist within the NFT community.
Now it’s time to take what you’ve learned, unleash your creativity, and introduce your digital masterpieces to the world. Embrace the opportunities that Opensea and the wider NFT landscape present, and may your NFT journey be filled with artistic fulfillment, recognition, and success.