Introduction
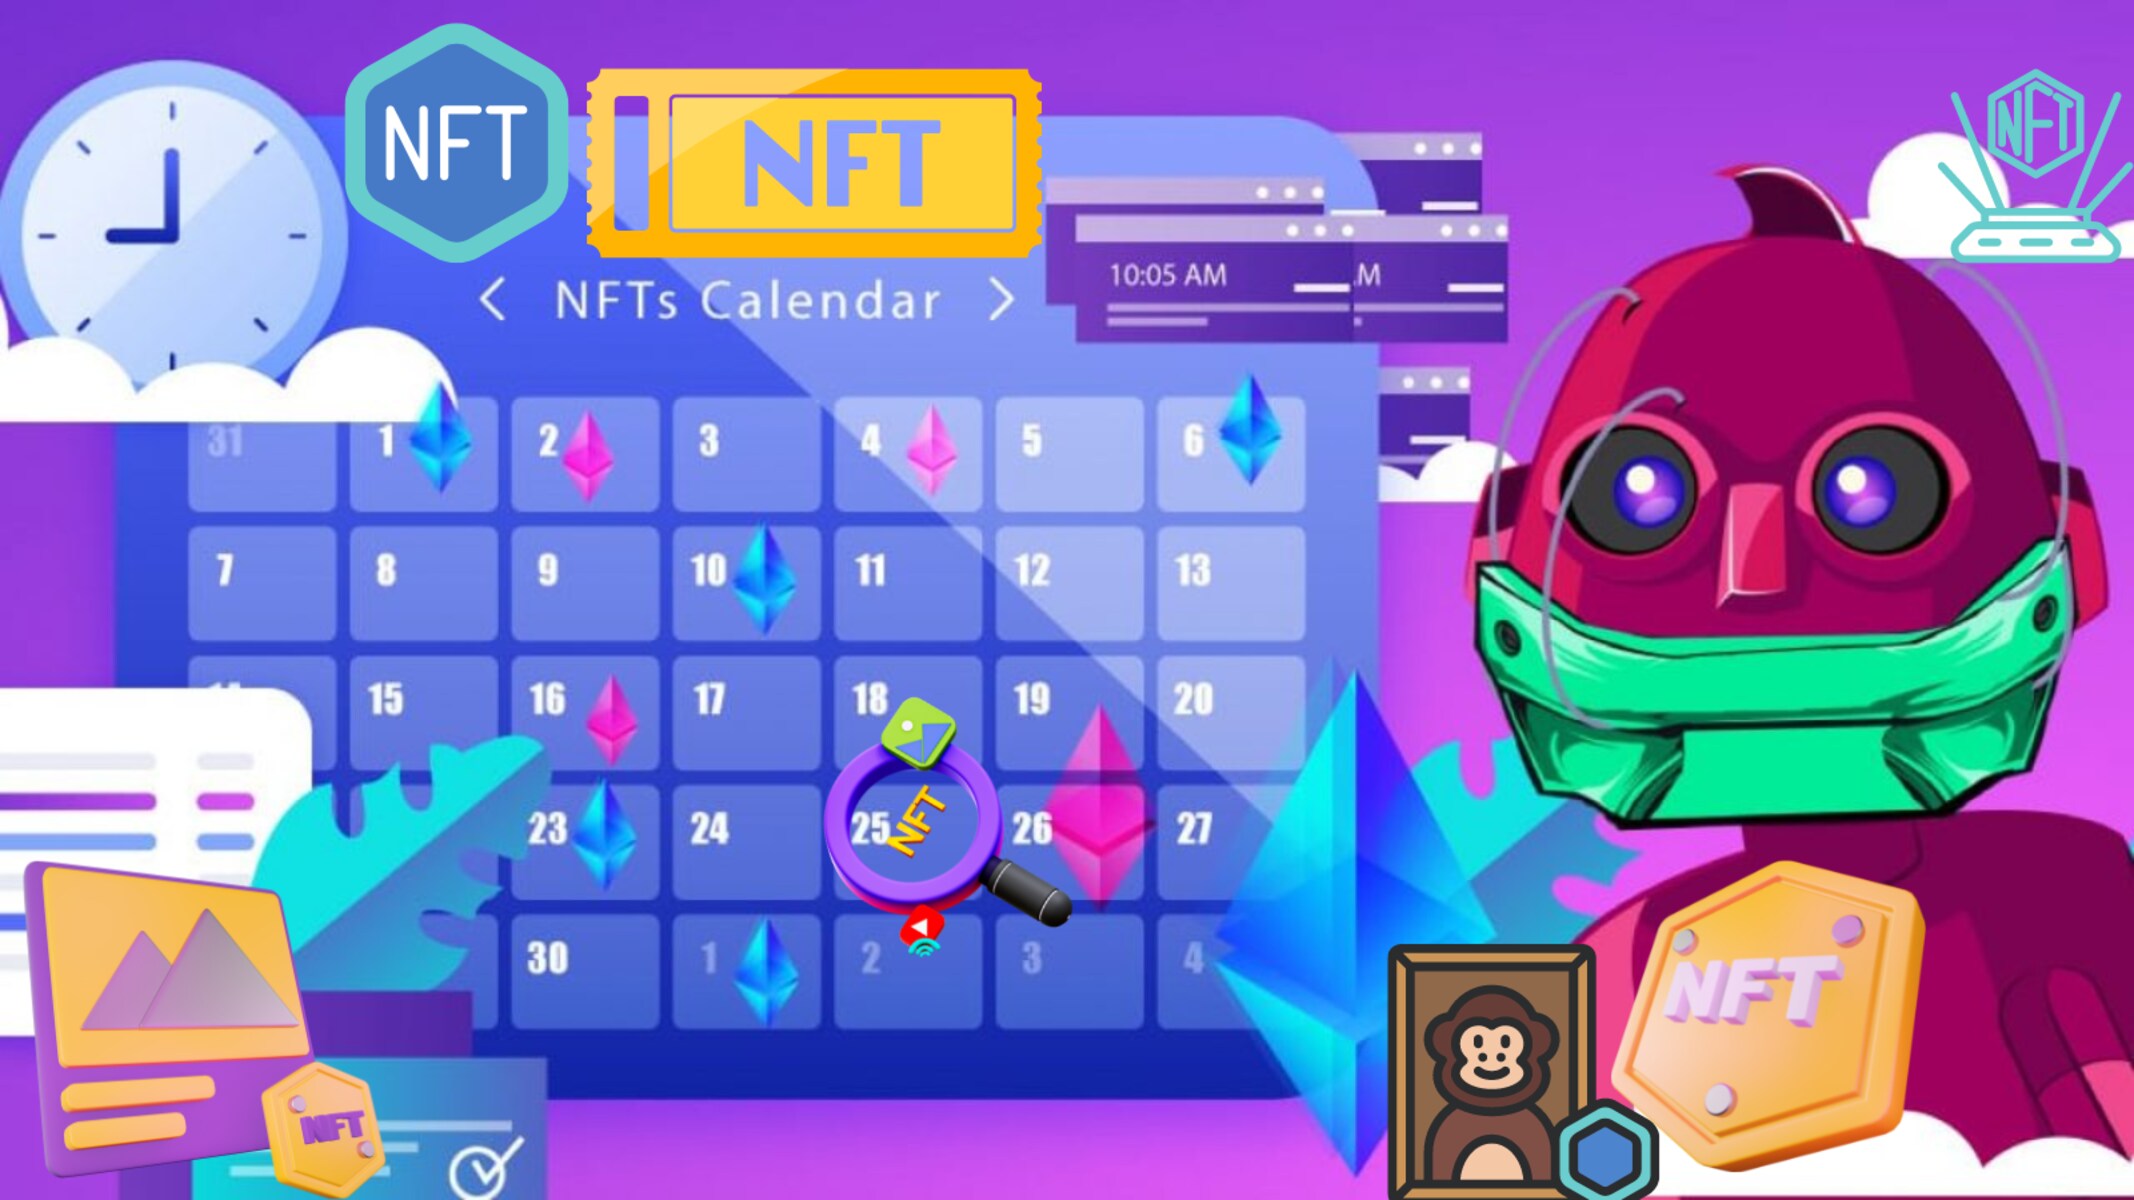
Welcome to the world of Non-Fungible Tokens (NFTs), where digital assets are taking the art and collectibles market by storm. With the growth of NFT platforms like Opensea, people now have the opportunity to buy, sell, and even stake their NFTs for additional benefits. If you’re new to the concept of staking, fear not, as this article will guide you through the process of staking an NFT on Opensea.
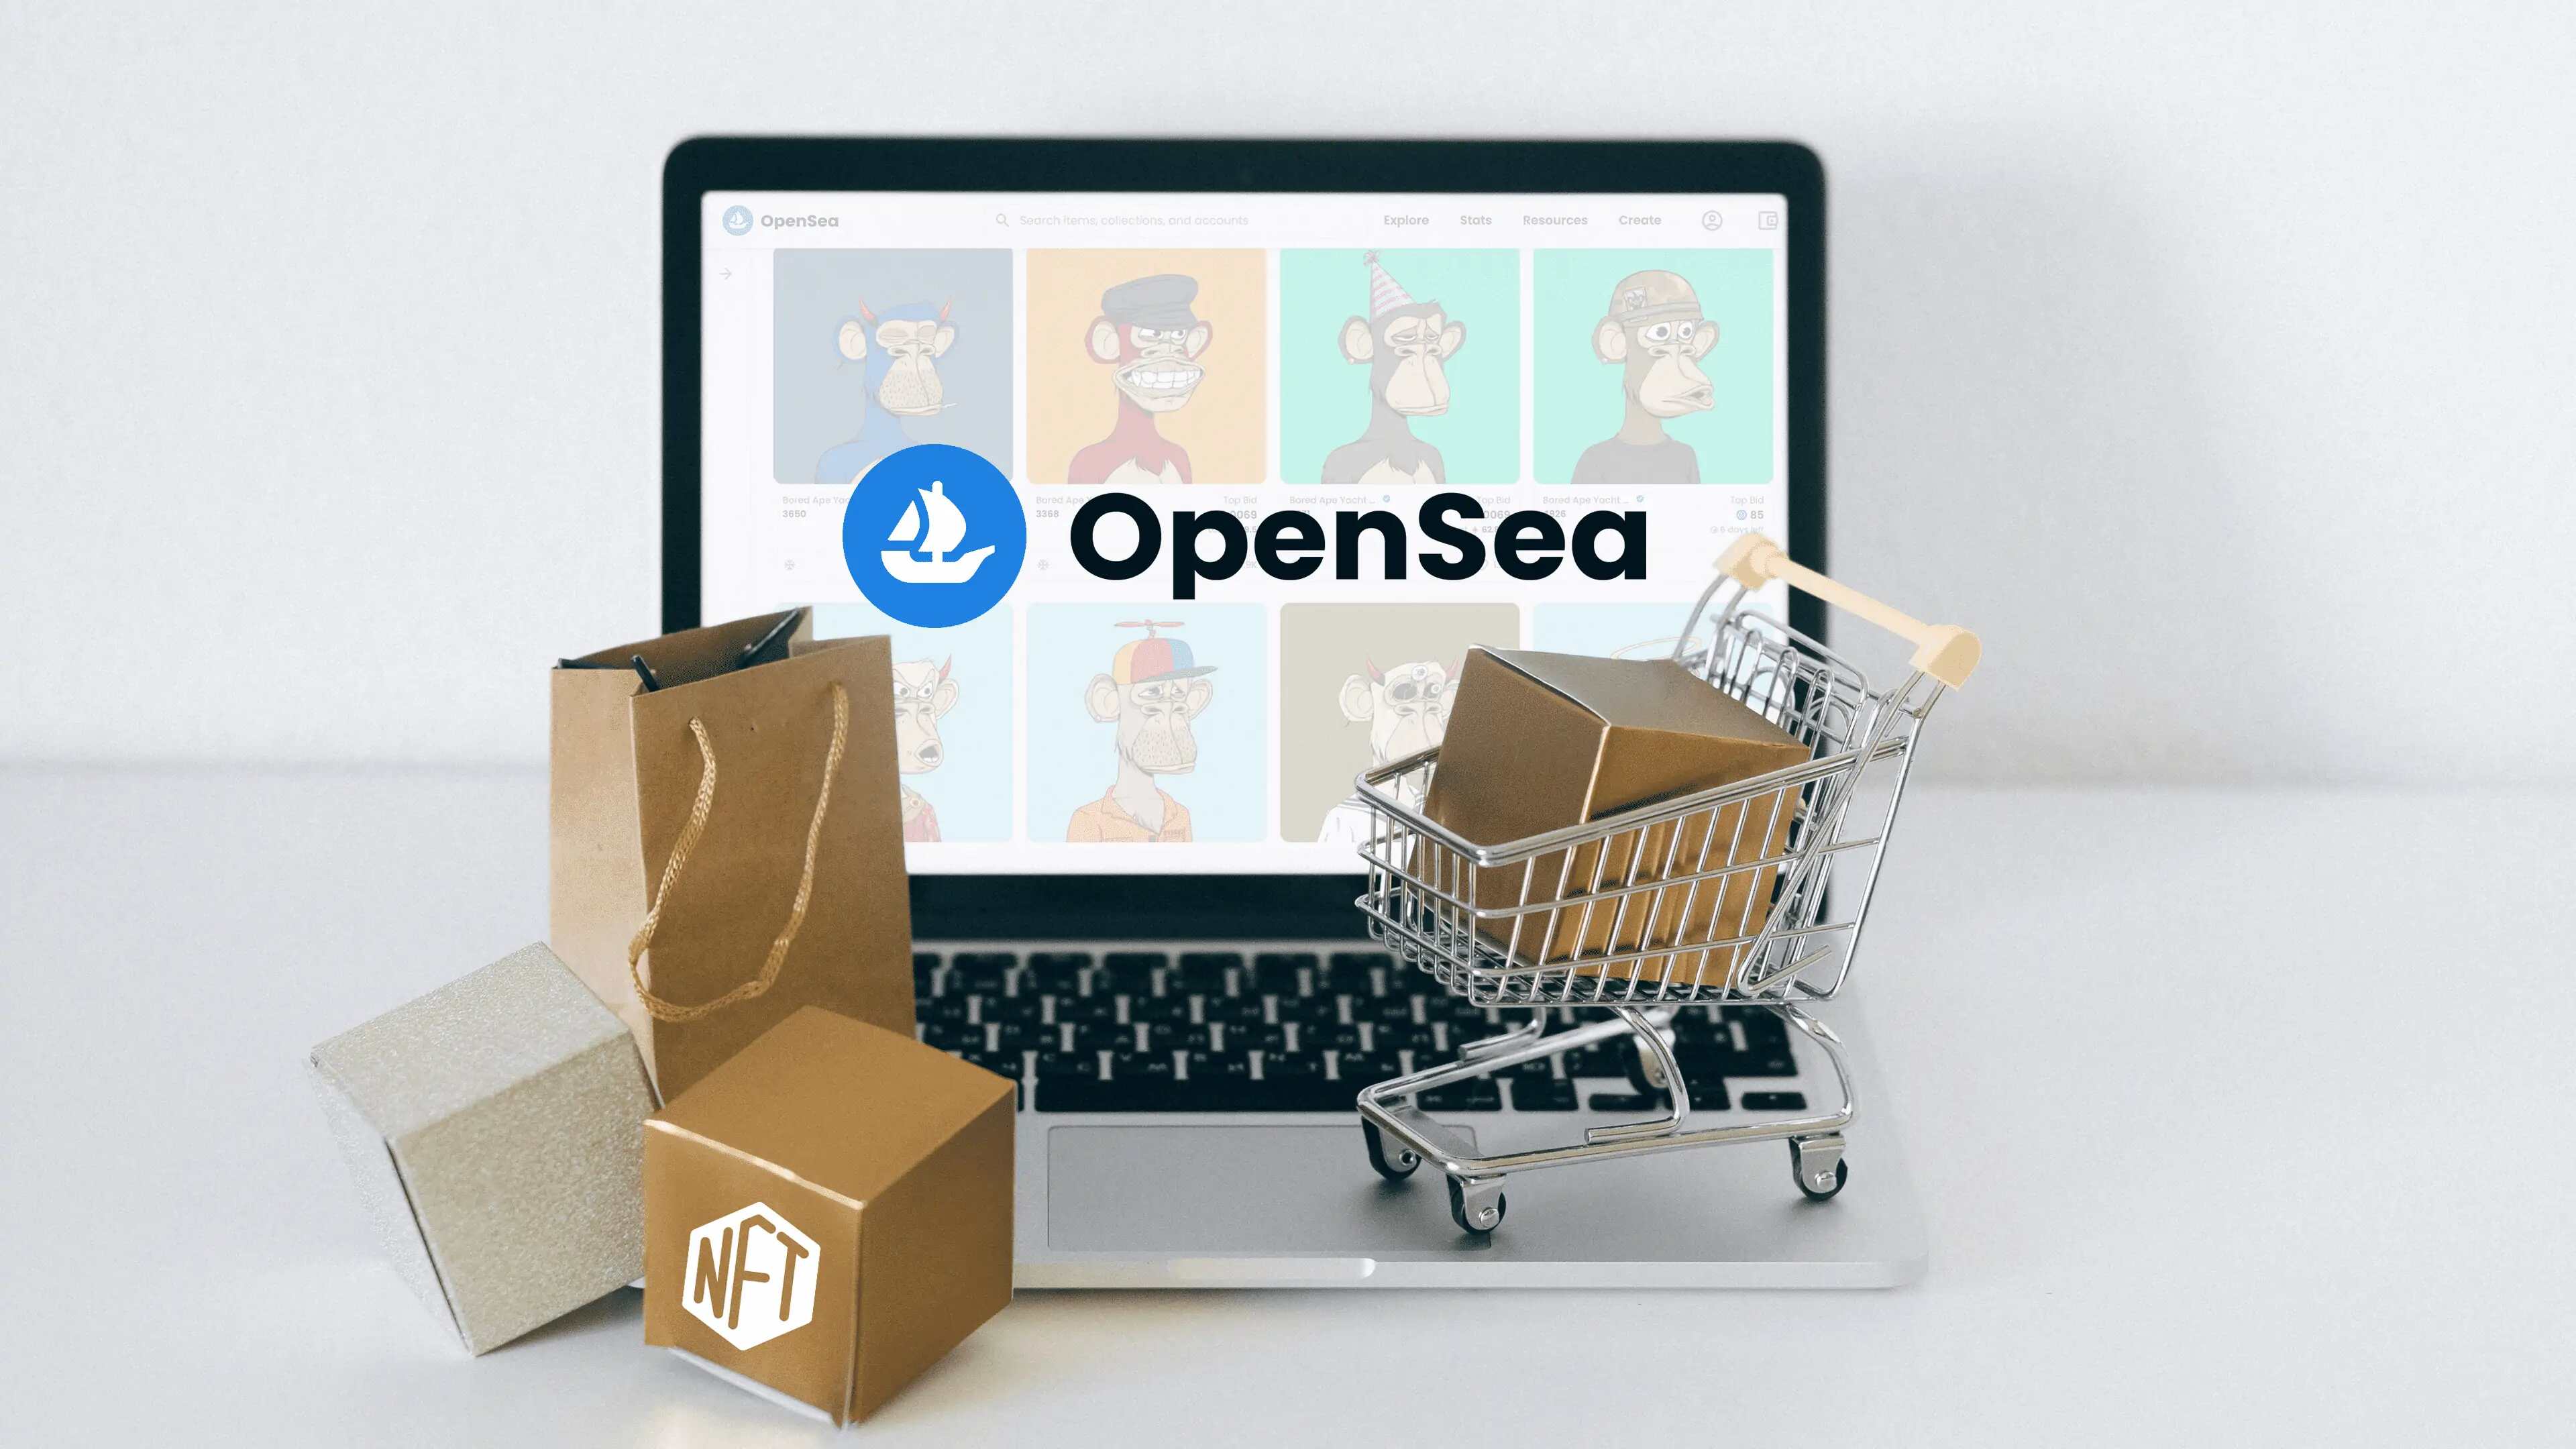
Opensea is one of the leading decentralized marketplaces for NFTs, offering a wide range of unique digital assets, including artwork, virtual real estate, and even virtual pets. Its user-friendly interface and extensive selection make it a popular choice among NFT enthusiasts.
But what exactly does it mean to stake an NFT? Staking an NFT refers to the act of temporarily locking your NFT into a smart contract in exchange for rewards or to gain access to certain platform features. This practice has gained traction as it allows NFT holders to earn passive income or additional benefits from their digital assets.
In this article, we will walk you through the steps involved in staking an NFT on Opensea, so you can make the most of your digital investments.
It is important to note that the specific process may vary slightly depending on the staking platform you choose, but the underlying principles remain consistent. So, without further ado, let’s dive into the world of staking NFTs on Opensea!
What is Opensea?
Opensea is a decentralized marketplace that allows users to buy, sell, and trade non-fungible tokens (NFTs). Launched in 2017, Opensea has quickly become one of the most popular platforms for NFT transactions and has played a significant role in the surge of interest in digital collectibles.
Unlike traditional online marketplaces, Opensea operates on the blockchain, specifically on the Ethereum network. This means that transactions on Opensea are transparent, secure, and immutable. The platform leverages the benefits of blockchain technology to provide a decentralized and trustless environment for NFT enthusiasts.
Opensea offers a vast array of NFTs, ranging from digital art, virtual real estate, domain names, sports collectibles, and more. With over a million assets listed on the platform, there is something for every collector and investor.
One of the key features that sets Opensea apart is its support for both ERC-721 and ERC-1155 standards. ERC-721 tokens are unique and indivisible assets, while ERC-1155 tokens can represent both unique and fungible assets. This flexibility in token standards allows for a diverse range of NFTs to be traded on the platform.
Opensea also provides users with customizable storefronts, where creators can showcase their collections and engage directly with buyers. This creates a vibrant community-driven marketplace where artists and collectors can connect and transact seamlessly.
Moreover, Opensea has integrated with various decentralized finance (DeFi) platforms, enabling users to participate in staking, yield farming, and governance initiatives. This integration adds another layer of utility and potential earnings for NFT holders.
Opensea has gained widespread recognition and adoption in the NFT space, attracting high-profile artists, celebrities, and brands to the platform. Its user-friendly interface, robust features, and extensive selection make it an ideal choice for anyone looking to explore the world of NFTs.
Now that we have a basic understanding of Opensea, let’s delve into the process of staking an NFT on the platform.
What is Staking an NFT?
Staking an NFT refers to the act of locking a non-fungible token (NFT) into a smart contract for a specific period of time to earn rewards or gain access to certain platform features. While traditionally staking has been associated with cryptocurrencies, the concept has now expanded to include NFTs, offering NFT holders additional benefits and opportunities.
When you stake an NFT, you essentially temporarily transfer ownership of your token to a staking platform or smart contract. In return, you may receive rewards in the form of additional tokens, unique experiences, exclusive access to events, or other incentives. These rewards vary depending on the staking platform and its specific offerings.
Staking NFTs not only adds value to your digital assets but also allows you to actively participate in the ecosystem surrounding them. By staking your NFT, you become an active participant in the platform’s community and contribute to its growth and development.
Staking NFTs can provide a means of earning passive income for NFT holders. With the increasing popularity of NFTs and their utility in various industries, staking can be an attractive way to generate additional value from your digital collectibles. It allows you to make your NFTs work for you beyond their artistic or sentimental value.
Moreover, staking an NFT can also offer benefits beyond financial rewards. Some platforms provide exclusive access to events, early releases of new NFT collections, or upgraded features within the platform itself. These perks can enhance your overall NFT ownership experience and give you a unique advantage in the market.
It’s important to note that staking an NFT typically involves a lock-up period, during which you cannot freely transfer or sell your token. The duration of this lock-up period varies depending on the staking platform and their specific terms. Therefore, before staking your NFT, it’s crucial to carefully review and understand the staking terms and conditions to ensure it aligns with your goals and investment strategy.
Now that we have a clear understanding of staking an NFT, let’s explore the process of staking an NFT on the Opensea platform.
Step 1: Connect your Wallet to Opensea
Before you can stake an NFT on Opensea, you need to connect your wallet to the platform. Opensea supports various Ethereum wallets, including MetaMask, Trust Wallet, Coinbase Wallet, and WalletConnect.
If you already have a compatible wallet set up, you can proceed to the next step. Otherwise, you’ll need to install and set up a wallet of your choice. Once you have your wallet ready, follow these steps to connect it to Opensea:
- Visit the Opensea website and click on the “Sign in” or “Connect wallet” button.
- A pop-up window will appear, displaying a list of supported wallets. Choose your preferred wallet from the options.
- If you haven’t logged into your wallet, you’ll be prompted to enter your wallet password or complete any necessary authentication steps.
- After successfully logging in, the wallet will display a message asking for your approval to connect with Opensea. Click “Connect” or “Approve” to proceed.
- Once you’ve connected your wallet, Opensea will display your wallet address in the top right corner of the screen, indicating that the connection is successful.
It’s important to note that connecting your wallet to Opensea allows the platform to access your wallet’s public address and interact with your NFTs. It does not give Opensea control over your private keys or funds.
By connecting your wallet, you gain the ability to view and manage your NFT collection, as well as engage in various activities on Opensea, including buying, selling, and staking NFTs.
Now that your wallet is successfully connected to Opensea, let’s move on to the next step and choose the NFT you want to stake.
Step 2: Choose the NFT to Stake
Now that your wallet is connected to Opensea, it’s time to select the non-fungible token (NFT) that you want to stake. Opensea provides a user-friendly interface that allows you to easily browse and explore your NFT collection.
Here’s how you can choose the NFT to stake on Opensea:
- On the Opensea website, click on your wallet address in the top right corner to access your profile.
- Under your profile, you will find a tab labeled “My Items” or “My Collection”. Click on it to view your NFTs.
- You will be presented with a list of NFTs that you own. You can browse through your collection or use search filters to find a specific NFT you wish to stake.
- Once you’ve found the NFT you want to stake, click on it to view its details and available actions.
- Opensea will display information about the NFT, including its title, description, creator, and any associated attributes.
- Look for the option to stake the NFT. This may be presented as a button or a staking option within the NFT’s details.
- Click on the “Stake” button or select the appropriate staking option to proceed.
It’s important to note that not all NFTs may be eligible for staking, as it depends on the specific staking platform and the requirements they have in place. Some NFTs may have different staking options with varying rewards or lock-up periods.
Before finalizing your decision, take the time to evaluate the staking terms, including the rewards offered, any fees involved, and the duration of the staking period. This will help you make an informed choice based on your preferences and goals.
Once you have chosen the NFT you want to stake and reviewed the staking terms, it’s time to select the staking platform. Continue reading to learn about this next step.
Step 3: Select the Staking Platform
After choosing the non-fungible token (NFT) you want to stake on Opensea, the next step is to select the staking platform where you’ll be locking your NFT. Opensea integrates with various staking platforms, each offering different features, rewards, and benefits.
Here’s how you can select the staking platform on Opensea:
- When you click on the “Stake” button or select the staking option for your chosen NFT, Opensea will present you with a list of staking platforms that are compatible with that specific NFT.
- Take the time to read through the information provided for each staking platform, including details about their rewards, fees, lock-up periods, and any additional features they offer.
- Consider your goals, preferences, and the specific requirements of the staking platforms. Look for a platform that aligns with your needs and offers the desired incentives.
- Once you have made your decision, click on the staking platform that you wish to use.
Remember, the staking platform you select will determine the rewards you receive for staking your NFT. Some platforms may offer additional tokens, exclusive experiences, or governance rights in return for staking.
It’s essential to research each staking platform and understand how they operate before making your choice. Consider factors such as the reputation of the platform, their track record, and any reviews or testimonials available.
If you’re unsure which staking platform to choose, consider reaching out to the community or seeking advice from experienced NFT enthusiasts. They may be able to provide insights and recommendations based on their own experiences.
After selecting the staking platform, the next step is to review the staking terms provided by the platform. This will ensure you understand the requirements and rewards associated with staking your NFT. Continue reading to learn more about this crucial step.
Step 4: Review the Staking Terms
Once you have selected the staking platform for your non-fungible token (NFT) on Opensea, it’s essential to thoroughly review the staking terms provided by the platform. These terms outline the specific requirements, rewards, fees, and lock-up periods associated with staking your NFT.
Here are the key aspects to consider when reviewing the staking terms:
- Rewards: Take note of the rewards offered for staking your NFT. This may include additional tokens, exclusive experiences, or other incentives. Assess the value and relevance of these rewards to ensure they align with your goals.
- Fees: Some staking platforms may charge fees for staking your NFT. Review the fee structure and consider whether the potential rewards outweigh the associated costs. It’s important to factor in any gas fees or transaction costs incurred on the Ethereum network as well.
- Lock-up Period: The staking terms will specify the duration for which your NFT will be locked up in the smart contract. This period varies depending on the staking platform and the specific NFT being staked. Assess whether the lock-up period aligns with your investment strategy and liquidity needs.
- Terms and Conditions: Carefully read and understand all the terms and conditions outlined by the staking platform. This includes any eligibility criteria, transfer restrictions, and potential consequences for non-compliance. Ensure that you are comfortable with all the requirements and potential risks involved.
- Platform Reputation: Consider the reputation and track record of the staking platform. Look for feedback from other users, reviews, and community discussions to gauge the platform’s reliability and trustworthiness.
By thoroughly reviewing the staking terms, you can make an informed decision and assess the potential benefits and risks associated with staking your NFT on the chosen platform.
If you have any questions or concerns about the staking terms, it’s advisable to reach out to the staking platform’s support team or seek advice from the community. They can provide clarification and help you gain a better understanding of the process.
Once you have familiarized yourself with the staking terms and are comfortable with them, you can proceed to the final step of confirming the staking transaction.
Step 5: Confirm the Staking Transaction
After carefully reviewing the staking terms and ensuring that you are comfortable with them, it’s time to proceed with confirming the staking transaction for your non-fungible token (NFT) on Opensea. This step involves executing the staking contract and locking your NFT for the specified duration.
Here’s how you can confirm the staking transaction:
- On the staking platform’s interface within Opensea, locate the “Confirm” or “Stake Now” button.
- Click on the button to initiate the staking transaction.
- A pop-up window will appear, displaying the details of the staking transaction, including the NFT being staked, the staking period, and any associated rewards or fees.
- Review the details of the transaction once again to ensure accuracy and alignment with your intended actions.
- Assuming that everything is in order, click on the “Confirm” or “Stake” button to proceed.
- Your wallet will prompt you to approve the transaction by confirming it. Follow the instructions provided by your wallet and complete any necessary authentication process.
- Once the transaction is confirmed, your NFT will be locked in the staking contract as per the specified terms.
- Depending on the platform and the blockchain network’s processing time, it may take a few moments for the transaction to be confirmed and reflected in your wallet.
It’s important to note that once the staking transaction is confirmed, your NFT will be temporarily unavailable for trading, selling, or transferring until the staking period expires or the terms of the staking contract are fulfilled.
Ensure that you have double-checked all the details and understood the consequences of the staking transaction before confirming it. Mistakes or misunderstandings in the transaction may lead to irreversible actions.
Once the staking transaction is confirmed, you have successfully staked your NFT on Opensea. The next step is to monitor and track the progress of your staked NFT, which will be covered in the following step.
Step 6: Monitor Your Staked NFT
Now that you have successfully staked your non-fungible token (NFT) on Opensea, it’s important to actively monitor and track the progress of your staked NFT throughout the staking period. This step allows you to stay informed about any updates, rewards, or changes that may occur.
Here’s what you need to do to monitor your staked NFT:
- Access your wallet connected to Opensea and navigate to the staking platform’s interface or your staking activity section.
- Within the staking platform’s interface, you will find information about your staked NFT, including the staking period, remaining time, and any potential rewards or updates.
- Regularly check the staking platform’s interface for any updates or announcements regarding your staked NFT. This may include notifications about new reward distributions, changes in staking terms, or updates to the platform’s features.
- Stay connected with the platform’s community by joining official channels, such as forums, Discord servers, or social media groups. These platforms often provide valuable information, insights, and discussions related to staking and the associated NFTs.
- Keep an eye on the overall market conditions and trends. If the value or popularity of your staked NFT significantly changes during the staking period, it may impact your decision-making or potential rewards.
- Set reminders or alerts to notify you when the staking period is about to end. This will ensure that you are prepared to make any necessary decisions or take appropriate actions once the staking period concludes.
Remember that each staking platform may have its own specific features, rewards structure, and rules. Stay informed about any requirements or actions you may need to take during or after the staking period.
By actively monitoring your staked NFT, you can stay engaged with the staking platform, maximize your potential rewards, and make well-informed decisions about your NFT investments.
Congratulations! You have completed the process of staking an NFT on Opensea and are now equipped with the knowledge to navigate the staking landscape. Whether you’re staking for rewards, added benefits, or simply to actively participate in the NFT ecosystem, you are taking advantage of the opportunities offered by this rapidly growing market.
Conclusion
Staking non-fungible tokens (NFTs) on platforms like Opensea offers a unique opportunity for NFT holders to earn rewards, access exclusive benefits, and actively participate in the growing NFT ecosystem. By following these steps, you can successfully stake your NFT on Opensea and make the most of your digital investments.
We began by introducing Opensea, a decentralized marketplace that has become a premier platform for buying, selling, and trading NFTs. Opensea’s user-friendly interface, extensive selection, and integration with decentralized finance (DeFi) platforms have made it a favorite among NFT enthusiasts.
We then explored the concept of staking NFTs, which involves temporarily locking your NFT into a smart contract for rewards or platform benefits. Staking provides an opportunity to earn passive income, gain exclusive access, and contribute to the growth of the NFT ecosystem.
We walked through the steps to stake an NFT on Opensea, starting with connecting your wallet to the platform and choosing the NFT you want to stake. We emphasized the importance of reviewing the staking terms provided by the selected platform to ensure they align with your goals and preferences.
Next, we covered the process of confirming the staking transaction, ensuring accuracy and understanding of the action before proceeding. Finally, we highlighted the significance of actively monitoring your staked NFT, staying informed about updates, rewards, and changes throughout the staking period.
By following these steps and being diligent in your approach, you can successfully stake an NFT on Opensea and take advantage of the benefits and opportunities that staking provides.
Remember, staking NFTs carries its own risks, such as potential changes in the market or the platform’s terms and conditions. It’s important to conduct thorough research, seek advice from experts, and make informed decisions based on your individual circumstances.
Now that you have a solid understanding of the staking process, it’s time to dive into the exciting world of NFTs on Opensea and explore the potential rewards and experiences that await you.