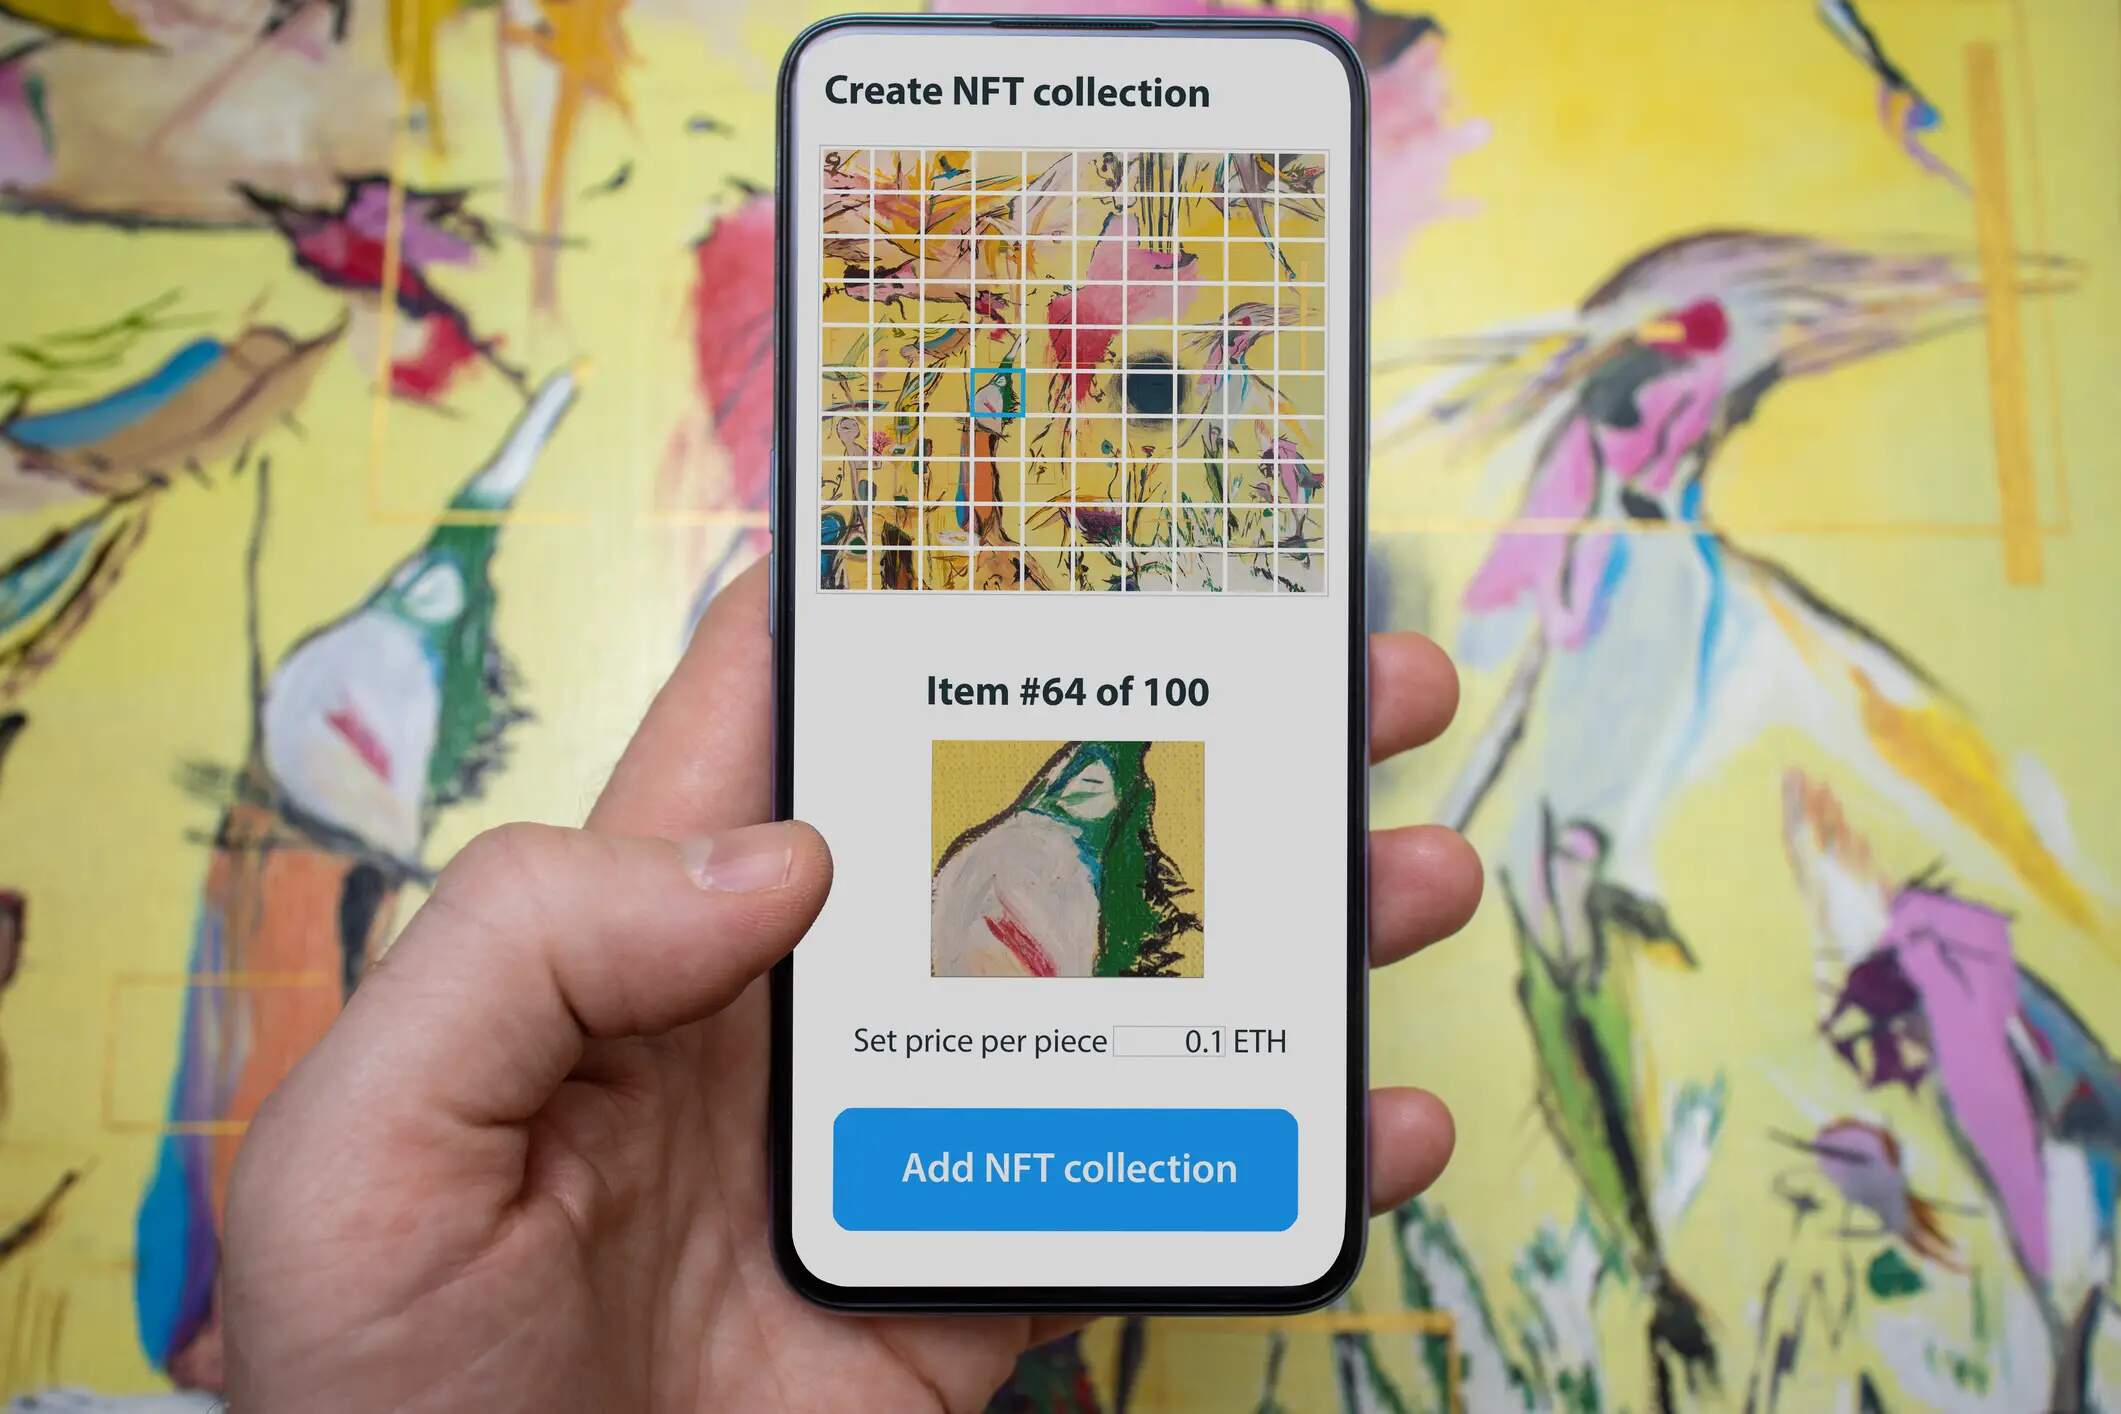
To create an NFT collection, you need to plan your artwork, deploy a smart contract on a blockchain like Ethereum or Polygon, and mint each token individually using a platform like OpenSea Studio. If your collection involves motion graphics, you can create an animated NFT with the same smart contract approach. This step-by-step guide covers the exact technical process from concept to launch, including setting creator earnings and preparing your files for upload.
How to create an NFT collection on OpenSea
Launching a collection using OpenSea Studio requires a clear understanding of the practical steps involved. You will need to deploy a smart contract, configure your collection settings, and mint each NFT one at a time. This process is designed for artists and creators who want full control over their digital assets, from the initial concept to the final sale on the marketplace.
Before you start: Plan your collection
Before you deploy anything, define a clear theme for your collection. Your artwork must meet specific technical requirements: supported file formats are JPG, PNG, GIF, SVG, and MP4, with a maximum file size of 50MB for standard uploads. All files in a single collection must be the same file type. Planning this in advance prevents errors during the minting process.
Step 1: Deploy your smart contract
- Open OpenSea Studio and select an EVM blockchain for your collection, such as Ethereum or Polygon.
- Add a logo image that will be permanently visible on-chain.
- Enter a contract name (this is visible on-chain and cannot be changed after deployment).
- Choose a token symbol that is typically 4-7 characters long (also visible on-chain and unchangeable).
- Pay gas fees to blockchain validators to deploy the contract. These fees vary based on network congestion and are not paid to OpenSea.
Step 2: Configure your collection settings
After deploying the contract, you can edit collection details. Set a display name, write a description using markdown for formatting, and choose a category such as Art, Gaming, or Music. You can also add links to your social media profiles or external website. These settings help collectors discover and understand your collection.
Step 3: Set creator earnings and fees
In the collection settings, specify a royalty percentage and a recipient wallet address for creator earnings. For collections launched using OpenSea Studio after April 2, 2024, or those using ERC721-C or ERC1155-C compatible smart contracts, these royalties can be enforced on OpenSea sales. Note that OpenSea charges a 1% selling fee (included in the buyer's displayed price) and a 10% fee for minting in a primary drop.
Step 4: Mint and upload your NFTs
- Navigate to the 'Media & Metadata' section in your collection's settings.
- Create each NFT individually, bulk upload is not supported. You can set a supply quantity greater than one to mint multiple copies of the same item.
- Understand the limits: the maximum for an ERC-1155 collection created with the "Create Collection" feature is 10,000 individual NFTs, or up to 20,000 copies if using multiple copies per item. OpenSea Studio does not support generative art collections based on traits and rarity.
Next steps: Launch and share
Once your NFTs are minted, make your collection public to allow sales. The real work begins with promotion and community building. For creators looking to offer a low-barrier entry point, you can learn how to mint an NFT for free on certain blockchains. Your collection is now live, share it with your audience and engage with your community to drive sales.