What is Metamask?
Metamask is a popular cryptocurrency wallet and browser extension that allows users to interact with the Ethereum blockchain. It serves as a gateway to decentralized applications (dApps) and provides a secure and user-friendly interface for managing digital assets.
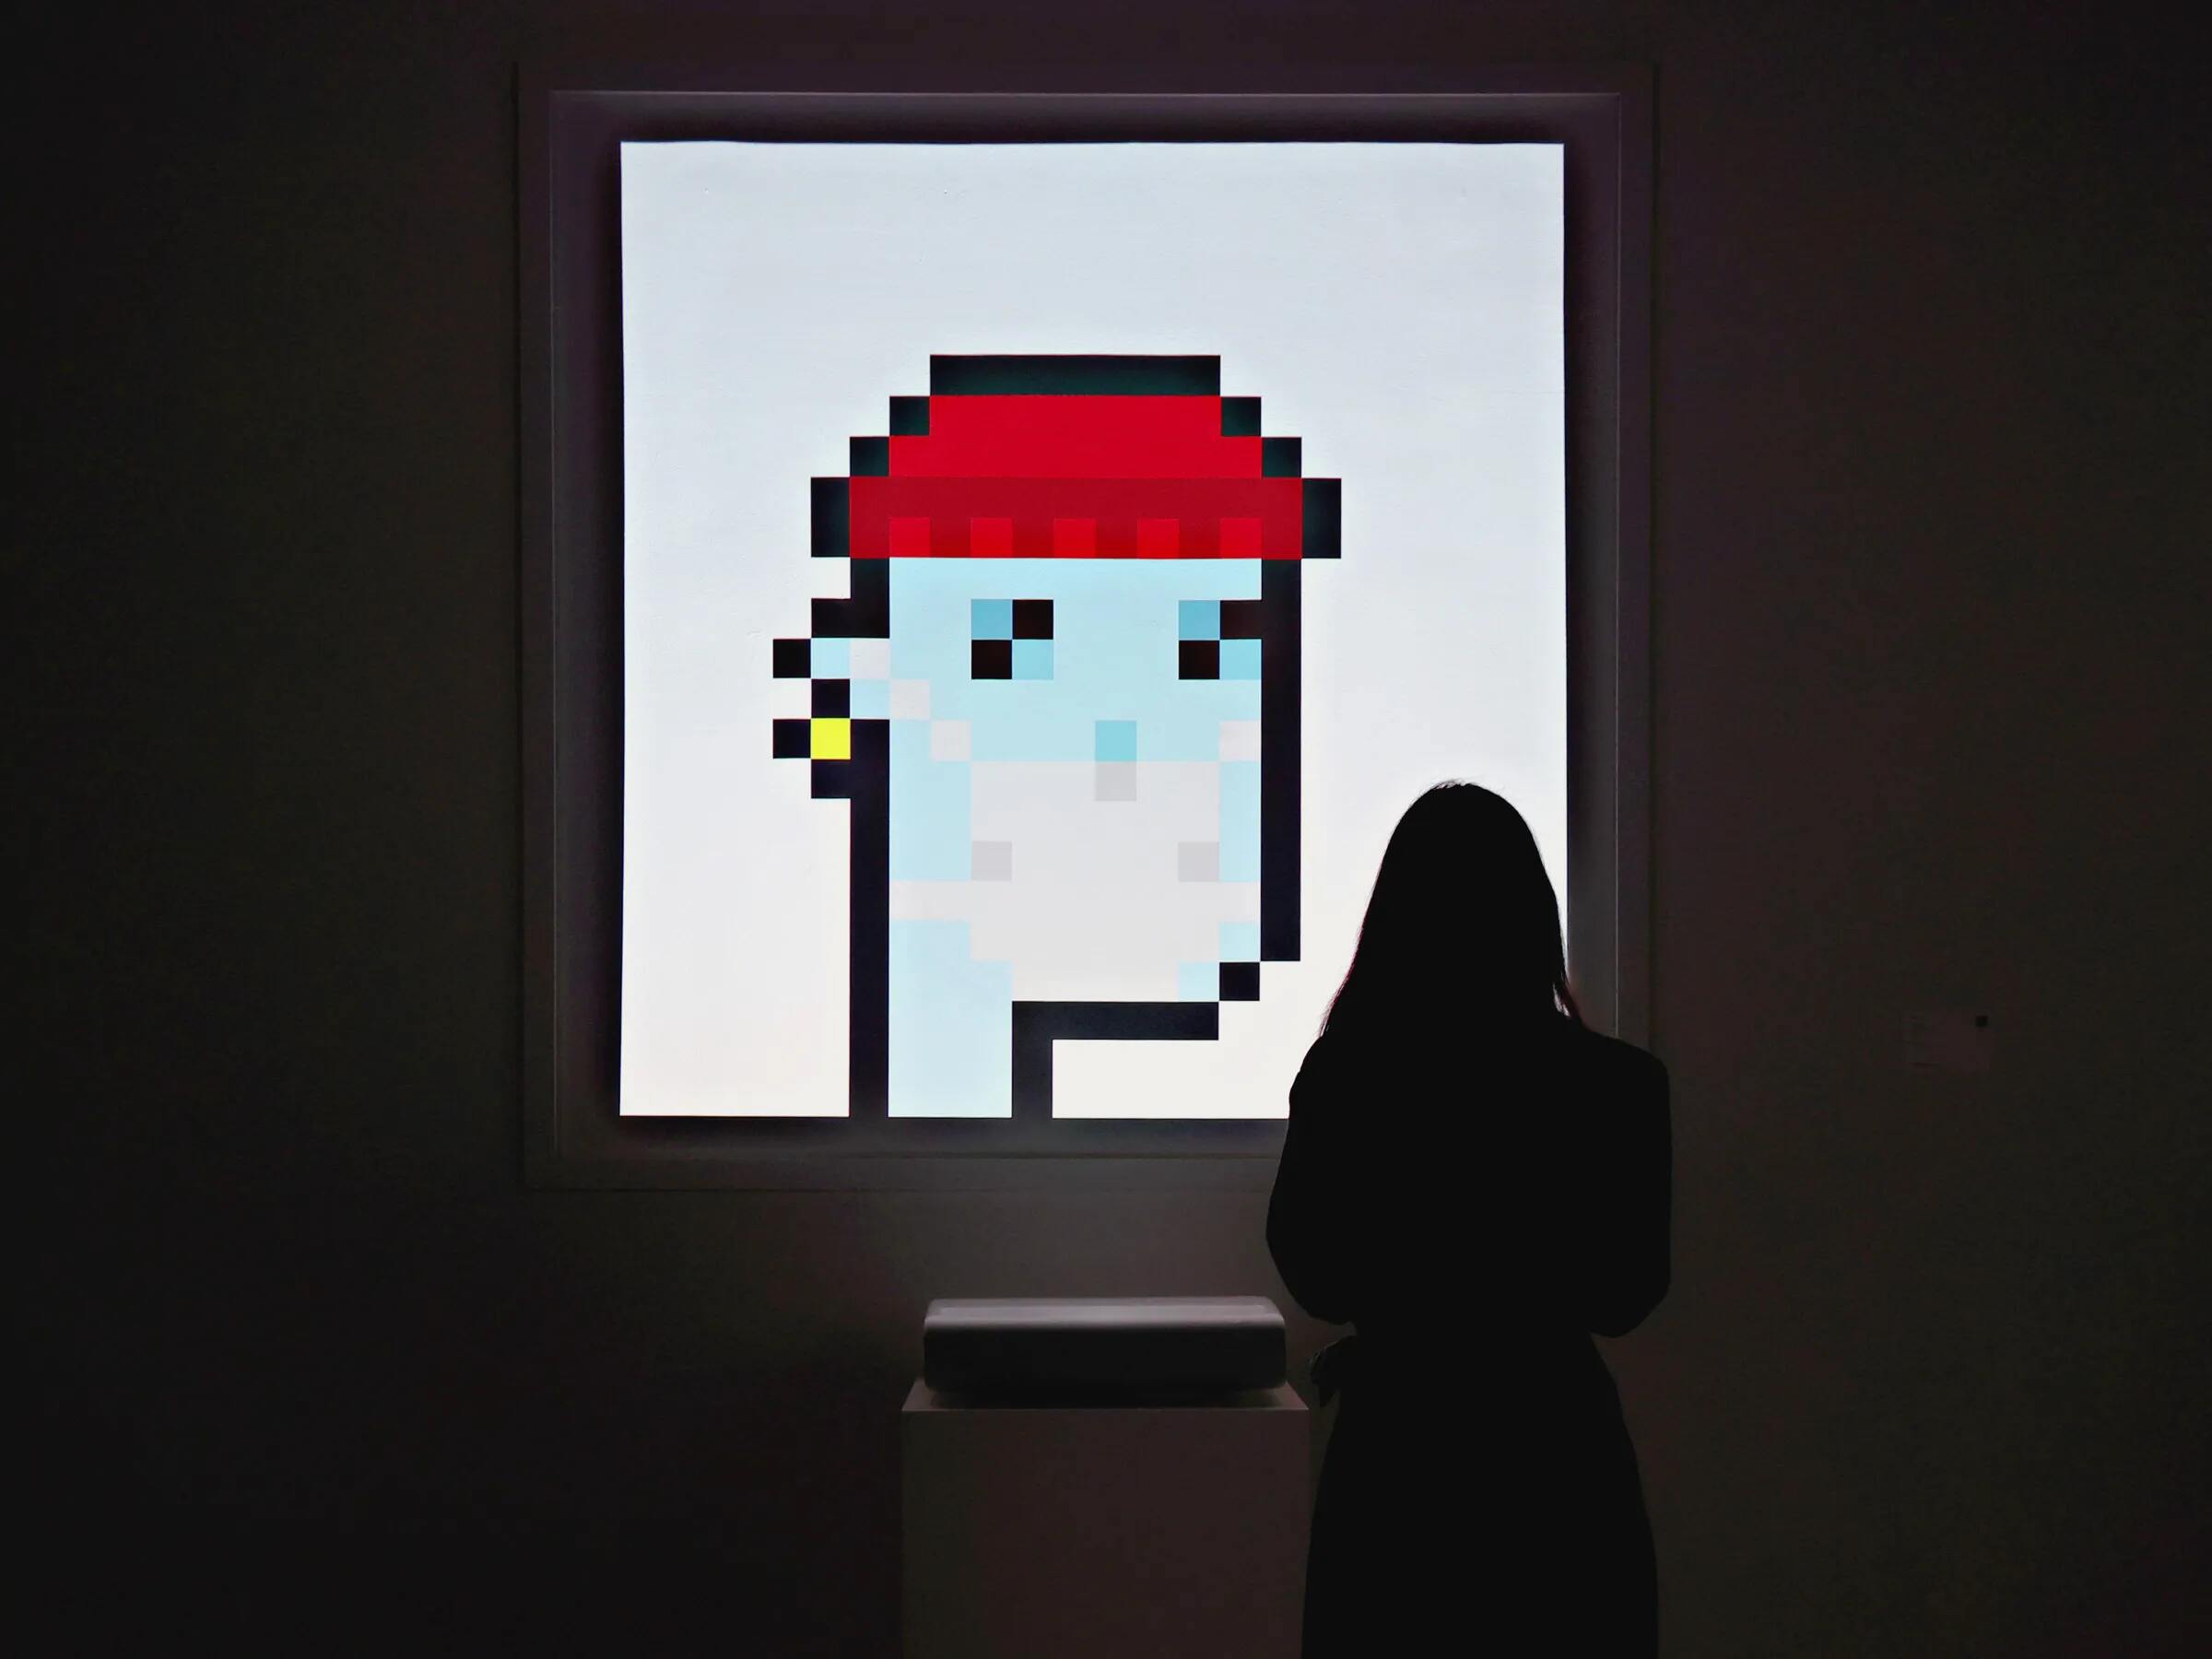
With Metamask, users can store, send, and receive Ethereum and ERC-20 tokens, as well as interact with non-fungible tokens (NFTs). NFTs have gained significant popularity in recent years as unique digital assets that can represent ownership of items like artwork, collectibles, and virtual real estate.
Metamask acts as a bridge between the user’s web browser and the Ethereum network, providing a seamless and intuitive experience for interacting with blockchain-based applications. It offers robust security features including the ability to create and manage multiple wallets, set up password protection, and utilize hardware wallets for enhanced security.
One of Metamask’s standout features is its compatibility with various web browsers like Google Chrome, Mozilla Firefox, and Brave. This broad compatibility allows users to access their wallets from different devices and easily switch between browsers without losing access to their digital assets.
Furthermore, Metamask simplifies the process of connecting to decentralized applications. Instead of manually inputting complex wallet addresses and contract details, Metamask automatically detects and connects to dApps, making it effortless for users to interact with blockchain-based services.
Overall, Metamask is an essential tool for anyone wishing to engage with the Ethereum ecosystem. Whether you’re a crypto enthusiast, an avid NFT collector, or a decentralized finance (DeFi) user, Metamask provides the necessary infrastructure and features to securely manage and navigate the world of digital assets and decentralized applications.
How to Install Metamask
Installing Metamask is a straightforward process and can be done in a few simple steps. Here’s a step-by-step guide on how to install Metamask:
- Open your preferred web browser, such as Google Chrome, Mozilla Firefox, or Brave.
- Visit the Metamask website at https://metamask.io.
- Click on the “Get Chrome Extension” button if you’re using Google Chrome or “Get Firefox Extension” if you’re using Mozilla Firefox.
- This will redirect you to the respective extension store for your browser. Click on the “Add to Chrome” or “Add to Firefox” button to start the installation process.
- After the installation is complete, you will see the Metamask fox icon in your browser’s toolbar.
- Click on the Metamask icon to launch the extension.
- Click on the “Get Started” button to create a new wallet or import an existing one.
- Follow the on-screen instructions to set up your wallet. This includes creating a strong password and saving your backup seed phrase in a safe place. Remember, your seed phrase is crucial for wallet recovery, so make sure to keep it secure.
- Once your wallet is set up, you can start using Metamask to interact with Ethereum and NFTs.
It’s important to note that Metamask is a browser extension and should only be installed from trusted sources. Always verify the URL and ensure that you are downloading the extension directly from the official Metamask website or the approved extension store for your browser.
By following these simple steps, you can quickly install Metamask and begin exploring the world of decentralized applications, managing your digital assets, and viewing NFTs.
How to Set Up Metamask
Once you have installed Metamask, the next step is to set up your wallet and configure it according to your preferences. Here’s a step-by-step guide on how to set up Metamask:
- Open your web browser and click on the Metamask icon in the toolbar to launch the extension.
- If this is your first time using Metamask, click on the “Get Started” button.
- Read and accept the terms of use and privacy policy.
- Create a new wallet by clicking on the “Create a Wallet” option.
- Choose a strong password for your wallet. Make sure to use a combination of uppercase and lowercase letters, numbers, and special characters.
- Metamask will generate a unique backup seed phrase for you. It is vital to write down this phrase and store it in a secure location. The seed phrase acts as a backup and can be used to restore your wallet if you ever lose access to your device.
- Confirm your seed phrase by selecting the words in the correct order. This step ensures that you have accurately recorded your backup phrase.
- Once your wallet is set up, you will have the option to import an existing wallet if you already have one. Select the appropriate option based on your needs.
- Customize the settings of your Metamask wallet, including your preferred network (Ethereum Mainnet, Testnets, etc.) and token display preferences.
- Connect your wallet to the desired network by clicking on the network dropdown in the top left corner of the Metamask window and selecting the desired network.
- You can now access your wallet and interact with Ethereum and NFTs using Metamask.
It’s important to prioritize the security of your Metamask wallet. Ensure that you do not share your seed phrase or wallet details with anyone, as it could result in the loss of your funds. Enable additional security features, such as two-factor authentication (2FA), to further protect your wallet.
By following these steps, you can easily set up Metamask and customize it to suit your needs. You’re now ready to start exploring the world of decentralized finance, NFTs, and Ethereum-powered applications.
Adding the NFT to Metamask
Once you have installed and set up your Metamask wallet, you can add your desired NFTs to your wallet for easy access and management. Here’s how to add an NFT to Metamask:
- First, you need to locate the NFT that you want to add to Metamask. This can be done on various NFT marketplaces or directly from the creator.
- Once you have chosen the NFT you want to add, you’ll need to obtain the contract address of the NFT. This information is usually available through the marketplace or the creator’s website.
- Open your Metamask wallet and click on the browser extension icon in your toolbar to launch Metamask.
- Make sure you are on the correct network for the NFT you want to add. For instance, if the NFT is on the Ethereum Mainnet, ensure that you are connected to the Ethereum Mainnet in Metamask.
- In the Metamask window, click on the “Assets” tab.
- Next, click on the “Add Token” button.
- Select the “Custom Token” option.
- In the “Token Contract Address” field, paste the contract address of the NFT you want to add.
- Metamask will automatically populate the “Token Symbol” and “Decimals of Precision” fields based on the NFT contract.
- Click on the “Next” button.
- Review the details of the NFT and click on the “Add Tokens” button to finalize the addition of the NFT to Metamask.
Once the NFT has been added to your Metamask wallet, you will be able to view and manage it along with your other assets. You can now easily access and transfer the NFT using Metamask’s user-friendly interface.
It’s important to note that adding an NFT to Metamask only adds it to your wallet’s interface. The ownership of the NFT remains tied to the wallet address that holds it on the blockchain. Metamask simply provides a convenient way to view and interact with your NFT collection.
By following these steps, you can quickly add your desired NFTs to your Metamask wallet and enjoy seamless access and management of your digital art, collectibles, and other unique assets.
Viewing NFTs on Metamask
After adding your NFTs to your Metamask wallet, you can easily view and interact with them within the interface. Here’s how to view your NFTs on Metamask:
- Open your web browser and click on the Metamask icon in the toolbar to launch the extension.
- Ensure that you are connected to the correct network for the NFTs you want to view. For example, if your NFTs are on the Ethereum Mainnet, make sure you are connected to the Ethereum Mainnet in Metamask.
- In the Metamask window, click on the “Assets” tab. Here, you will see a list of all the tokens and NFTs you have added to your wallet.
- Scroll down or use the search bar to locate the specific NFT you want to view.
- Click on the NFT to expand its details. Metamask will display information such as the name, image, description, and any additional metadata associated with the NFT.
- You can also click on the “View on Etherscan” link to see the NFT’s transaction history and related details on the blockchain explorer.
- To view the full details of the NFT, you can click on the “More Info” button. This will usually redirect you to the NFT marketplace or platform where the NFT was created or listed.
- If the NFT is part of a collection, you can navigate to that collection by clicking on the corresponding link or button within the NFT’s details.
Metamask provides an intuitive and user-friendly interface for viewing and managing your NFTs. You can easily navigate through your collection, explore specific NFTs, and access additional information about each NFT.
It’s important to note that while Metamask allows you to view your NFTs, the actual ownership and transactions of the NFTs occur on the blockchain. Metamask serves as a gateway to interact with your NFTs, providing an organized and convenient way to view them.
By following these steps, you can effortlessly view and explore the NFTs in your Metamask wallet and admire your unique digital assets.
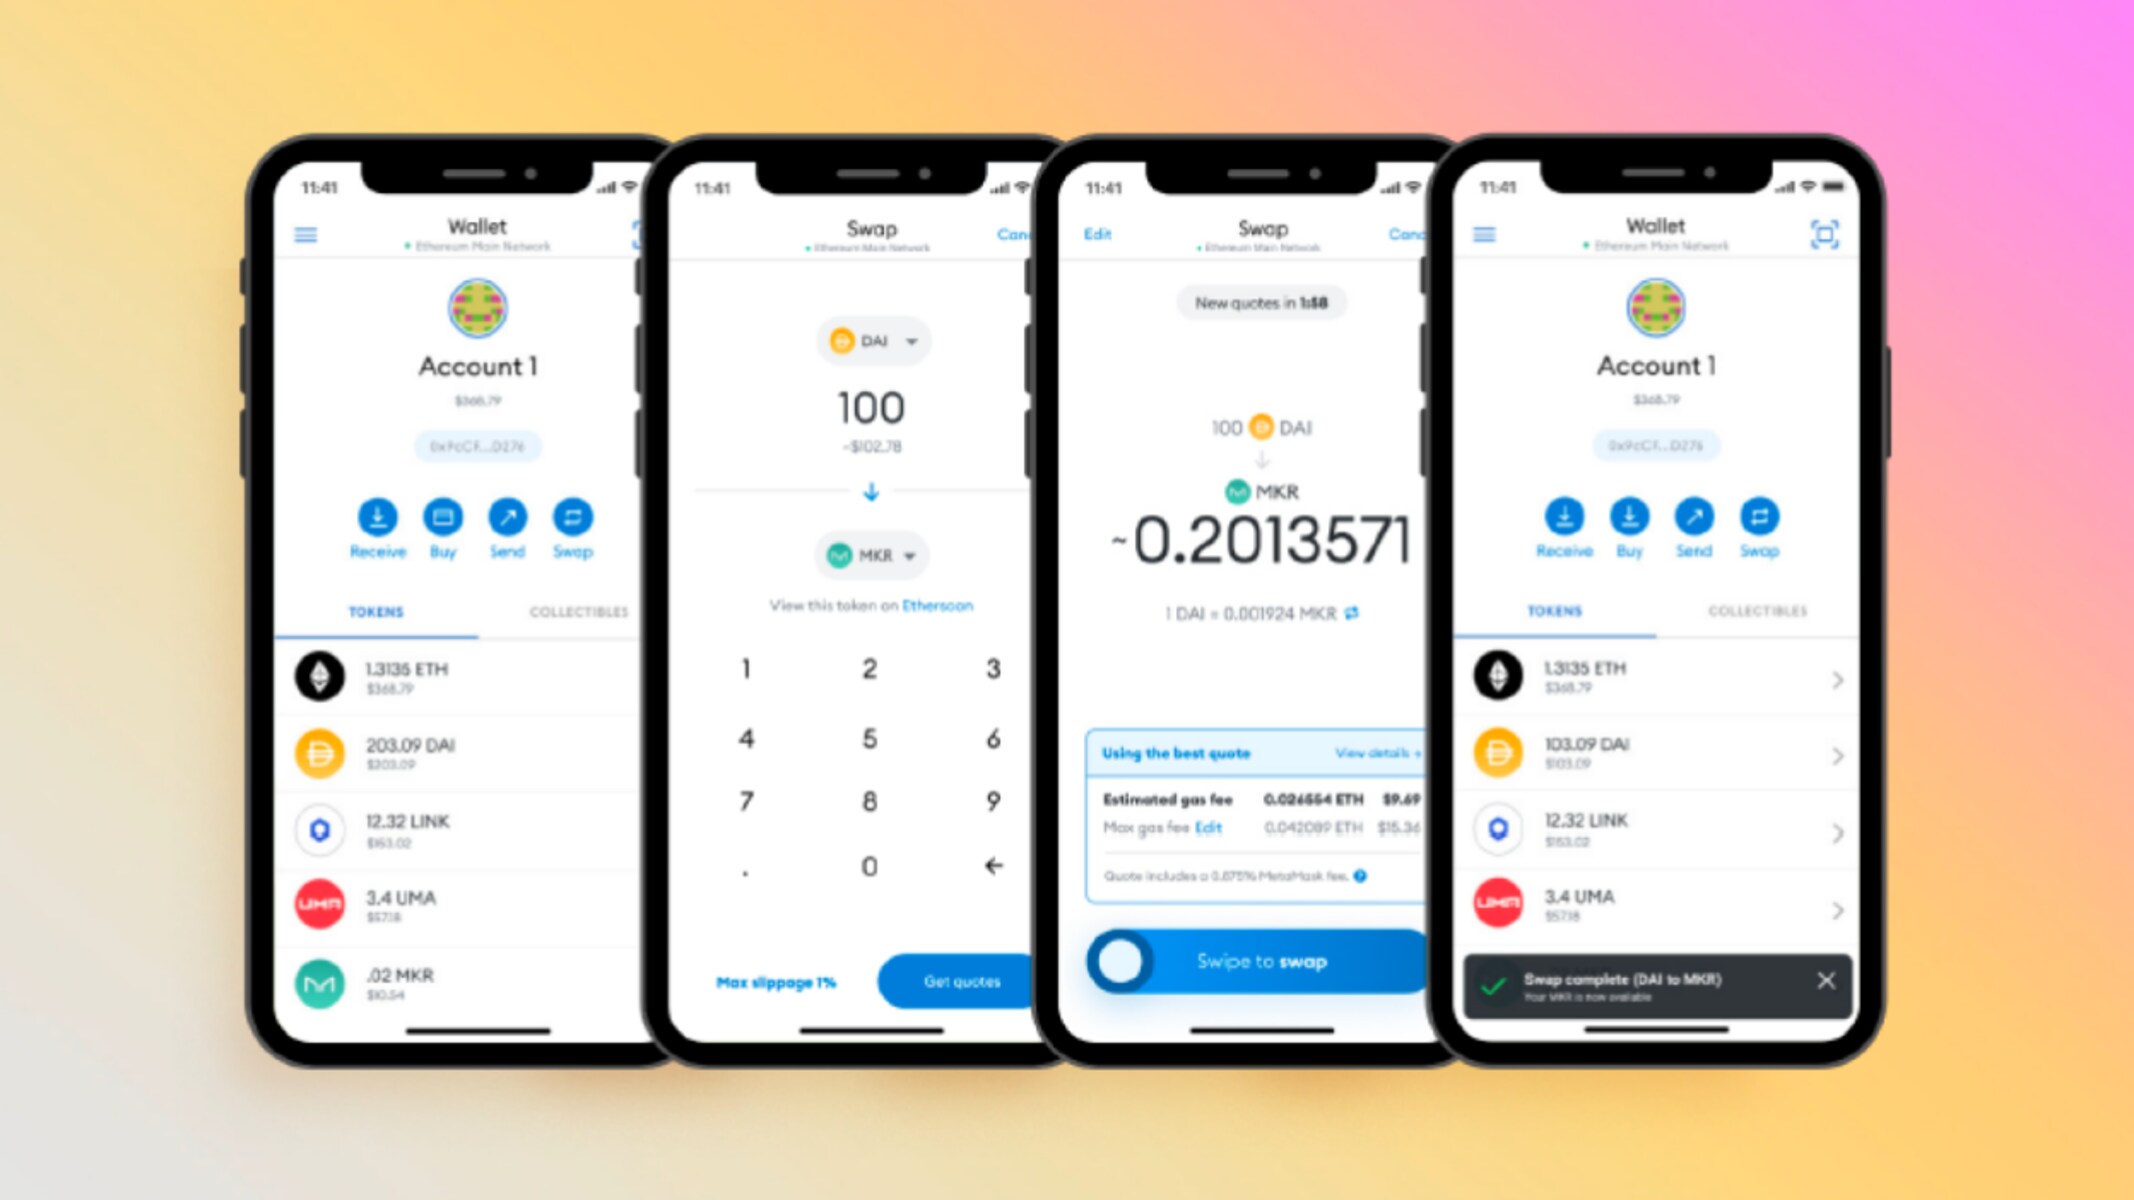
How to Navigate the Metamask Wallet
Once you have set up Metamask and added your digital assets, it’s essential to familiarize yourself with navigating the Metamask wallet interface. Here’s a guide on how to navigate the Metamask wallet:
- Open your web browser and click on the Metamask icon in the toolbar to launch the extension.
- The main Metamask window will display your wallet balance, recent transactions, and a list of your assets.
- Click on the asset dropdown menu, usually labeled “Assets” or “Tokens”, to view the complete list of tokens and NFTs in your wallet.
- Scroll through the list or use the search bar to find a specific token or NFT.
- Click on a token or NFT to expand its details, including the name, contract address, symbol, balance, and relevant transaction history.
- Metamask provides options to send, receive, or trade your assets. To perform any of these actions, click on the corresponding button next to the asset.
- You can access the settings and additional features by clicking on the menu icon (usually represented by three horizontal lines) in the top right corner of the Metamask window.
- In the settings menu, you can make changes to your wallet preferences, security settings, network configurations, and more.
- Metamask also offers additional features like browser notifications, token swaps, and integration with various decentralized applications.
- Take advantage of Metamask’s built-in browser functionality by entering DApp URLs directly into the browser’s address bar to seamlessly connect and interact with decentralized applications.
- Metamask provides shortcuts and quick actions for commonly performed tasks, such as copying wallet addresses or switching between accounts. Familiarize yourself with these shortcuts to navigate the wallet more efficiently.
Metamask’s user interface is designed to be intuitive and user-friendly, making it easy to manage your digital assets and interact with the Ethereum ecosystem.
By following these steps and exploring the various features and settings within the Metamask wallet, you can navigate with confidence and make the most of your decentralized finance and NFT experiences.
Understanding NFT Metadata on Metamask
When viewing and interacting with NFTs on Metamask, you may come across metadata associated with each NFT. Understanding NFT metadata can provide valuable information about the digital asset and enhance your overall experience. Here’s a breakdown of NFT metadata on Metamask:
NFT metadata refers to additional information about the NFT, such as the name, description, image, and other attributes that provide context and details about the asset. This information is typically stored as JSON metadata on IPFS (InterPlanetary File System) or a similar decentralized file storage system.
In Metamask, the NFT metadata is displayed when you expand the details of an NFT. You will see the name of the NFT, a brief description or summary, and an image or thumbnail representing the asset. This visual representation helps you identify and recognize the NFT in your collection.
Additionally, the metadata can contain other properties specific to the NFT, such as the creator’s name, the creation or minting date, edition number (for limited editions), and a link to the original artwork or content.
Some NFTs may include interactive and dynamic features within the metadata, allowing you to engage with the asset in unique ways. For example, an NFT representing a game item or character may include metadata that grants you special abilities or access within the associated game.
Metadata can also play a crucial role in provenance and authenticity. It provides a verifiable record of the NFT’s origin, ownership history, and any accompanying certificates of authenticity. You can use the metadata to validate the legitimacy and ownership of the NFT.
Metamask facilitates the retrieval and display of this metadata by connecting to the appropriate decentralized storage systems and rendering the information in a user-friendly format.
Remember that the accuracy and trustworthiness of NFT metadata depend on the creator or issuer of the NFT. It is important to conduct your own research and due diligence when evaluating the authenticity and value of an NFT. Verify the information provided in the metadata and assess the reputation and credibility of the creator or platform.
By understanding and leveraging the NFT metadata on Metamask, you can gain valuable insights into your digital assets and enrich your overall NFT experience.
Tips for Managing Your NFT Collection on Metamask
As you build and expand your NFT collection on Metamask, it’s important to effectively manage and organize your digital assets. Here are some tips to help you efficiently manage your NFT collection on Metamask:
- Categorize your NFTs: Group your NFTs into categories based on themes, collections, or personal preferences. You can create custom folders or use external tools to help organize and track your collection.
- Keep track of ownership: Maintain a record of the NFTs you own, including relevant information such as the creator, minting date, purchase price, and any associated certificates of authenticity. This can help with provenance and assessment of the value of your collection.
- Monitor gas fees: Gas fees are transaction fees required for executing operations on Ethereum. Keep track of gas fees and plan your NFT transactions accordingly to optimize costs.
- Follow market trends: Stay informed about the latest developments in the NFT market, including new releases, upcoming events, and changes in valuation. This can help you assess the value and potential future growth of your NFT collection.
- Protect your wallet: Safeguard your Metamask wallet by enabling security features, such as two-factor authentication (2FA) and hardware wallet integration. Regularly update your password and ensure that your seed phrase is stored securely offline.
- Engage with the community: Participate in online forums, social media groups, and NFT communities to connect with other collectors, stay updated on industry news, and exchange insights and experiences.
- Consider storage solutions: Evaluate different storage options for your NFTs, including decentralized storage systems and offline backups. This adds an extra layer of security and protection for your digital assets.
- Explore secondary marketplaces: Discover additional platforms and marketplaces where you can buy, sell, or trade your NFTs. This can expand your reach and provide more opportunities to engage with other collectors.
- Stay organized: Regularly review and update your NFT collection. Assess the performance of individual assets and determine if any adjustments are needed, such as listing NFTs for sale or participating in auctions.
- Continuously educate yourself: Stay abreast of new developments, technologies, and best practices in the NFT industry. This will help you make informed decisions regarding your collection and adapt to the evolving landscape.
By implementing these tips, you can effectively manage and maximize the potential of your NFT collection on Metamask. Remember, each collector’s journey is unique, and it’s essential to find an approach that aligns with your goals and preferences.
Troubleshooting Common Issues with Viewing NFTs on Metamask
While Metamask provides a seamless experience for viewing NFTs, you may encounter certain issues when accessing or interacting with your digital assets. Here are some common problems that users face when viewing NFTs on Metamask, along with troubleshooting tips:
1. NFT not displaying: If an NFT is not appearing in your Metamask wallet, ensure that you have added the NFT’s contract address correctly. Double-check the address and try refreshing your wallet or reconnecting to the appropriate network.
2. Incorrect NFT details: If the metadata for an NFT is displaying incorrect information or outdated details, it might be a problem with the metadata source. Verify if the creator or marketplace has issued an update or contact their support for assistance.
3. Slow loading or error messages: If Metamask is slow to load NFT data or if you receive error messages, it could indicate network congestion. Check the network status or try again later when the network is less congested.
4. Wallet connectivity issues: If you encounter problems connecting your Metamask wallet to decentralized applications or NFT marketplaces, check your internet connection and ensure that you have the latest version of Metamask installed. You may also need to adjust your browser settings or clear cache and cookies.
5. Incorrect network selection: Make sure you are connected to the correct network (Mainnet, Testnet, etc.) for the NFT you want to view. Incorrect network selection can prevent NFTs from appearing in your wallet. Double-check your network settings and switch to the appropriate network if necessary.
6. Token contract verification: In rare cases, you may come across NFTs that have not been verified with their respective token contract. This can result in missing or incomplete details. Verify the contract of the NFT on a blockchain explorer or reach out to the creator or marketplace for verification.
7. Token contract migration: Occasionally, NFT contracts may undergo migration or upgrades, which can cause issues with the display of NFT details. Check if there have been any contract changes and ensure that your wallet is updated to the latest version to accommodate these changes.
If you encounter persistent issues with viewing NFTs on Metamask, it’s recommended to consult the official Metamask documentation or reach out to their support team for further assistance. Additionally, consider checking online forums and communities to see if other users have encountered similar issues and if there are any known solutions or workarounds.
With patience and understanding, most issues with viewing NFTs on Metamask can be resolved, allowing you to enjoy a smooth and seamless experience in managing and exploring your digital art collection.
Conclusion
Metamask is a versatile and user-friendly tool for managing and viewing NFTs on the Ethereum blockchain. By installing and setting up Metamask, you can easily add your NFTs to the wallet, explore their metadata, and enjoy seamless access to the growing world of digital assets.
In this guide, we covered the process of installing Metamask, setting up your wallet, adding NFTs, and navigating the Metamask interface. We also discussed troubleshooting tips for common issues that may arise when viewing NFTs on Metamask.
Remember to prioritize the security of your Metamask wallet by enabling additional features like two-factor authentication (2FA) and carefully managing your seed phrase. Keeping track of gas fees, staying informed about the NFT market, and engaging with the community are crucial for maximizing the potential of your NFT collection.
While Metamask provides a seamless experience for managing and viewing NFTs, occasional issues may arise. By following the troubleshooting tips provided in this guide and seeking assistance from official resources, you can overcome these challenges and make the most of your NFT exploration on Metamask.
As the NFT space continues to evolve, it’s important to stay informed and adapt to the changing landscape. Continuously educate yourself, follow market trends, and remain connected with the community to navigate the world of NFTs and digital assets successfully.
With Metamask as your gateway, you are well-equipped to explore, manage, and appreciate the uniqueness of NFTs, whether you are an avid collector, enthusiast, or art lover.