Introduction
Welcome to the world of Non-Fungible Tokens (NFTs), where digital assets can be uniquely owned, bought, and sold on blockchain platforms. NFTs have gained significant popularity in recent years, with artists, collectors, and enthusiasts embracing this new form of digital ownership. One of the essential aspects of owning and trading NFTs is having a secure and convenient way to store and transfer these digital assets.
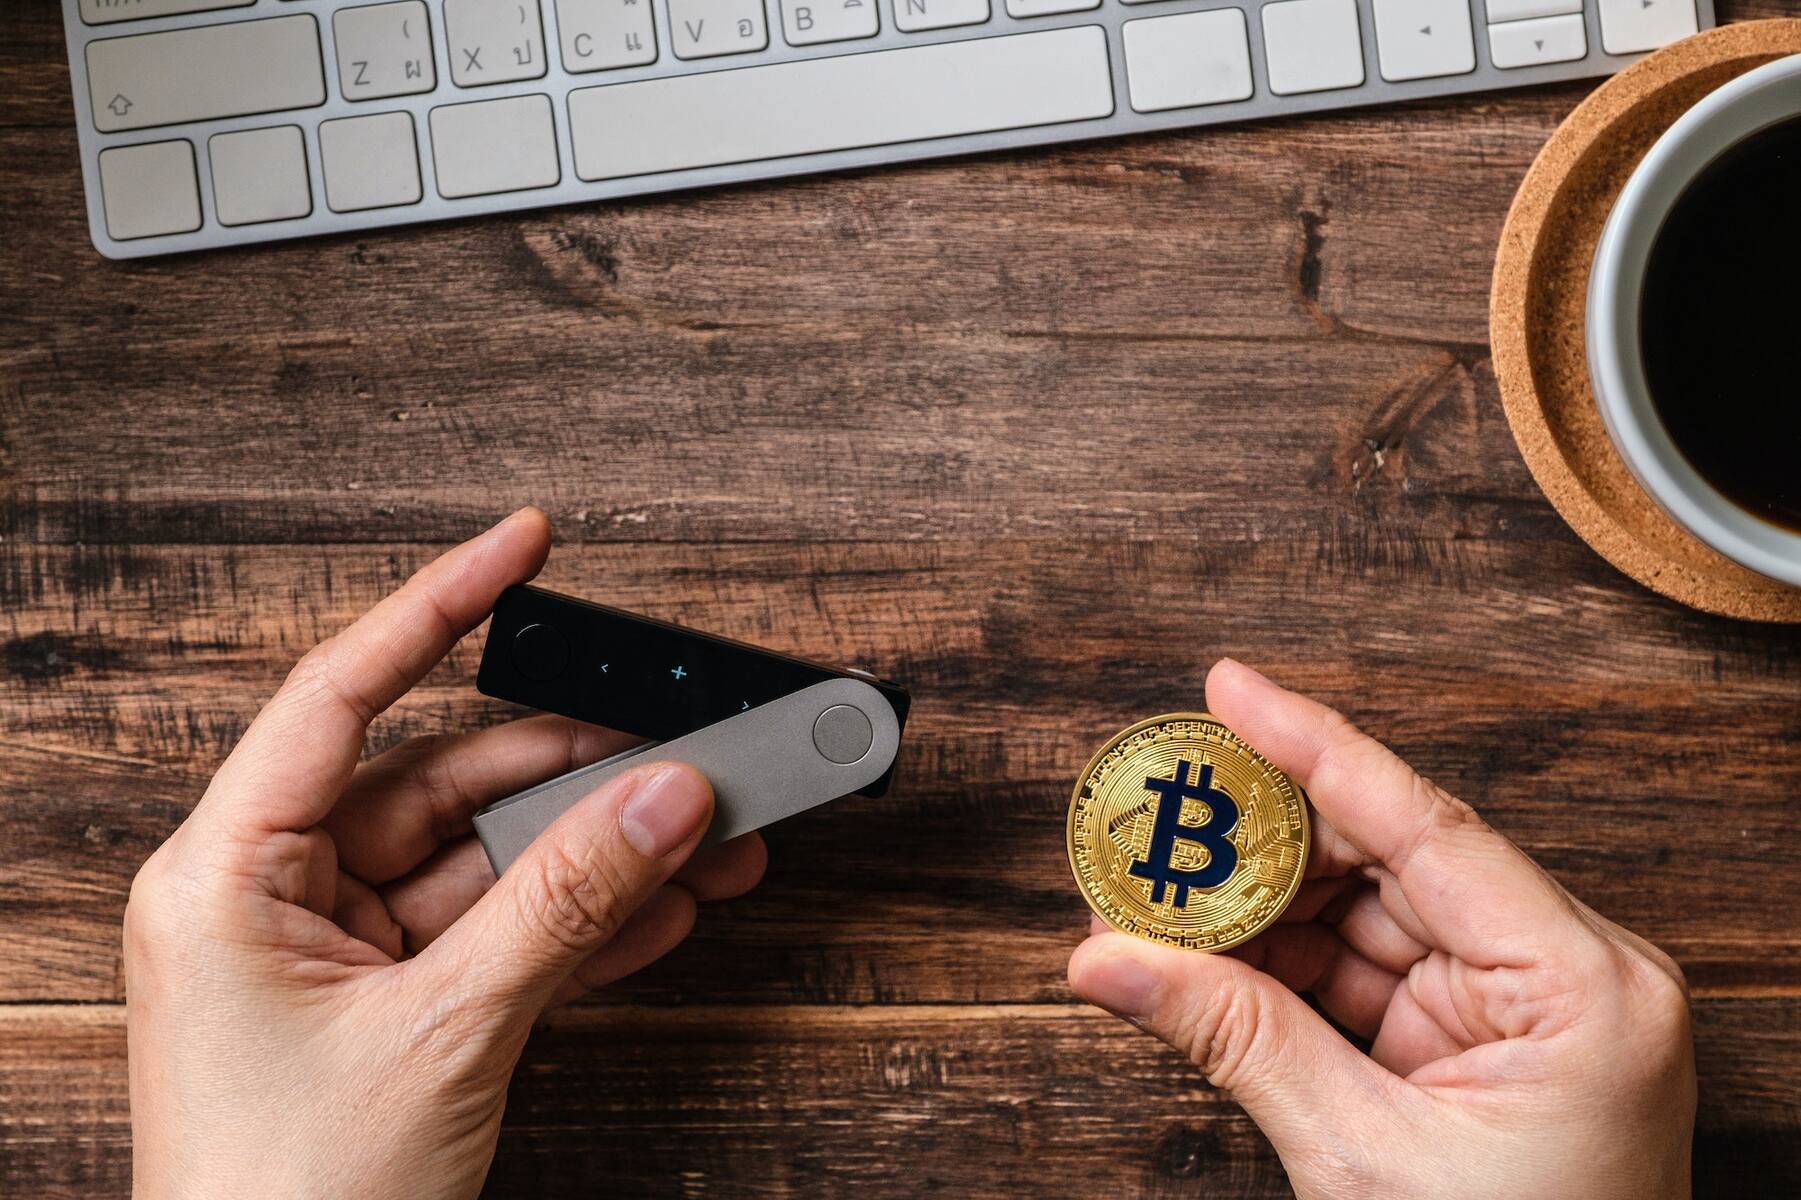
In this guide, we will explore how to transfer an NFT from a Ledger hardware wallet to the Metamask extension. Ledger is a popular hardware wallet that provides a high level of security when managing cryptocurrencies and NFTs. Metamask, on the other hand, is a simple and user-friendly Ethereum wallet extension that allows users to interact with decentralized applications (dApps) and manage their digital assets.
By transferring your NFTs from Ledger to Metamask, you can easily access and interact with them within the Metamask ecosystem. Whether you want to showcase your NFTs, participate in decentralized marketplaces, or engage in other activities related to NFTs, having your assets in Metamask opens up a wide range of opportunities.
Before we dive into the step-by-step process of transferring NFTs from Ledger to Metamask, there are a few prerequisites and preparations to take into account. These include setting up your Ledger device, installing the Metamask extension, and creating an Ethereum wallet in Metamask. Let’s get started!
Prerequisites
Before you can transfer an NFT from your Ledger wallet to Metamask, there are a few prerequisites that you need to fulfill. These include:
- A Ledger hardware wallet: To securely store and manage your cryptocurrencies and NFTs, you’ll need a Ledger device. Make sure you have set up your Ledger wallet and have it ready for use.
- The Metamask extension: Metamask is a popular Ethereum wallet extension that allows users to interact with decentralized applications (dApps). Ensure you have the Metamask extension installed in your web browser.
- An Ethereum wallet in Metamask: If you haven’t created an Ethereum wallet in Metamask yet, you’ll need to do so. This will provide you with an Ethereum address where your NFTs will be transferred.
- Internet connection and a compatible browser: You will need a stable internet connection to access your Ledger device and install the Metamask extension. Additionally, using a compatible browser such as Google Chrome or Firefox is recommended for optimal compatibility.
It is also important to note that you should have some basic knowledge of how NFTs work and how to navigate the Metamask and Ledger interfaces. If you are new to NFTs or the Metamask wallet, it may be helpful to familiarize yourself with these concepts before proceeding.
With these prerequisites in place, you are now ready to begin the process of transferring your NFTs from Ledger to Metamask. In the following steps, we will guide you through each stage of the transfer process, ensuring a smooth and hassle-free experience. Let’s move on to the next section: setting up your Ledger device.
Step 1: Setting up Ledger device
The first step in transferring an NFT from Ledger to Metamask is to ensure that your Ledger hardware wallet is properly set up and ready for use. Follow these steps to set up your Ledger device:
- Unbox and connect your Ledger: Start by unboxing your Ledger device and connecting it to your computer using the provided USB cable. Ensure that the device is powered on.
- Initialize your Ledger: On the Ledger device, use the buttons to navigate and select “Initialize” or “Set up as new device.” Follow the on-screen instructions to choose a PIN code and write down the recovery phrase. Keep the recovery phrase safe and secure, as it will be essential for recovering your funds if your device is lost or damaged.
- Install Ledger Live: Ledger Live is the official companion application for managing your Ledger device. Visit the Ledger website and download the Ledger Live application for your operating system. Install the application and follow the prompts to set it up.
- Set up your Ledger device in Ledger Live: Open Ledger Live and select the option to set up a new device. Follow the on-screen instructions to connect your Ledger device and complete the setup process.
- Update firmware (if necessary): It is essential to keep your Ledger device’s firmware up to date for optimal security. In Ledger Live, you can check if there are any firmware updates available for your device and follow the instructions to install them if necessary.
- Install and update Ethereum app: To manage your Ethereum-based NFTs, you need to install the Ethereum app on your Ledger device. In Ledger Live, navigate to the “Manager” section, search for Ethereum, and install/update the Ethereum app.
Once you have completed these steps, your Ledger device will be set up and ready to be connected to Metamask for transferring your NFTs. In the next section, we will guide you through the process of installing the Metamask extension. Let’s continue!
Step 2: Installing the Metamask extension
To transfer an NFT from your Ledger device to Metamask, you’ll need to have the Metamask extension installed in your web browser. Follow these steps to install the Metamask extension:
- Open your web browser: Launch your preferred web browser (Google Chrome, Firefox, etc.).
- Visit the Metamask website: Go to the official Metamask website by entering “metamask.io” in the address bar and pressing Enter.
- Download the extension: On the Metamask website, look for the “Get Chrome Extension” button (or the equivalent for your browser) and click on it. This will direct you to the extension store.
- Install the extension: In the extension store, click the “Add to Chrome” (or the equivalent for your browser) button to begin the installation process. Follow the prompts to confirm the installation.
- Set up Metamask: Once the installation is complete, click on the Metamask extension icon in your browser’s toolbar to open it. You will be prompted to set up Metamask with a new wallet or import an existing one.
- Create a new wallet: If you do not have an existing Metamask wallet, select the option to “Create a wallet.” Follow the on-screen prompts to create a new wallet, including setting up a strong password and backing up your seed phrase.
After completing these steps, you will have successfully installed and set up the Metamask extension. Next, we will guide you through the process of creating a new Ethereum wallet in Metamask. Let’s move on to the next section!
Step 3: Creating a new Ethereum wallet in Metamask
In order to transfer an NFT from your Ledger device to Metamask, you need to have an Ethereum wallet created in Metamask. Follow these steps to create a new Ethereum wallet:
- Access Metamask: Click on the Metamask extension icon in your browser’s toolbar to open the extension.
- Set a strong password: If you haven’t set up a password for your Metamask wallet yet, you will be prompted to do so. Enter a secure password and confirm it.
- Backup your seed phrase: Metamask will then provide you with a seed phrase, which is a series of random words. It is crucial to write down and securely store this seed phrase. It acts as a backup for your wallet and can be used to restore your wallet in case of loss or device failure. Follow the instructions to write down the seed phrase and confirm it.
- Verify your seed phrase: Metamask will ask you to verify your seed phrase by selecting the words in the correct order. This is to ensure that you have correctly written down your seed phrase. Select the words in the right order and click “Confirm” to proceed.
- Wallet creation complete: Once you have completed the verification, Metamask will show a confirmation that your wallet has been successfully created. You will now be able to access your Ethereum wallet within the Metamask extension interface.
With your new Ethereum wallet created in Metamask, you are now ready to connect your Ledger device to Metamask. In the next step, we will guide you through the process of connecting Ledger to Metamask. Let’s continue to the next section!
Step 4: Connecting Ledger to Metamask
Now that you have set up your Ledger device and created an Ethereum wallet in Metamask, it’s time to connect your Ledger wallet to Metamask. Follow these steps to establish the connection:
- Open the Metamask extension: Click on the Metamask extension icon in your browser’s toolbar to open the extension.
- Click on the account icon: In the Metamask interface, click on the account icon located on the top right corner of the screen. It usually looks like a circle with your account initials or picture.
- Select “Connect Hardware Wallet”: From the dropdown menu, choose the option that says “Connect Hardware Wallet.”
- Select “Ledger”: In the following screen, you will see a list of hardware wallets. Select “Ledger” from the list.
- Connect Ledger device: Connect your Ledger device to your computer using the provided USB cable. Follow the prompts on your Ledger device and enter your PIN code to unlock it.
- Choose the account: On the Metamask screen, you will be prompted to choose the Ledger account you want to connect. Select the account that holds the NFT you want to transfer.
Once the connection between the Ledger device and Metamask is established, you will see your Ledger account displayed within the Metamask extension. This allows you to manage your Ledger-held cryptocurrencies and NFTs through the Metamask interface.
With the Ledger and Metamask connection successfully set up, we can now proceed to the final step of transferring your NFT from Ledger to Metamask. Let’s move on to the next section!
Step 5: Transferring NFT from Ledger to Metamask
Now that you have your Ledger device connected to Metamask, you are ready to transfer your NFT from Ledger to Metamask. Follow these steps to complete the transfer:
- Access the NFT marketplace: Go to the NFT marketplace where the NFT is currently located. This could be a specific platform or marketplace where you initially acquired the NFT.
- Locate your NFT: Once you’re on the marketplace, navigate to your account or collection where the NFT is stored.
- Select the NFT: Locate and select the specific NFT that you want to transfer from Ledger to Metamask.
- Choose the “Transfer” option: Look for the “Transfer” or “Send” option within the marketplace’s interface. This will initiate the process of transferring the NFT from your Ledger device to Metamask.
- Confirm the transfer details: Review the transfer details, including the recipient address and any related fees.
- Approve the transaction: Follow the on-screen instructions to approve the transfer using your Ledger device. Verify the transaction details on your Ledger and confirm the transfer.
- Wait for confirmation: The transfer may take some time to be confirmed on the blockchain. Be patient and wait for the transfer to be completed.
- View your NFT in Metamask: Once the transfer is confirmed, you will be able to see the transferred NFT in your Metamask wallet.
That’s it! You have successfully transferred your NFT from your Ledger device to Metamask. Your NFT is now accessible within the Metamask ecosystem, allowing you to interact with decentralized applications, participate in NFT marketplaces, and more.
Remember to keep your Ledger device and Metamask wallet secure. Make sure to update your software regularly and exercise caution when interacting with digital assets.
Congratulations on completing the process of transferring your NFT from Ledger to Metamask. Enjoy exploring the exciting world of decentralized ownership and digital collectibles!
Conclusion
Transferring an NFT from a Ledger device to Metamask opens up a world of possibilities for owners and collectors. By following the steps outlined in this guide, you can securely and seamlessly move your digital assets to the Metamask ecosystem, where you can take advantage of the various decentralized applications and marketplaces available.
Throughout this process, we covered the essential prerequisites, including setting up your Ledger device, installing the Metamask extension, and creating a new Ethereum wallet in Metamask. We then walked through the steps of connecting your Ledger device to Metamask and transferring the NFT from Ledger to Metamask.
Remember, always prioritize the safety and security of your digital assets. Keep your Ledger device and Metamask wallet updated with the latest firmware and software versions. Never share your recovery phrase or private keys with anyone, and be cautious when interacting with NFT marketplaces and decentralized applications.
Now that your NFT is in your Metamask wallet, you can explore the world of decentralized ownership, participate in NFT auctions and trading, or showcase your digital collectibles. The possibilities are vast, and it’s up to you to make the most of this new frontier.
We hope this guide has been helpful in guiding you through the process of transferring your NFT from Ledger to Metamask. Enjoy your journey in the world of NFTs and continue to discover new opportunities in the ever-evolving digital landscape.