Introduction
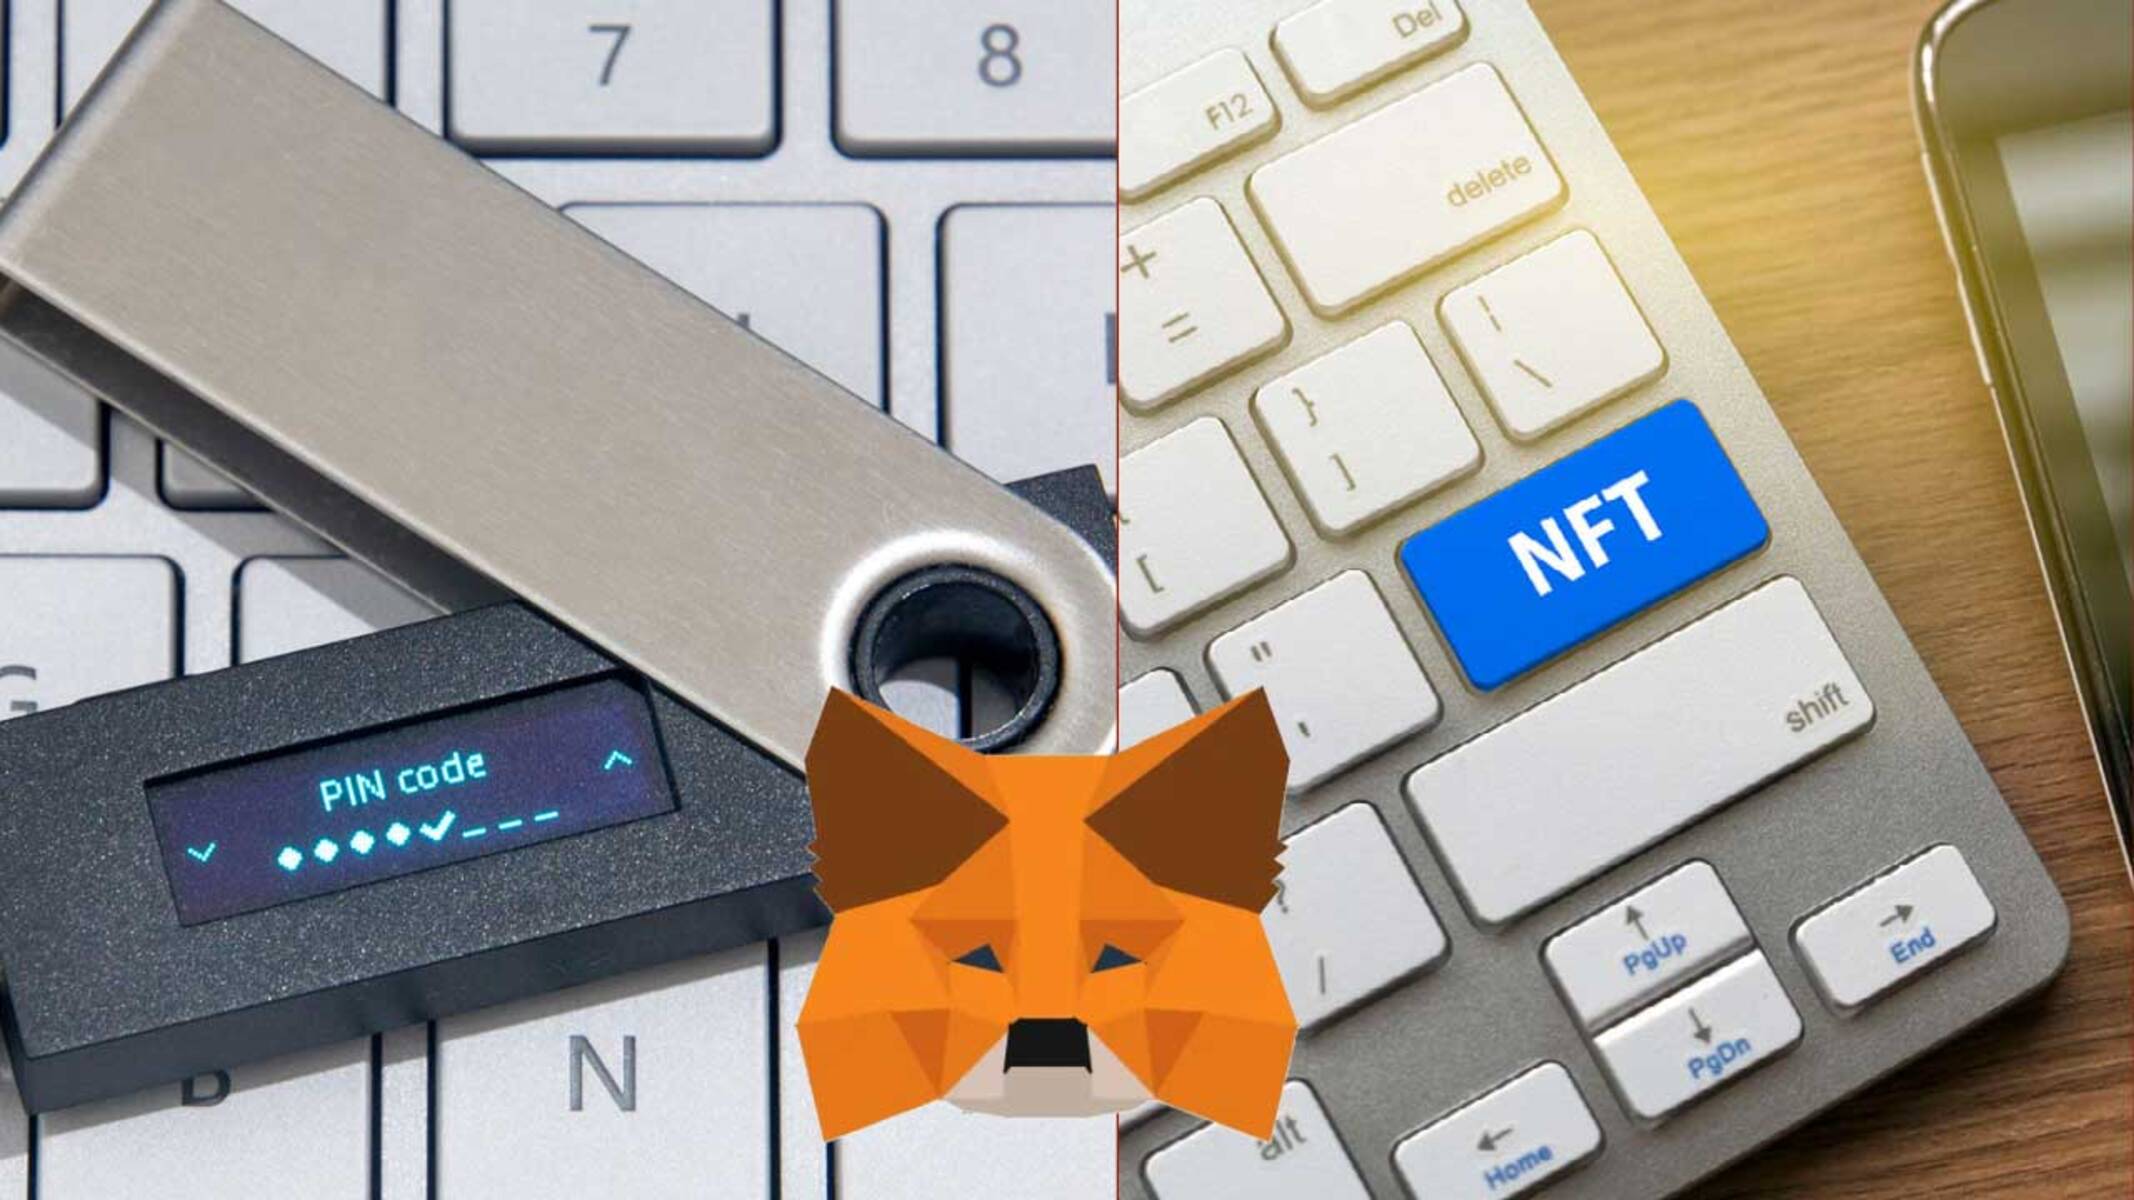
Welcome to our guide on how to transfer your non-fungible tokens (NFTs) to your Ledger device. If you’re an NFT investor or collector, it’s essential to ensure the safe storage of your digital assets. Ledgers are renowned for their secure cold storage capabilities, making them an ideal choice for safeguarding your NFTs. By following this step-by-step tutorial, you’ll learn how to securely transfer your NFTs to your Ledger device.
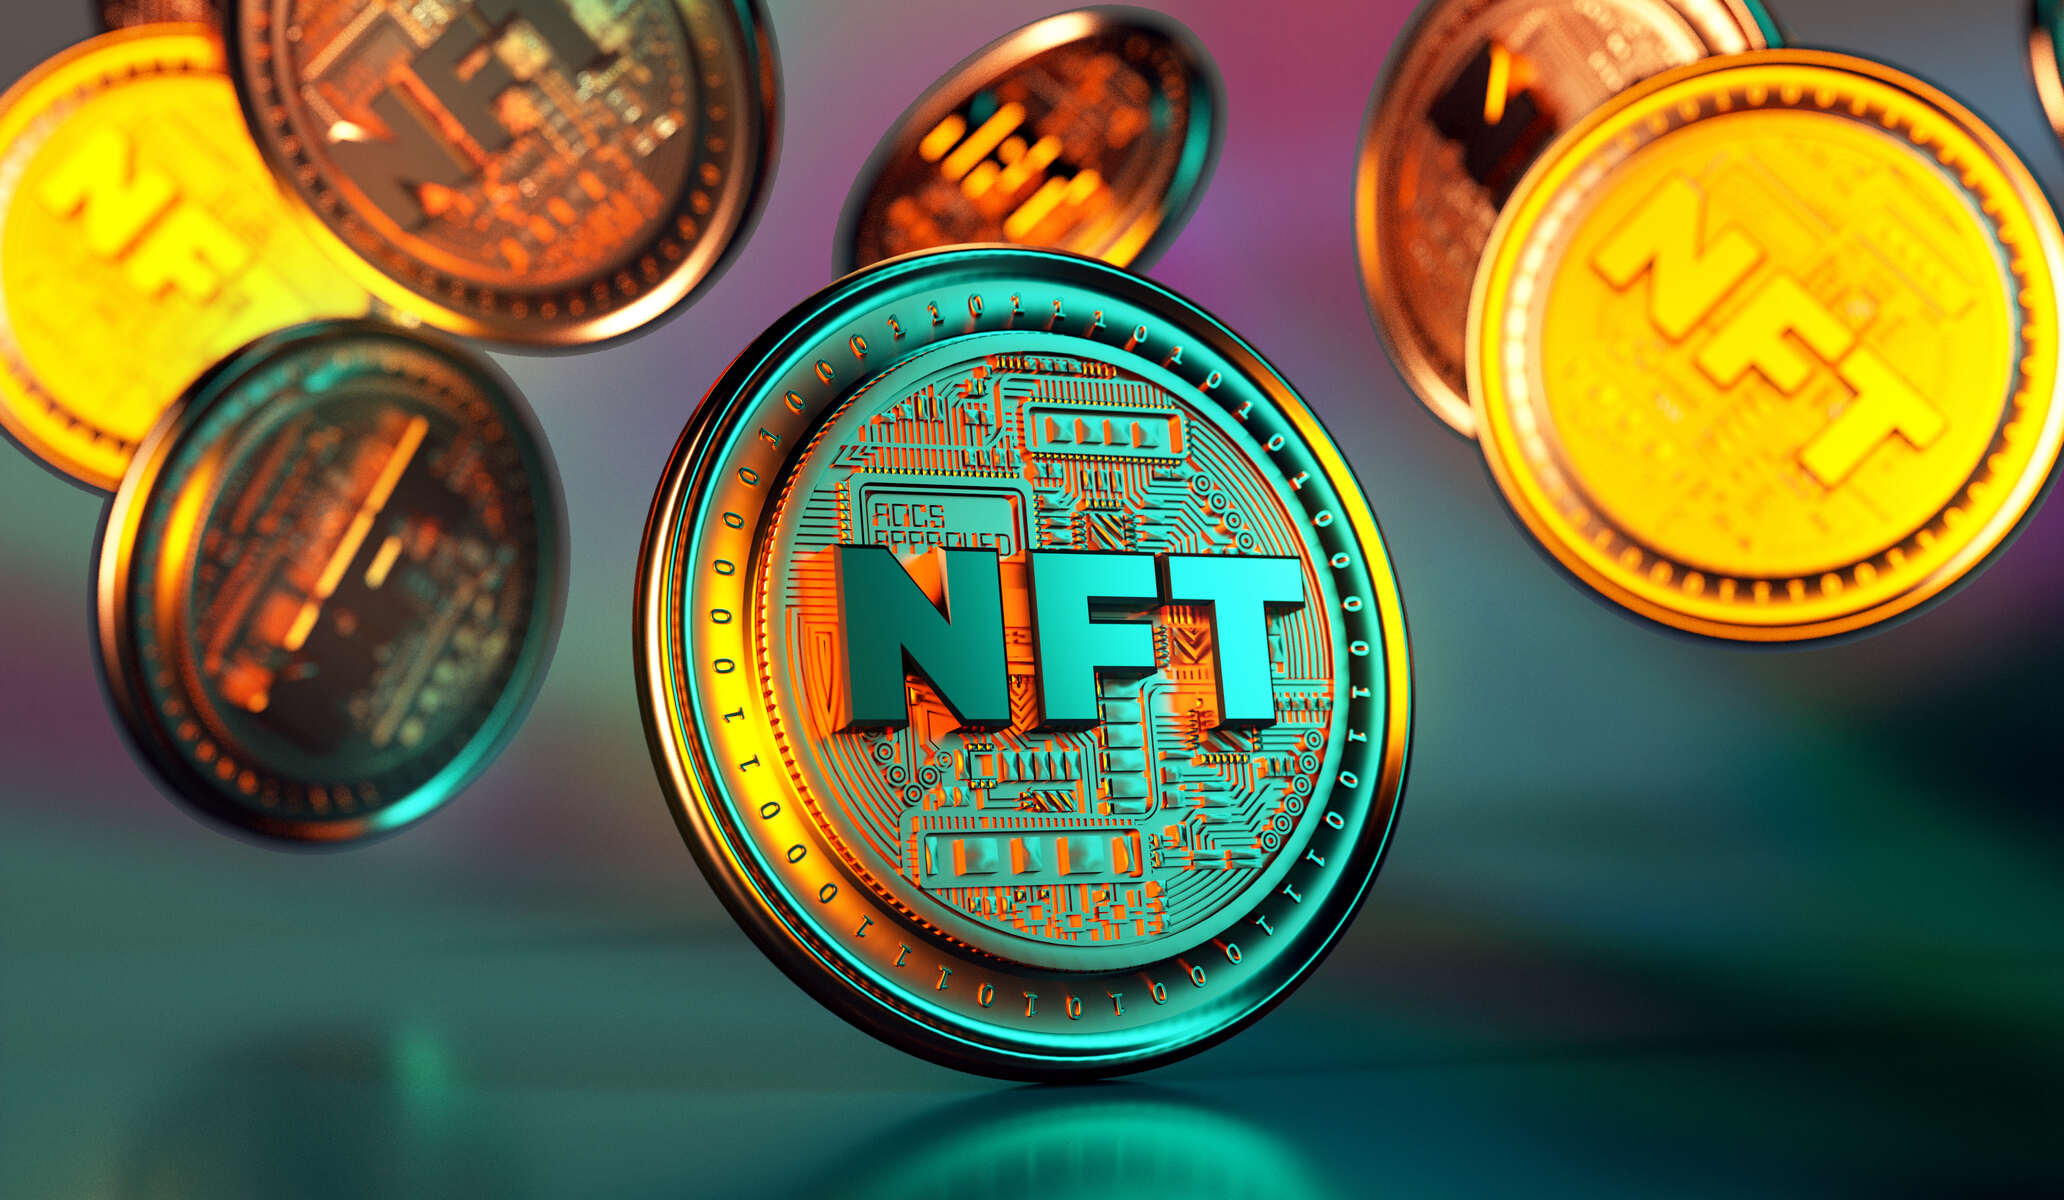
NFTs have gained immense popularity in recent years, with artists, creators, and investors utilizing blockchain technology to tokenize and trade unique digital assets. NFTs represent ownership of digital art, music, collectibles, and more. However, due to their intangible nature, it’s crucial to store your NFTs in a secure and reliable manner. That’s where the Ledger device comes into play.
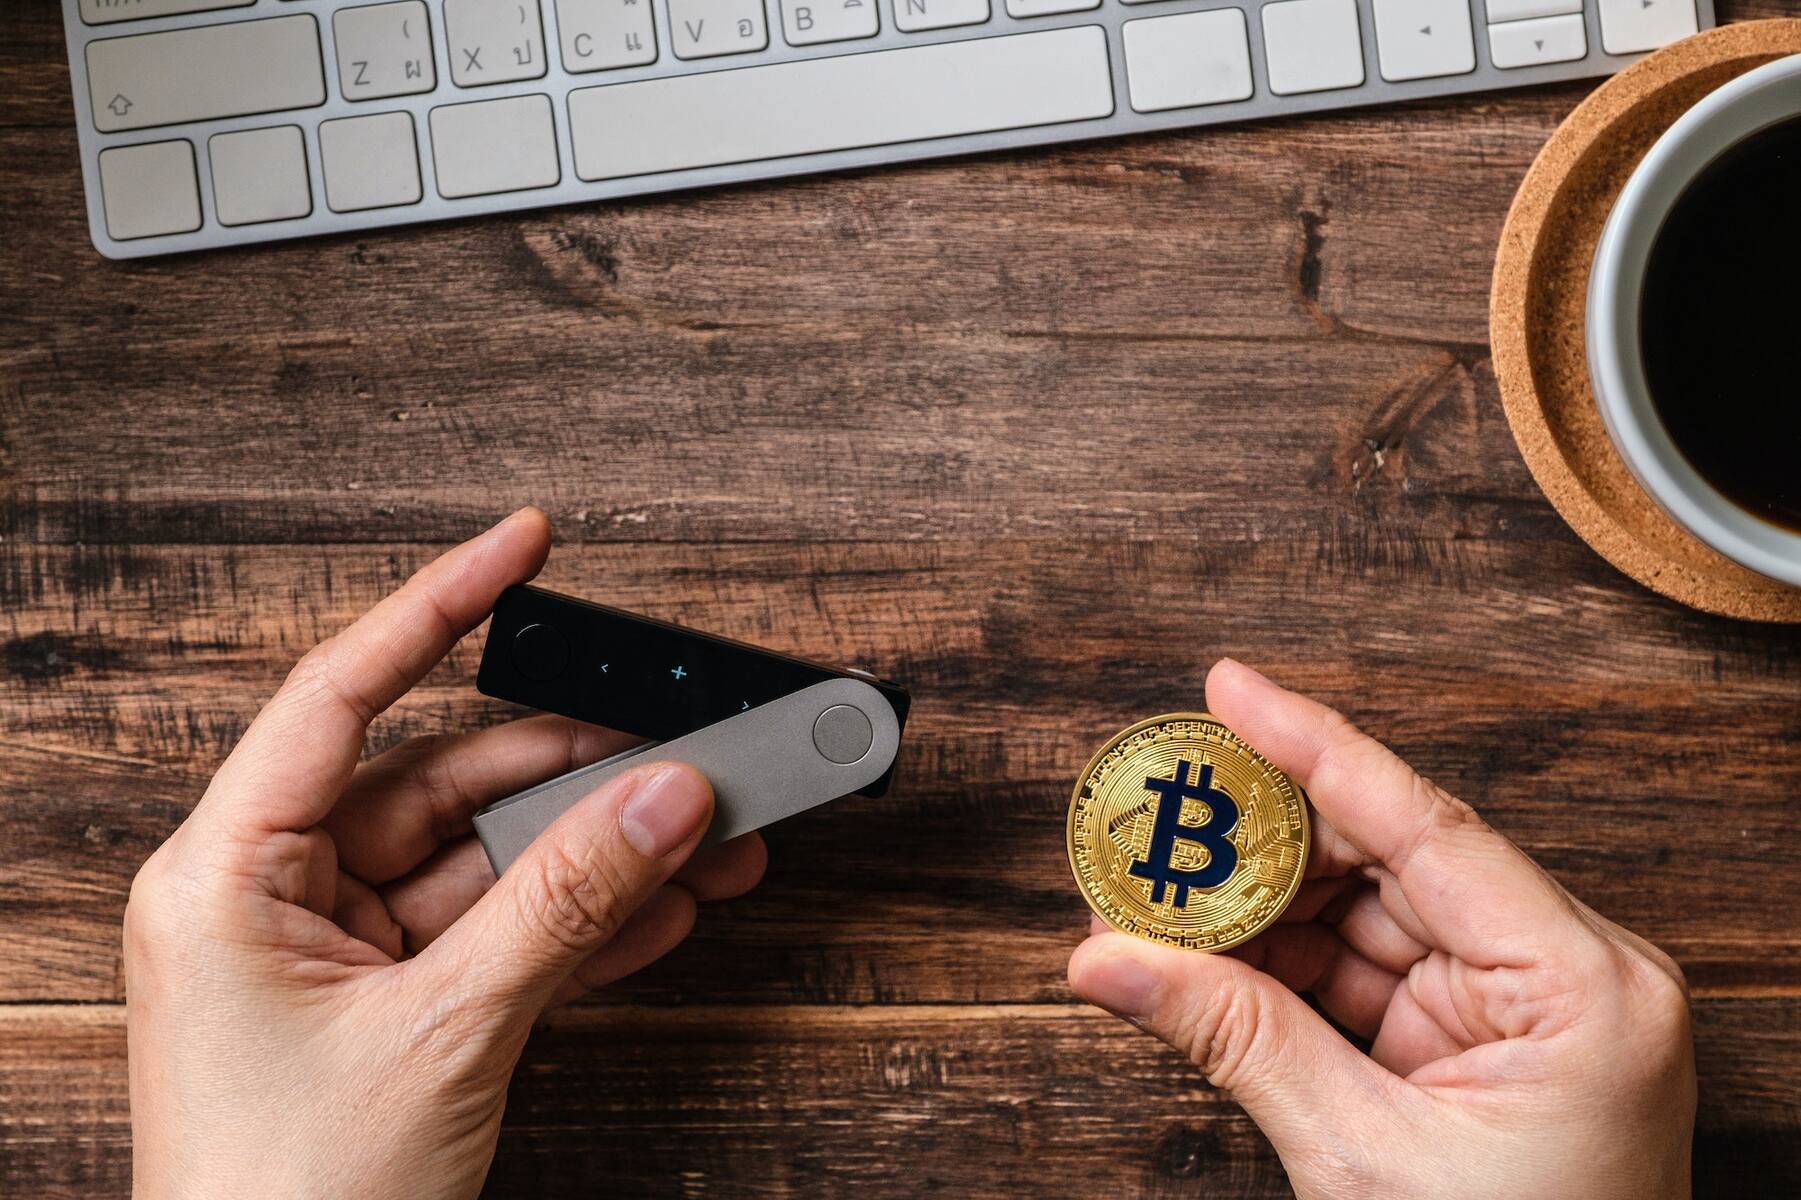
The Ledger device, such as the Ledger Nano S or Ledger Nano X, is a hardware wallet that offers robust security features. It stores your private keys offline, ensuring that your NFTs remain protected from online threats and hacks. Additionally, by transferring your NFTs to your Ledger device, you have complete control over your assets.
In this guide, we’ll walk you through each step of the process, from setting up your Ledger device to confirming the transfer on the blockchain. By the end, you’ll be able to confidently transfer your NFTs to your Ledger device, giving you peace of mind knowing that your digital assets are secure.
Before we dive into the steps, it’s essential to note that this guide assumes you already have a Ledger device and have set up your Ledger Live account. If you haven’t done so yet, please make sure to follow the official Ledger documentation to set up your device and create a Ledger Live account.
Step 1: Set Up Your Ledger
The first step to transferring your NFTs to your Ledger device is to set it up properly. Follow these instructions to ensure a smooth and secure setup process:
- Unbox your Ledger device and connect it to your computer using the provided USB cable.
- Press the power button on your Ledger device to turn it on.
- Choose your preferred language using the buttons on the device.
- Set a PIN code when prompted. Make sure to choose a unique, strong PIN that you can remember easily but is difficult for others to guess.
- Write down your recovery phrase. This is a crucial step as it serves as a backup in case you forget your PIN or lose your Ledger device. Carefully write down the 24-word recovery phrase on the provided recovery sheet and keep it in a safe place.
- Confirm your recovery phrase by entering the words in the same order as they appear on the device.
- Install the Ledger Live app on your computer by visiting the official Ledger website and downloading the app for your operating system.
- Launch the Ledger Live app and choose “Set up a new device” when prompted.
- Follow the on-screen instructions to complete the setup process, including choosing a name for your device and selecting the appropriate model (Nano S or Nano X).
- Once the setup is complete, you’re ready to move on to the next step: connecting your Ledger device to your computer.
Setting up your Ledger device properly is crucial for the security and functionality of your NFT transfers. Take your time to follow each step carefully and make sure to store your recovery phrase in a secure location. With your Ledger device set up, you’re now ready to proceed with transferring your NFTs to your Ledger device.
Step 2: Connect Your Ledger to Your Computer
Now that you’ve set up your Ledger device, it’s time to connect it to your computer to initiate the NFT transfer process. Follow these simple steps:
- Locate the USB cable that came with your Ledger device.
- Connect one end of the USB cable to the USB port on your computer.
- Plug the other end of the USB cable into the micro USB or USB C port on your Ledger device, depending on the model you have.
- Your Ledger device should automatically power on once it’s connected to the computer.
- Unlock your Ledger device by entering your PIN code using the device’s buttons.
- On your computer, open the Ledger Live app if it’s not already running.
- Ensure that the Ledger Live app recognizes your connected device. You should see your device name and model displayed on the app’s dashboard.
- If your device is not detected, try disconnecting and reconnecting the USB cable or restarting the Ledger Live app.
- Once your Ledger device is successfully connected, you can move on to the next step: accessing your Ledger Live account.
Connecting your Ledger device to your computer establishes the necessary communication for transferring your NFTs. It’s important to ensure a stable connection throughout the process to avoid any interruptions or errors. With your Ledger device successfully connected, you’re ready to proceed to the next step and access your Ledger Live account.
Step 3: Accessing Your Ledger Live Account
Once your Ledger device is connected to your computer, it’s time to access your Ledger Live account. Follow these steps to log in:
- Ensure that the Ledger Live app is open on your computer.
- On the app’s dashboard, click on the “Open” button next to your connected device name.
- If prompted, enter your PIN code on the Ledger device’s keypad to unlock it.
- After entering the correct PIN code, your Ledger Live account will be successfully accessed, and the app will display your account balances and transaction history.
- At this point, you may need to enter additional security measures such as a passphrase or second-factor authentication, depending on how you’ve configured your Ledger device.
- Once you have successfully logged into your Ledger Live account, you’re ready to proceed with the next step: installing the necessary apps for transferring and managing your NFTs.
Accessing your Ledger Live account is essential for managing and transferring your NFTs. By logging in, you gain access to the user-friendly interface that allows you to control and monitor your digital assets securely. Make sure to follow the steps carefully and enter your PIN code accurately to ensure a smooth login process. With your account accessed, you’re now ready to install the relevant apps on your Ledger Live.
Step 4: Installing the Relevant Apps on Your Ledger Live
Before you can transfer your NFTs to your Ledger device, you need to install the appropriate apps on your Ledger Live. Follow these steps to install the necessary apps:
- From the Ledger Live app’s dashboard, click on the “Manager” tab located on the left-hand side of the screen.
- On the Manager page, you’ll find a list of available apps to install.
- Search for the specific blockchain or platform that your NFTs are based on. For example, if you own Ethereum-based NFTs, search for the Ethereum app.
- Once you’ve found the correct app, click on the “Install” button next to it.
- Follow the on-screen instructions to complete the installation process.
- Repeat the process for any additional apps that are required for the specific NFTs you want to transfer.
- After the installation is complete, the app(s) will appear on the Ledger Live app’s dashboard, indicating that they are ready for use.
Installing the relevant apps on your Ledger Live ensures that your device can communicate with the specific blockchain network on which your NFTs reside. By installing the corresponding apps, you’ll be able to view, manage, and transfer your NFTs securely and conveniently. Make sure to install the apps that are specifically needed for your NFTs. With the necessary apps installed, you’re now ready to proceed with adding your NFT wallet to your Ledger Live.
Step 5: Add Your NFT Wallet
After installing the relevant apps on your Ledger Live, the next step is to add your NFT wallet. Follow these instructions to add your wallet:
- From the Ledger Live app’s dashboard, click on the “Accounts” tab located on the left-hand side of the screen.
- Click on the “Add Account” button.
- A list of supported cryptocurrencies and wallets will appear. Choose the wallet that corresponds to the blockchain network your NFTs are on. For example, if you have Ethereum-based NFTs, select the Ethereum wallet.
- Click on the “Continue” button.
- On your Ledger device, open the corresponding app for the blockchain network of your NFTs. For example, if adding an Ethereum wallet, open the Ethereum app.
- Follow the on-screen instructions on both the Ledger Live app and the Ledger device to establish a connection between your wallet and your Ledger device.
- Once the connection is established, Ledger Live will detect your wallet and display it in the app.
Adding your NFT wallet to your Ledger Live allows you to manage and view your NFT holdings directly in the app. It provides you with a convenient and secure way to access your NFTs and perform transactions. Make sure to select the correct wallet that corresponds to the blockchain network your NFTs are based on. With your NFT wallet successfully added, you’re now ready to proceed with transferring your NFTs to your Ledger device.
Step 6: Transferring NFT to Ledger
Now that you have set up your Ledger device, connected it to your computer, accessed your Ledger Live account, installed the relevant apps, and added your NFT wallet, it’s time to transfer your NFT to your Ledger device. Follow these steps for a successful NFT transfer:
- Open the app on your computer that allows you to manage your NFTs on the specific blockchain network your NFTs reside on. For example, if you have Ethereum-based NFTs, open a popular wallet like MetaMask or MyEtherWallet.
- Access your wallet within the app and locate the option to transfer or send NFTs.
- Select the NFT that you wish to transfer and specify the recipient address. The recipient address should be the public address of your Ledger device’s NFT wallet.
- Confirm the transfer details, including any gas fees if applicable, and proceed with the transfer.
- Wait for the transaction to be processed and confirmed on the blockchain.
- Once the transfer is complete, the NFT will be stored securely on your Ledger device.
Transferring your NFT to your Ledger device ensures that your digital asset is securely stored offline, away from potential online threats and vulnerabilities. By following the steps above, you can securely transfer your NFT to your Ledger device and have full control over your digital collectibles.
It’s important to note that the specific steps may vary depending on the wallet and blockchain network you are using. Always refer to the official documentation or resources provided by the wallet provider for detailed instructions on how to transfer NFTs.
With your NFT successfully transferred to your Ledger device, you can now enjoy the peace of mind that comes with storing your digital assets in a safe and secure manner.
Step 7: Confirming the Transfer on Your Ledger Device
After transferring your NFT to your Ledger device, it’s important to confirm the transaction directly on your Ledger device to ensure its integrity and security. Follow these steps to confirm the transfer:
- On your Ledger device, navigate to the app that corresponds to the blockchain network you transferred your NFT on. For example, if your NFT is on the Ethereum network, open the Ethereum app.
- On your computer, open the app or wallet that you used to initiate the transfer.
- Find and select the transaction history or pending transaction section.
- Locate the specific transaction related to the NFT transfer to your Ledger device and select it.
- A notification will appear on your computer screen, prompting you to confirm the transaction on your Ledger device.
- On your Ledger device, carefully review the details of the transaction, including the recipient address and any associated fees.
- If the details are accurate, confirm the transaction by pressing the appropriate button on your Ledger device.
- Wait for the confirmation to appear on both your computer and Ledger device.
Confirming the transfer on your Ledger device adds an extra layer of security by ensuring that you are approving the transaction directly on your hardware wallet. This verification step prevents any unauthorized transfers and provides peace of mind knowing that your NFT transfer is legitimate.
It’s important to note that the specific steps may vary depending on the wallet and blockchain network you are using. Always refer to the official documentation or resources provided by the wallet provider for detailed instructions on how to confirm transactions on your Ledger device.
With the transfer confirmed on your Ledger device, you can be confident that your NFT is securely stored on your hardware wallet and under your full control.
Step 8: Verifying the Transfer on the Blockchain
Once you have confirmed the transfer on your Ledger device, it’s essential to verify the transaction on the blockchain to ensure the successful transfer of your NFT. To verify the transfer, follow these steps:
- Using a blockchain explorer or a compatible NFT marketplace, navigate to the blockchain network where your NFT was transferred. For example, if your NFT is on the Ethereum network, visit a popular blockchain explorer like Etherscan.
- Enter your public address or transaction hash in the search bar of the blockchain explorer.
- Locate the specific transaction associated with your NFT transfer.
- Verify that the transaction details align with your transfer, including the recipient address and the timestamp of the transaction.
- Ensure that the transaction shows as confirmed on the blockchain, indicating that it has been successfully included in a block.
- If the transaction details match and the status is confirmed, congratulations! Your NFT transfer to your Ledger device is complete.
Verifying the transfer on the blockchain is crucial as it allows you to independently validate and confirm that your NFT has been successfully transferred and recorded on the public ledger. This step provides you with an additional layer of assurance and transparency regarding the status of your NFT ownership.
Remember that the time it takes for a transaction to be confirmed on the blockchain can vary depending on the network congestion and gas fees paid. If you encounter any issues or discrepancies, refer to the official documentation or seek support from the relevant blockchain or marketplace provider.
With the transfer successfully verified on the blockchain, you can now enjoy the peace of mind knowing that your NFT is securely stored on your Ledger device and fully under your control.
Conclusion
Congratulations! You have successfully transferred your non-fungible tokens (NFTs) to your Ledger device. By following the step-by-step instructions in this guide, you have taken important steps to secure and protect your digital assets.
Transferring your NFTs to your Ledger device offers several advantages. Firstly, your NFTs are stored in the hardware wallet, which provides robust security measures to safeguard your assets from online threats and hacks. Secondly, having your NFTs on your Ledger device gives you complete control over your digital collectibles, ensuring that you can manage, view, and transfer them at your convenience.
Throughout this process, you set up your Ledger device, connected it to your computer, accessed your Ledger Live account, installed the necessary apps, added your NFT wallet, transferred your NFTs, confirmed the transfer on your Ledger device, and verified the transfer on the blockchain. These steps contribute to the overall security and integrity of your NFT ownership.
Remember to keep your Ledger device and recovery phrase in a safe and secure location. Losing them may result in permanent loss of access to your NFTs. Regularly update your device’s firmware and software to take advantage of the latest security features and improvements.
If you encounter any difficulties or have any questions along the way, make sure to consult the official documentation provided by Ledger or reach out to their customer support for assistance.
By utilizing your Ledger device, you can confidently participate in the exciting world of NFTs while ensuring the protection of your valuable digital assets. Enjoy the benefits of secure NFT storage and peace of mind that comes with knowing your ownership is in your hands.