Introduction
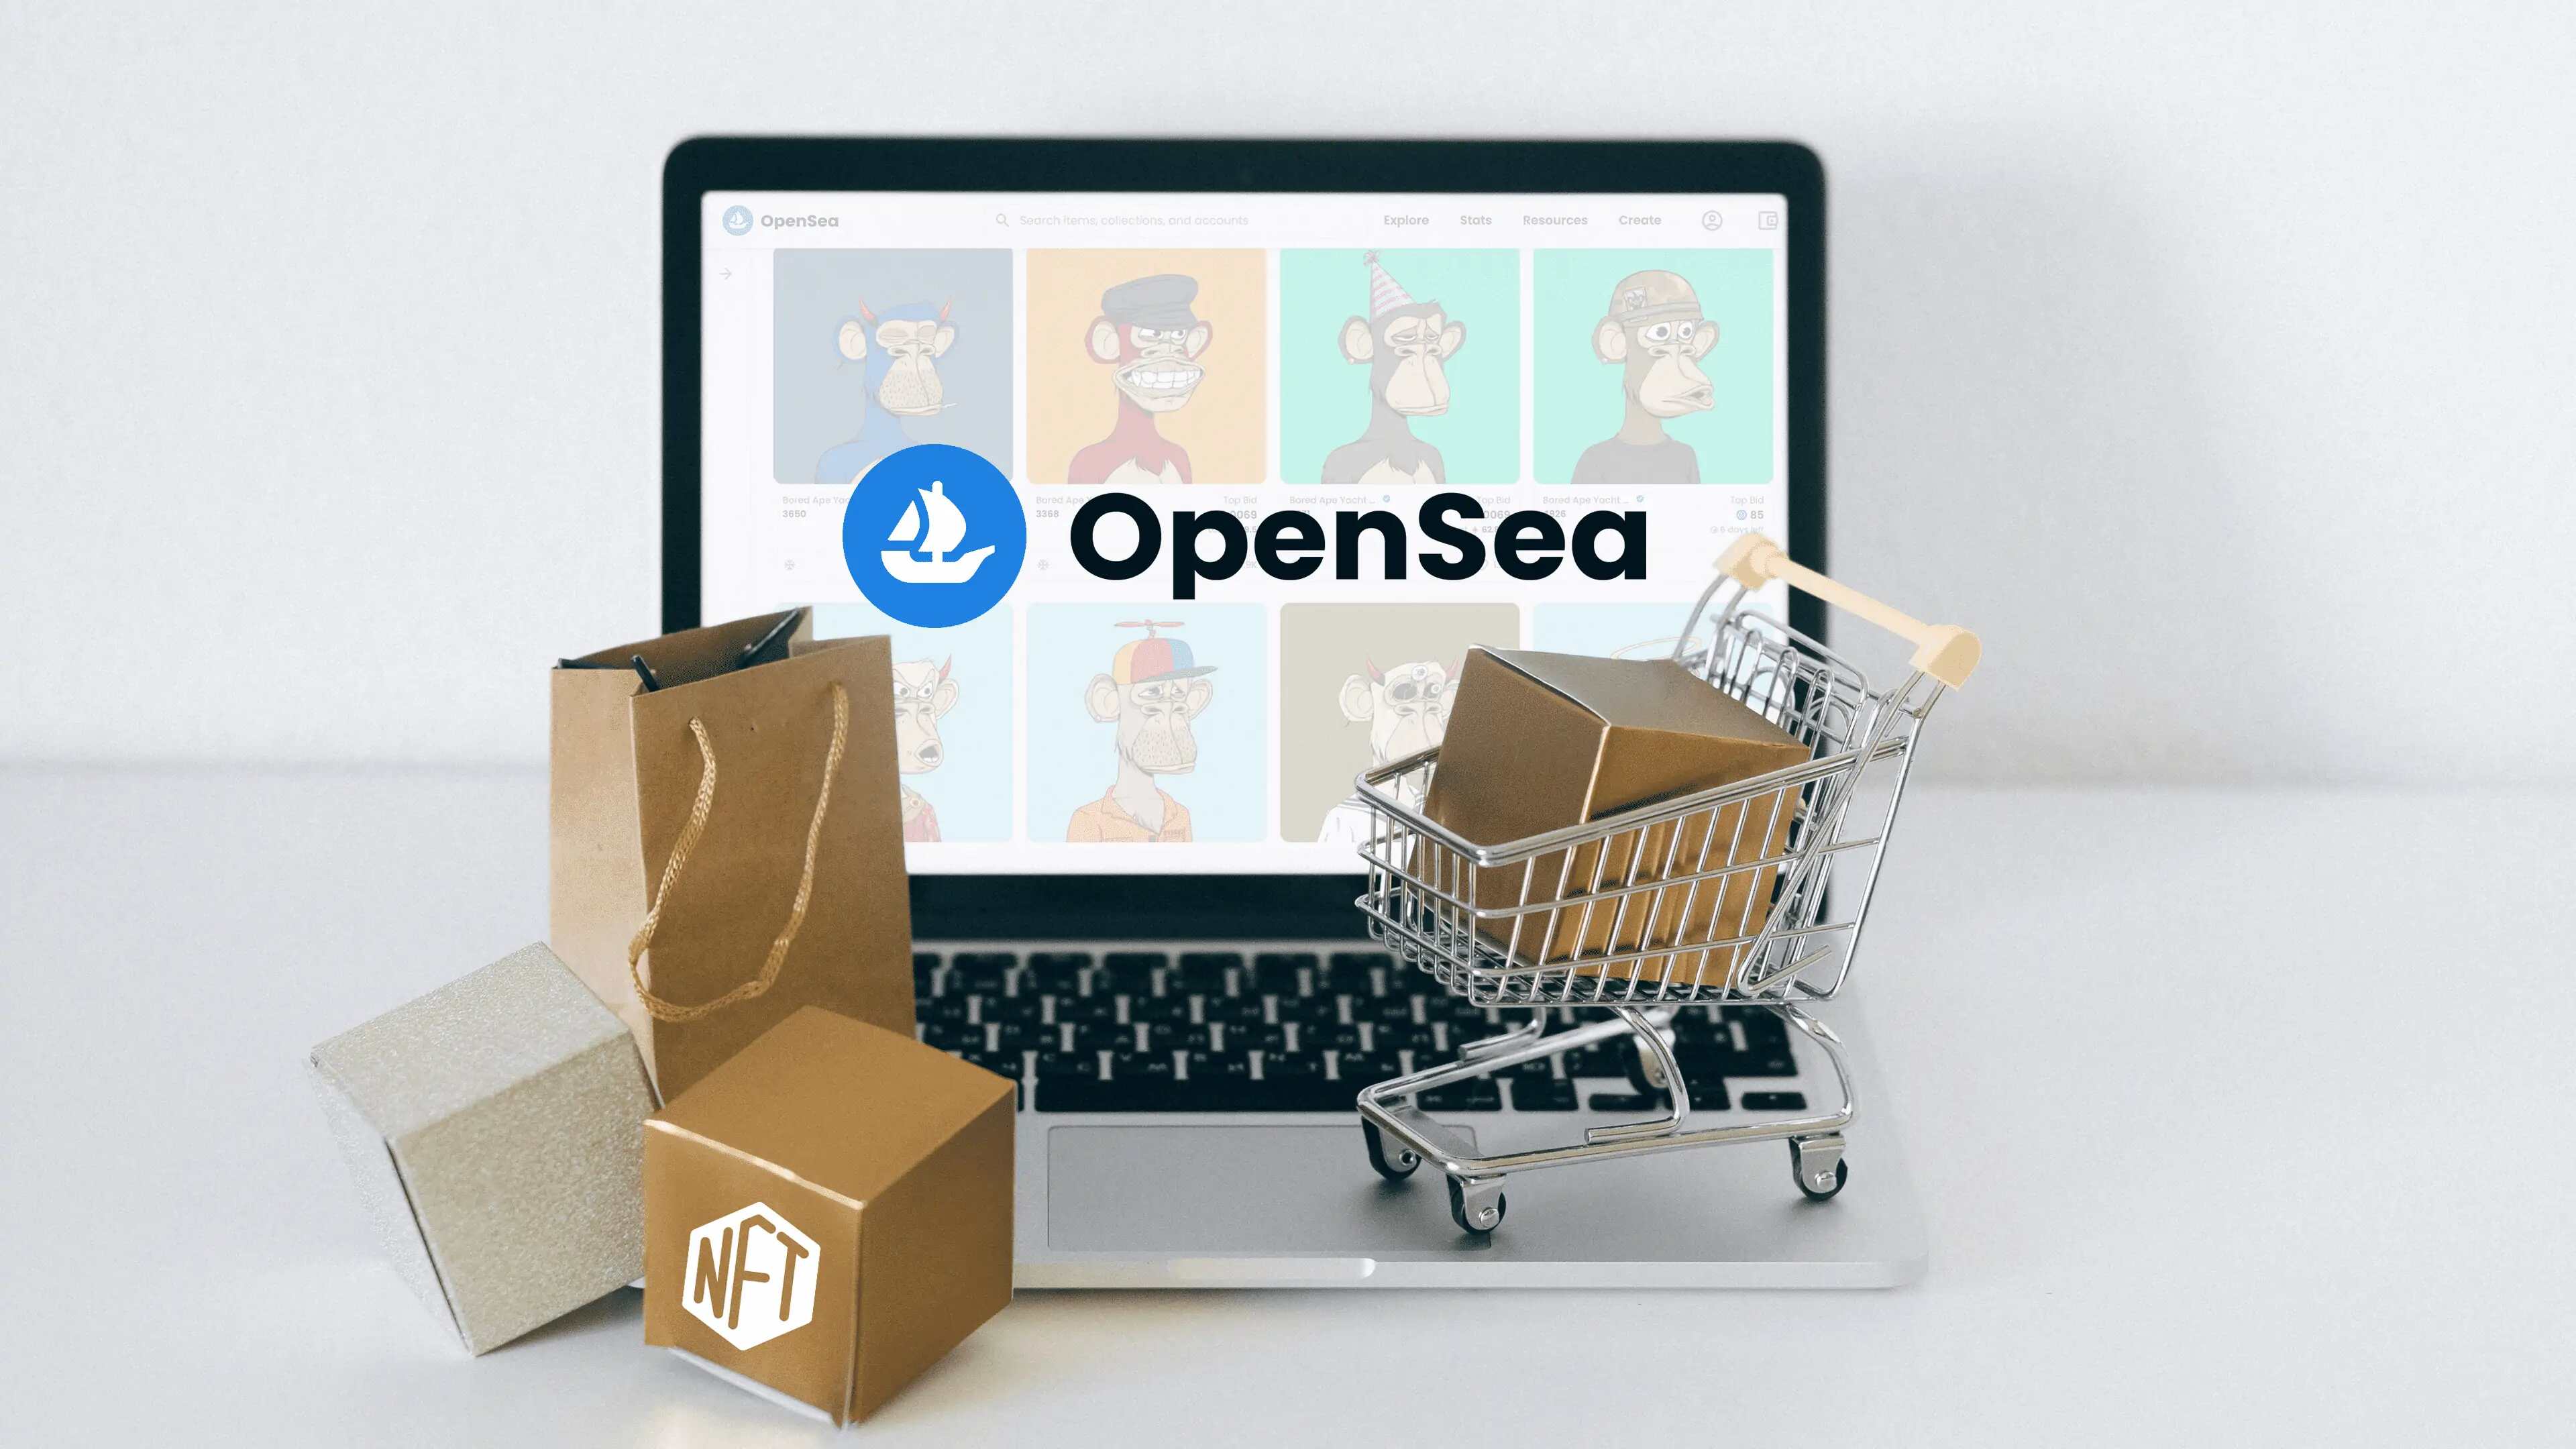
With the rise of digital collectibles, Non-Fungible Tokens (NFTs) have gained significant popularity in recent years. NFTs are unique digital assets that can represent ownership of various items like artwork, music, videos, and even virtual real estate. One of the leading platforms for buying, selling, and trading NFTs is Opensea.
Opensea is a decentralized marketplace built on the Ethereum blockchain, providing a vast range of NFTs from different creators and categories. Whether you’re an artist looking to sell your work, a collector seeking to expand your digital collection, or simply someone curious about exploring the world of NFTs, Opensea offers a user-friendly platform to facilitate these interactions.
In this guide, we will walk you through the process of transferring an NFT on Opensea. From setting up your Opensea account to connecting your digital wallet and making a successful transfer, we will cover all the necessary steps to ensure a smooth and secure transaction. So, if you’re ready to dive into the exciting world of NFTs and start transferring your own digital assets, let’s get started with the first step: setting up your Opensea account.
What is Opensea?
Opensea is a decentralized marketplace for buying, selling, and trading non-fungible tokens (NFTs). It is built on the Ethereum blockchain, which allows for transparent and secure transactions. NFTs, unlike cryptocurrencies such as Bitcoin or Ethereum, are unique digital assets that represent ownership of a specific item or piece of content.
Opensea offers a wide variety of NFTs, including digital artwork, virtual real estate, collectibles, and more. It serves as a platform where creators can showcase and sell their digital creations to a global audience, while collectors can browse and purchase unique digital items to add to their collections.
One of the key features of Opensea is its open and decentralized nature. As a decentralized marketplace, Opensea does not have a central authority controlling or managing the transactions. Instead, it operates on smart contracts, which are self-executing contracts with the terms of the agreement directly written into code on the blockchain. This ensures transparency and eliminates the need for intermediaries.
Opensea provides a user-friendly interface, making it accessible for both experienced cryptocurrency users and those who are new to the world of NFTs. It allows users to connect their digital wallets, such as MetaMask or Coinbase Wallet, to Opensea, enabling them to buy, sell, and transfer NFTs directly from their wallets.
Overall, Opensea has played a pivotal role in popularizing NFTs and providing a platform for artists, creators, and collectors to engage in the emerging digital art and collectibles market. Its decentralized nature, wide range of available NFTs, and intuitive interface make it a popular choice for both buyers and sellers in the NFT space.
Step 1: Set Up Your Opensea Account
To start your NFT journey on Opensea, the first step is to create an account. Follow these simple steps to set up your Opensea account:
- Visit the Opensea website at https://opensea.io and click on the “Sign Up” button in the top right corner of the page.
- You have the option to sign up with your existing Ethereum wallet or create a new wallet if you don’t have one. Popular wallet options include MetaMask and Coinbase Wallet.
- If you choose to create a new wallet, follow the instructions provided by the wallet provider to set up a wallet and securely store your wallet’s private key or seed phrase. This step is crucial as it ensures the safety and control of your digital assets.
- If you already have an Ethereum wallet, such as MetaMask, click on the “Connect Wallet” button on the Opensea website and select your wallet from the list of available options.
- Authorize the connection between Opensea and your wallet by following the prompts in your wallet’s interface.
- Once your wallet is connected, you will be redirected to your Opensea account. On this page, you can customize your profile, view your activity history, and manage your NFT collections.
Congratulations! You have successfully set up your Opensea account. This account will serve as your gateway to exploring and engaging with the vast world of NFTs on the platform. Make sure to remember your login credentials and keep your wallet secure to protect your digital assets.
Now that your Opensea account is ready, let’s move on to the next step: connecting your wallet to Opensea.
Step 2: Connect Your Wallet
Now that you have created your Opensea account, the next step is to connect your digital wallet to the platform. By connecting your wallet, you will be able to seamlessly interact with the Ethereum blockchain and carry out transactions on Opensea. Follow these steps to connect your wallet:
- Ensure that your preferred digital wallet, such as MetaMask or Coinbase Wallet, is installed on your device and set up with the necessary credentials.
- Once your wallet is set up, visit the Opensea website and click on the “Connect Wallet” button located in the top right corner of the page.
- A dialog box will appear, listing the compatible wallets. Select your wallet from the available options. If your wallet is not listed, click on the “Other” option for further instructions.
- Depending on your wallet provider, you may be prompted to sign in or authorize the connection between Opensea and your wallet. Follow the instructions provided by your wallet to complete the connection process.
- After successfully connecting your wallet, you will see a confirmation message on the Opensea website, indicating that your wallet is now linked to your account.
- You can verify the connection by checking the top right corner of the Opensea website, where your wallet address should be displayed.
Once your wallet is connected, you can start exploring NFTs, participating in auctions, and making purchases on Opensea. It’s important to note that you will need to have sufficient funds in your wallet to place bids or make purchases. Make sure to maintain a balance that covers the costs of the NFTs you are interested in acquiring.
With your wallet now connected, you are ready to dive deeper into the world of NFTs and begin browsing for your desired assets. In the next step, we will guide you through the process of browsing and choosing an NFT on Opensea.
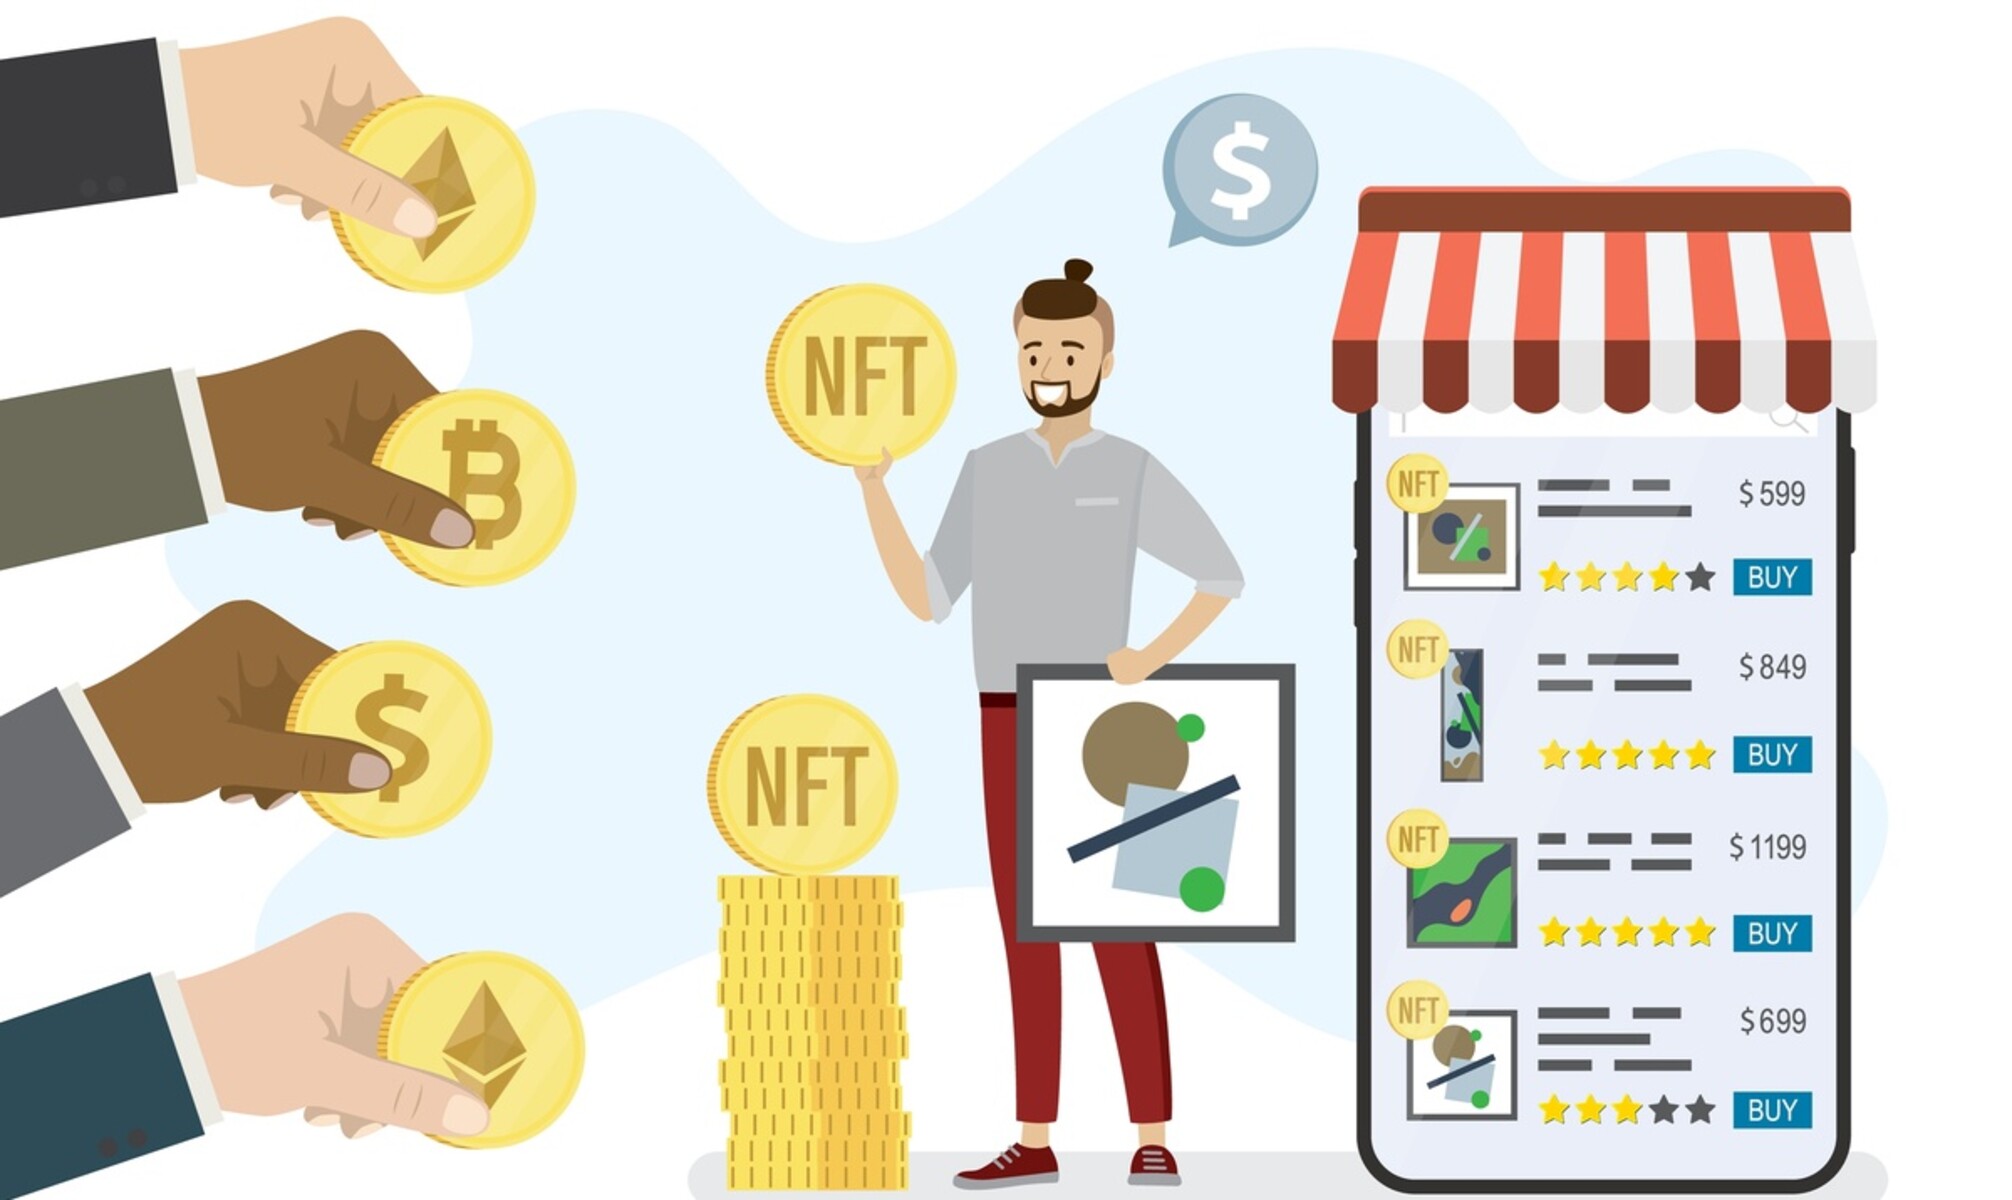
Step 3: Browse and Choose an NFT
Now that your wallet is connected, you can begin exploring the vast collection of NFTs available on Opensea. Follow these steps to browse and choose the perfect NFT for your collection:
- On the Opensea homepage, you will find various categories and featured collections. You can either browse through these sections or use the search bar to find specific NFTs or artists.
- Once you find an interesting NFT, click on its thumbnail or title to access the item’s detail page. Here, you will find information about the creator, the item’s description, and additional images or videos.
- Take your time to carefully review the details of the NFT, including any associated royalties or fees, ownership history, and any unique features or attributes it may have.
- If you have any questions or want to learn more about the NFT, you can use the provided contact or messaging options to reach out to the creator or seller.
- If you are satisfied with the NFT and wish to proceed, review the pricing information. This may include fixed prices, auction details, or the option to place a bid.
- Consider the current market trends, comparable prices of similar NFTs, and your own budget before making a decision.
- Once you have made your choice, you can proceed with placing a bid, making a purchase, or adding the NFT to your watchlist if you want to monitor its price or availability before making a final decision.
It’s important to note that before purchasing an NFT, it’s advisable to conduct your due diligence. Research the creator’s reputation, evaluate the authenticity and originality of the NFT, and ensure that you fully understand any associated terms or usage rights.
Opensea offers a diverse range of NFTs, so take your time to explore and discover unique digital assets that align with your interests and preferences. The process of browsing and choosing an NFT is an exciting journey that allows you to connect with creators and build a collection that reflects your personal taste.
Now that you have chosen your desired NFT, it’s time to verify its authenticity and ownership. We will guide you through this crucial step in the next section.
Step 4: Verify the NFT’s Authenticity and Ownership
Before finalizing your purchase or bid on an NFT on Opensea, it is essential to verify the authenticity and ownership of the digital asset. This step ensures that you are investing in a genuine and legitimate piece. Here’s how you can verify the NFT’s authenticity and ownership:
- Start by reviewing the item’s description and details provided by the creator or seller. Look for any specific information, certificates of authenticity, or unique identifiers associated with the NFT.
- Check for any additional verification or verification services that are mentioned in the item details. Some creators may provide external links to further authenticate their work using blockchain verifications or other platforms.
- Research the creator or artist to determine their reputation and credibility. Look for their portfolio, social media presence, and any previous collaborations or sales of their work.
- Inspect the NFT’s metadata, including its digital signature and ownership history. Blockchain technology ensures that NFTs are traceable, making it possible to verify the ownership and transaction history associated with a particular item.
- Consult online communities, forums, or trusted sources to gather insights and feedback about the creator and the NFT’s authenticity. Engaging with the community can provide valuable information and reassurance.
- If you have any doubts or concerns, don’t hesitate to reach out to the creator or seller for more information or clarification regarding the NFT’s authenticity and ownership.
By performing these verification checks, you can mitigate the risks of purchasing counterfeit or fraudulent NFTs. It’s crucial to be diligent in your research and trust your instincts when it comes to making a purchase or bid on Opensea.
Remember, owning a verified and authentic NFT enhances your digital collection’s value and provides you with confidence as an investor in the expanding world of digital assets.
Now that you have successfully verified the NFT’s authenticity and ownership, you can proceed to the next step: placing a bid or making a purchase on Opensea.
Step 5: Place a Bid or Make a Purchase
After verifying the authenticity and ownership of the NFT, you are now ready to proceed with placing a bid or making a purchase on Opensea. Follow these simple steps to complete the transaction:
- Review the pricing information on the item’s detail page. If the NFT has a fixed price, ensure you have the necessary funds in your connected wallet to complete the purchase. If it is an auction, familiarize yourself with the bidding process and the auction’s end time.
- If the NFT has a fixed price, click on the “Buy Now” or “Purchase” button on the item’s page. If it is an auction, you can place a bid by entering the desired amount and clicking on the “Place Bid” button.
- Confirm the transaction details, including the price, any associated fees, and the number of items you are purchasing.
- If you are making a purchase, ensure that the wallet address displayed at the checkout is correct. Confirm the transaction in your wallet by reviewing the details and approving the payment.
- If you are participating in an auction, closely monitor the bidding activity and consider increasing your bid if necessary. Remember that auctions can be competitive, so be prepared to adjust your bid accordingly.
- Once the transaction is confirmed, the NFT will be transferred to your connected wallet. You can view your newly acquired NFT in your Opensea account and manage it from there.
It’s important to note that some NFTs may have additional terms or conditions associated with them, such as licensing agreements or usage restrictions. Make sure to familiarize yourself with these terms to ensure compliance and proper usage of the digital asset.
Congratulations! You have successfully placed a bid or made a purchase on Opensea. Your chosen NFT is now securely stored in your connected wallet, and you can enjoy being the proud owner of a unique digital asset.
Now that you have completed the buying or bidding process, it’s time to transfer the NFT to your wallet. We will guide you through this final step in the next section.
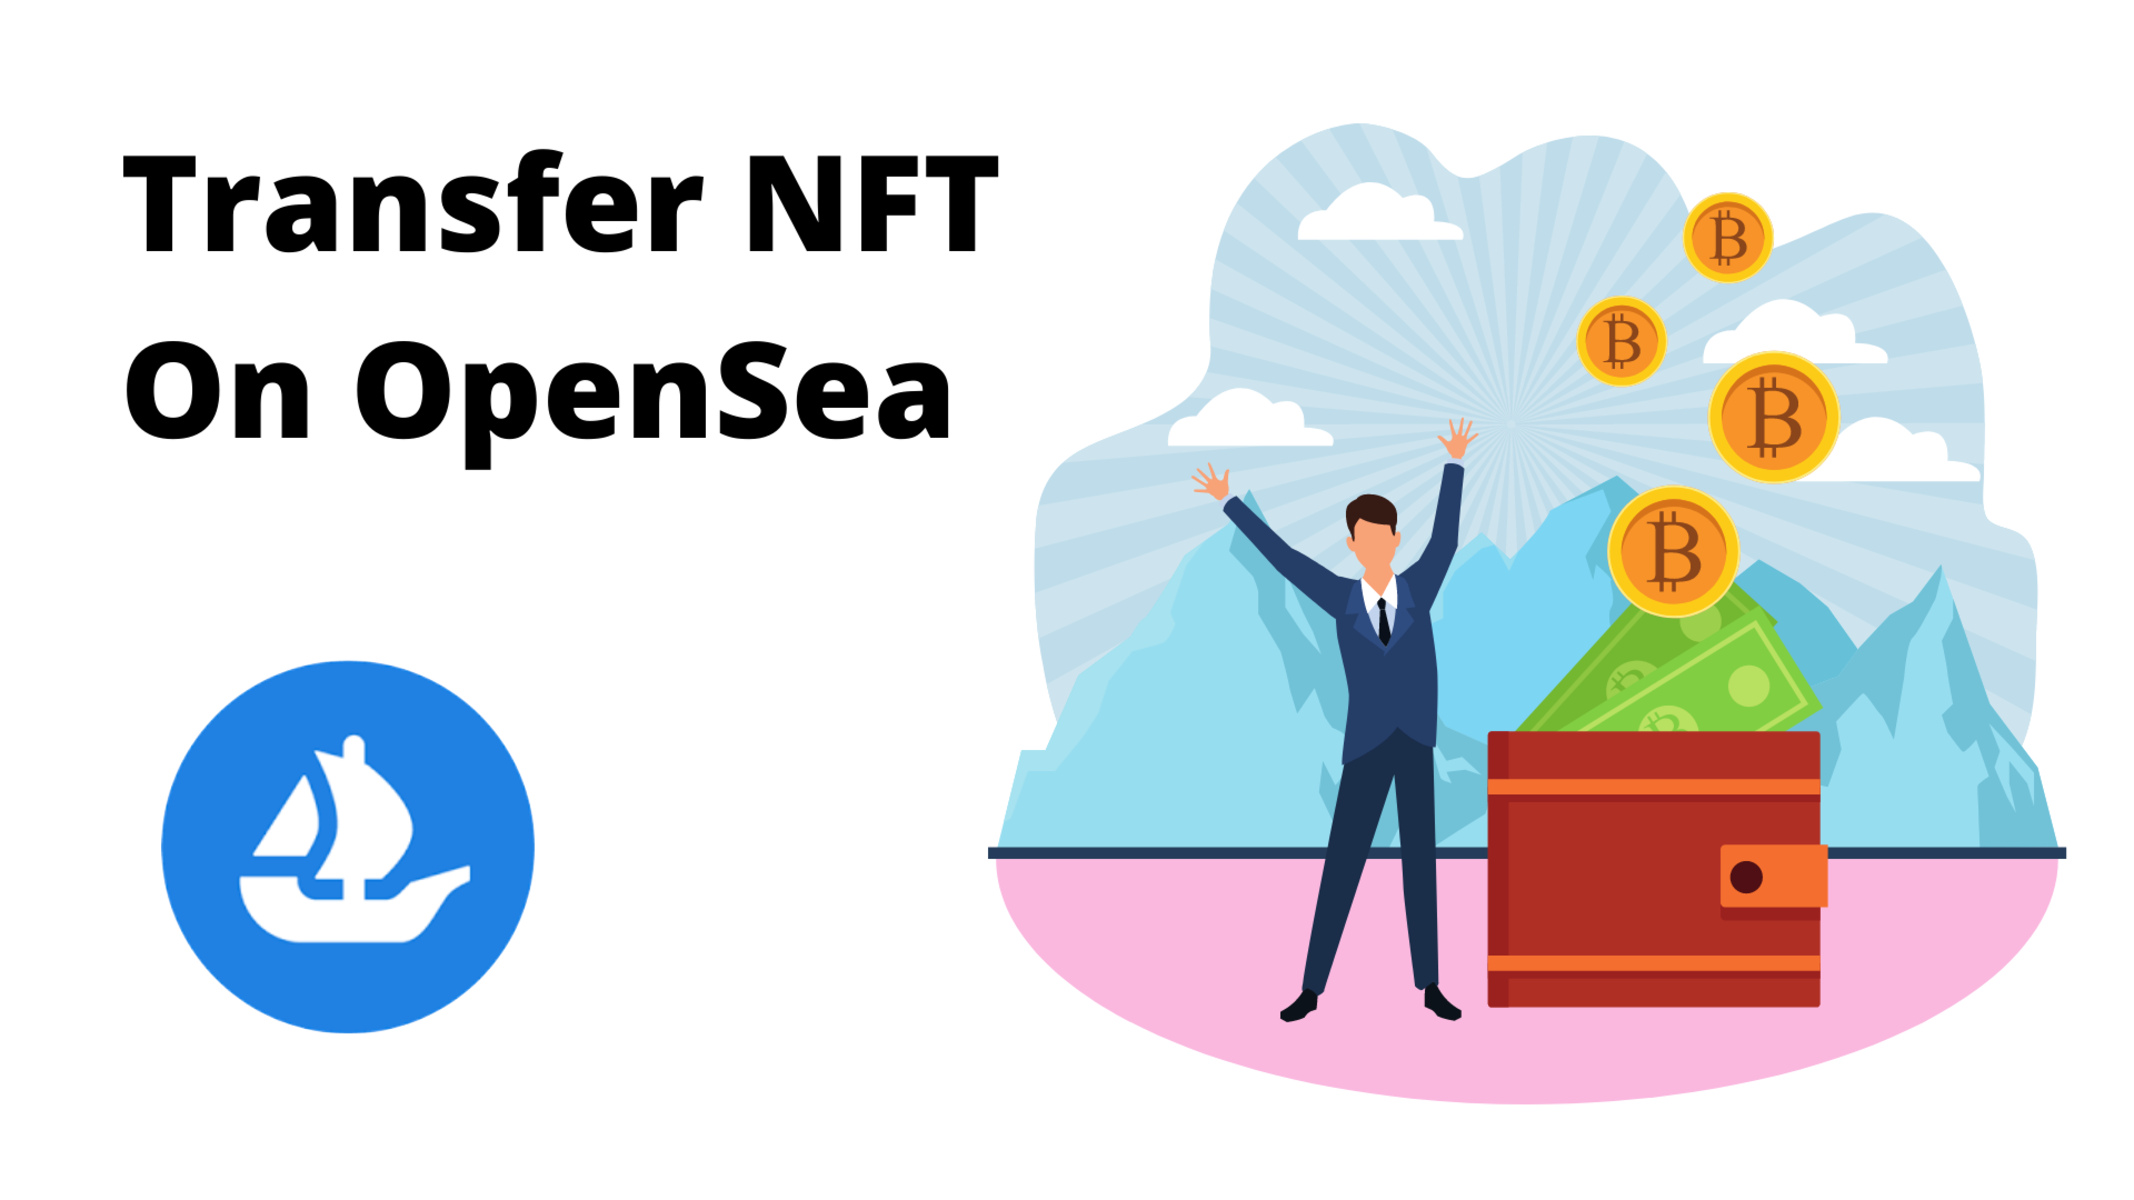
Step 6: Transfer the NFT to Your Wallet
Once you have successfully purchased or won an NFT on Opensea, the final step is to transfer it to your connected wallet. This ensures that you have full ownership and control over the digital asset. Follow these steps to transfer the NFT to your wallet:
- Access your Opensea account and navigate to the “My Profile” or “My Collection” section.
- Locate the NFT you want to transfer and click on its thumbnail or title to access the item’s detail page.
- On the item’s detail page, you will find options or buttons for transferring the NFT. These options may be labeled as “Transfer” or “Send to Wallet.”
- Click on the appropriate transfer option and enter the recipient address. This is the address of your connected wallet, where you want the NFT to be transferred.
- Double-check the recipient address to ensure accuracy. Verify that it matches your wallet’s address and that there are no typos or mistakes.
- Review any transaction fees associated with the NFT transfer. The fees are usually paid in Ethereum (ETH) and cover the cost of processing the transaction on the blockchain.
- Approve the transfer by confirming the transaction in your wallet. You may need to review and approve the transaction details, including the recipient address and transaction fees.
- Once the transfer is confirmed, the NFT will be transferred from your Opensea account to your connected wallet. You can verify the successful transfer by checking your wallet’s transaction history.
It’s important to note that the NFT transfer process may vary depending on the specific wallet you are using. Make sure to follow the instructions and prompts provided by your wallet to complete the transfer successfully.
Congratulations! You have successfully transferred the NFT to your wallet. Your digital asset is now securely stored in your wallet, allowing you to manage, display, or trade it as desired.
Now that you have completed the entire process of transferring an NFT on Opensea, you can continue to explore the platform, discover more unique digital assets, and engage with the exciting world of NFTs. Happy collecting!
Conclusion
Opensea provides a user-friendly and decentralized marketplace for buying, selling, and trading non-fungible tokens (NFTs). By following the six-step process outlined in this guide, you can navigate the platform with confidence and successfully transfer an NFT to your digital wallet.
We started by setting up your Opensea account, connecting your digital wallet, and browsing through the vast collection of NFTs available on the platform. Verifying the authenticity and ownership of the NFT ensures that you make informed decisions and invest in genuine digital assets. Finally, placing a bid or making a purchase allows you to acquire the desired NFT while considering factors such as pricing and market trends.
With your NFT now securely transferred to your wallet, you have complete ownership and control over your digital asset. Whether you are a collector expanding your digital collection or an artist looking to showcase and sell your work, Opensea offers a platform that caters to the diverse needs of the NFT community.
Remember to stay vigilant while engaging on Opensea or any other blockchain marketplace. Conduct thorough research, verify the authenticity of NFTs, and carefully review transaction details before making a purchase or bid. The NFT space is rapidly evolving, and keeping up with the latest trends, artists, and opportunities can enhance your experience as an NFT enthusiast.
Now that you have a solid understanding of how to transfer an NFT on Opensea, you are ready to participate in the exciting world of digital collectibles. Start exploring, discover unique NFTs, and enjoy the benefits of being a part of this innovative and rapidly expanding ecosystem.
Happy collecting and trading!