Introduction
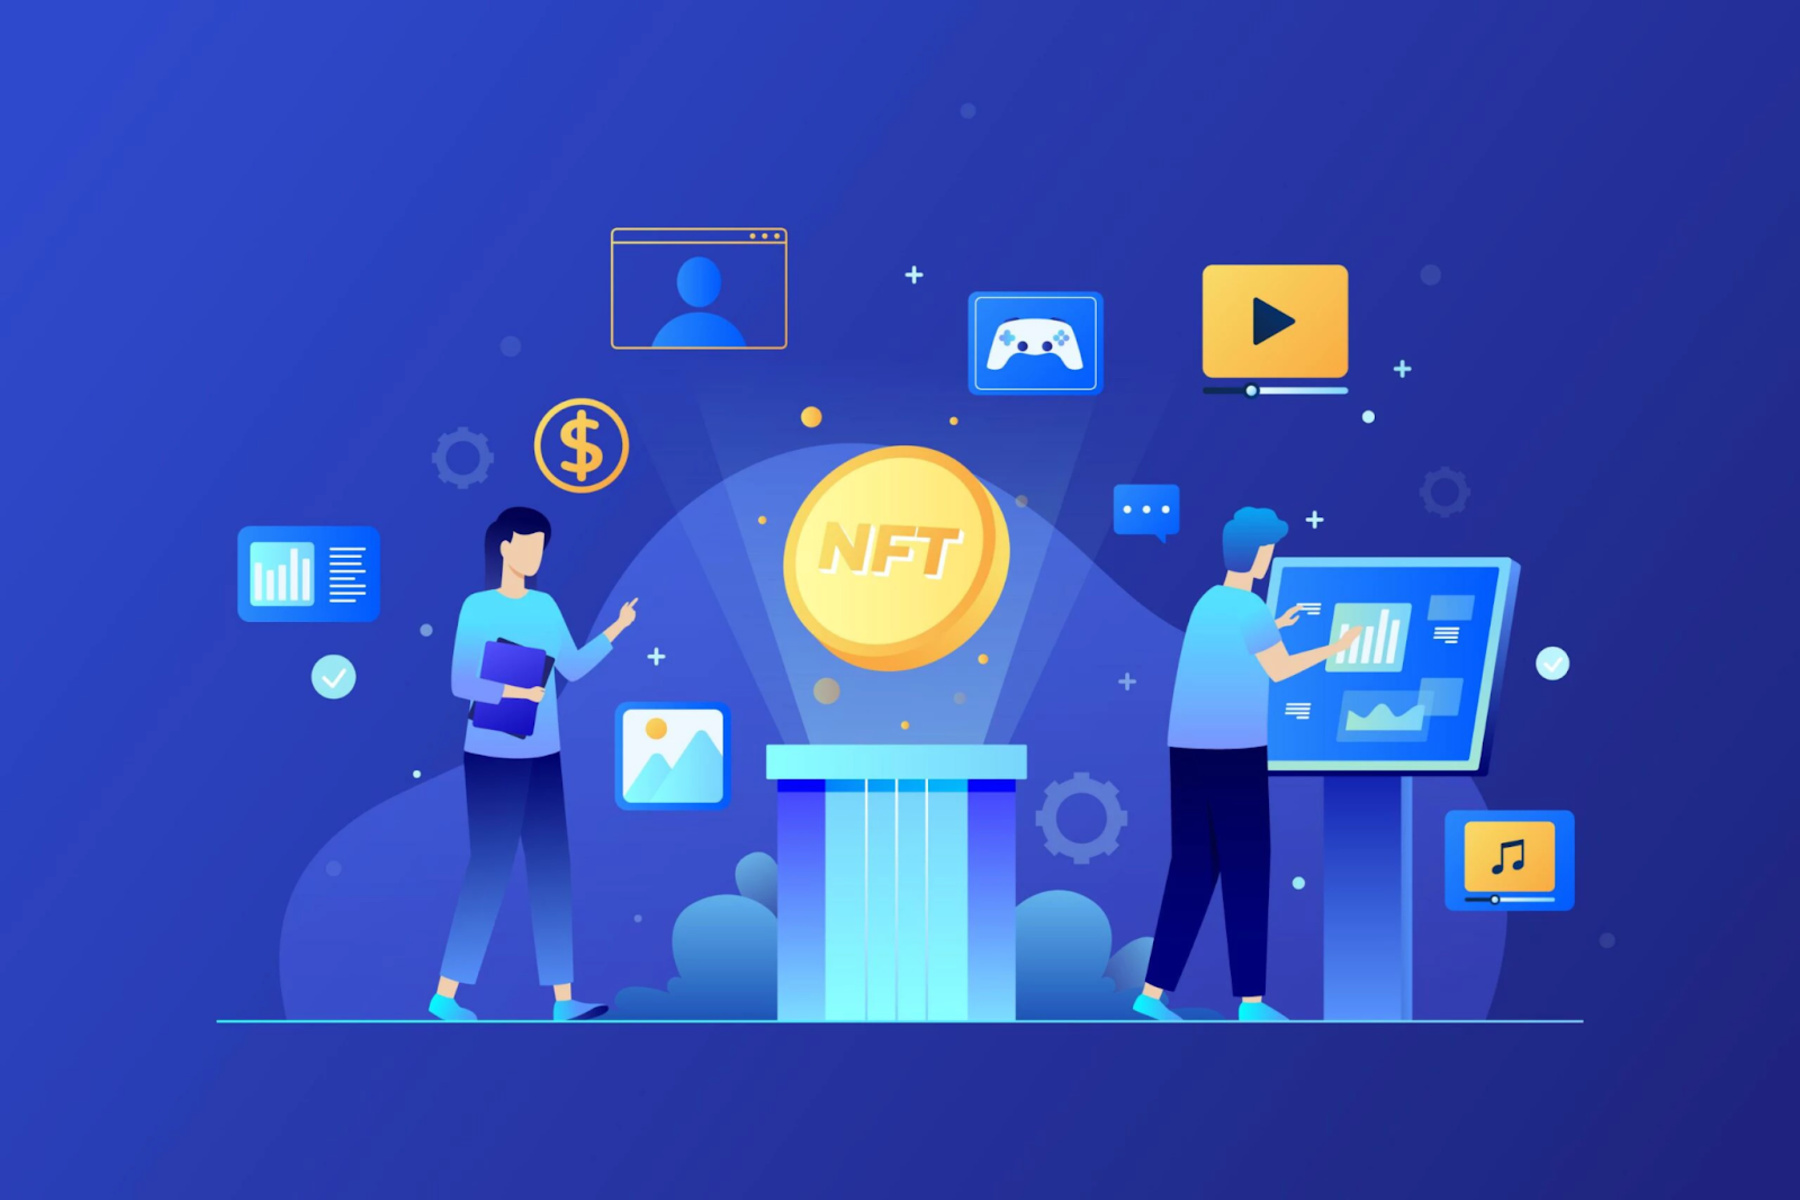
Welcome to the world of Non-Fungible Tokens (NFTs), where digital assets can be bought, sold, and owned through blockchain technology. NFTs have gained tremendous popularity in recent years, revolutionizing the way we perceive ownership and authenticity in the digital realm.
Unlike cryptocurrencies such as Bitcoin or Ethereum, which are fungible and can be exchanged on a one-to-one basis, NFTs are unique and indivisible. Each NFT represents a distinct item, whether it’s a piece of digital artwork, a collectible, a virtual real estate, or even a ticket to an event.
With the rising interest and demand for NFTs, many individuals are intrigued by the idea of coding their own NFTs. Whether you’re an aspiring coder or a seasoned developer, learning how to code NFTs opens up a world of opportunities to create, trade, and showcase unique digital assets.
In this article, we will explore the process of coding NFTs from scratch. We will cover the necessary pre-requisites, setting up the development environment, creating the smart contract, deploying it to the blockchain, minting NFTs, interacting with them, and even adding additional features to make your NFTs stand out.
By the end of this article, you will have a solid understanding of how to code NFTs and unleash your creativity in the world of digital ownership. So, let’s dive in and embark on this exciting journey of NFT coding!
What is NFT?
A Non-Fungible Token (NFT) is a type of digital asset that represents ownership or proof of authenticity for a unique item. Unlike traditional digital files that can be easily copied and shared, NFTs are secured and verified on the blockchain, making them scarce and distinguishable.
One key aspect of NFTs is their indivisibility. Each NFT represents a distinct item and cannot be divided into smaller units. This uniqueness allows creators to tokenize a wide range of digital assets, including artwork, music, videos, virtual real estate, and even virtual pets.
One of the main benefits of NFTs is their ability to provide verifiable ownership. The blockchain technology behind NFTs ensures that each token is securely recorded and traceable, eliminating the need for intermediaries or central authorities to validate ownership. This authentication mechanism gives creators and collectors confidence in the scarcity and authenticity of their digital assets.
Additionally, NFTs allow for provable ownership transfers. When an NFT is bought, sold, or transferred, the transaction is recorded on the blockchain, providing a transparent and immutable record of ownership history. This feature introduces new possibilities for creators to monetize their work and for collectors to trade and invest in unique digital assets.
The rise of NFTs has had a profound impact on the art and entertainment industries, enabling creators to reach a global audience and monetize their digital creations in ways that were previously unimaginable. NFT marketplaces have emerged, providing platforms for creators to showcase and sell their NFTs directly to collectors, while allowing collectors to discover and acquire unique digital assets.
It’s important to note that despite the excitement around NFTs, there has also been some criticism regarding their environmental impact and concerns about copyright infringement. As the NFT space continues to evolve, it’s crucial for creators, collectors, and platforms to address these challenges and ensure sustainable growth and responsible usage.
In the next section, we will explore the reasons why you should consider coding NFTs and the potential benefits it can bring to your digital creations.
Why should you code NFT?
Coding NFTs offers a unique opportunity to unleash your creativity and tap into the growing world of digital ownership. Here are some reasons why you should consider coding NFTs:
- Create and showcase unique digital assets: By coding NFTs, you have the power to create, tokenize, and showcase your own unique digital assets. Whether you’re an artist, musician, or content creator, NFTs allow you to turn your creations into scarce and valuable digital collectibles, providing a new way for your audience to engage with and support your work.
- Tap into the booming NFT market: The NFT market has experienced explosive growth, attracting interest from collectors, investors, and enthusiasts around the world. By coding your own NFTs, you can tap into this growing market, potentially generating revenue and increasing your exposure as a creator.
- Establish direct connections with your audience: NFTs provide a direct peer-to-peer connection between creators and collectors. By coding NFTs, you have the ability to interact with your audience in new and exciting ways. You can reward loyal fans with exclusive NFTs, offer special benefits or access, and create a sense of community around your digital creations.
- Explore new revenue streams: NFTs have opened up new possibilities for creators to monetize their work. When a collector purchases your NFT, you can earn royalties on future transactions, providing a recurring revenue stream. This innovative revenue model has the potential to empower creators and offer financial opportunities beyond traditional sales models.
- Improve ownership transparency and authenticity: By coding NFTs, you can ensure that your digital assets have a verifiable record of ownership and authenticity. This transparency enhances trust and eliminates the risk of counterfeit or unauthorized reproductions. Collectors can have confidence that they are acquiring genuine and truly unique digital assets.
- Join a vibrant and supportive community: The world of NFTs is not only about creating and trading digital assets. It’s also about being part of a passionate and supportive community of creators, collectors, and enthusiasts. By coding NFTs, you can connect with like-minded individuals, collaborate on projects, and learn from others who share your passion for digital ownership.
As you can see, coding NFTs can be a rewarding and exciting endeavor. It allows you to explore new creative possibilities, tap into a booming market, and establish direct connections with your audience. So, let’s dive into the pre-requisites for coding NFTs and get started on this exciting journey of digital ownership!
Pre-requisites for coding NFTs
Before diving into coding NFTs, it’s important to familiarize yourself with a few pre-requisites. These will ensure that you have the necessary knowledge and tools to create and interact with NFTs effectively. Here are the key pre-requisites:
- Understanding of Blockchain Technology: NFTs are built on blockchain technology, typically utilizing smart contracts. It’s essential to have a basic understanding of how blockchain works, its underlying principles, and the concept of decentralized networks.
- Knowledge of Solidity: Solidity is a programming language specifically designed to write smart contracts on the Ethereum blockchain, which is the most popular blockchain used for NFTs. Familiarize yourself with Solidity syntax, data types, and functions.
- Development Environment Setup: Set up a development environment to code and test your smart contracts. This typically involves installing a code editor, a Solidity compiler, and a blockchain network local development environment such as Ganache.
- Ethereum Wallet: You will need an Ethereum wallet to interact with the Ethereum network. Popular options include MetaMask, Trust Wallet, and MyEtherWallet. Create an Ethereum wallet and ensure you have some test Ether (ETH) for development purposes.
- Knowledge of Web3.js: Web3.js is a JavaScript library that allows you to interact with the Ethereum blockchain in a browser environment. Familiarize yourself with Web3.js and its functions for interacting with smart contracts and handling Ethereum transactions.
- Understanding of NFT Standards: NFTs on Ethereum typically follow specific standards, such as ERC-721 and ERC-1155. Get familiar with these standards to understand the structure and functionalities expected in your NFT smart contracts.
- Creative Assets: Prepare the digital assets you plan to tokenize as NFTs. These can include artwork, music, videos, or any other type of digital media that you want to represent as a unique and scarce digital collectible.
By fulfilling these pre-requisites, you will have a solid foundation to start coding NFTs. It’s important to dedicate time to learn and practice these concepts, as they will form the basis of your NFT development journey.
Now that we have covered the pre-requisites, it’s time to delve into the process of setting up the development environment and coding your own NFT smart contracts. Let’s get started!
Step 1: Setting up the development environment
Before you can start coding NFTs, you need to set up your development environment to write, compile, and deploy smart contracts. This involves installing the necessary tools and setting up a local blockchain network for development purposes. Here are the steps to set up your development environment:
- Install a Code Editor: Choose a code editor that suits your preference. Popular options include Visual Studio Code, Sublime Text, or Atom. Install the code editor of your choice and ensure you have it set up correctly.
- Set up Node.js: Node.js is required for running JavaScript code outside of a browser. Install Node.js by downloading and running the installer from the official Node.js website. Make sure to choose the LTS (Long Term Support) version for stability.
- Install Solidity Compiler (Solc): The Solidity programming language needs to be compiled into bytecode that can run on the Ethereum Virtual Machine (EVM). Install the Solidity compiler (Solc) by running the following command in your terminal:
npm install -g solc. - Set up a Local Blockchain Network: A local blockchain network allows you to test and deploy smart contracts without interacting with the live Ethereum network. One popular option is Ganache, a personal Ethereum blockchain that you can run on your local machine. Download and install Ganache, and launch it to start your local network.
- Configure Your Development Environment: Connect your development environment to your local blockchain network. This enables your code editor and other tools to communicate with the blockchain. Use the appropriate settings to point your tools to the Ganache network, such as specifying the network’s host and port number.
- Install and Configure MetaMask: MetaMask is a browser extension wallet that allows you to interact with the Ethereum network in a user-friendly manner. Install the MetaMask extension in your preferred browser and configure it to connect to your local Ganache network. Import an account from Ganache into MetaMask for development purposes.
Once you have completed these steps, your development environment will be ready for coding NFTs. You will be able to write Solidity smart contracts, compile them using Solc, and deploy them to your local blockchain network using tools like Truffle or Hardhat.
Setting up your development environment correctly is crucial for efficient and effective NFT coding. Take your time to ensure each step is completed accurately, as this will lay the foundation for your NFT development journey.
In the next section, we will dive into the process of creating the smart contract for your NFTs. Stay tuned!
Step 2: Creating the smart contract
Once you have set up your development environment, it’s time to start coding the smart contract for your NFT. The smart contract will define the structure and functionality of your NFT, including its properties, ownership, and transferability. Here are the steps to create the smart contract:
- Create a New Solidity File: In your code editor, create a new file with a “.sol” extension. This file will contain the Solidity code for your smart contract.
- Define the Contract: Start by defining the contract and giving it a suitable name. For example, you can name your contract “MyNFT” or “ArtworkNFT”.
- Inherit from NFT Standard: Most NFTs on Ethereum follow specific standards, such as ERC-721 or ERC-1155. Inherit from the appropriate standard by including the relevant import statement at the beginning of your Solidity file.
- Define NFT Properties: Inside the contract, define the properties of your NFT. This can include attributes like the name, symbol, total supply, and metadata of your NFT. Consider adding any additional custom properties that are relevant to your specific use case.
- Implement NFT Functions: Implement the necessary functions to support the basic operations of your NFT, such as minting, transferring, and querying ownership. Use Solidity’s built-in functions and modifiers to ensure the integrity and security of your NFT transactions.
- Customize Additional Functionality: Depending on your requirements, you can add additional functionality to your NFT, such as royalties, metadata links, or special features specific to your digital asset. Customize the smart contract to meet the unique needs of your NFT.
- Compile the Smart Contract: Use the Solidity compiler (Solc) to compile your smart contract code into bytecode. Ensure that there are no compilation errors and that the contract is successfully compiled for deployment.
While coding your smart contract, it’s essential to follow best practices and security guidelines to mitigate vulnerabilities and ensure the safety of your NFTs. Consider utilizing established libraries and conducting thorough testing to identify and fix any potential issues.
Once your smart contract is successfully created and compiled, you are ready to move on to the next step: deploying the contract to the blockchain. We will explore the deployment process in detail in the upcoming section.
Step 3: Deploying the smart contract
After creating the smart contract for your NFT, the next step is to deploy it to the blockchain. Deployment involves transferring the smart contract code from your local development environment to a live blockchain network, such as the Ethereum mainnet or a testnet. Here’s how you can deploy the smart contract:
- Choose a Deployment Method: There are several ways to deploy a smart contract, including using command-line tools like Truffle or Hardhat, or using online platforms like Remix or Etherscan. Choose the method that best suits your needs and familiarity.
- Connect to an Ethereum Network: Ensure that you are connected to the Ethereum network via your preferred tool or platform. This connection allows you to interact with the blockchain and deploy your smart contract.
- Prepare Deployment Details: Before deploying, gather the necessary details such as the contract bytecode, contract ABI (Application Binary Interface), gas limit, and account to be used for deployment. These details will be required during the deployment process.
- Initiate the Deployment: Follow the specific instructions for your chosen deployment method to initiate the deployment process. This typically involves providing the required details and confirming the transaction using your Ethereum wallet.
- Wait for Confirmation: Once the deployment transaction is initiated, you will need to wait for the transaction to be confirmed by the network. This can take some time, depending on network congestion and gas fees.
- Get the Contract Address: After the deployment transaction is confirmed, you will receive a contract address. This address represents the location of your deployed smart contract on the blockchain and is essential for interacting with your NFTs.
It’s crucial to double-check and verify the deployment details to ensure everything is accurate before initiating the deployment process. Keep in mind that deploying to the live network, especially the Ethereum mainnet, incurs gas fees, so it’s advisable to test your deployment on a testnet before moving to the mainnet.
Once your smart contract is successfully deployed, you have laid the foundation for creating and interacting with your NFTs. In the next step, we will explore how to mint your NFTs, giving them life on the blockchain.
Step 4: Minting NFTs
Now that your smart contract is deployed to the blockchain, it’s time to mint your NFTs. Minting refers to the creation and issuance of new NFTs, giving them a unique identity on the blockchain. Here’s how you can mint your NFTs:
- Connect to your NFT Smart Contract: Using tools like MetaMask or a web3 library, connect to the deployed smart contract by specifying the contract address and ABI. This connection will allow you to interact with the smart contract and call its functions.
- Prepare NFT Metadata: NFTs often have associated metadata that provides additional information about the digital asset. Prepare the metadata for your NFTs, including details like the name, description, image URL, and any other relevant attributes.
- Call the Mint Function: Inside your smart contract, implement a mint function that allows NFT creation. This function typically takes the necessary parameters, such as the recipient’s address and the metadata for the NFT. Call this function from your connected wallet or web3 library to mint new NFTs.
- Manage Ownership and Metadata: Ensure that the mint function properly assigns ownership of the newly minted NFTs to the intended recipients. Additionally, associate the correct metadata with each NFT, either by storing it directly on the blockchain or using external storage solutions like IPFS.
- Confirm Successful Minting: After minting the NFTs, check for any errors or exceptions and verify that the transactions are successfully processed. Inspect the transaction logs or events emitted by the smart contract to confirm the minting of the NFTs.
By following these steps, you can create and mint new NFTs, giving them a digital existence on the blockchain. Each minted NFT will have a unique identifier and associated metadata, making it distinct and verifiable.
It’s important to note that minting NFTs may incur additional gas fees, depending on the complexity of your smart contract and the actions performed during the minting process. Take this into consideration when minting a large number of NFTs or when minting on a network with high gas fees.
In the next step, we will explore how to interact with your minted NFTs, including transferring ownership and querying their status on the blockchain.
Step 5: Interacting with NFTs
Now that you have minted your NFTs, it’s time to interact with them. Interacting with NFTs involves actions such as transferring ownership, querying NFT details, and exploring their metadata. Here’s how you can start interacting with your NFTs:
- Connect to your NFT Smart Contract: Similar to the previous step, ensure that you’re connected to your NFT smart contract using tools like MetaMask or a web3 library. This connection allows you to interact with the contract’s functions and access NFT-related data.
- Transfer NFT Ownership: Implement a transfer function inside your smart contract that allows the NFT owner to transfer their NFT to a different Ethereum address. This function should handle the necessary checks and updates to ensure a secure and valid ownership transfer.
- Query NFT Details: Implement functions that allow users to query specific details about an NFT, such as its metadata, owner’s address, or other custom attributes associated with the NFT. These functions should retrieve and return the relevant information from the smart contract.
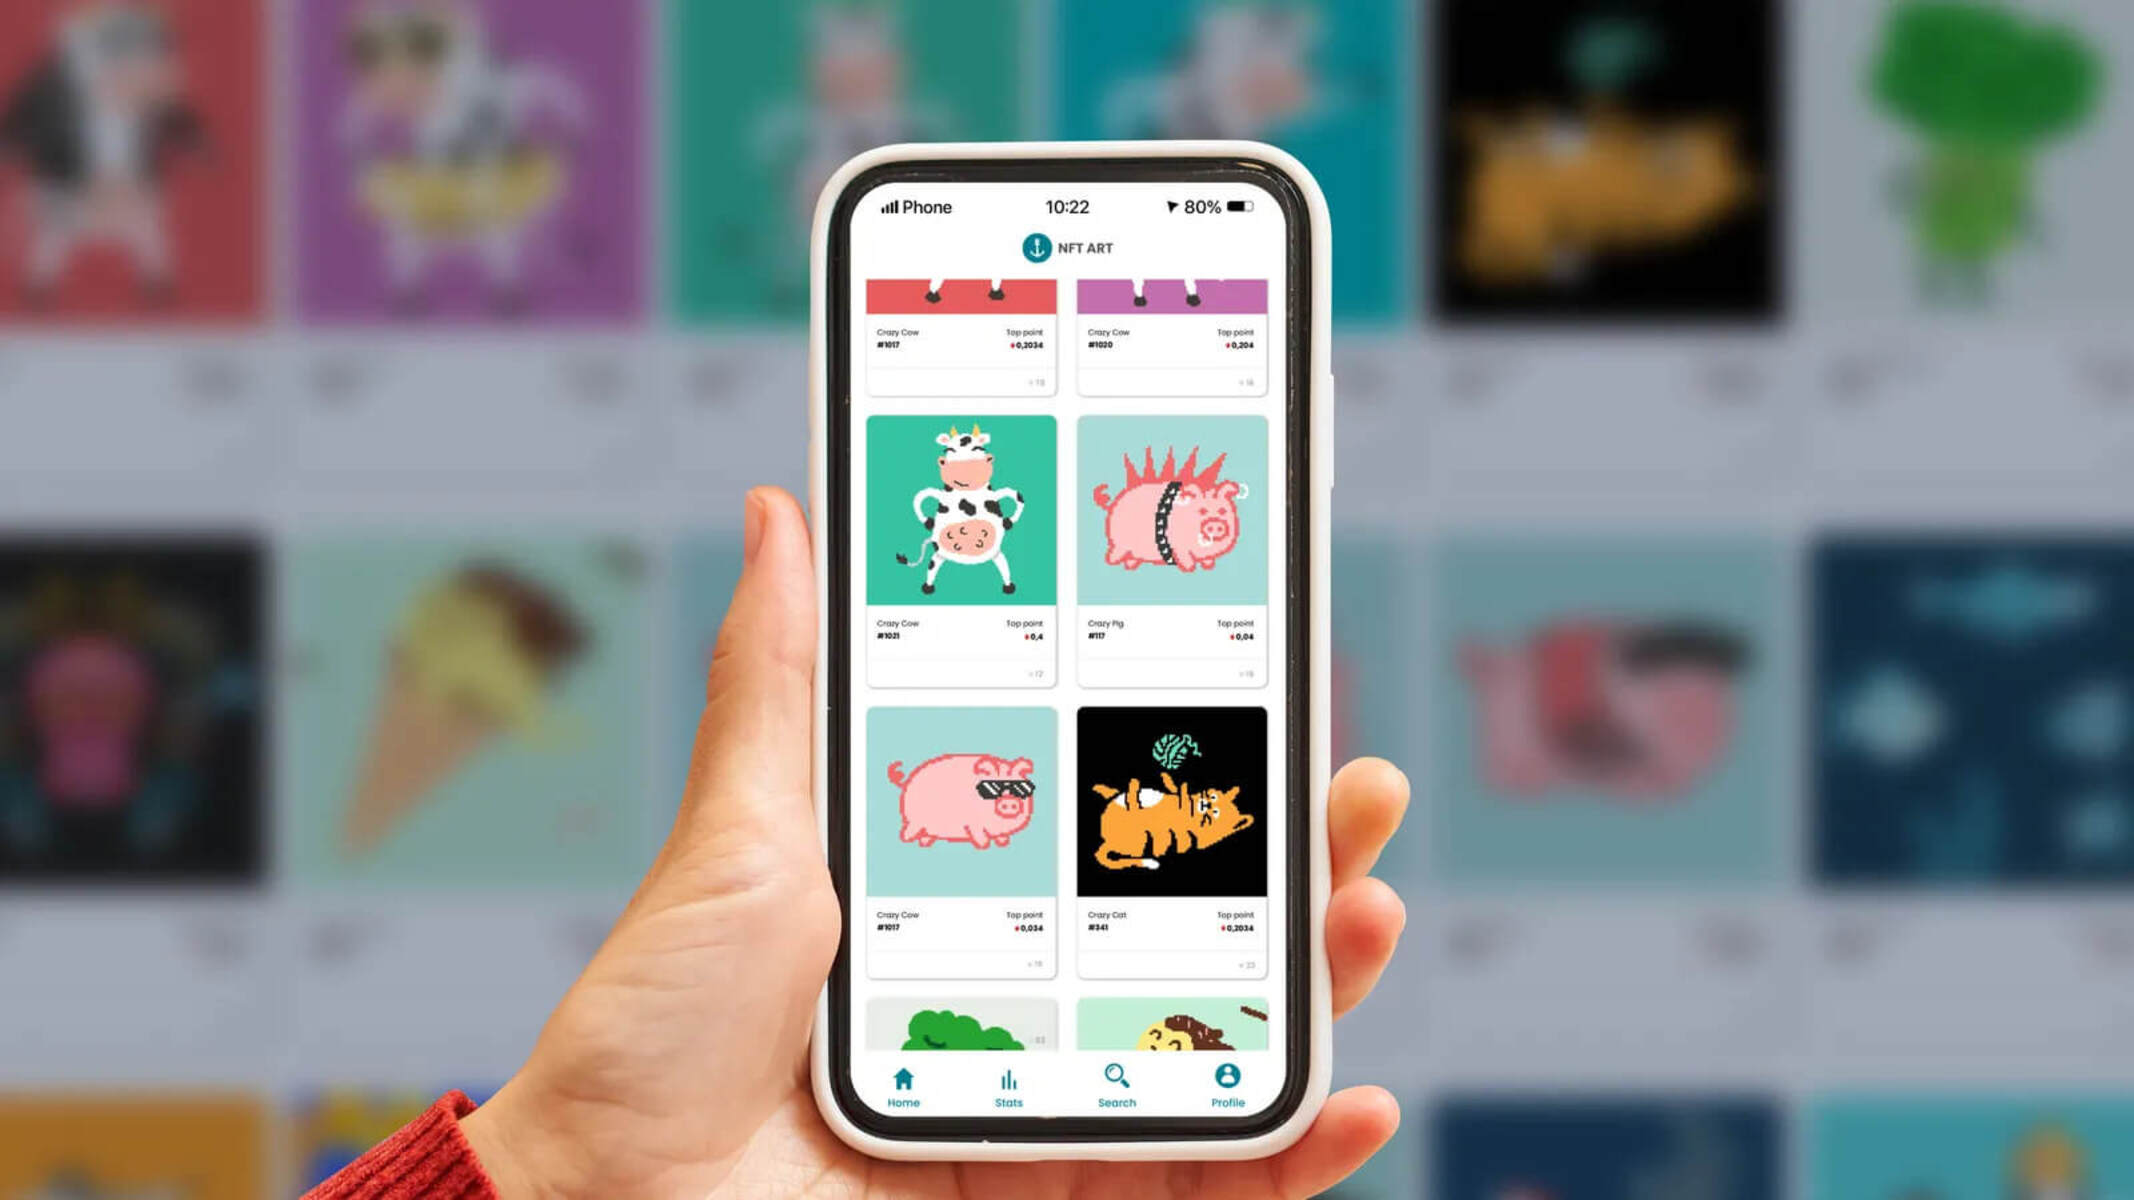
- Display NFTs: Use front-end technologies like HTML, CSS, and JavaScript to build a user interface that displays the NFTs you’ve minted. Retrieve the NFT details from the smart contract and render them in a visually appealing manner.
- Explore Metadata and IPFS: If you’ve stored the NFT metadata on IPFS or any external storage solution, use the associated metadata URLs to retrieve and display the appropriate images, descriptions, or other relevant content related to each NFT.
By interacting with your NFTs, you can transfer ownership between Ethereum addresses, allow users to explore the details and metadata of your NFTs, and create engaging user experiences that showcase your digital assets.
Remember to thoroughly test your smart contract functions to ensure the proper execution of ownership transfers and accurate retrieval of NFT details. Conducting comprehensive testing will help identify and resolve any potential issues before releasing your NFTs to the public.
In the next step, let’s explore how you can add additional features to your NFTs, such as royalties, unlockable content, or rarity attributes, to enhance their desirability and value.
Step 6: Adding additional features to your NFTs
Once you have successfully interacted with your NFTs, you can consider adding additional features to enhance their desirability, uniqueness, and value. Here are some ideas for adding extra features to your NFTs:
- Royalties: Implement a royalty mechanism that allows creators to earn a percentage of future sales whenever their NFT is sold in the secondary market. This can be achieved by adding a royalty fee to the transfer function and automatically distributing it to the creator’s wallet upon each sale.
- Unlockable Content: Consider adding hidden or unlockable content to your NFTs. This can be exclusive digital assets, special discounts, or access to restricted events or experiences. Users can unlock this content by using a specific key or meeting certain criteria defined in the smart contract.
- Rarity Attributes: Assign rarity attributes to your NFTs to create different tiers or categories within your collection. These attributes can be based on scarcity, quality, or other unique characteristics. Users and collectors are often attracted to NFTs with rare attributes, making them more valuable and desirable.
- Utility Functions: Add utility functions to your NFTs to extend their functionality beyond mere digital collectibles. For example, you can enable NFTs to grant access to exclusive events, provide membership perks, or even serve as virtual keys for virtual real estate or virtual world experiences.
- Gamification: Incorporate game-like elements into your NFTs to engage users and create a sense of excitement. This can include interactive elements, leaderboard systems, challenges, or rewards for achieving specific milestones or accomplishments within the NFT ecosystem.
Adding these additional features requires further customization of your smart contract and potentially collaborating with external platforms or services. It’s important to carefully design and test these features to maintain the integrity of your NFTs and ensure a seamless user experience.
Remember that innovation and creativity play a significant role in the success of your NFTs. Explore new ideas and experiment with different features to differentiate your collection and cater to the interests of your target audience.
Congratulations! You have completed all the steps necessary to code, deploy, mint, interact with, and enhance your NFTs. You are now ready to share your digital creations and participate in the exciting world of blockchain-powered digital ownership. Keep exploring and pushing the boundaries of what’s possible with NFTs!
Conclusion
As the world of digital ownership continues to evolve, the coding of NFTs provides a gateway to unleash your creativity and participate in a vibrant ecosystem. By following the steps outlined in this article, you can embark on a journey to create, mint, and interact with your own non-fungible tokens.
Understanding the concept of NFTs and the underlying blockchain technology is essential to grasp their significance. NFTs offer a unique way to represent ownership and authenticity of digital assets, revolutionizing the art, music, gaming, and collectibles industries.
By coding NFTs, you have the freedom to tokenize your own artwork, music, or other digital creations, granting them unique identities on the blockchain. Minting NFTs enables you to establish direct connections with collectors, explore new revenue streams, and become part of a supportive community of creators and enthusiasts.
Remember to consider the pre-requisites carefully, set up the development environment correctly, create a smart contract that defines the structure and functionality of your NFTs, deploy the contract to the blockchain, mint the NFTs, and interact with them using additional features. Continually innovate and explore new possibilities to stand out in the growing NFT market.
However, it’s important to be mindful of the challenges and considerations in the NFT space, such as environmental concerns and copyright issues. Strive for responsible and sustainable practices while contributing to the NFT ecosystem.
Now that you have the knowledge and tools to code NFTs, it’s time to unleash your creativity and create digital assets that capture the imagination and interest of collectors around the world. Embrace the possibilities that NFTs bring and watch as your digital creations become unique and valuable pieces in the world of decentralized digital ownership.