Introduction
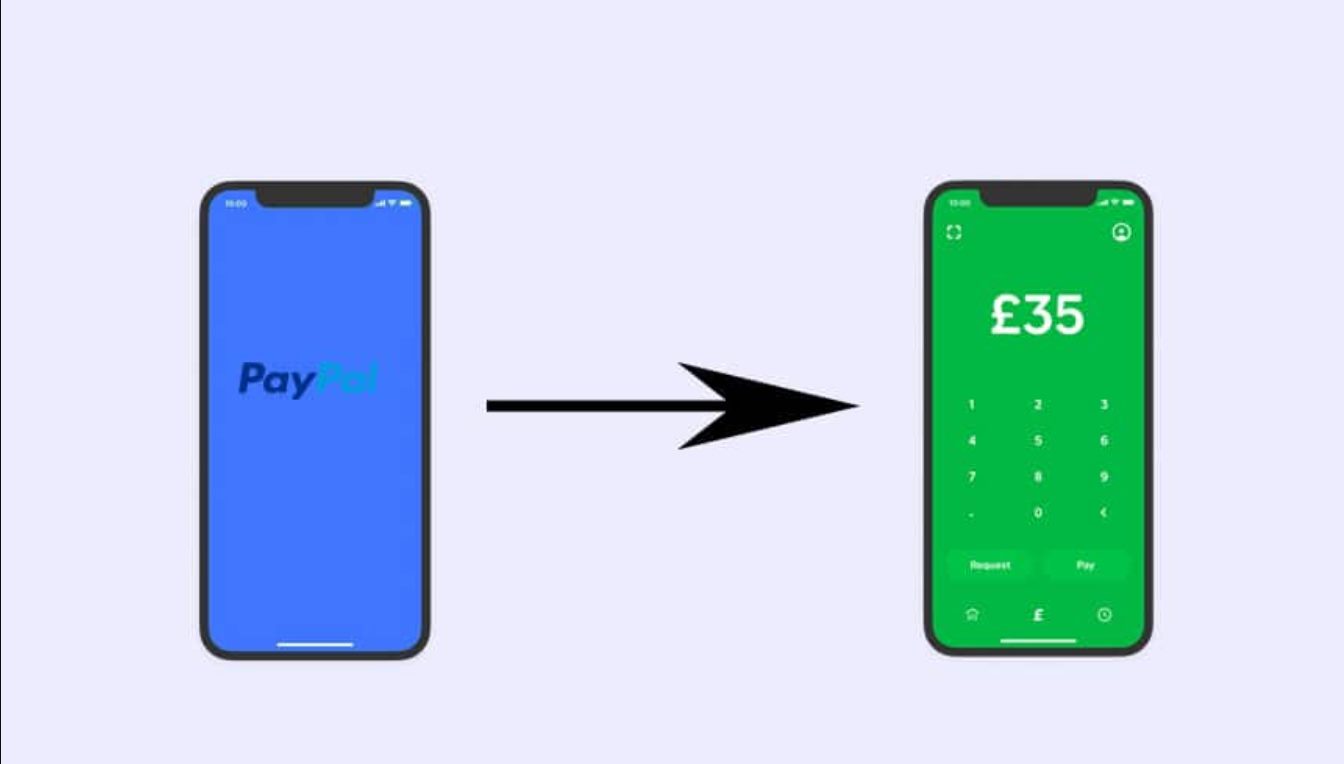
Are you wondering how to send money from Cash App to PayPal? You’re not alone – many people are looking for a simple and convenient way to transfer funds between these popular online payment platforms. Fortunately, with a few easy steps, you can seamlessly link your Cash App and PayPal accounts and make hassle-free money transfers.
Both Cash App and PayPal offer user-friendly interfaces and secure transactions, making them popular choices for sending and receiving money electronically. While Cash App is primarily known for peer-to-peer payments and PayPal is widely used for online purchases, it is possible to transfer funds between these platforms.
In this guide, we will walk you through the step-by-step process of sending money from Cash App to PayPal. You’ll learn how to link your PayPal account to Cash App, verify your PayPal account on Cash App, add money to your Cash App account, initiate the transfer, and confirm the transferred amount on PayPal. By following these instructions, you’ll be able to move your money between these two platforms quickly and securely.
Whether you’re looking to settle a debt, split expenses with friends, or move funds between your personal accounts, the ability to send money from Cash App to PayPal can be incredibly convenient. Rather than withdrawing your money from Cash App to a bank account and then transferring it to PayPal, this direct method allows for a more efficient and streamlined process.
Now, let’s dive into the step-by-step instructions for linking your Cash App and PayPal accounts and sending money between them. By the end of this guide, you’ll be able to navigate the transfer process with ease, saving you time and enabling you to manage your finances more efficiently.
Step 1: Linking Your PayPal Account to Cash App
The first step in sending money from Cash App to PayPal is to link your PayPal account to your Cash App account. Here’s how to do it:
- Open the Cash App on your mobile device and login to your account.
- Tap on the profile icon located at the top left corner of the screen. This will take you to your Account menu.
- Scroll down and select “Cash & BTC”.
- Under the “Cash” section, locate and tap on the “Add Bank” option.
- From the list of banks, search for and select PayPal.
- Follow the prompts to log in to your PayPal account and authorize the connection with Cash App.
- Once the connection is established, your PayPal account will be linked to your Cash App account.
By linking your PayPal account to Cash App, you are allowing the two platforms to communicate and facilitate money transfers between them.
It’s important to note that this linking process is necessary for the initial setup, but you will not need to repeat it for future transfers. Once your accounts are linked, you can proceed to the next steps whenever you want to send money from Cash App to PayPal.
Now that you’ve successfully linked your PayPal account to Cash App, you’re ready to move on to the next step: verifying your PayPal account on Cash App. This verification step is crucial for ensuring the security and authenticity of your transactions. Keep reading to learn how to complete the verification process.
Step 2: Verifying Your PayPal Account on Cash App
Verifying your PayPal account on Cash App is an important step to ensure the security and authenticity of your transactions. Here’s how you can do it:
- Open the Cash App on your mobile device and log in to your account.
- Navigate to the profile icon located at the top left corner of the screen to access your Account menu.
- Scroll down and select “Cash & BTC”.
- Under the “Cash” section, you will see your linked PayPal account.
- Tap on your linked PayPal account.
- Click on the “Verify Identity” option.
- Follow the prompts to enter the necessary information, including your PayPal email address and password.
- Once you’ve entered the required information, tap on the “Submit” button.
After submitting the information, Cash App will initiate the verification process with PayPal. This process usually takes a few minutes, but it can take longer in some cases.
During the verification process, PayPal may send an email or text message to the registered contact information associated with your PayPal account. This is to confirm your identity and authorize the connection with Cash App.
Make sure to check your email or text messages and follow any instructions provided by PayPal to complete the verification process. Once your PayPal account is successfully verified on Cash App, you’ll be ready to proceed with transferring money between the two platforms.
The verification step is crucial for maintaining the security of your financial transactions and preventing unauthorized access. It ensures that the money you transfer is going to the intended recipient and helps protect you from potential fraud or scams.
Now that you’ve verified your PayPal account on Cash App, it’s time to move on to the next step: adding money to your Cash App account. Keep reading to learn how to do this.
Step 3: Adding Money to Your Cash App Account
Before you can initiate a transfer from Cash App to PayPal, you’ll need to ensure that you have sufficient funds in your Cash App account. Here’s how to add money to your Cash App account:
- Open the Cash App on your mobile device and log in to your account.
- On the home screen, locate and tap on the “Banking” tab at the bottom of the screen.
- Here, you’ll see your Cash App balance and any linked bank accounts or cards.
- Tap on the “Add Cash” option to add money to your Cash App account.
- Enter the amount you wish to add and tap “Add”.
- Verify your identity by following the prompts, which may include providing your PIN or using Touch ID/facial recognition.
- Once the transaction is confirmed, the amount will be added to your Cash App balance.
It’s important to note that adding money to your Cash App account may involve certain fees, depending on the source of the funds and the transaction type. Make sure to review and understand the applicable fees before proceeding with the transaction.
Adding money to your Cash App account ensures that you have sufficient funds to initiate the transfer to your PayPal account. Without a balance in your Cash App account, you won’t be able to proceed with the transfer process.
Now that you’ve successfully added money to your Cash App account, it’s time to move on to the next step: initiating the transfer from Cash App to PayPal. Keep reading to learn how to do this and complete the money transfer.
Step 4: Initiating the Transfer
Now that you have linked your PayPal account, verified your identity, and added money to your Cash App account, it’s time to initiate the transfer from Cash App to PayPal. Here’s how you can do it:
- Open the Cash App on your mobile device and log in to your account.
- On the home screen, tap on the “Banking” tab at the bottom of the screen.
- Scroll down and locate your Cash App balance.
- Tap on the “Transfer” option next to your Cash App balance.
- Enter the amount you want to transfer to your PayPal account.
- Tap on the “Transfer to Bank” option.
- Select your linked PayPal account as the destination for the transfer.
- Review the details of the transfer, including the amount and the linked PayPal account.
- Once you have verified the information, tap on the “Transfer” button to initiate the transfer from Cash App to PayPal.
It’s important to note that there may be some processing time involved in the transfer. While Cash App strives to process transfers quickly, it could take up to 3-5 business days for the funds to appear in your PayPal account.
During this time, it’s essential to keep an eye on your PayPal account and check for any updates or notifications related to the transfer. If there are any issues or delays, it’s best to reach out to the customer support teams of both Cash App and PayPal for assistance. They will be able to provide you with the necessary guidance to resolve any transfer-related concerns.
With the transfer initiated, you’re one step closer to receiving the money in your PayPal account. The next step is to confirm the transfer on PayPal, which we’ll discuss in the following section. Keep reading to learn how to complete the process and receive the transferred funds.
Step 5: Confirming the Transfer on PayPal
After initiating the transfer from Cash App to PayPal, you will need to confirm the transfer on your PayPal account. Here’s how you can do it:
- Open your PayPal account on your preferred device and log in.
- Navigate to your account overview or home screen.
- Look for the transaction or pending transfer from Cash App.
- Click on the transaction to view the details.
- Review the transfer details, including the transfer amount and the source account.
- If everything looks correct, confirm the transfer by clicking on the “Accept” or “Confirm” button.
Confirming the transfer on your PayPal account is an important step to ensure that the funds sent from Cash App are credited to your PayPal balance. By reviewing and accepting the transfer, you can avoid any delays or issues in receiving the funds.
It’s important to note that the transfer may take some time to reflect in your PayPal account. This duration can vary depending on various factors, including the processing times of both Cash App and PayPal. Typically, the transfer will be completed within 3-5 business days, but it’s advisable to monitor your PayPal account for any updates or notifications related to the transfer.
If you encounter any difficulties or have any questions regarding the transfer confirmation process on PayPal, it’s recommended to reach out to the PayPal customer support team. They will be able to assist you further and provide you with the necessary guidance to ensure a smooth and successful transfer.
With the transfer confirmed on PayPal, you’re now ready to receive the money in your PayPal account. The final step in the process is receiving the transferred funds, which we’ll discuss in the next section. Keep reading to learn how to complete the process and access the transferred funds.
Step 6: Receiving the Money in Your PayPal Account
After confirming the transfer on PayPal, you’re just moments away from receiving the transferred funds in your PayPal account. Here’s what you need to do:
- Log in to your PayPal account on your preferred device.
- Navigate to your account overview or home screen.
- Check your PayPal balance to ensure that the transferred amount is reflected.
- If the transferred funds are successfully received, you can now access and use them for various purposes.
Once the transfer is complete, you can use the funds in your PayPal account for online purchases, sending money to others, or withdrawing to your bank account. PayPal offers a range of options to manage and utilize your funds, ensuring convenience and flexibility.
It’s important to note that while the transfer process generally takes 3-5 business days, there may be unforeseen delays or issues that could impact the timing of the transfer. If you do not see the transferred funds in your PayPal account within the expected timeframe, it’s recommended to contact PayPal customer support for assistance.
PayPal’s customer support team will be able to investigate the transfer status and provide you with the necessary guidance to resolve any issues or concerns. They are skilled professionals who can help navigate any potential challenges and ensure a smooth transfer process.
With the funds successfully received in your PayPal account, you can now enjoy the advantages and convenience of having money in one of the most widely used online payment platforms. Whether you’re looking to make online purchases, send money to friends and family, or manage your finances, PayPal provides a safe and reliable way to do so.
Congratulations! You’ve completed the process of sending money from Cash App to PayPal. By following the steps outlined in this guide, you’ve successfully linked your PayPal account to Cash App, verified your PayPal account, added money to your Cash App account, initiated the transfer, confirmed it on PayPal, and received the funds in your PayPal account.
Remember to monitor your accounts regularly, keep track of your transactions, and reach out to customer support if you encounter any difficulties along the way. By doing so, you can ensure a seamless and secure money transfer experience between Cash App and PayPal.
Thank you for following this guide, and we hope it has helped you successfully transfer money from Cash App to PayPal!
Conclusion
Transferring money from Cash App to PayPal doesn’t have to be a complicated process. By following the step-by-step instructions outlined in this guide, you can seamlessly link your PayPal account to Cash App, verify your identity, add money to your Cash App account, initiate the transfer, confirm it on PayPal, and receive the funds in your PayPal account.
With the ability to send money between Cash App and PayPal, you can conveniently manage your finances, settle debts, split expenses with friends, and more. The direct transfer eliminates the need to withdraw funds from Cash App to a bank account and then transfer them to PayPal, saving you time and streamlining your transactions.
Throughout the process, it’s important to keep an eye on your accounts, monitor transaction details, and reach out to customer support if you encounter any difficulties or have any questions. Both Cash App and PayPal have dedicated support teams that can provide valuable assistance and ensure a smooth transfer experience.
Remember that the transfer process may take a few business days to complete, so it’s important to plan accordingly and be patient. Additionally, make sure to review any applicable fees associated with the transfer and familiarize yourself with the terms and conditions of both Cash App and PayPal.
By following the steps in this guide, you have gained the knowledge and confidence to easily send money from Cash App to PayPal whenever needed. Whether you’re managing personal finances or conducting business transactions, the ability to transfer funds between these two popular payment platforms opens up a world of possibilities.
Thank you for choosing to follow this guide. We hope it has been helpful in navigating the transfer process and ensuring a successful transaction between Cash App and PayPal. Wishing you effortless money transfers and a seamless financial experience!