Introduction
Welcome to the world of online payments and financial transactions! One of the most popular and trusted platforms for managing your online money is PayPal. Whether you’re a budding entrepreneur, an avid online shopper, or simply someone looking for a convenient way to send and receive money, opening a PayPal account is the first step towards seamless online transactions. In this article, we will guide you through the process of setting up your very own PayPal account, ensuring a smooth and hassle-free experience.
PayPal provides a secure and reliable platform that allows users to make payments, receive funds, and manage their money with ease. It offers a wide range of features and benefits, including buyer and seller protection, seamless integration with various e-commerce platforms, and the ability to link multiple payment methods. Whether you’re a freelancer, an online retailer, or someone who wants to simplify their personal finances, a PayPal account is a versatile tool that caters to your needs.
Setting up your PayPal account is a straightforward process that can be completed in just a few simple steps. In this article, we will walk you through each step, from visiting the PayPal website to confirming your email address, linking a bank account or credit card, and completing the identity verification process. We will also provide tips on setting up your security measures to keep your account safe and secure.
By the end of this article, you will have all the information you need to confidently open your own PayPal account. So, let’s dive in and get started on this exciting journey of digital payments and financial freedom!
Step 1: Go to the PayPal website
The first step in opening a PayPal account is to visit the official PayPal website. Open your preferred web browser and type in www.paypal.com in the address bar. Press Enter or click on the search button to navigate to the PayPal homepage.
Once you land on the PayPal homepage, you will be presented with two options: “Personal” or “Business” account. Choose the option that best suits your needs. If you are an individual looking to make personal transactions or online shopping, select the “Personal” account. If you are a seller or have a small business, you may want to consider opening a “Business” account, which offers additional features tailored to your specific requirements.
After selecting the account type, click on the corresponding button and you will be directed to the sign-up page. Here, you will need to provide some basic information to create your PayPal account.
It’s important to note that PayPal is available in multiple countries around the world. Make sure you are on the correct country-specific PayPal website to ensure seamless integration with local financial systems and currencies.
Before proceeding to the next step, take a moment to ensure that the website address in your browser’s address bar starts with “https://” instead of “http://”. The “s” in “https://” indicates that the connection is secure and encrypted, providing an added layer of protection for your personal and financial information.
Now that you have arrived at the PayPal website and selected the appropriate account type, you are ready to move on to the next step and fill out the sign-up form. Exciting times lie ahead as you delve into the world of online payments and financial transactions!
Step 2: Choose between a Personal or Business account
Once you’ve reached the PayPal website, you’ll need to decide whether you want to open a Personal or Business account. This choice depends on the nature of your online transactions and your specific needs.
If you’re an individual who primarily uses PayPal for personal purposes, such as making online purchases or sending money to friends and family, a Personal account is the right choice for you. With a Personal account, you can easily manage your personal finances and enjoy the convenience of secure online payments.
On the other hand, if you’re a business owner or an entrepreneur selling products or services online, opening a Business account is the way to go. A Business account offers additional features tailored to meet the needs of companies, such as the ability to accept payments under your business name, access to advanced reporting tools, and the option to integrate PayPal into your e-commerce website.
When selecting between a Personal and Business account, it’s crucial to consider your long-term goals and the scale of your online operations. While a Personal account is suitable for most individuals, a Business account provides added functionality and flexibility for growing businesses.
To make your choice, click on the corresponding option on the PayPal website. You’ll be directed to the sign-up page for either the Personal or Business account, depending on your selection. You can always upgrade or downgrade your account type later if your needs change.
Remember, whether you choose a Personal or Business account, PayPal offers secure and reliable payment solutions that will streamline your online financial transactions. With your account type selected, you’re ready to move on to the next step and fill out the sign-up form.
Step 3: Fill out the sign-up form
After selecting the account type that suits your needs, you will be directed to the sign-up form page. This is where you will provide the necessary information to create your PayPal account.
The sign-up form will require you to provide personal details such as your name, email address, and password. When choosing a password, make sure it is strong and unique to ensure the security of your account. It is recommended to include a combination of upper and lowercase letters, numbers, and special characters.
In addition to your personal information, you may also be asked to provide your country of residence, preferred language, and contact number. These details help PayPal tailor its services to your specific location and preferences.
It’s important to provide accurate and up-to-date information during the sign-up process. This ensures that PayPal can verify your identity and allows for smooth transactions in the future. Remember to double-check your information before proceeding to the next step.
Once you’ve filled out the sign-up form, take a moment to review the terms and conditions of using PayPal. Familiarize yourself with the policies and guidelines to ensure that you understand the responsibilities and benefits that come with having a PayPal account.
After reviewing the terms and conditions, if you agree to them, click on the “Agree and Create Account” button. By doing so, you confirm that you have read and accept the terms and conditions set forth by PayPal.
Congratulations! You have successfully completed the sign-up form and are one step closer to having your own PayPal account. The next step is to confirm your email address, which we will cover in the following section.
Step 4: Confirm your email address
Confirming your email address is an essential step in the PayPal account creation process. It helps verify your identity and ensures that you have provided a valid contact method for important account-related communications.
After filling out the sign-up form, PayPal will send a confirmation email to the address you provided during the registration. Check your email inbox or spam folder for an email from PayPal. Once you locate the email, open it and look for the confirmation link or button.
Clicking on the confirmation link will redirect you to a page where PayPal verifies that the email address belongs to you. This step is crucial for account security and prevents unauthorized individuals from creating PayPal accounts using someone else’s email address.
If you’re unable to find the confirmation email, you may request a new one by clicking on the “Resend confirmation email” option on the PayPal website. Make sure to check your email settings to ensure that messages from PayPal are not being filtered or marked as spam.
In some cases, PayPal may require additional steps to confirm your email address, such as entering a verification code sent to your phone number. Follow the instructions provided in the email to complete the confirmation process.
Once you’ve successfully confirmed your email address, you can proceed to the next steps in setting up your PayPal account. This confirmation signifies that your account is now active and ready for use.
It’s essential to keep your email address associated with your PayPal account up to date. This ensures that you receive important notifications and alerts regarding your transactions and account activity.
With your email address confirmed, you’re one step closer to fully utilizing all the features and benefits of your PayPal account. Now, let’s move on to linking a bank account or credit/debit card to your PayPal account, which we will cover in the next section.
Step 5: Link a bank account or credit/debit card
Linking a bank account or credit/debit card to your PayPal account allows you to fund your payments and receive funds seamlessly. It provides you with flexibility and convenience when conducting online transactions.
To link a bank account, navigate to the “Wallet” section of your PayPal account. Click on the “Link a bank account” option and follow the instructions provided. You will be prompted to enter your bank account details, such as your account number and routing number. PayPal may also require you to verify your bank account by confirming small deposits made to your account.
If you prefer to link a credit or debit card, select the “Link a card” option in your PayPal Wallet. Enter the required card information, including the card number, expiration date, and security code. Make sure that the card you’re linking is valid and issued by a supported financial institution.
By linking a bank account or card, you can easily transfer funds to and from your PayPal account. This enables you to make online purchases, receive payments from clients or customers, and withdraw funds to your bank account when needed.
It’s important to note that PayPal may charge a small fee for certain transactions, such as withdrawing funds to a linked bank account or sending money in a different currency. Familiarize yourself with PayPal’s fee structure and policies to understand the potential costs associated with using your PayPal account.
Ensure that your bank account or card information is kept up to date. If you change banks or get a new card, make sure to update your information in your PayPal account settings.
Once you have successfully linked a bank account or card to your PayPal account, you can conveniently manage your finances and perform various online transactions with ease. Now, let’s move on to the next step, which is completing the identity verification process.
Step 6: Complete the identity verification process
Completing the identity verification process is an important step in ensuring the security and integrity of your PayPal account. It helps PayPal verify your identity and comply with regulatory requirements.
To complete the identity verification process, PayPal may ask you to provide additional information and supporting documents. This can include uploading a copy of your government-issued identification, such as a passport or driver’s license.
The purpose of identity verification is to confirm that you are who you claim to be, and it helps prevent unauthorized individuals from accessing and using your PayPal account.
PayPal utilizes advanced security measures to protect your personal information and employs encryption technology to safeguard your data during transmission. Rest assured that the information you provide for identity verification purposes is handled securely and confidentially.
If PayPal requires further clarification or additional documentation, they will reach out to you through the email address associated with your account. Make sure to promptly respond to any requests to avoid any limitations or restrictions on your account.
By completing the identity verification process, you can enjoy increased account limits and access to additional features and functionalities offered by PayPal. It enhances the security of your account and provides peace of mind knowing that your financial transactions are protected.
Remember, it’s crucial to keep your personal information up to date in your PayPal account. This includes your name, address, phone number, and any other relevant details. This ensures that PayPal has accurate information on file and helps prevent any issues that may arise when conducting transactions or accessing your account.
With your identity successfully verified, you’re ready to move on to the next step, which involves setting up the necessary security measures to keep your PayPal account safe and secure.
Step 7: Set up your security measures
Protecting your PayPal account is of utmost importance to ensure the safety of your financial transactions and personal information. Setting up the necessary security measures helps safeguard your account from unauthorized access and potential fraud.
One of the most crucial security measures you should implement is setting a strong and unique password for your PayPal account. Make sure to use a combination of uppercase and lowercase letters, numbers, and special characters. Avoid using easily guessable information, such as your name or birthdate, and refrain from using the same password for multiple accounts.
In addition to a strong password, consider enabling two-factor authentication (2FA) for your PayPal account. This adds an extra layer of security by requiring a verification code in addition to your password when logging in. The verification code is usually sent to your mobile device via SMS or generated through a 2FA app.
Regularly monitoring your account activity is also a crucial security measure. PayPal provides transaction history and account activity logs that enable you to review and track any suspicious or unauthorized transactions. If you notice any unauthorized activity, report it to PayPal immediately.
Another security measure you can implement is to link your PayPal account to a mobile phone number. This allows you to receive important security alerts and notifications when there are changes or updates to your account. It also provides an additional layer of protection against unauthorized access.
PayPal also offers advanced security features such as security keys, which provide an additional level of protection against phishing attacks. Security keys are small physical devices that generate a unique code each time you log in, making it nearly impossible for hackers to gain access to your account.
Be cautious of phishing attempts that mimic PayPal’s official website or emails. Always double-check the website URL and email sender’s address to ensure they are genuine. PayPal will never ask for your personal information, such as your password or financial details, through email or other unsolicited means.
By implementing these security measures, you can minimize the risk of unauthorized access to your PayPal account and protect your financial information. Stay vigilant and be proactive in keeping your account secure.
Now that you’ve set up the necessary security measures, you’re ready to start using your PayPal account for seamless online transactions. Let’s move on to the final step and explore how to make the most of your new PayPal account.
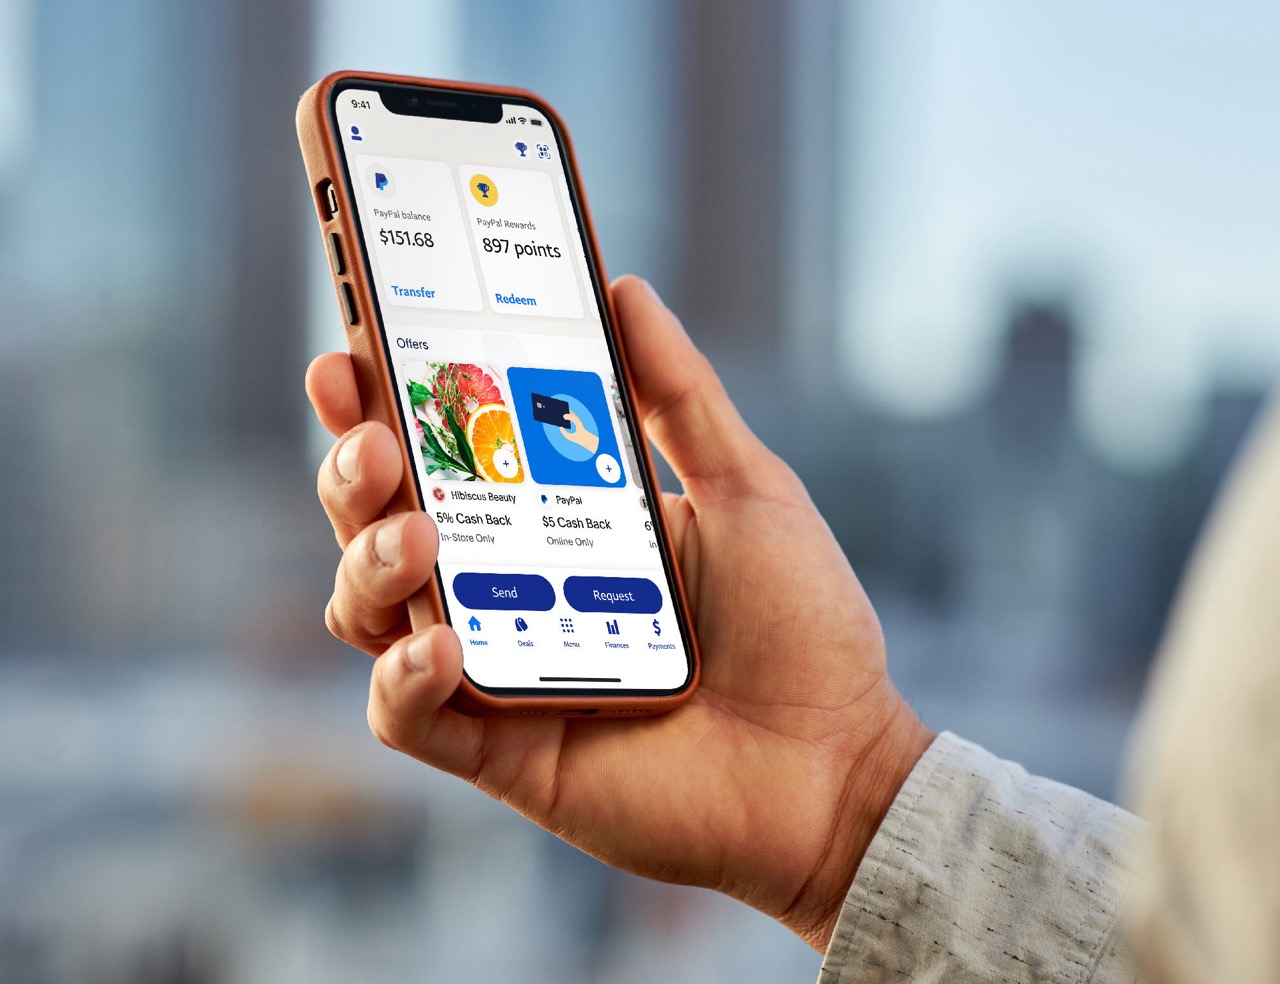
Step 8: Start using your PayPal account
Congratulations! You have successfully completed all the necessary steps to set up your PayPal account. Now it’s time to start using it for your online transactions and financial activities.
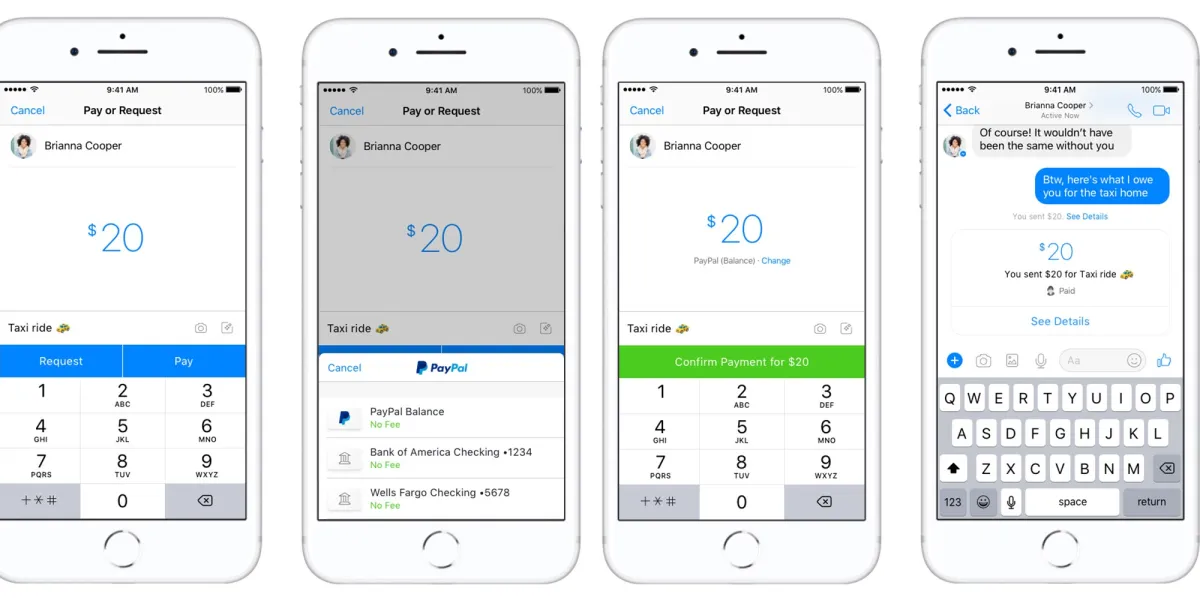
With your PayPal account, you can make secure online payments when shopping at millions of merchants worldwide. Simply look for the PayPal checkout option on websites and choose PayPal as your preferred payment method. Log in to your PayPal account during the checkout process, review the payment details, and confirm the transaction. Your payment will be processed securely, and you’ll receive a confirmation of the transaction.
If you’re a business owner or freelancer, you can accept payments from clients and customers through your PayPal account. You can generate payment links or invoices and send them to your customers via email or other communication channels. PayPal provides a seamless way to receive payments, helping you grow your business and manage your cash flow efficiently.
Aside from making and receiving payments, PayPal offers additional features and services. You can send money to friends and family, split bills, or settle debts quickly and securely. PayPal also provides a platform for fundraising and charitable donations, making it easy to support causes you care about.
Don’t forget that PayPal offers a mobile app for iOS and Android devices. This allows you to access your account on the go, make payments, and manage your transactions from the convenience of your smartphone or tablet.
As you use your PayPal account, make sure to regularly review your account activity, monitor your transactions, and keep your contact information up to date. This helps in quickly identifying any discrepancies or unauthorized activities and ensures that you receive important account notifications and updates.
Remember to take advantage of PayPal’s customer support if you have any questions, concerns, or issues with your account. PayPal offers various channels for customer support, including email, live chat, and a comprehensive help center filled with useful articles and FAQs.
Now that you’re familiar with using your PayPal account, feel confident in making secure online transactions and enjoy the convenience and peace of mind that comes with using PayPal as your preferred payment method.
Thank you for following this step-by-step guide on how to open and utilize your PayPal account. Wishing you countless successful transactions and a hassle-free online financial journey!
Conclusion
Congratulations on successfully opening your PayPal account! You have now entered the world of seamless online transactions and secure financial management. Through this step-by-step guide, we have covered the essential steps to set up your PayPal account, from visiting the PayPal website to confirming your email address, linking your bank account or credit/debit card, completing the identity verification process, setting up security measures, and finally, starting to use your PayPal account for various online activities.
With your PayPal account, you can make secure purchases from millions of merchants worldwide, accept payments for your business or freelance services, and easily send money to friends and family. PayPal offers a range of convenient features, such as the ability to link multiple payment methods, receive buyer and seller protection, and access advanced reporting tools.
Remember to keep your account secure by setting a strong password, enabling two-factor authentication, and regularly monitoring your account activity. Stay vigilant against phishing attempts and keep your personal information up to date.
If you encounter any issues or have questions about your PayPal account, don’t hesitate to reach out to PayPal’s customer support for assistance. Additionally, PayPal’s help center offers a wealth of resources to help answer commonly asked questions and provide guidance on using their services.
Enjoy the convenience and peace of mind that come with using PayPal for your online financial transactions. With your new PayPal account, you can confidently navigate the digital landscape, making secure payments and managing your finances with ease.
Thank you for following this guide, and we wish you success and satisfaction in utilizing your PayPal account to its fullest potential!