Introduction
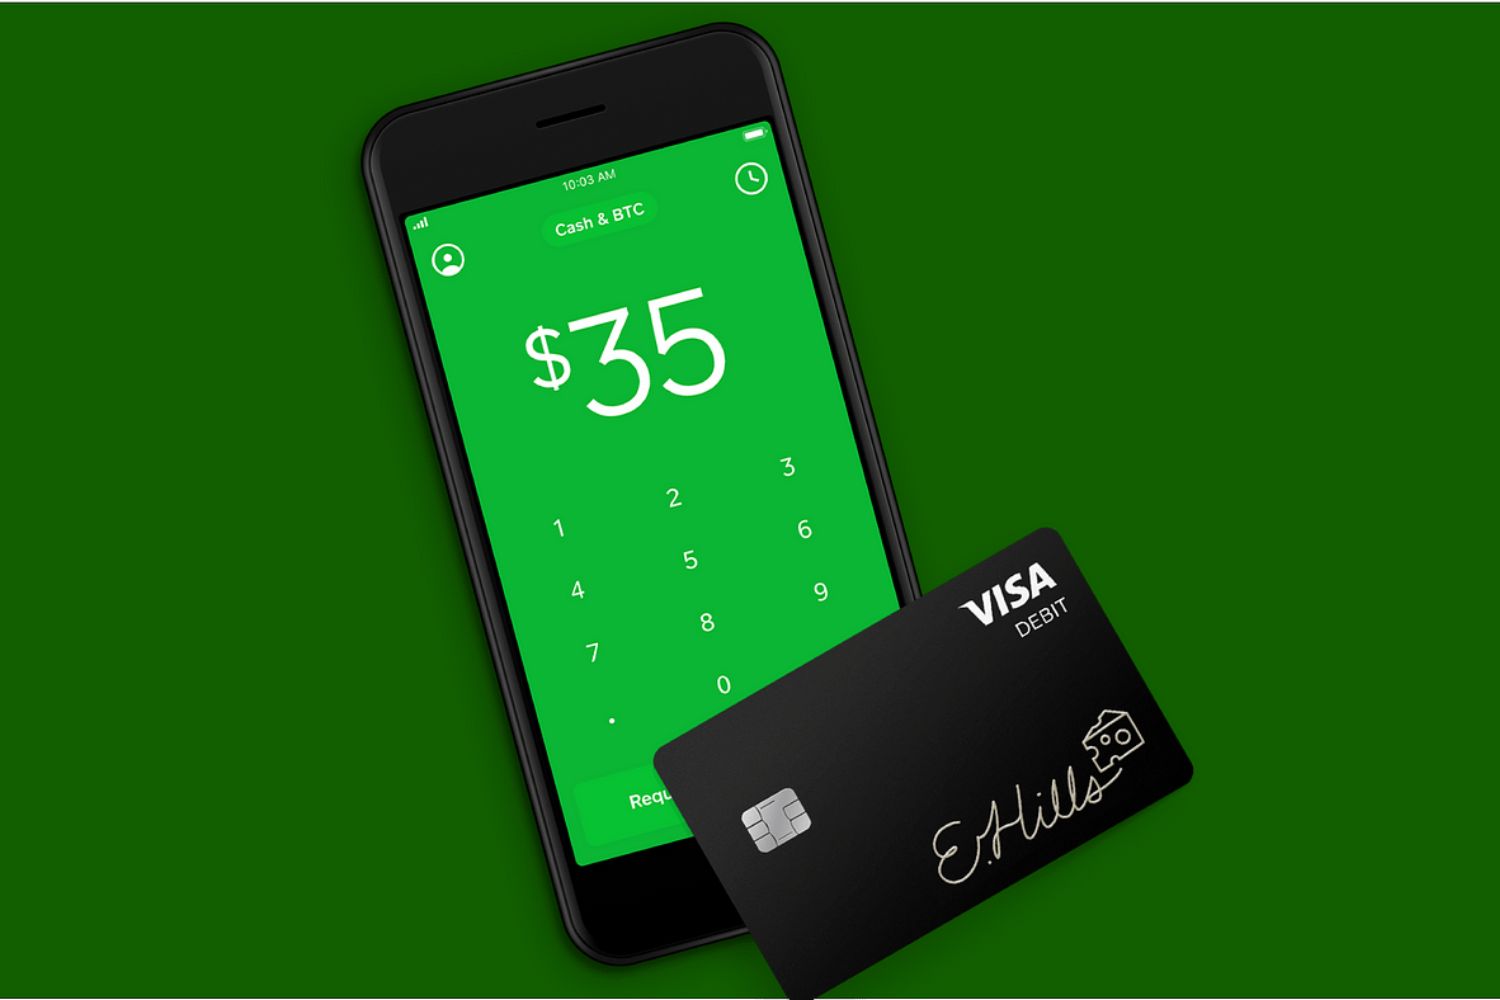
Welcome to this guide on how to sell Bitcoin on Cash App. As Bitcoin continues to gain popularity and acceptance, many people are looking for convenient ways to convert their Bitcoin into cash. Cash App, a popular peer-to-peer payment app, offers a simple and user-friendly platform for buying and selling Bitcoin. Whether you’re a beginner or an experienced cryptocurrency investor, this step-by-step guide will walk you through the process of selling your Bitcoin on Cash App.
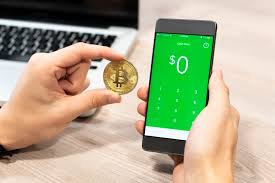
Selling Bitcoin on Cash App is a quick and straightforward process that allows you to turn your Bitcoin holdings into cash that can be transferred to your bank account. With just a few taps on your mobile device, you can sell your Bitcoin and access the funds instantly. Cash App also offers competitive exchange rates and low fees, making it an attractive option for selling Bitcoin.
Before you start, it’s important to note that Cash App is currently only available in the United States and the United Kingdom. If you’re located in one of these countries and have a verified Cash App account, you’re ready to begin selling your Bitcoin.
In the following sections, we will walk you through the step-by-step process of selling Bitcoin on Cash App. We will cover everything from downloading the app and setting up your account to selling your Bitcoin and transferring the funds to your bank account. So, let’s get started and learn how to sell Bitcoin on Cash App!
Step 1: Download the Cash App
The first step in selling Bitcoin on Cash App is to download the app onto your mobile device. Cash App is available for both iOS and Android devices and can be found in the respective app stores. Simply search for “Cash App” and look for the official app developed by Square Inc. Once you find it, click on the “Download” or “Install” button to begin the download process.
Once the app is successfully downloaded and installed on your device, you can proceed to the next step.
If you already have the app installed on your device, ensure that you have the latest version. It’s always a good idea to keep your apps updated to benefit from any improvements and security enhancements.
Cash App is known for its user-friendly interface, so even if you’re new to cryptocurrency, navigating the app should be a breeze. It has a sleek design and intuitive features that make buying and selling Bitcoin a seamless experience.
After the app is downloaded and installed, you’re ready to move on to the next step and create an account on Cash App.
Step 2: Sign up for an account
Now that you have downloaded and installed the Cash App, it’s time to sign up for an account. Launch the app on your mobile device and click on the “Sign Up” or “Create Account” button to begin the registration process.
During the registration process, you will be asked to provide some basic information, including your name, email address, and phone number. Make sure to enter accurate information as it will be used to verify your identity and ensure the security of your account.
After entering the required information, Cash App will send a confirmation code to the phone number or email address provided during the registration process. Enter the code to verify your account and proceed to the next step.
At this point, you will also have the option to link your debit card or bank account to your Cash App account. This is not mandatory for selling Bitcoin, but it allows you to send and receive funds more easily.
Once you have completed the sign-up process, you will have access to your Cash App account and can start exploring its features.
It’s worth mentioning that Cash App takes security seriously and implements measures to protect your information and transactions. However, it’s always recommended to enable two-factor authentication and use a strong password to further enhance the security of your account.
With your Cash App account set up, you’re now ready to move on to the next step and verify your identity.
Step 3: Verify your identity
In order to comply with regulatory requirements and ensure the security of transactions, Cash App requires users to verify their identity. Verifying your identity is a straightforward process and typically involves providing some additional information.
To start the identity verification process, open the Cash App on your mobile device and navigate to the settings menu. Look for the option that says “Identity Verification” or something similar. Click on it to begin the verification process.
During the verification process, Cash App will require you to provide some personal information, such as your full name, date of birth, and the last four digits of your Social Security number (for U.S. users).
Additionally, you may be asked to take a photo of a valid government-issued ID, such as a driver’s license or passport. Make sure the photo is clear and all the details are visible. Cash App will use this information to verify your identity.
Once you have submitted all the required information and documents, Cash App will review your information. The review process usually takes a few minutes, but in some cases, it may take longer. You may receive a notification or an email once your identity is verified.
It’s important to note that Cash App is committed to keeping your personal information secure and takes measures to protect your privacy. Your information will be encrypted and stored securely.
By verifying your identity, you not only comply with the app’s requirements but also gain access to additional features and higher transaction limits. It also helps prevent fraudulent activities and ensures a safer environment for all users.
After successfully verifying your identity, you’re one step closer to selling your Bitcoin on Cash App. Now let’s move on to the next step and add your Bitcoin wallet to your Cash App account.
Step 4: Add your Bitcoin wallet
Now that your Cash App account is set up and your identity is verified, it’s time to add your Bitcoin wallet to the app. This will allow you to send and receive Bitcoin, as well as sell it when the time comes.
To add your Bitcoin wallet, open the Cash App on your mobile device and navigate to the “Investing” or “Invest” section. Look for the option that says “Bitcoin” or “BTC” and click on it.
Next, you will see a screen with information about Bitcoin, including its current price and historical data. At the bottom of the screen, there should be an option to “Enable Bitcoin Withdrawals.” Click on it to proceed.
After enabling Bitcoin withdrawals, Cash App will prompt you to enter your Bitcoin wallet address. This is a unique alphanumeric code that serves as your Bitcoin wallet’s destination for receiving funds. If you already have a Bitcoin wallet, you can enter the address here. If not, you can create a new wallet by following the instructions provided.
Once you have entered your Bitcoin wallet address, Cash App will verify the address to ensure its accuracy. Double-check that you have entered the correct address to avoid any issues with your transactions.
After verifying the address, Cash App will associate your Bitcoin wallet with your account, and you will be able to send and receive Bitcoin from within the app. This step is crucial as it allows you to sell your Bitcoin and convert it into cash.
It’s worth noting that Cash App uses industry-standard security measures to protect your Bitcoin wallet and transactions. However, it’s always a good practice to keep your wallet secure and protect your private keys.
With your Bitcoin wallet successfully added to your Cash App account, you’re now ready for the next step – selling Bitcoin on Cash App.
Step 5: Sell Bitcoin on Cash App
Now that you have set up your Cash App account, verified your identity, and added your Bitcoin wallet, you’re ready to sell your Bitcoin on Cash App.
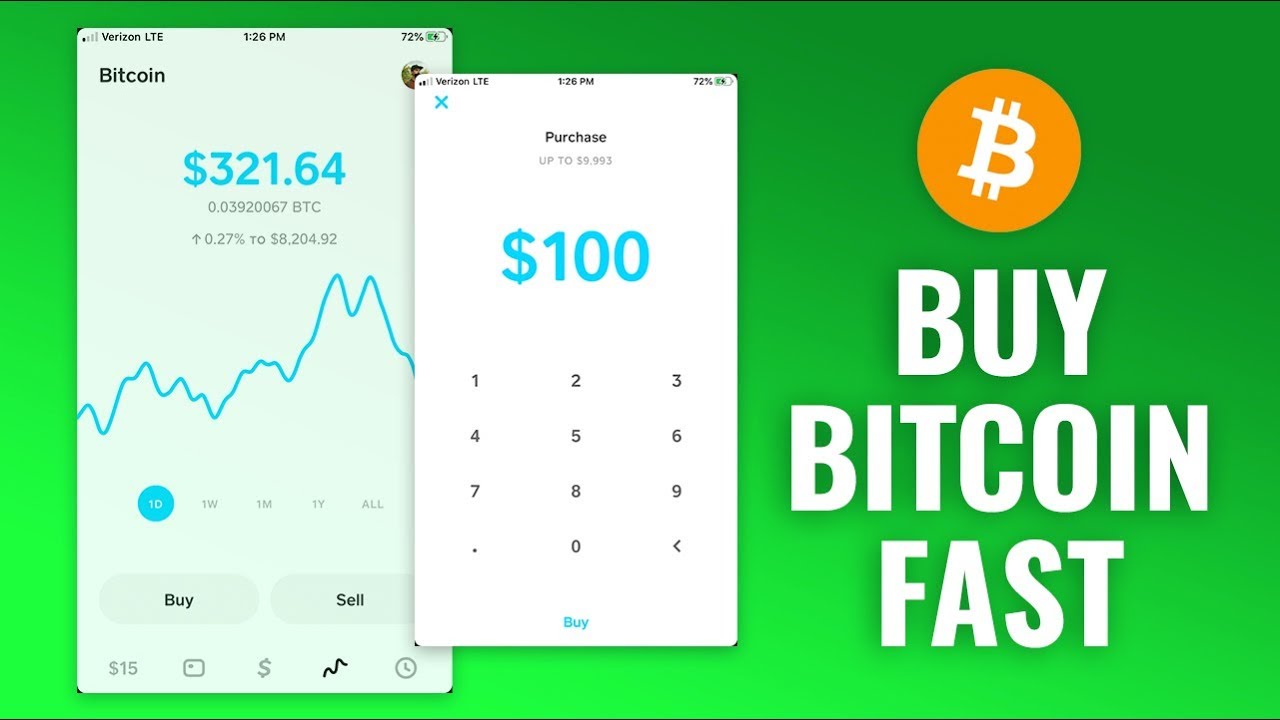
To sell Bitcoin, open the Cash App on your mobile device and navigate to the “Investing” or “Invest” section. Look for the option that says “Bitcoin” or “BTC” and click on it.
On the Bitcoin screen, you will see the option to “Sell” your Bitcoin. Click on it to proceed with the selling process.
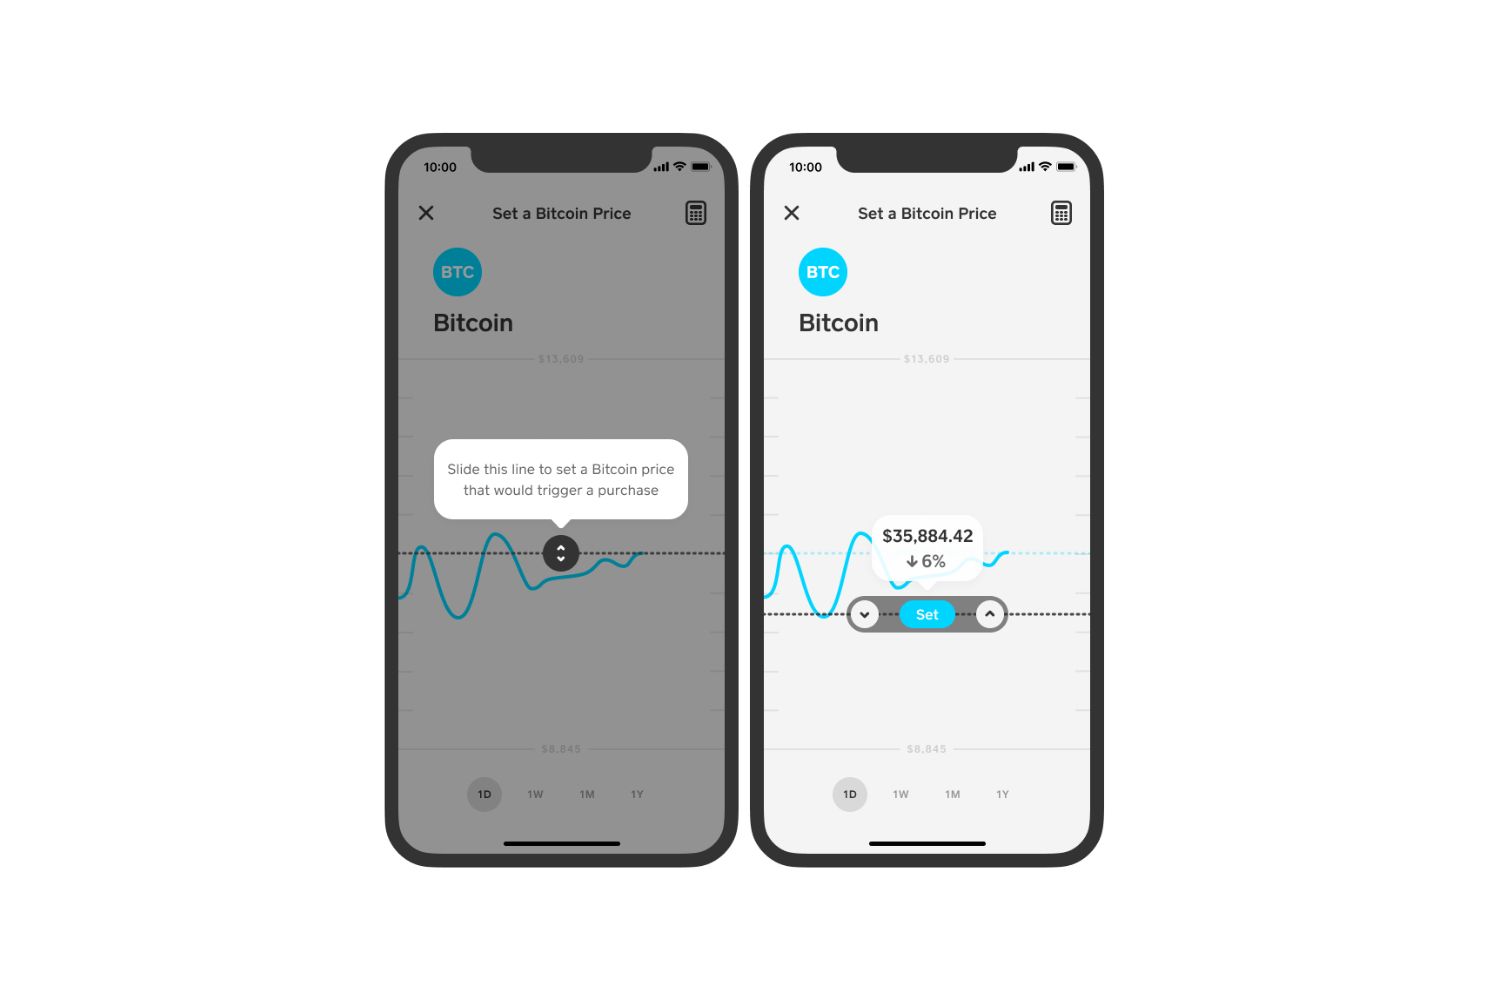
Next, Cash App will ask you to enter the amount of Bitcoin you want to sell. You can either enter the amount in Bitcoin or its equivalent value in your local currency. Cash App will automatically calculate the value based on the current exchange rate.
Once you have entered the amount, review the details to ensure accuracy. Double-check the amount of Bitcoin you’re selling and the estimated value in your local currency.
If everything looks good, click on the “Sell” button to initiate the sale.
Cash App will process the sale and execute the transaction. The funds from the sale will be instantly credited to your Cash App balance.
It’s important to note that Cash App charges a fee for selling Bitcoin. The fee is a percentage of the transaction amount and may vary depending on market conditions. Make sure to review the fee information before confirming the sale.
Once the sale is complete, you will see a confirmation screen with the details of the transaction. You can also view the transaction history in the app to keep track of your Bitcoin sales.
With the sale completed, you have successfully converted your Bitcoin into cash. The funds will be available in your Cash App balance, and you can use them for various purposes, send them to friends or family, or transfer them to your bank account.
Now that you’ve sold your Bitcoin, it’s important to know the next steps for transferring the funds to your bank account. Let’s move on to the next step.
Step 6: Choose how much Bitcoin to sell
When selling Bitcoin on Cash App, it’s important to carefully consider how much Bitcoin you want to sell. This step will determine the amount of cash you will receive in exchange for your Bitcoin.
To choose how much Bitcoin to sell, open the Cash App on your mobile device and navigate to the “Investing” or “Invest” section. Look for the option that says “Bitcoin” or “BTC” and click on it.
On the Bitcoin screen, you will see the option to “Sell” your Bitcoin. Click on it to proceed with the selling process.
Before entering the amount, it’s helpful to evaluate the current market conditions and the value of Bitcoin. This will give you an idea of how much your Bitcoin is worth and help you make an informed decision.
If you have a specific cash amount in mind that you want to receive, you can calculate the equivalent amount of Bitcoin based on the current exchange rate. Alternatively, if you have a specific amount of Bitcoin you want to sell, you can calculate the estimated cash value based on the current exchange rate as well.
Once you have determined the desired amount, enter it in the appropriate field. Cash App allows you to enter the amount in Bitcoin or its equivalent value in your local currency. Cash App will automatically calculate the value based on the current exchange rate.
It’s important to note that Cash App may have minimum and maximum limits for Bitcoin sales. Make sure to check the app or website for any limitations before finalizing your decision.
After entering the amount, review the details to ensure accuracy. Double-check the quantity of Bitcoin you’re selling and the estimated value in your local currency.
If everything looks correct, proceed to the next step and confirm the sale to sell the chosen amount of Bitcoin on Cash App.
By carefully choosing how much Bitcoin to sell, you can ensure that you maximize your cash proceeds while still retaining a desired amount of Bitcoin.
Once you have chosen the desired amount to sell, follow the next steps in the selling process to complete the transaction and receive the cash in your Cash App balance.
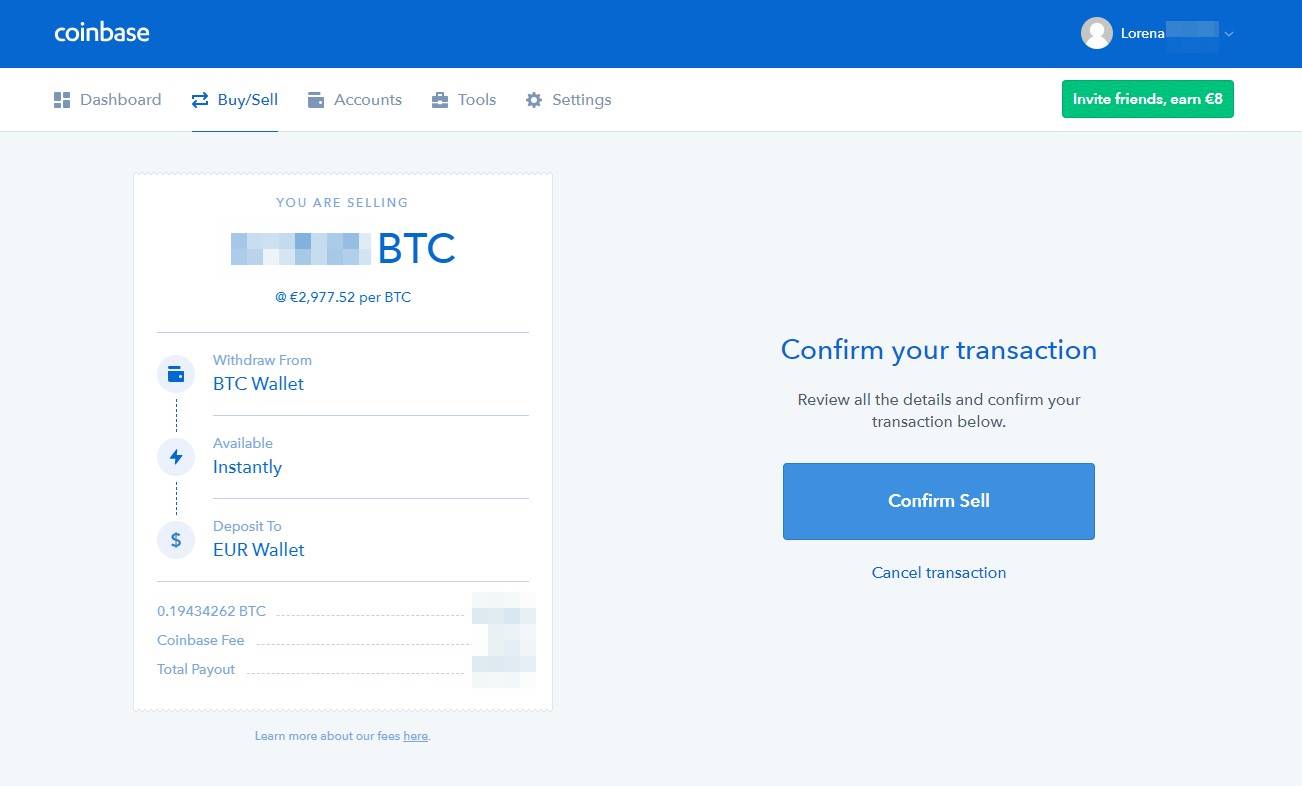
Step 7: Confirm the sale
After choosing the amount of Bitcoin you want to sell on Cash App, the next step is to confirm the sale. Confirming the sale ensures that you are ready to proceed with the transaction and convert your Bitcoin into cash.
To confirm the sale, open the Cash App on your mobile device. Navigate to the “Investing” or “Invest” section and click on the option that says “Bitcoin” or “BTC”. This will take you to the Bitcoin screen.
On the Bitcoin screen, you will find the option to “Sell” your Bitcoin. Click on it to initiate the selling process.
Before confirming the sale, it’s important to review the details of the transaction, including the amount of Bitcoin you are selling and the estimated value in your local currency. Double-check these details to ensure accuracy.
Next, you may be asked to review and accept the fee associated with the sale. Cash App charges a fee for selling Bitcoin, which is a percentage of the transaction amount. Take a moment to review the fee information and ensure you are comfortable with it before proceeding.
If everything looks correct and you are ready to complete the sale, click on the “Confirm” or “Sell” button. By confirming the sale, you are giving your authorization for Cash App to process the transaction and sell your Bitcoin.
Once the sale is confirmed, Cash App will execute the transaction and the funds from the sale will be instantly credited to your Cash App balance. You will see a confirmation screen with the details of the transaction.
It’s important to note that once the sale is confirmed, it cannot be reversed. Make sure you have carefully reviewed the details and are certain about selling your Bitcoin before confirming the sale.
With the sale confirmed, you have successfully converted your Bitcoin into cash on Cash App. The funds will be available in your Cash App balance, and you can use them for various purposes within the app or transfer them to your linked bank account.
Now that the sale is complete, let’s move on to the next step and learn how to transfer the funds from your Cash App balance to your bank account.
Step 8: Transfer funds to your bank account
Once you have successfully sold your Bitcoin on Cash App and have the funds in your Cash App balance, you can transfer the funds to your linked bank account. This allows you to access the cash and use it for your financial needs.
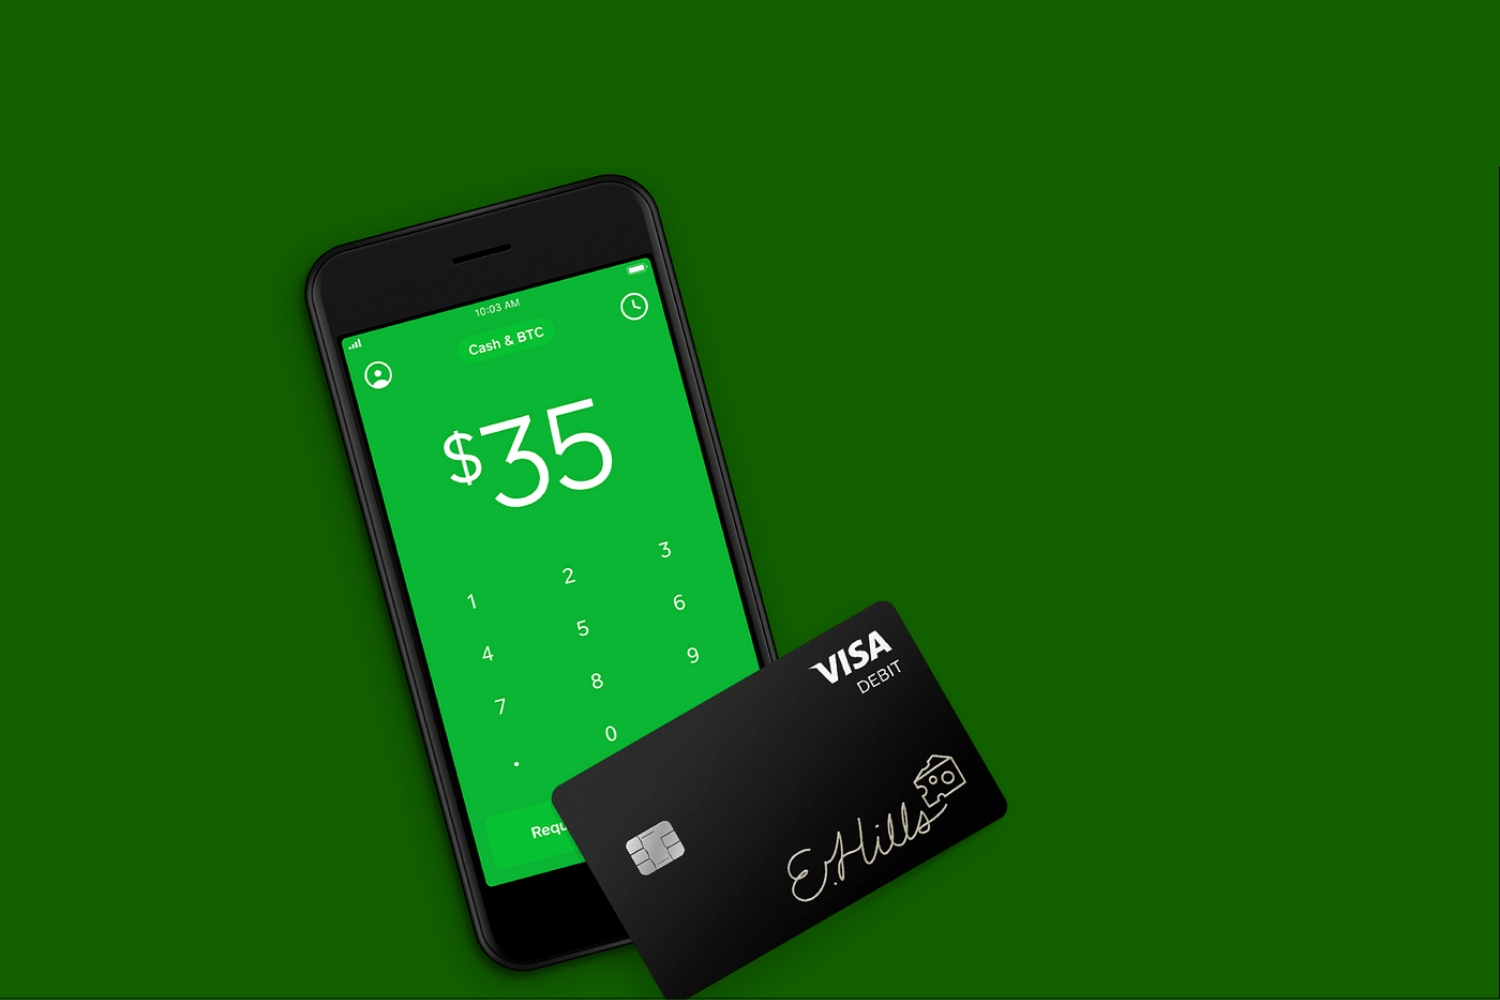
To transfer funds to your bank account, open the Cash App on your mobile device. From the Cash App home screen, locate and tap on the “Balance” tab at the bottom of the screen. This will take you to your Cash App balance.
On the Cash App balance screen, you will see your available balance, which should reflect the funds from your Bitcoin sale. Tap on the “Cash Out” button, usually displayed in green.
Next, Cash App will prompt you to enter the amount you want to transfer to your bank account. You can enter the full amount or specify a partial amount, depending on your preference. Take into consideration any applicable fees or minimum transfer requirements.
After entering the desired amount, review it to ensure accuracy, and then tap on the “Cash Out” or “Next” button to proceed.
At this point, Cash App will ask you to select the destination for your funds. If you have linked multiple bank accounts, choose the one to which you want to transfer the funds. If you haven’t linked a bank account yet, you can do so by following the on-screen instructions.
Once you have selected the bank account, review the details to ensure accuracy, and tap on the “Cash Out” or “Transfer” button to initiate the transfer.
Depending on your bank and Cash App’s processing time, the transfer may take a couple of business days to complete. Cash App will provide an estimated date of arrival for the funds in your bank account. Keep in mind that weekends and holidays may affect the processing time.
It’s important to note that Cash App may have cashout limits and fees for transferring funds to your bank account. Make sure to review the applicable terms and fees on the app or website to understand any limitations or charges.
Once the transfer is complete, you will receive a confirmation and the funds will be available in your bank account. You can check your bank statement or use your online banking platform to verify the arrival of the funds.
With your funds successfully transferred to your bank account, you have completed the process of selling Bitcoin on Cash App and accessing the cash proceeds for your financial needs.
Now that you know how to transfer funds to your bank account, you can effectively manage your finances and make use of the cash as desired. Let’s move on to the final step, where we discuss the importance of keeping track of your Bitcoin transactions.
Step 9: Keep track of your Bitcoin transactions
As you engage in the process of selling Bitcoin on Cash App, it’s essential to maintain proper records and keep track of your Bitcoin transactions. This step helps you monitor your financial activities and stay organized. Here are some tips to help you stay on top of your Bitcoin transactions:
- Maintain a transaction log: Create a log or spreadsheet to record the details of each Bitcoin sale you make on Cash App. Include the date, amount, value in your local currency, any associated fees, and the transaction reference number. This log will serve as a reference for your financial records.
- Save confirmation emails: Cash App typically sends confirmation emails for each transaction you complete. Save these emails in a dedicated folder in your email account. This way, you can easily access them for future reference or verification purposes.
- Review transaction history: Cash App provides a transaction history feature that allows you to view and track your past Bitcoin sales. Open the app, navigate to the transaction history section, and review the details of each Bitcoin sale you have made. This helps ensure that the transactions have been processed correctly.
- Consider tax obligations: When you sell Bitcoin, you may be subject to tax obligations in your jurisdiction. Consult with a tax professional or research the local tax laws to understand your responsibilities. Keeping accurate records of your Bitcoin transactions will be crucial for tax reporting purposes.
- Stay informed: Stay updated on the latest developments and news in the cryptocurrency market. Keep an eye on the price fluctuations of Bitcoin and related cryptocurrencies. This information can help you make informed decisions regarding your Bitcoin sales on Cash App.
By maintaining proper records and staying organized, you can effectively manage your Bitcoin transactions on Cash App. This will help you stay in control of your finances and ensure compliance with any applicable tax or reporting requirements.
As you complete the process of selling Bitcoin on Cash App, remember to regularly review your transaction records and update your financial records accordingly. This proactive approach will contribute to a smoother financial management experience.
Congratulations! You have successfully gone through the steps to sell Bitcoin on Cash App and transfer the funds to your bank account. By following this guide, you have navigated the process with ease and can now utilize the cash proceeds from your Bitcoin sales as desired.
Conclusion
Selling Bitcoin on Cash App offers a convenient and user-friendly way to convert your Bitcoin holdings into cash. With the step-by-step guide provided, you can confidently navigate the process and make the most of your Bitcoin sales.
We started by downloading the Cash App and signing up for an account. We then moved on to verifying our identity to ensure compliance and security. By adding our Bitcoin wallet to the app, we were able to sell Bitcoin seamlessly on Cash App.
Confirming the sale and transferring the funds to our bank account were crucial steps in accessing the cash proceeds of our Bitcoin sales. Through careful consideration of the amount of Bitcoin to sell and staying organized with our transaction records, we ensured a smooth experience.
It’s worth noting that as you engage in Bitcoin transactions, you should stay informed about market conditions and potential tax obligations to make informed decisions and remain compliant with regulations.
Cash App’s user-friendly interface, competitive exchange rates, and convenient features make it an attractive platform for selling Bitcoin. By following this guide, you have gained the knowledge and confidence to navigate the process successfully.
Now that you have completed the process of selling Bitcoin on Cash App, you can enjoy the freedom and flexibility of having cash in your bank account. You can use the funds for various purposes or reinvest in different assets. Remember to continue monitoring the market and staying informed to make the most of your financial decisions.
Thank you for following along with this guide. We hope it has been helpful in your journey of selling Bitcoin on Cash App. Happy selling!