Introduction
Cryptocurrency has gained significant popularity in recent years, and Bitcoin, in particular, has become the frontrunner in the digital currency race. While Bitcoin is traditionally mined using powerful and energy-consuming hardware, there is an alternative for those looking to harness the power of their Raspberry Pi for mining purposes. In this article, we will explore how to set up a Raspberry Pi Bitcoin miner, allowing you to potentially earn some Bitcoin with the compact and affordable Raspberry Pi device.
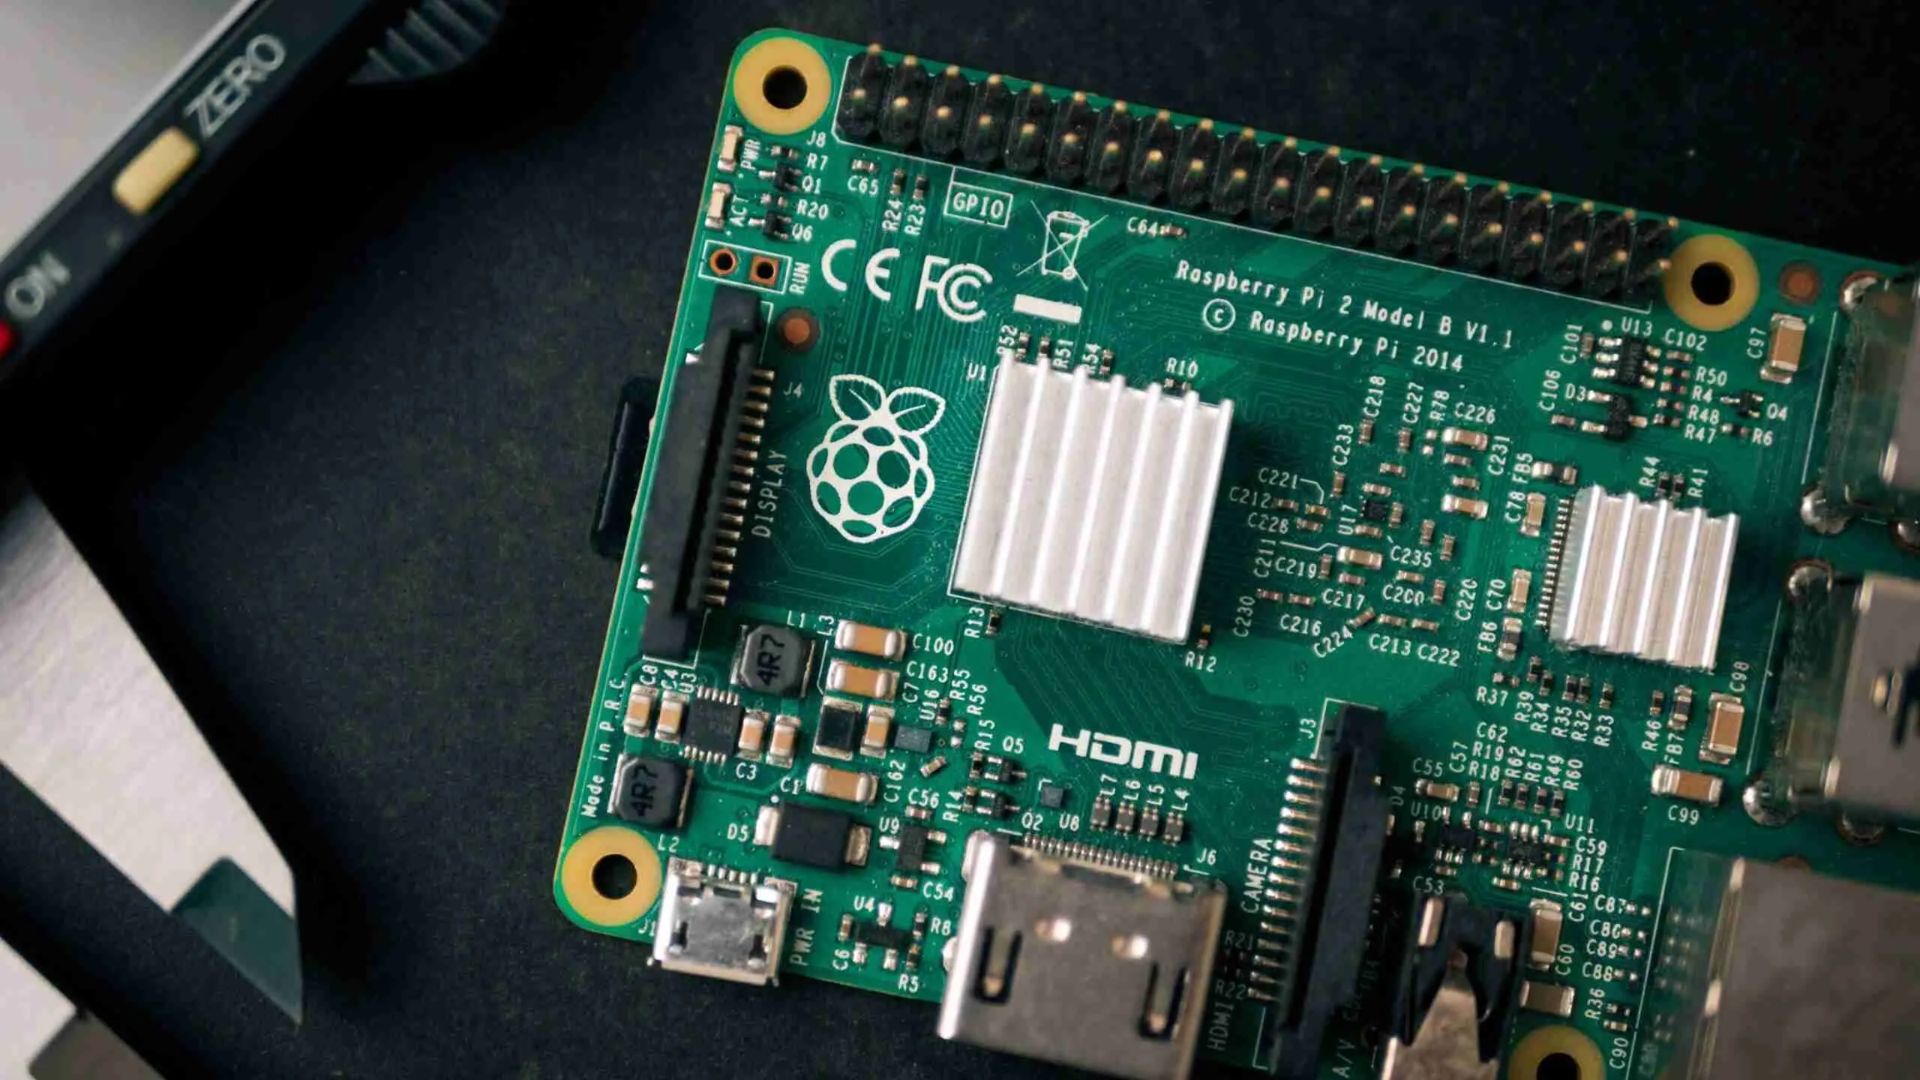
The Raspberry Pi is a credit card-sized computer that can be used for a wide range of projects, including Bitcoin mining. By utilizing your Raspberry Pi’s processing power, you can contribute to the Bitcoin network and potentially earn Bitcoin as a reward. This offers an opportunity to join the world of cryptocurrencies without investing in expensive mining equipment.
Before we get started, it’s important to note that Bitcoin mining using a Raspberry Pi is not as profitable or efficient as using specialized mining hardware. The Raspberry Pi’s limited processing power and energy efficiency make it better suited for smaller mining operations. However, it can still be a fun and educational project for those interested in cryptocurrencies and mining.
In this article, we will guide you through the process of setting up a Raspberry Pi for Bitcoin mining. We will cover the necessary components, the setup process, software installation, joining a mining pool, running the miner, and monitoring/troubleshooting. By the end, you should have a basic understanding of how to turn your Raspberry Pi into a Bitcoin mining machine.
What is a Raspberry Pi Bitcoin Miner?
A Raspberry Pi Bitcoin miner refers to the use of a Raspberry Pi computer to mine Bitcoin, a digital cryptocurrency. Bitcoin mining involves solving complex mathematical puzzles to verify and record transactions on the Bitcoin blockchain. Miners are rewarded with new Bitcoin for their mining efforts.
The Raspberry Pi is a small, affordable, and energy-efficient computer that can be used for various purposes, including Bitcoin mining. While it may not be as powerful as dedicated mining rigs, the Raspberry Pi can still contribute to the mining network and potentially generate some Bitcoin.
To turn your Raspberry Pi into a Bitcoin miner, you will need to connect it to the Bitcoin network and install mining software. The Raspberry Pi will use its processing power to solve the mathematical puzzles required for Bitcoin mining. It will work in collaboration with other miners to verify transactions and add them to the blockchain.
One advantage of using a Raspberry Pi for Bitcoin mining is its low energy consumption. Compared to traditional mining hardware, which requires substantial amounts of electricity, the Raspberry Pi operates on a much smaller scale. This makes it more cost-effective and environmentally friendly for small-scale mining operations.
However, it’s important to note that the Raspberry Pi’s limited processing power means it will not be as efficient or profitable as specialized mining hardware. Serious Bitcoin miners typically invest in powerful ASIC (Application-Specific Integrated Circuit) miners to maximize their mining capabilities. Nonetheless, Raspberry Pi mining can be a great way to learn about the mining process and contribute to the Bitcoin network on a smaller scale.
In the following sections, we will explore the components required to set up a Raspberry Pi Bitcoin miner, the process of setting up the Raspberry Pi, installing the mining software, joining a mining pool, running the miner, and monitoring and troubleshooting the system. By the end of this guide, you should have the knowledge to transform your Raspberry Pi into a functioning Bitcoin miner, even if it may not be the most powerful one.
Components Required
To set up a Raspberry Pi Bitcoin miner, you will need a few essential components. These include:
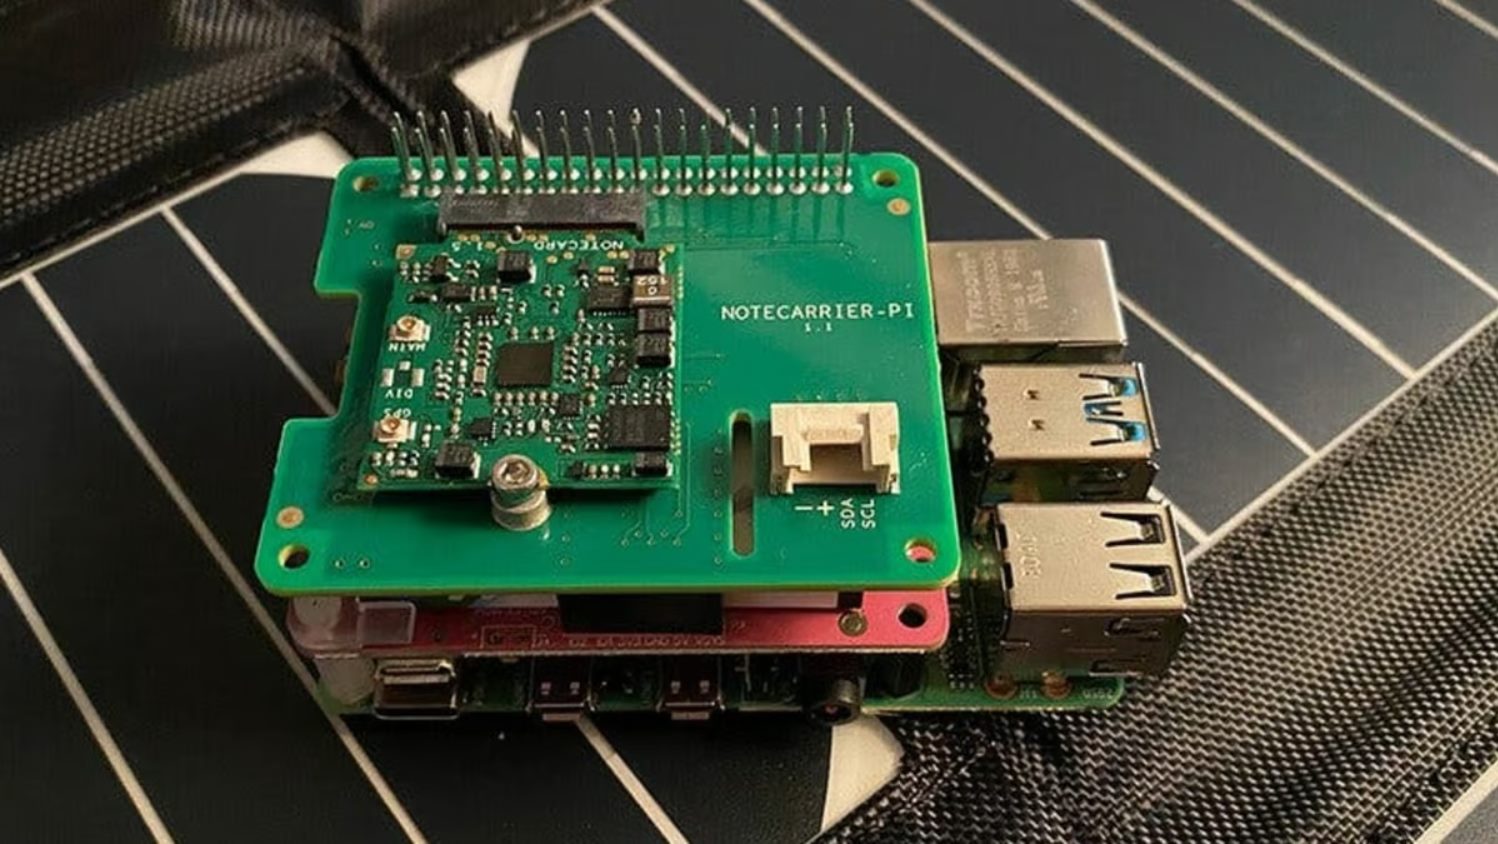
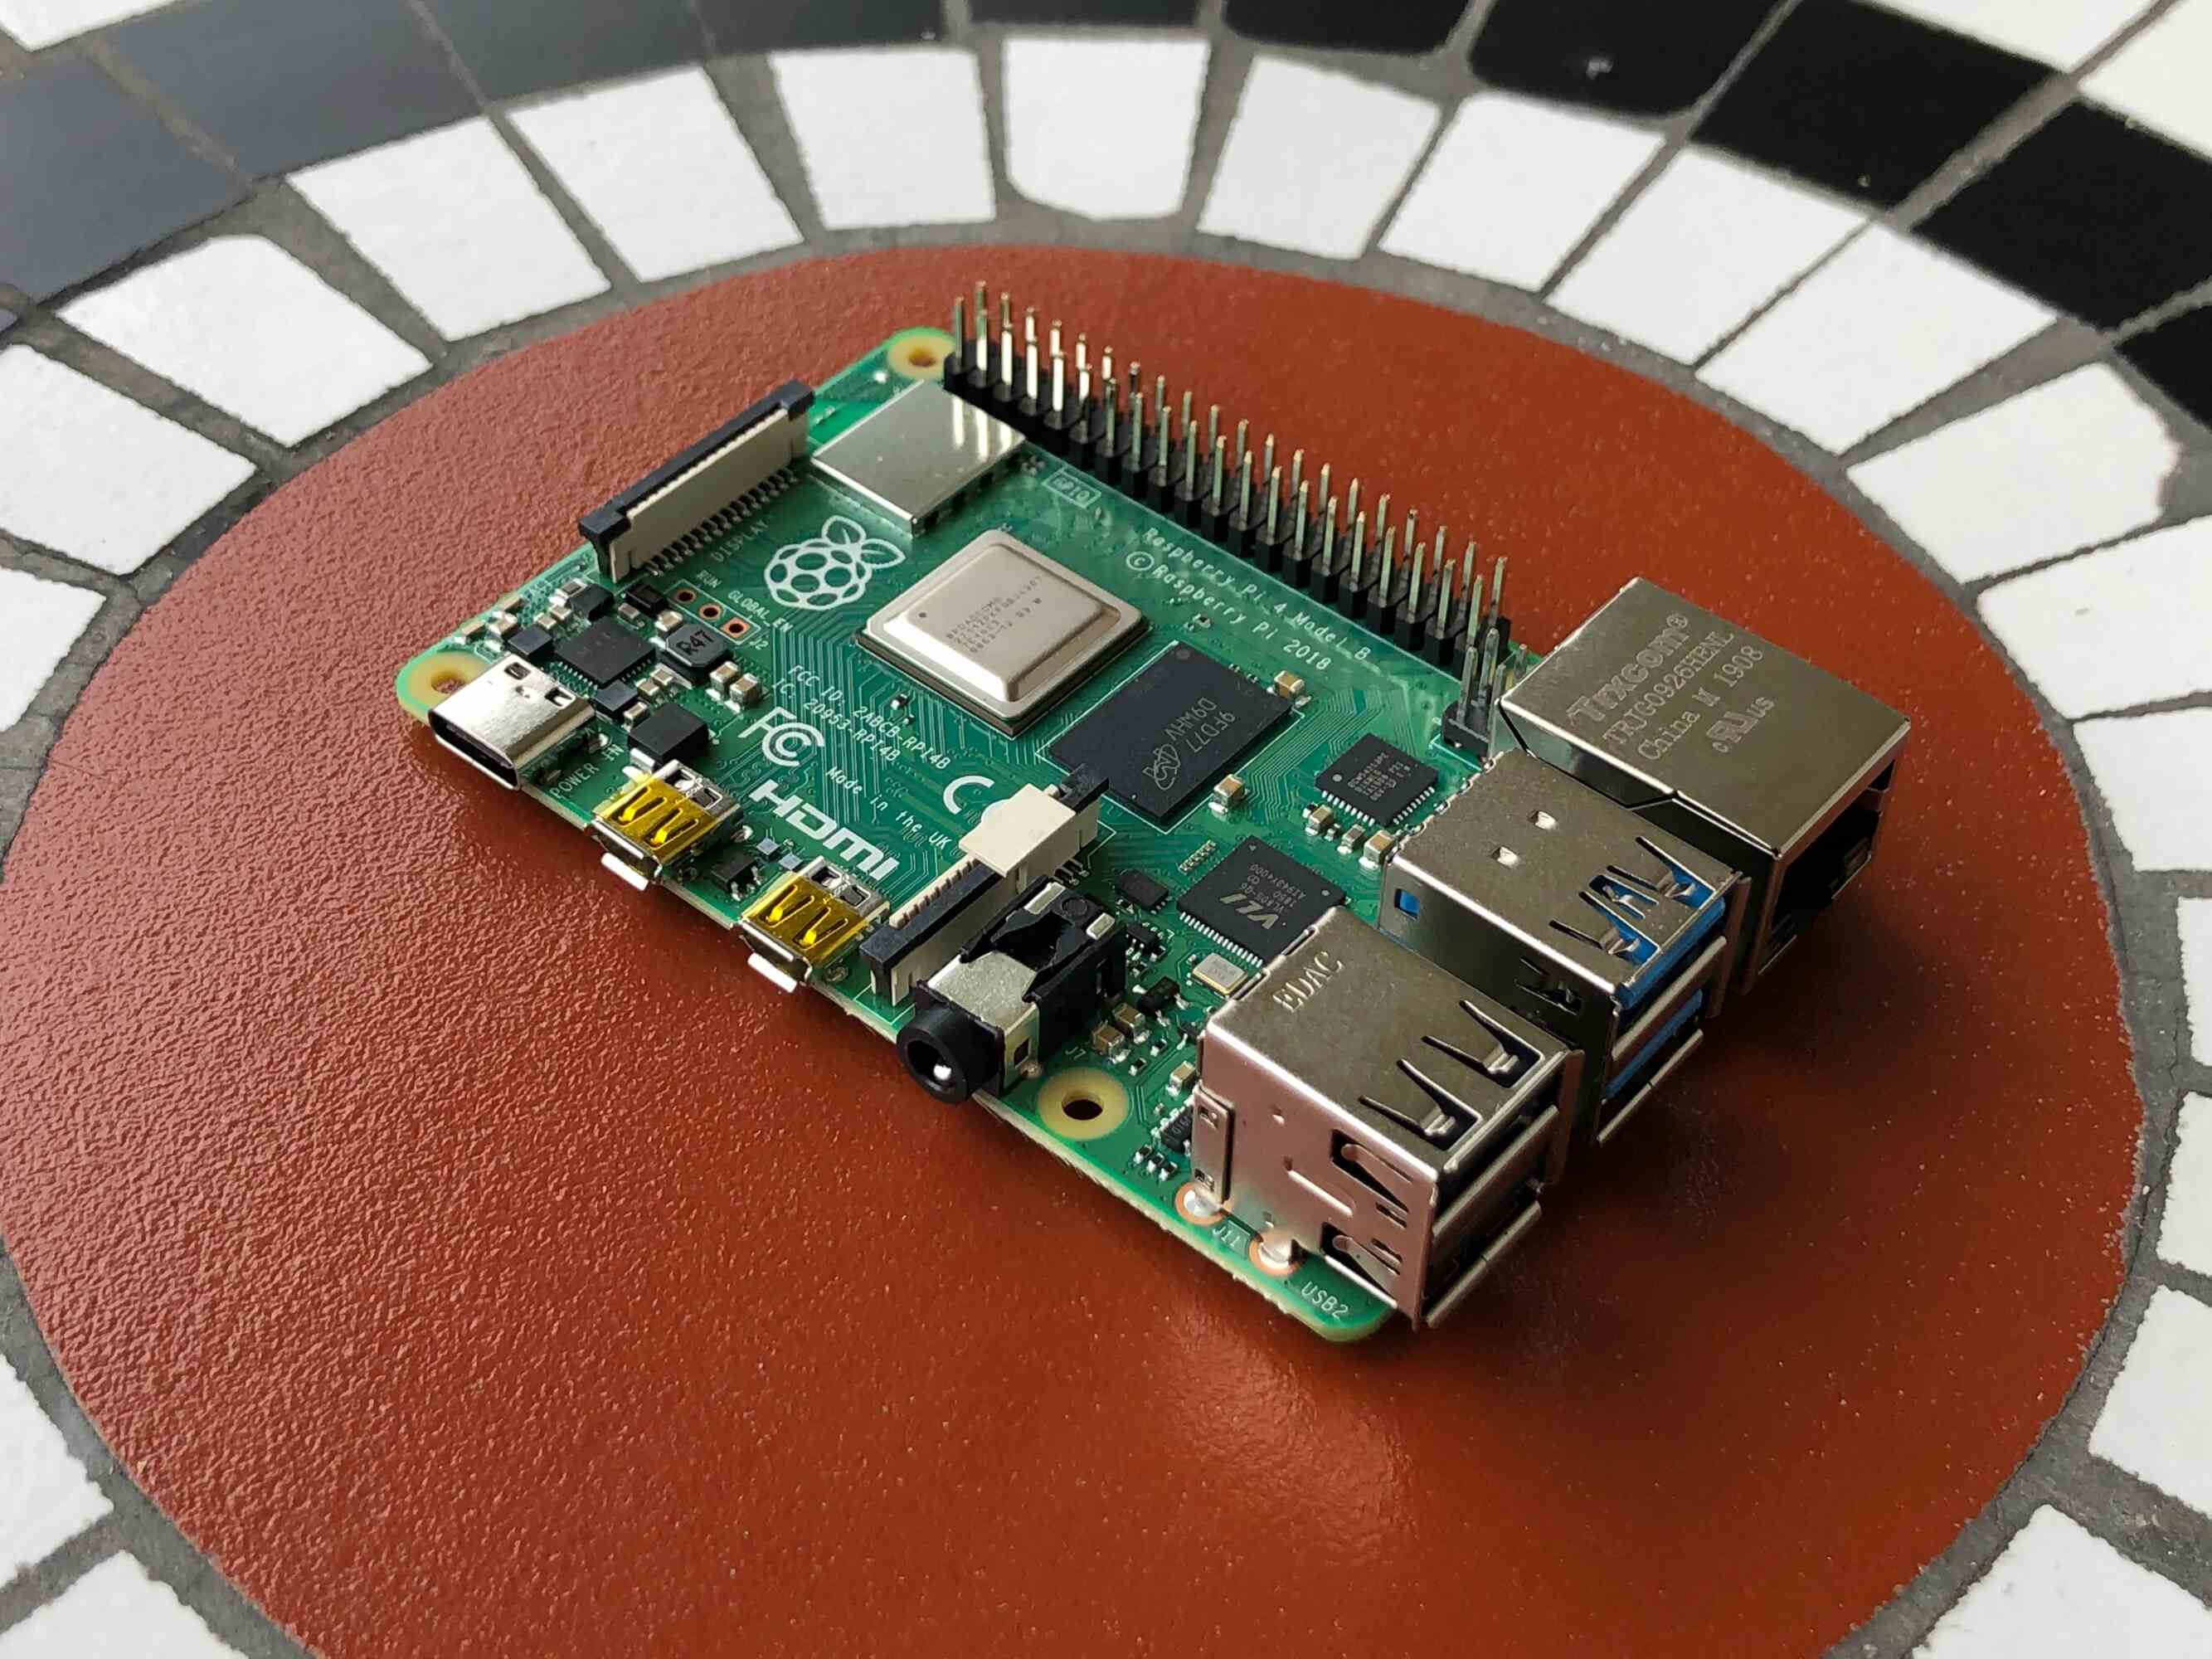
- Raspberry Pi: You will need a Raspberry Pi board, preferably the latest model available, such as the Raspberry Pi 4. The Raspberry Pi acts as the main computer for the mining setup.
- Power Supply: A stable power supply is necessary to ensure the Raspberry Pi operates smoothly. It is recommended to use an official Raspberry Pi power supply or a reputable third-party power adapter with a voltage rating of 5V and a current output of at least 2.5A.
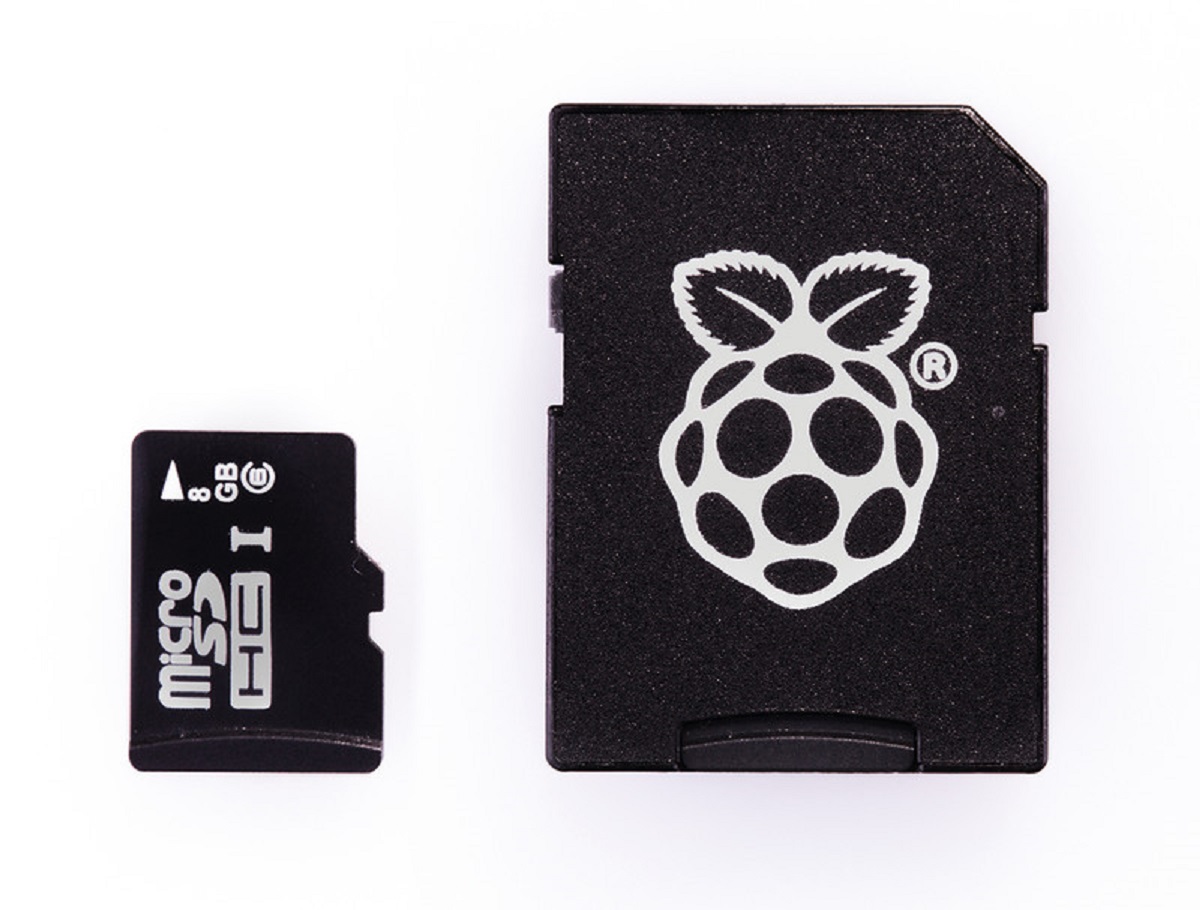
- MicroSD Card: The Raspberry Pi requires a MicroSD card to store the operating system and mining software. It is recommended to use a high-quality MicroSD card with a storage capacity of at least 16GB to accommodate the necessary files.
- Network Connection: A reliable internet connection is vital for Bitcoin mining. Make sure your Raspberry Pi is connected to the internet via an Ethernet cable or Wi-Fi.
- Mining Software: You will need mining software that is compatible with the Raspberry Pi. Popular options include CGMiner, BFGMiner, and EasyMiner. Research and choose the software that best suits your needs.
- Mining Pool Account: Joining a mining pool is highly recommended, especially with the Raspberry Pi’s limited mining power. A mining pool allows multiple miners to combine their resources and increase their chances of earning Bitcoin. Register an account with a reputable mining pool of your choice.
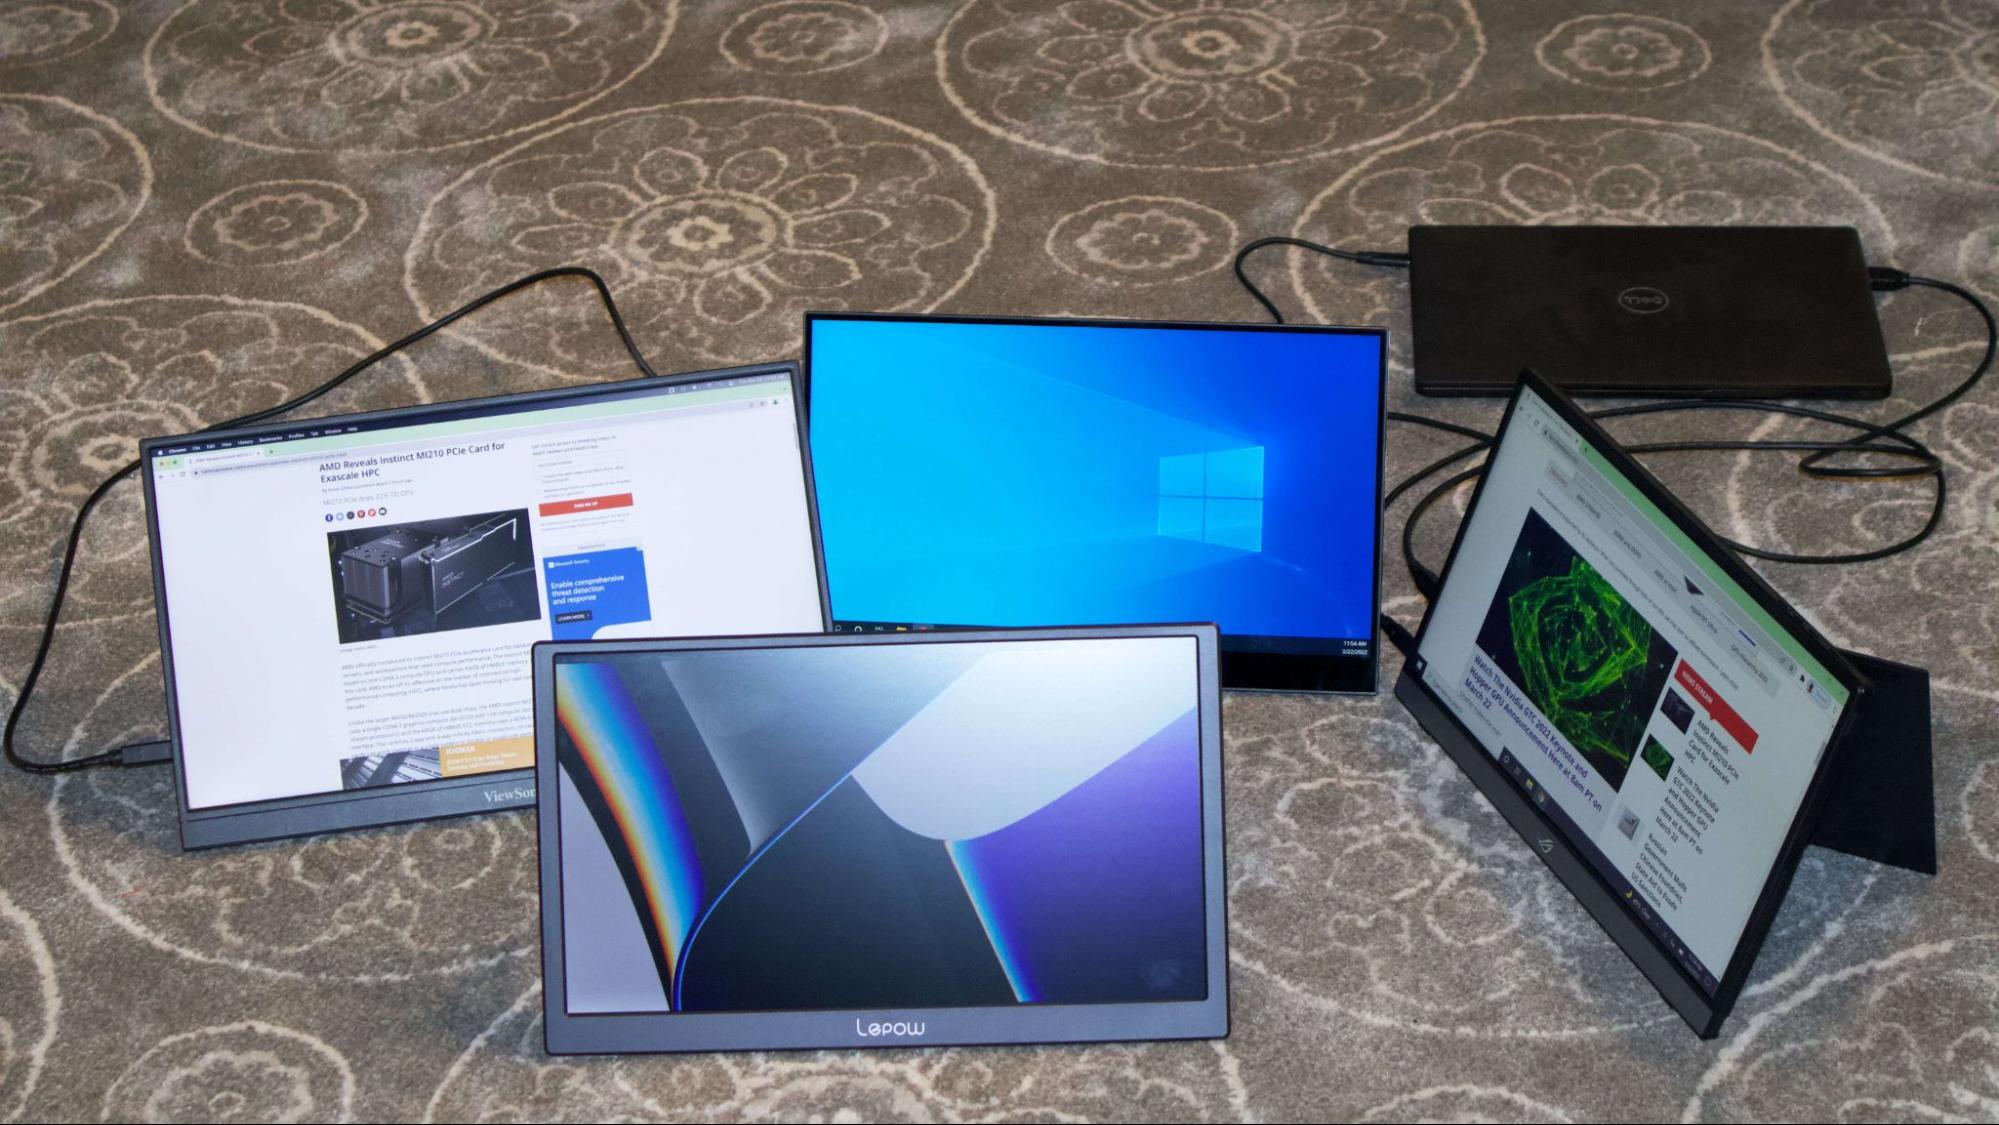
- Additional Peripherals: Depending on your setup, you may need additional peripherals such as a monitor, keyboard, and mouse for the initial setup process. Once the Raspberry Pi is up and running, these peripherals may not be necessary if you can access the device remotely.
Ensure you have all the necessary components before proceeding with the setup process. Gathering the right supplies will help ensure a smooth and successful Raspberry Pi Bitcoin mining experience.
Setting up a Raspberry Pi for Bitcoin Mining
Before you can start mining Bitcoin with your Raspberry Pi, you need to set up the device properly. Follow these steps to get your Raspberry Pi ready for mining:
- Install the Operating System: Begin by installing an operating system on your Raspberry Pi. The recommended choice is Raspbian, a free and user-friendly operating system based on Debian. Download the latest version of Raspbian and flash it onto the MicroSD card using a tool like Etcher. Insert the MicroSD card into the Raspberry Pi.
- Connect to Power and Network: Connect the power supply to the Raspberry Pi, ensuring it is properly plugged in. Connect the Raspberry Pi to your network via an Ethernet cable or by configuring the Wi-Fi settings. The Raspberry Pi should power on and boot into the Raspbian operating system.
- Initial Configuration: Once the Raspberry Pi is powered on, you will be prompted to run the initial configuration wizard. This allows you to set your desired language, keyboard layout, and other preferences. It is also recommended to change the default password for security reasons.
- Update and Upgrade: Open the terminal on the Raspberry Pi or use SSH to remotely access it. Run the following commands to update the package lists and upgrade the installed packages:
sudo apt-get update
sudo apt-get upgrade
This ensures that your Raspberry Pi has the latest software updates and security patches. - Enable SSH and VNC: To facilitate remote access to your Raspberry Pi, you can enable the SSH (Secure Shell) and VNC (Virtual Network Computing) services. Use the Raspberry Pi Configuration tool or run the following commands in the terminal:
sudo raspi-config
This will open the configuration menu, where you can enable SSH and VNC under the “Interfacing Options.” - Reboot: After making any changes, it is advisable to reboot your Raspberry Pi to apply the updates and enable the new settings. You can do this by running the following command:
sudo reboot
Wait for the Raspberry Pi to restart and connect to it either directly or through SSH.
Congratulations! You have successfully set up your Raspberry Pi for Bitcoin mining. The next step is to install the necessary mining software and join a mining pool to start mining Bitcoin. This will be covered in the following sections.
Installing the Mining Software
Once your Raspberry Pi is set up and running, the next step is to install the mining software. There are various mining software options available, but we will outline the general steps for installing CGMiner, one of the popular choices for Raspberry Pi Bitcoin mining.
- Open a Terminal: Open a terminal either directly on the Raspberry Pi or through an SSH connection.
- Update and Install Dependencies: Run the following commands to update the package lists and install the necessary dependencies for CGMiner:
sudo apt-get update
sudo apt-get install autoconf libtool libusb-1.0-0-dev libusb-dev libcurl4-openssl-dev libncurses5-dev -y - Download CGMiner: Download the latest version of CGMiner for Raspberry Pi using the following command:
wget https://github.com/ckolivas/cgminer/archive/v4.XX.X.tar.gz
Replacev4.XX.Xwith the specific version number you want to download. You can find the latest version on the CGMiner GitHub repository. - Unpack and Build CGMiner: Unpack the downloaded CGMiner tarball and navigate to the extracted directory using the following commands:
tar -zxvf v4.XX.X.tar.gz
cd cgminer-4.XX.X - Configure and Compile: Run the following commands to configure CGMiner and compile it for your Raspberry Pi:
./autogen.sh
./configure --enable-icarus
make - Test and Install: Before installing CGMiner, you can test it by running the executable file using the following command:
./cgminer
If everything is working correctly, you can proceed with the installation by running:
sudo make install
Once the installation is complete, you should have CGMiner installed on your Raspberry Pi. You are now ready to configure and start mining with your Raspberry Pi Bitcoin miner. The next step is to join a mining pool, which will be covered in the following section.
Joining a Mining Pool
Joining a mining pool is essential for Raspberry Pi Bitcoin mining, as the device’s limited processing power may not be sufficient to mine Bitcoin on its own. By joining a mining pool, you can combine your mining efforts with other miners and increase your chances of earning Bitcoin rewards.
To join a mining pool, follow these steps:
- Research and Choose a Mining Pool: There are several mining pools available, each with its own features and fee structures. Research different pools to find one that suits your needs and preferences. Consider factors such as pool size, payout frequency, and reputation.
- Create an Account: Once you’ve chosen a mining pool, go to their website and create an account. Follow the registration process, providing the necessary information, such as your Bitcoin wallet address.
- Configure CGMiner: Open your terminal or SSH to access your Raspberry Pi. Edit the CGMiner configuration file by running the following command:
nano ~/.cgminer/cgminer.conf
Add the mining pool details, including the pool URL, username, and password. Save the file and close the editor. - Start Mining: Run CGMiner using the following command:
cgminer
If all the configuration details are correct, CGMiner will connect to the mining pool and start mining Bitcoin. You can monitor the mining process and statistics on the pool’s website.
By joining a mining pool, you can contribute your Raspberry Pi’s processing power to the collective mining effort. Keep in mind that joining a mining pool may involve sharing a portion of your mining rewards as pool fees. However, the increased likelihood of earning regular Bitcoin rewards outweighs the fees for most miners.
Remember to regularly monitor your mining progress, as well as the pool’s performance and any updates or announcements they may have. This will help ensure that your Raspberry Pi Bitcoin mining operation is running smoothly and effectively.
In the next section, we will cover how to run the miner and provide tips for monitoring and troubleshooting your Raspberry Pi Bitcoin mining setup.
Running the Miner
Once you have configured your Raspberry Pi and joined a mining pool, you are ready to start running the miner and contribute to the Bitcoin network. Here are the steps to run the miner effectively:
- Launch CGMiner: Open your terminal or SSH connection to your Raspberry Pi and navigate to the CGMiner installation directory. Run the following command to start the miner:
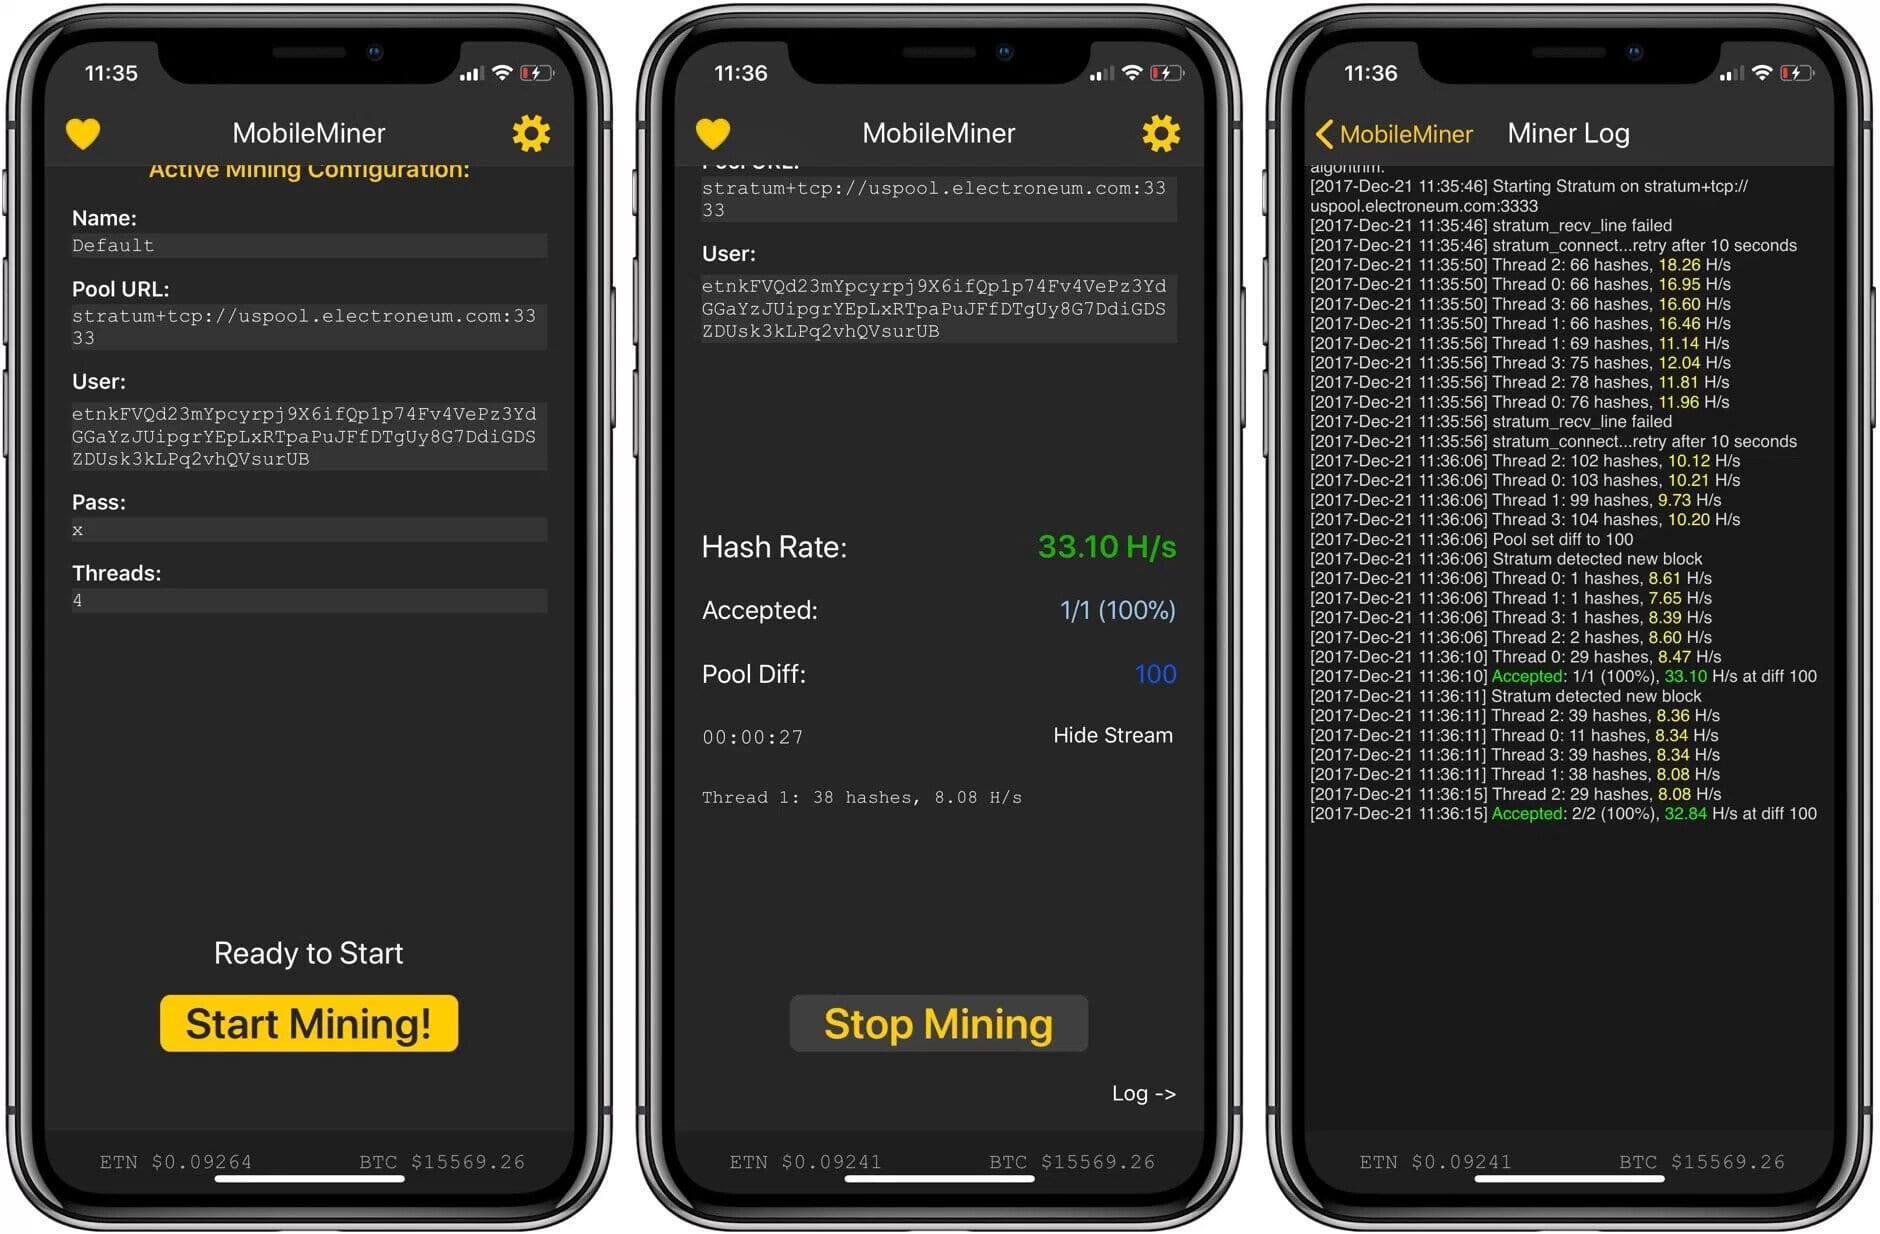
cgminer - Monitor the Mining Process: CGMiner will display information about your mining activity, including the hash rate, accepted shares, and more. Keep an eye on these statistics to ensure your miner is operating correctly. Additionally, you can monitor the mining pool’s website to track your overall mining progress, earnings, and any announcements.
- Optimize Performance: While mining with a Raspberry Pi, it’s crucial to optimize performance to maximize efficiency. Some suggestions include adjusting the parameters in the CGMiner configuration file, experimenting with different mining pool servers, and fine-tuning the Raspberry Pi’s overclocking settings (if desired and supported).
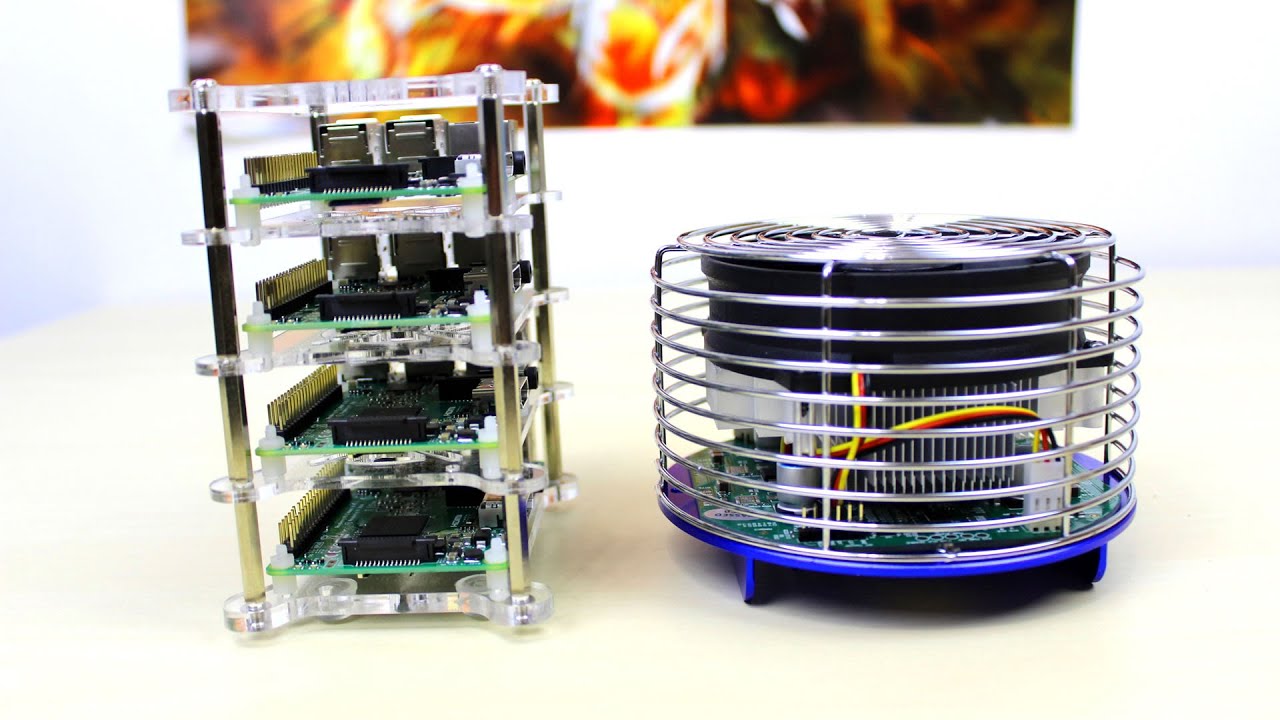
- Maintain Cooling: Mining operations generate heat, so it’s important to ensure your Raspberry Pi is adequately cooled to prevent overheating. Consider using a fan or a heat sink to dissipate heat effectively. Regularly check the temperature of your Raspberry Pi and take necessary precautions to prevent thermal problems.
- Periodic Monitoring and Maintenance: To keep your Raspberry Pi miner running smoothly, periodically check the status of the device, update software as needed, and fine-tune your configuration if necessary. Stay proactive in monitoring the miner’s performance and address any issues promptly.
Remember, mining with a Raspberry Pi may not yield significant profits due to the device’s limited processing power. However, it provides a learning opportunity and a chance to contribute to the Bitcoin network. Enjoy the process and remain realistic about the potential outcomes of Raspberry Pi Bitcoin mining.
In the next section, we will discuss monitoring and troubleshooting tips to help you maintain a stable and efficient mining operation.
Monitor and Troubleshoot
Monitoring and troubleshooting your Raspberry Pi Bitcoin mining setup is crucial to maintain optimal performance and address any issues that may arise. Here are some tips to keep your mining operation running smoothly:
- Monitor Mining Statistics: Regularly check the mining statistics provided by CGMiner or the mining pool’s website. Keep an eye on metrics such as the hash rate, accepted shares, rejected shares, and temperature. Sudden drops in hash rate or an increase in rejected shares may indicate an issue that needs attention.
- Ensure Stable Power Supply: A stable power supply is essential for the reliable operation of your Raspberry Pi miner. Unstable or insufficient power delivery can lead to crashes or hardware malfunctions. Make sure your power supply is adequate for the power requirements of the Raspberry Pi and consider using a surge protector.
- Check Internet Connection: Verify that your Raspberry Pi is consistently connected to the internet. A poor or unreliable connection can disrupt mining operations. If you notice frequent disconnections, consider troubleshooting your network configuration or switching to a more stable internet connection.
- Maintain Proper Cooling: Overheating can cause performance issues and potential damage to your Raspberry Pi. Ensure that your device is adequately cooled with proper ventilation, fans, or heat sinks. Monitor the temperature regularly and take necessary measures to prevent overheating, such as adjusting fan speed or optimizing the mining environment.
- Update Software: Keep your mining software, including CGMiner, updated to the latest version. Updates often include bug fixes, performance optimizations, and security patches. Check for updates periodically and follow the recommended upgrade process to ensure you have the most stable and efficient software version.
- Research and Troubleshoot: In case of any issues, research the problem and explore online forums and communities dedicated to Raspberry Pi mining. Troubleshoot step-by-step, starting with basic checks such as cable connections and power supply, and gradually move to more advanced troubleshooting techniques. Seek assistance from experienced miners if necessary.
Remember, Raspberry Pi Bitcoin mining is a hobbyist project, and while it can be a rewarding learning experience, it may not yield significant profits. However, by monitoring and troubleshooting your setup, you can maximize its efficiency and ensure a stable mining operation.
In the final section, we will summarize the key points covered in this guide and provide some closing thoughts on Raspberry Pi Bitcoin mining.
Conclusion
In conclusion, setting up a Raspberry Pi Bitcoin miner can be an exciting and educational project for those interested in cryptocurrencies and mining. While the Raspberry Pi may not offer the same mining power as specialized hardware, it provides an affordable and energy-efficient way to contribute to the Bitcoin network.
Throughout this guide, we have explored the necessary components for a Raspberry Pi Bitcoin miner, the process of setting up the Raspberry Pi, installing the mining software, joining a mining pool, running the miner, and monitoring and troubleshooting the system. By following these steps, you can transform your Raspberry Pi into a functioning Bitcoin mining machine.
It’s important to note that Raspberry Pi mining is not as profitable or efficient as using dedicated mining rigs. However, it can serve as an excellent learning experience and an opportunity to get involved in the cryptocurrency community.
Remember to monitor your mining progress, optimize performance, and address any issues that may arise. Keep in mind that mining with a Raspberry Pi is more of a long-term investment and may not yield significant profits. However, the knowledge and skills gained can be invaluable.
As technology continues to evolve, it’s worth exploring new possibilities for Raspberry Pi mining and staying updated with the latest advancements in mining software and hardware. Raspberry Pi Bitcoin mining can be an entry point into the world of cryptocurrencies and a stepping stone for more extensive mining operations.
So, why not embark on this exciting journey and put your Raspberry Pi to work in the world of Bitcoin mining? Start with small-scale mining, gain experience, and let your curiosity drive you further in the fascinating realm of cryptocurrencies.