Introduction
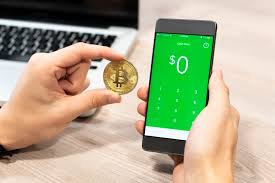
Welcome to our guide on how to send Bitcoin on Cash App! Cash App is a popular mobile payment service that allows users to send and receive money quickly and securely. In addition to traditional fiat currency, Cash App also supports Bitcoin, the world’s most well-known cryptocurrency. With Cash App, you can easily buy Bitcoin and send it to other Bitcoin wallets.
In recent years, Bitcoin has gained significant popularity as a decentralized digital currency that offers a secure and efficient way to conduct transactions online. By using Cash App to send Bitcoin, you can take advantage of its user-friendly interface and seamless integration with your existing account.
Whether you’re new to Bitcoin or already have some experience with it, this guide will provide you with step-by-step instructions on how to send Bitcoin on Cash App, making it easy for you to transfer your Bitcoin to other wallets or exchange platforms.
Please note that before you can send Bitcoin on Cash App, you need to have a verified Cash App account and sufficient funds in your Cash App balance. If you haven’t signed up for Cash App yet, don’t worry! We’ll walk you through the process of downloading and setting up the app, as well as adding funds to your account.
Let’s dive into the details and get started on how to send Bitcoin on Cash App!
Step 1: Download and Set Up Cash App
The first step to sending Bitcoin on Cash App is to download and set up the application on your mobile device. Cash App is available for both iOS and Android platforms, and you can easily find it in the respective app stores.
Once you’ve successfully downloaded the Cash App, follow these steps to set up your account:
- Launch the Cash App on your device.
- Click on the “Sign Up” button to create a new account. You will be prompted to enter your email address or phone number.
- Verify your email address or phone number by entering the verification code sent to you.
- Create a unique username, also known as the “$Cashtag,” which will be associated with your account.
- Set up a secure password for your account. Make sure to choose a strong password that includes a combination of letters, numbers, and special characters to protect your account from unauthorized access.
- Fill in your personal information, which may include your name, date of birth, and social security number. This information is required for identity verification purposes.
- Agree to the Cash App terms of service and privacy policy.
- Link your bank account or debit card to your Cash App account. This will allow you to easily add funds to your Cash App balance.
Once you have completed these steps, your Cash App account will be set up and ready to use. You can now proceed to the next step of adding funds to your account.
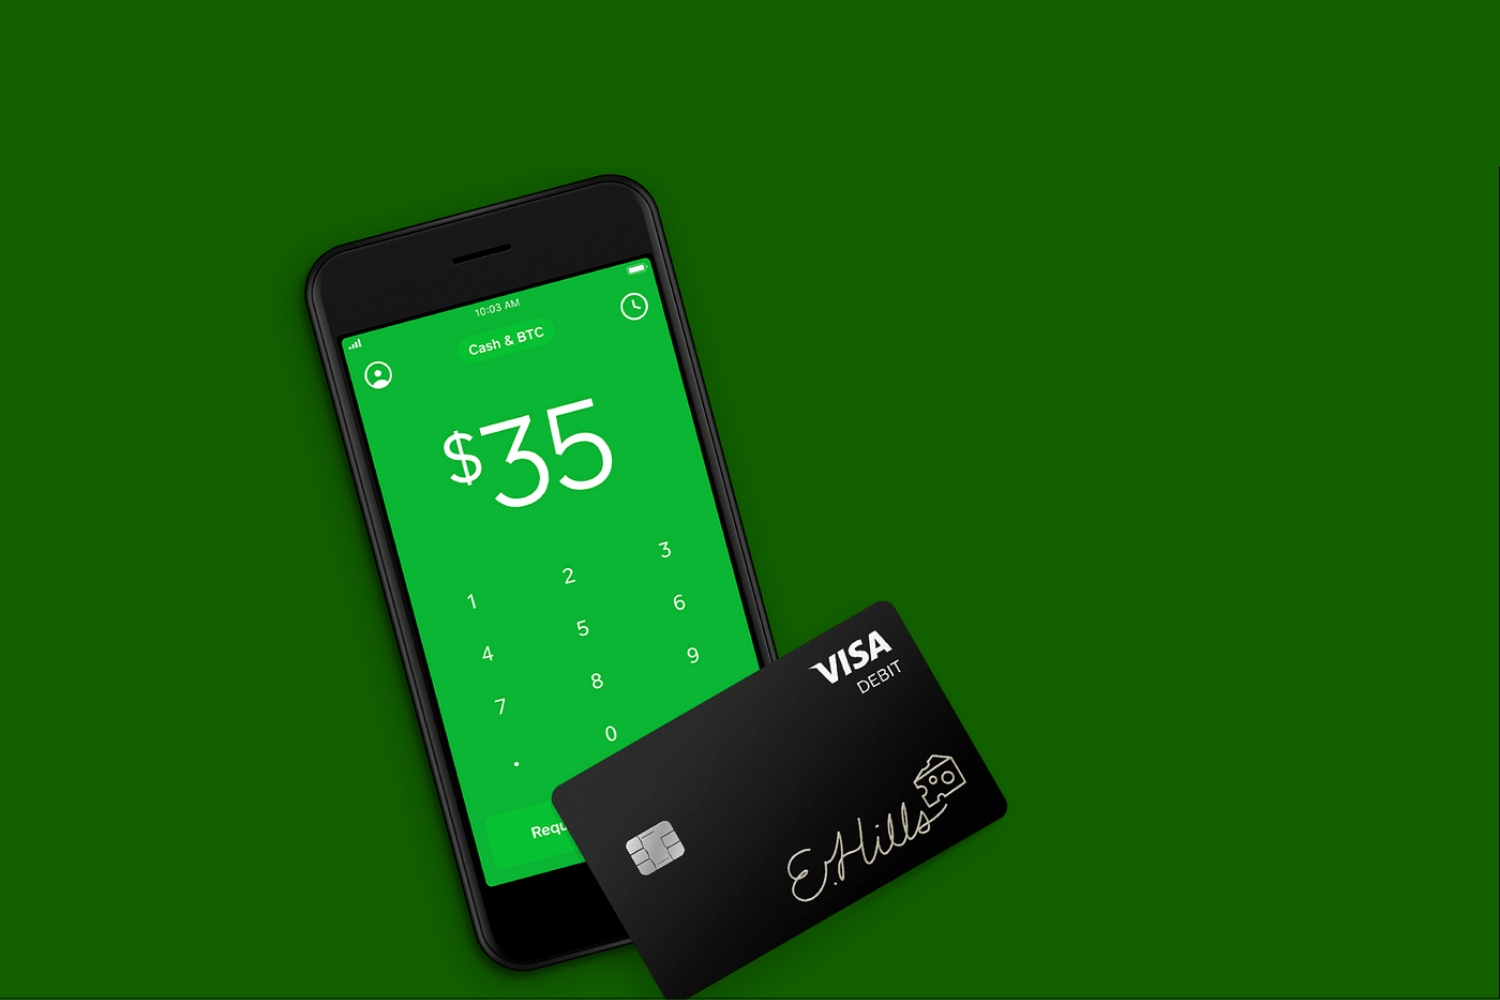
Step 2: Add Funds to Your Cash App Account
Before you can send Bitcoin on Cash App, you need to make sure that your account has sufficient funds. Here’s how you can add funds to your Cash App account:
- Open the Cash App on your mobile device.
- On the home screen, you will find the “Balance” tab at the bottom of the screen. Tap on it.
- Select the “Add Cash” option.
- Enter the amount you want to add to your Cash App balance.
- Choose whether you want to add funds from your linked bank account or debit card. If this is your first time adding funds, you will need to link your bank account or debit card to your Cash App account.
- Follow the prompts to enter your banking or card details, including your account number or card number, expiration date, and CVV.
- Review the information you entered and confirm the transaction.
- Once the transaction is processed and the funds are added to your Cash App balance, you will receive a confirmation notification.
It’s important to note that Cash App may charge a small fee for adding funds to your account using a linked credit card. However, adding funds through a linked bank account or debit card is usually free.
Once you have successfully added funds to your Cash App account, you can proceed to the next step of navigating to the Bitcoin section within the app.
Step 3: Navigate to the Bitcoin Section
After adding funds to your Cash App account, it’s time to navigate to the Bitcoin section within the app. Here’s how you can find it:
- Open the Cash App on your mobile device.
- At the bottom of the screen, you will see a row of icons. Look for the “Investing” icon, which resembles a graph.
- Tap on the “Investing” icon to access the investment options available on Cash App.
- Scroll down the list of investment options until you find “Bitcoin.” Tap on it to access the Bitcoin section.
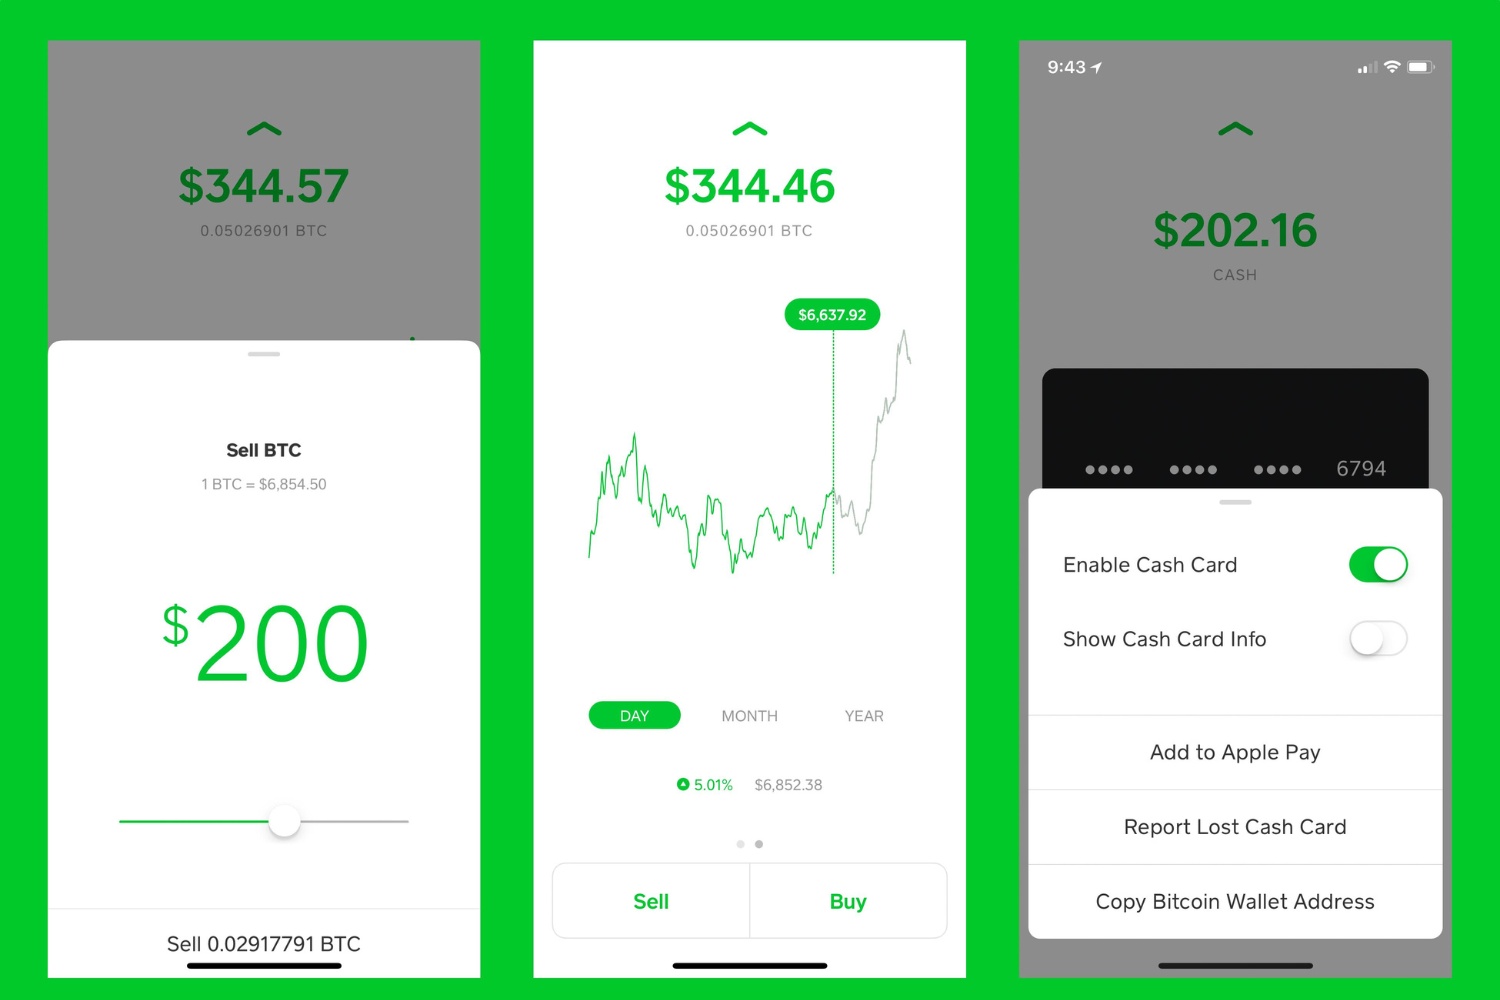
Once you’re in the Bitcoin section, you will be able to view the current price of Bitcoin, as well as the option to buy or sell Bitcoin. In this guide, we will focus on the process of sending Bitcoin to another wallet.
Before you can send Bitcoin on Cash App, you may be required to verify your identity. The verification process is a standard procedure to ensure the security and authenticity of your transactions. If you haven’t completed the identity verification process yet, don’t worry! We will cover that in the next step.
Now that you’ve successfully navigated to the Bitcoin section within the app, let’s move on to the next step of verifying your identity.
Step 4: Verify Your Identity
Before you can send Bitcoin on Cash App, you may be required to verify your identity. The verification process is an essential step to ensure the security and legitimacy of your transactions. Here’s how you can verify your identity on Cash App:
- Open the Cash App on your mobile device.
- Go to your account settings by tapping on your profile icon located in the top left corner of the screen.
- Scroll down and select the “Personal” tab.
- Tap on the “Verify Your Identity” option.
- Follow the prompts to enter your personal information, including your full name, date of birth, and the last four digits of your social security number.
- Depending on your location and account activity, Cash App may prompt you to take a picture of your driver’s license or another government-issued identification.
- Once you have provided the required information, submit your identity verification request.
The verification process usually takes a few minutes, but it may take longer in some cases. Cash App will notify you via email or in-app notification once your identity is verified.
Completing the identity verification process is crucial as it allows you to enjoy higher transaction limits and additional features on Cash App, including the ability to send and receive larger amounts of Bitcoin.
Now that you have successfully verified your identity, let’s move on to the next step of buying Bitcoin on Cash App.
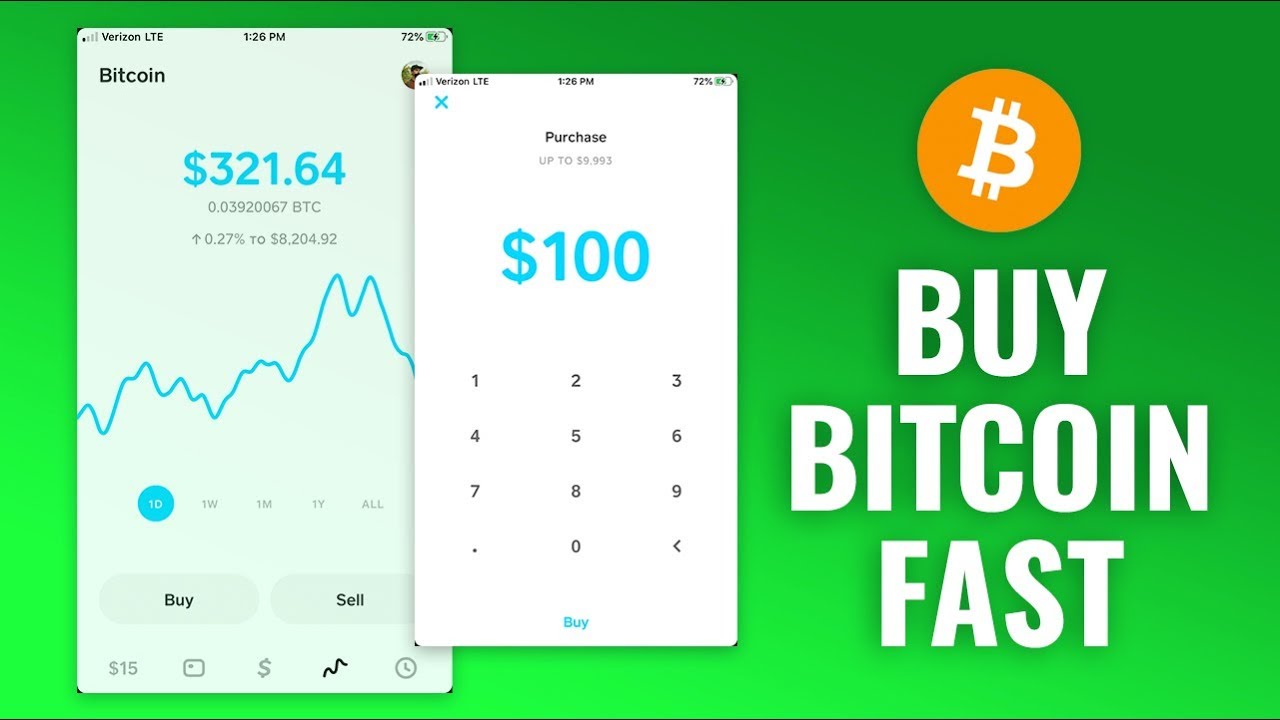
Step 5: Buy Bitcoin on Cash App
Now that your identity is verified, you can proceed to buy Bitcoin on Cash App. Here’s how you can do it:
- Open the Cash App on your mobile device.
- Navigate to the Bitcoin section by tapping on the “Investing” icon at the bottom of the screen.
- Tap on the “Bitcoin” option.
- Click on the “Buy” button.
- Enter the amount of Bitcoin you want to buy. You can either enter the value in Bitcoin or in your local currency.
- Review the transaction details, including the exchange rate and fees associated with the purchase.
- If everything looks correct, tap on the “Confirm” button to proceed with the purchase.
- Wait for the transaction to be processed. The purchased Bitcoin will be added to your Cash App Bitcoin balance.
It’s important to note that the price of Bitcoin fluctuates, so the exchange rate may vary at the time of your purchase. Cash App charges a small fee for Bitcoin transactions, which is typically included in the total cost displayed before confirming the purchase.
Once you have successfully purchased Bitcoin on Cash App, it’s time to learn how to send it to another Bitcoin wallet.
Before proceeding to the next step, it’s a good practice to double-check the recipient’s wallet address to ensure that you’re sending the Bitcoin to the intended destination.
Now that you have bought Bitcoin on Cash App, let’s move on to the final step of sending it to another wallet.
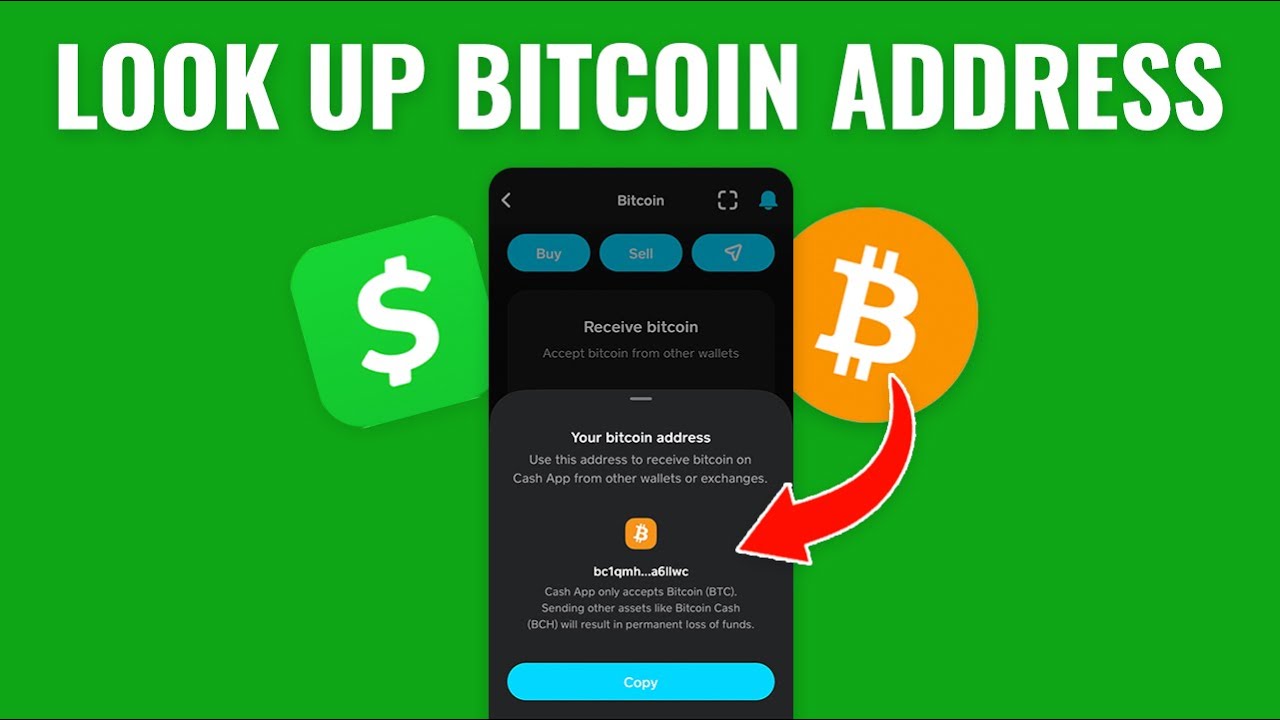
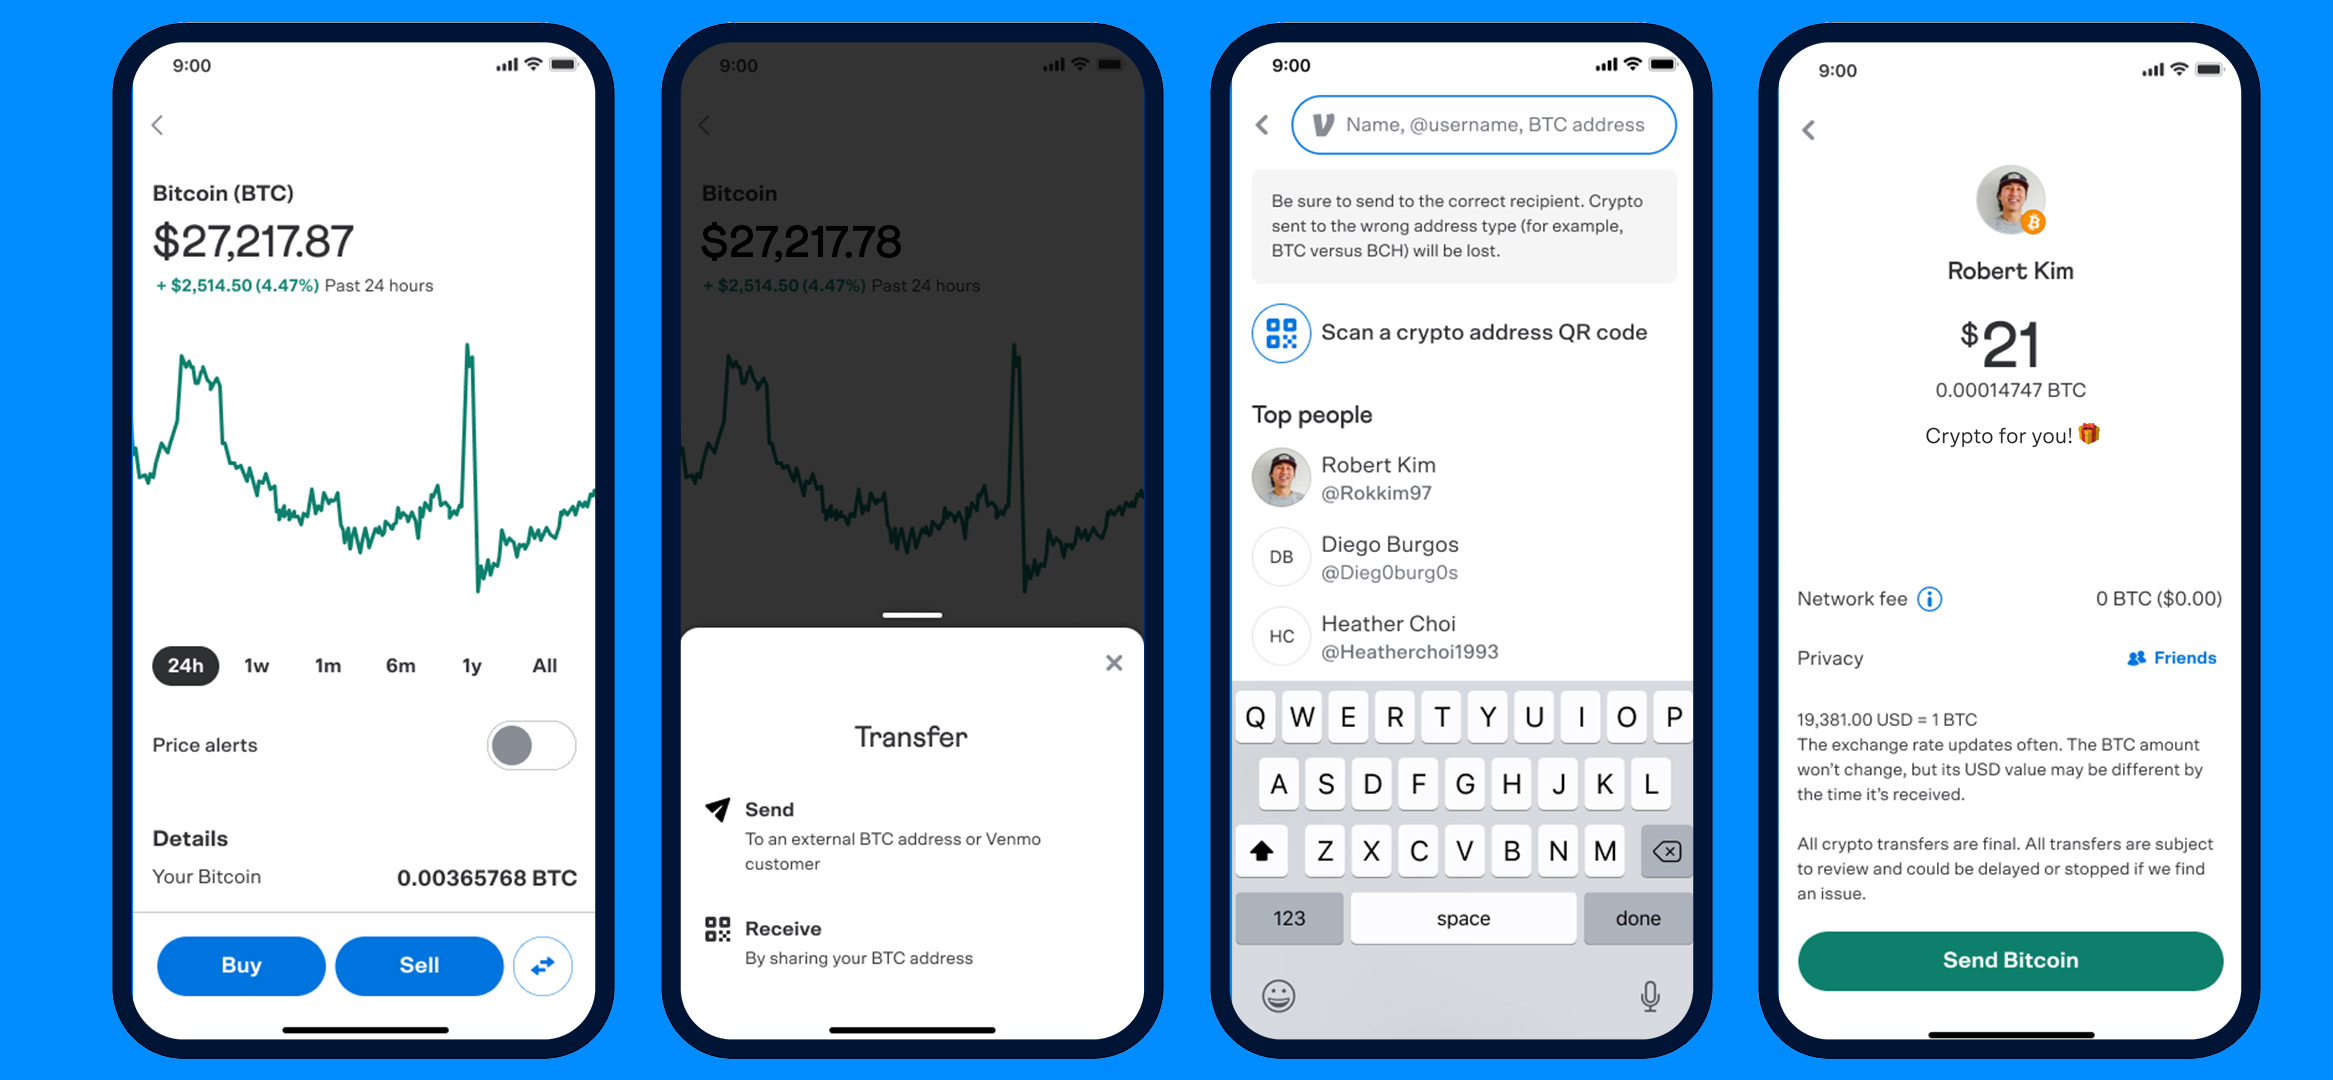
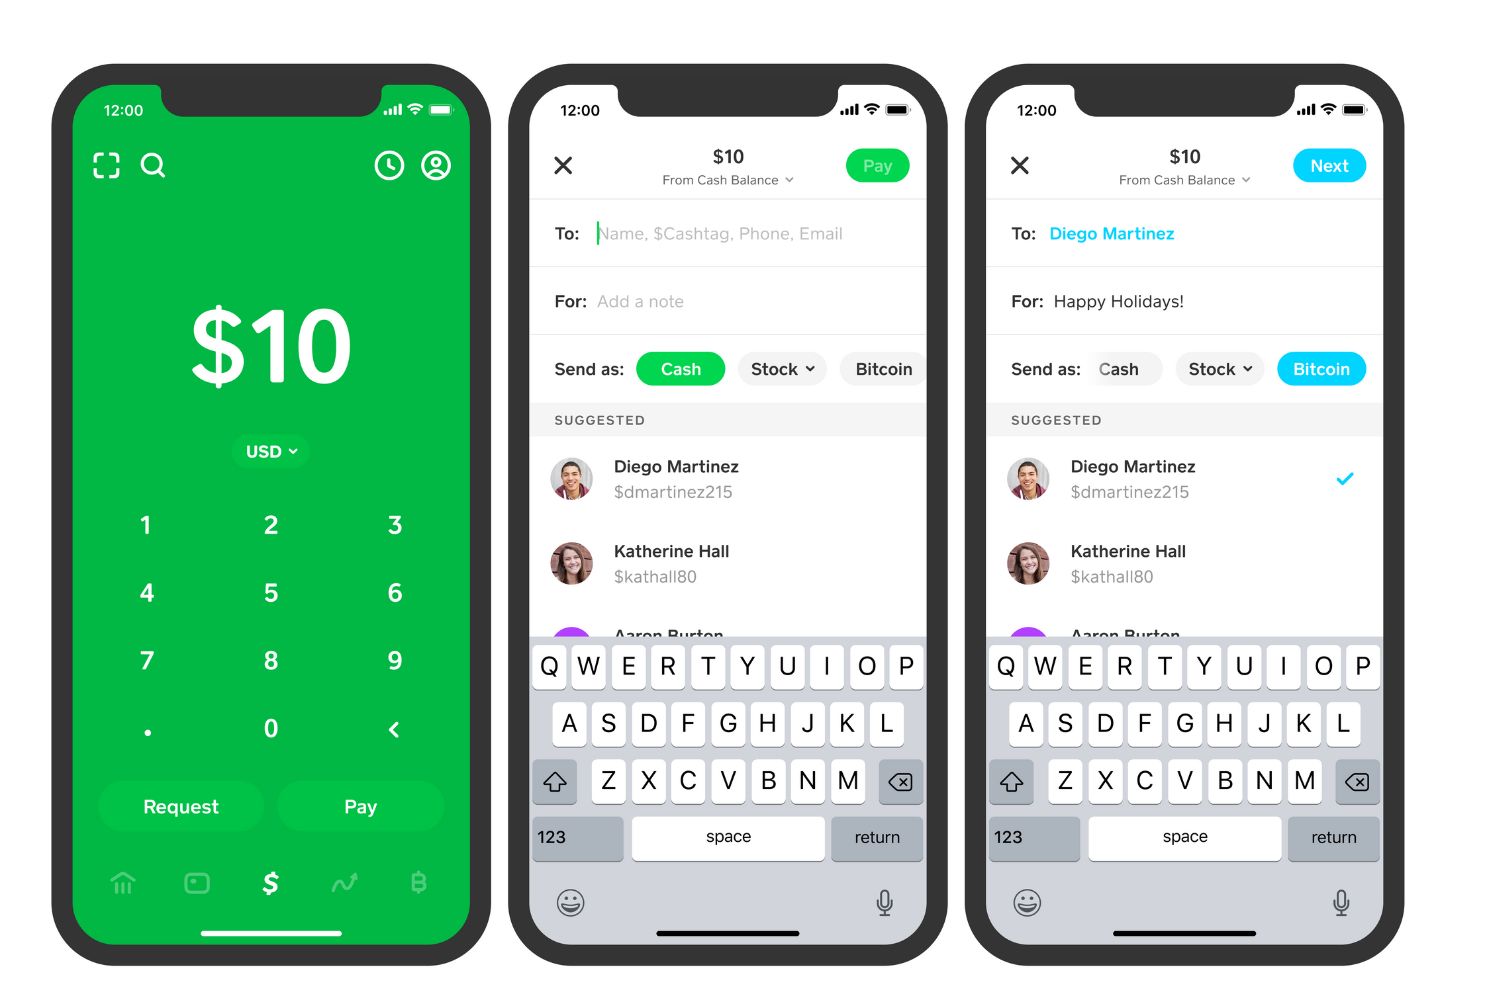
Step 6: Sending Bitcoin to Another Wallet
To send Bitcoin from your Cash App to another Bitcoin wallet, follow these simple steps:
- Open the Cash App on your mobile device.
- Navigate to the Bitcoin section by tapping on the “Investing” icon at the bottom of the screen.
- Tap on the “Bitcoin” option.
- Click on the “Withdraw Bitcoin” button.
- Enter the amount of Bitcoin you want to send. Make sure to double-check the amount to avoid any mistakes.
- Next, you’ll need to enter the recipient’s Bitcoin wallet address. This is a unique alphanumeric code provided by the recipient’s wallet. Take extra care to ensure that you enter the correct address.
- Review the transaction details, including the amount of Bitcoin being sent and any applicable fees.
- If everything looks correct, tap on the “Confirm” button to initiate the Bitcoin withdrawal.
- Wait for the transaction to be processed on the blockchain. This may take some time, depending on the network congestion.
- Once the transaction is complete, you will receive a confirmation notification. You can also track the progress of the transaction using the transaction ID provided.
It’s important to note that Bitcoin transactions are final and irreversible. It’s crucial to validate the recipient’s wallet address and double-check all transaction details before confirming the withdrawal.
Now that you have successfully sent Bitcoin from your Cash App to another wallet, you can track the progress of the transaction and ensure that the Bitcoin reaches its intended destination.
Congratulations! You have now learned how to send Bitcoin on Cash App and have completed all the necessary steps.
Remember to exercise caution and stay updated with the latest security practices to protect your Bitcoin wallet and funds.
Conclusion
Congratulations on learning how to send Bitcoin on Cash App! You now have the knowledge and skills to navigate the app, add funds to your account, purchase Bitcoin, and send it to another wallet with ease.
Using Cash App for Bitcoin transactions provides a convenient and user-friendly experience, allowing you to manage your Bitcoin holdings and transact securely from the palm of your hand. By following the step-by-step instructions in this guide, you can confidently send Bitcoin to other wallets, whether it’s for personal transactions, investments, or other purposes.
Remember to always stay vigilant and double-check all transaction details, especially when sending Bitcoin to ensure accuracy and prevent any potential mistakes. It’s also important to keep your Cash App account secure by enabling all available security measures, such as two-factor authentication.
As the world of cryptocurrency evolves, Cash App may introduce new features or updates. It’s a good idea to stay informed about any changes and regularly update your app to access the latest features and enhancements.
We hope this guide has been informative and valuable to you. Now, go ahead and start exploring the world of Bitcoin transactions on Cash App. Enjoy sending Bitcoin securely and efficiently!