Introduction
Splitwise is a popular online platform for simplifying group expenses and keeping track of shared bills. It allows friends, roommates, or colleagues to easily split expenses and settle payments in a hassle-free manner. However, there may be instances when you need to remove yourself from a group in Splitwise. This could happen if you are no longer part of that group or if you have settled all your debts and no longer need to track expenses.
In this article, we will guide you through the process of removing yourself from a group in Splitwise, whether you are using the Splitwise app or the website. It’s a straightforward process that can be completed in just a few simple steps.
Note: Removing yourself from a group means that you will no longer have access to the group’s expenses and will be removed from all future calculations and settlements. If you are the group creator or an admin, please ensure that you transfer the admin role to another group member before removing yourself.
By following these steps, you can easily remove yourself from a group in Splitwise and streamline your expense tracking process.
Step 1: Open the Splitwise App or Website
The first step to remove yourself from a group in Splitwise is to open the Splitwise app or website. You can access Splitwise through the mobile app, available for both iOS and Android devices, or by visiting the Splitwise website on your desktop browser.
If you are using the mobile app, locate the Splitwise icon on your home screen or app drawer and tap on it to open the app. If you prefer using the website, open your preferred web browser and enter “www.splitwise.com” in the address bar.
Once you have successfully opened the Splitwise app or website, you will be directed to the login page where you can enter your credentials to log into your Splitwise account. If you do not have an account, you can easily sign up for one by providing the necessary information.
If you already have an account, enter your email address or username along with your password, and click on the “Login” or “Sign In” button to proceed.
Once you have successfully logged into your account, you will be directed to the Splitwise dashboard, where you will find an overview of your groups, expenses, and other relevant information. On the dashboard, you will be able to see a list of all the groups you are currently a part of.
Now that you have successfully opened the Splitwise app or website and logged into your account, you are ready to proceed to the next step of removing yourself from a group in Splitwise.
Step 2: Select the Desired Group from Your Dashboard
After opening the Splitwise app or website and logging into your account, the next step to remove yourself from a group in Splitwise is to select the specific group from your dashboard that you wish to leave.
On the Splitwise dashboard, you will see a list of all the groups you are currently a part of. These groups may include friends, roommates, coworkers, or any other groups you have created or joined for expense tracking purposes.
Take a moment to locate the group you want to remove yourself from. You can identify the group by its name or any associated profile picture or icon. If you are having trouble finding the group, you can utilize the search or filter options available on the dashboard to narrow down your search.
Once you have located the desired group, click or tap on it to open the group’s page. This will provide you with a detailed view of the group’s expenses, members, and other relevant information. You will also have access to the group’s settings, which contain the necessary options to remove yourself from the group.
It’s important to ensure that you have selected the correct group before proceeding, as removing yourself from a group is a permanent action and cannot be undone.
By successfully selecting the desired group from your Splitwise dashboard, you are one step closer to removing yourself from the group and freeing yourself from any further expenses or obligations associated with it.
Step 3: Navigate to the Group Settings
After selecting the specific group you want to remove yourself from in Splitwise, the next step is to navigate to the group settings. The group settings allow you to manage various aspects of the group, including member roles and permissions, expense categories, and notifications.
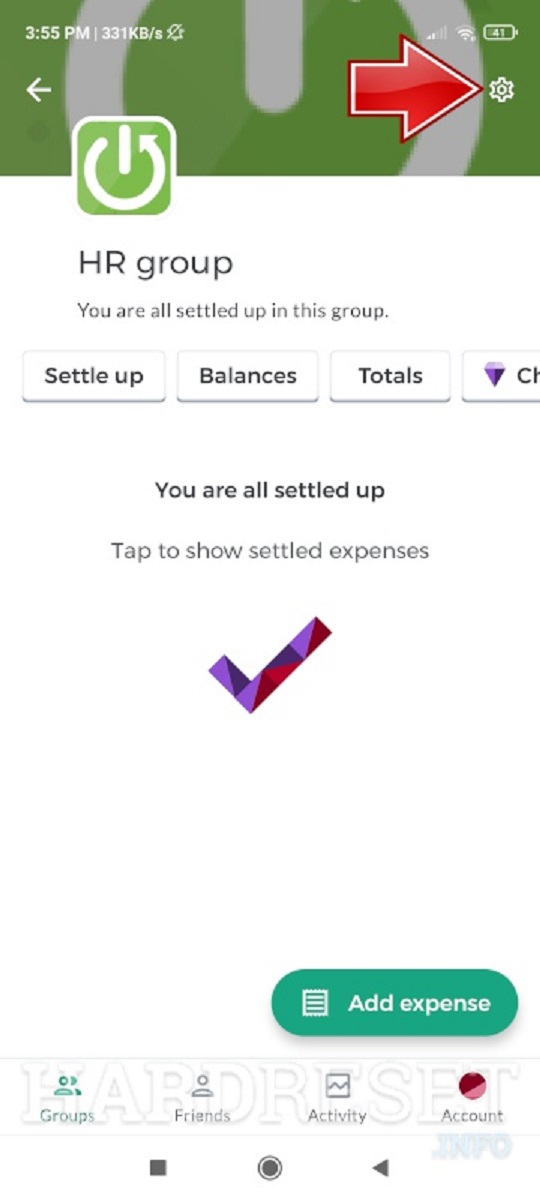
To access the group settings, look for a gear icon or a “Settings” option within the group’s page. The location of the group settings may vary slightly depending on whether you are using the Splitwise app or website, but it is generally located in a prominent position for easy access.
Click or tap on the gear icon or the “Settings” option to open the group settings page. Here, you will find a range of options and configurations related to the group.
Depending on your role within the group (e.g., member, admin), you may have different levels of permissions and abilities within the group settings. However, the option to remove yourself from the group should be available to all members, provided they are not the group creator or an admin with restricted permissions.
Take a moment to familiarize yourself with the various settings available on the group settings page, but stay focused on identifying the option that allows you to remove yourself from the group.
By successfully navigating to the group settings page, you are now ready to proceed to the final step of removing yourself from the group in Splitwise.
Step 4: Remove Yourself from the Group
The final step to remove yourself from a group in Splitwise is to actually remove yourself from the group using the options available in the group settings. By following this step, you will no longer be a part of the group and will no longer have access to its expenses or calculations.
Once you are on the group settings page, search for the option or button that allows you to remove yourself from the group. This option is typically labeled as “Leave Group,” “Remove from Group,” or something similar.
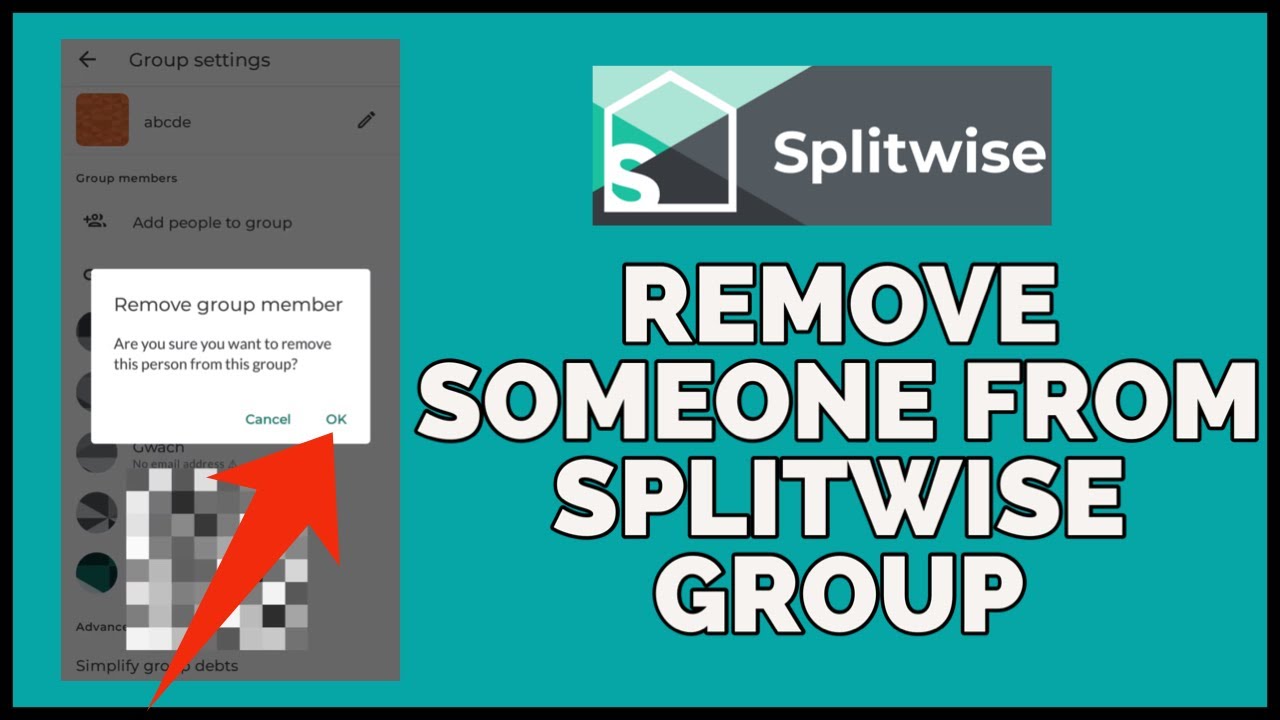
Click or tap on the designated option to initiate the process of removing yourself from the group. You may be prompted with a confirmation message to ensure that you want to proceed with the removal.
Review the confirmation message and make sure you understand the consequences of leaving the group. Keep in mind that you will no longer have access to the group’s expenses and will be excluded from future calculations and settlements.
If you are confident in your decision, confirm the removal by selecting the appropriate option, such as “Leave Group” or “Remove from Group,” depending on the wording used. Once confirmed, the system will immediately remove you from the group.
After removing yourself from the group, you will be redirected back to your Splitwise dashboard or to the groups page, depending on the navigation flow within the app or website. You should no longer see the group you just left in your list of active groups.
Congratulations! You have successfully removed yourself from a group in Splitwise. You are now free from any further expenses or obligations associated with that particular group.
If you ever need to rejoin the group in the future, you can always do so by sending a request to the group creator or the current admin of the group.
By following these simple steps, you can effortlessly remove yourself from a group in Splitwise, helping you maintain a clutter-free and organized expense tracking experience.