Introduction
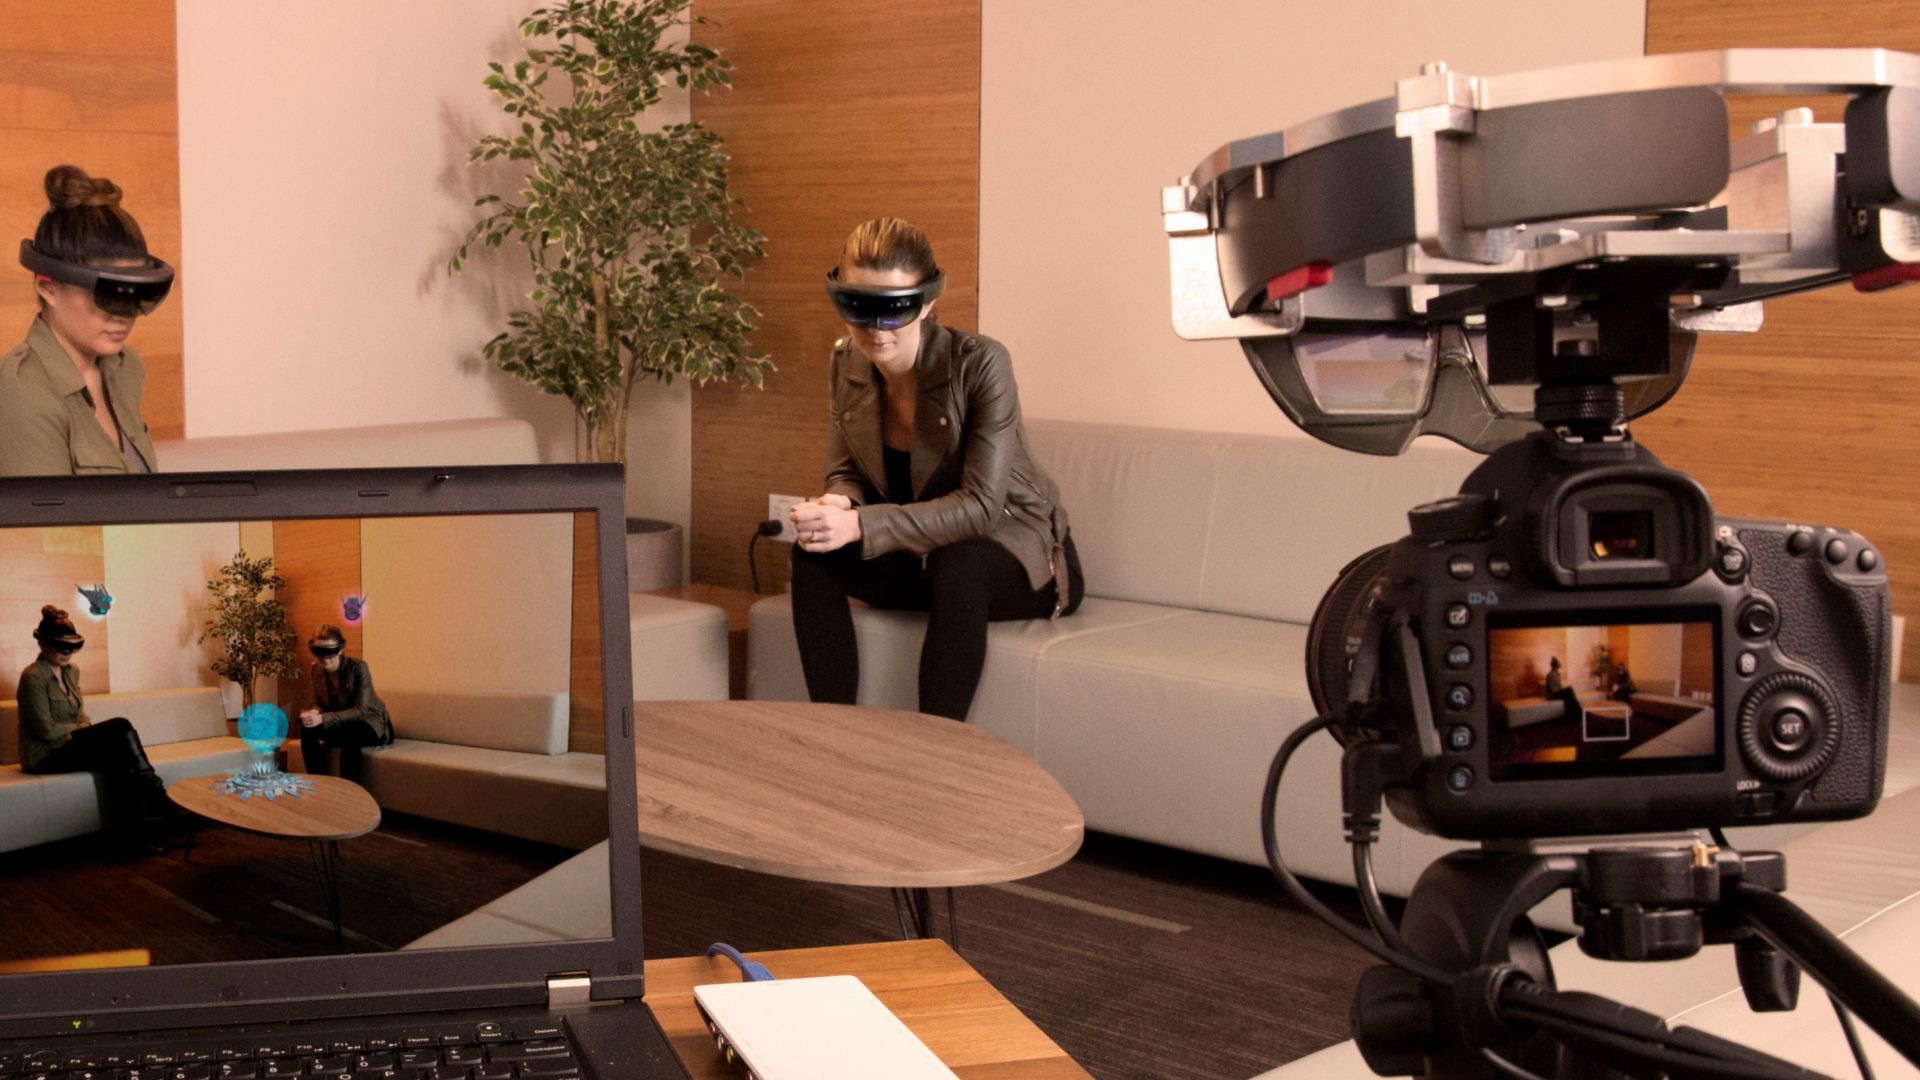
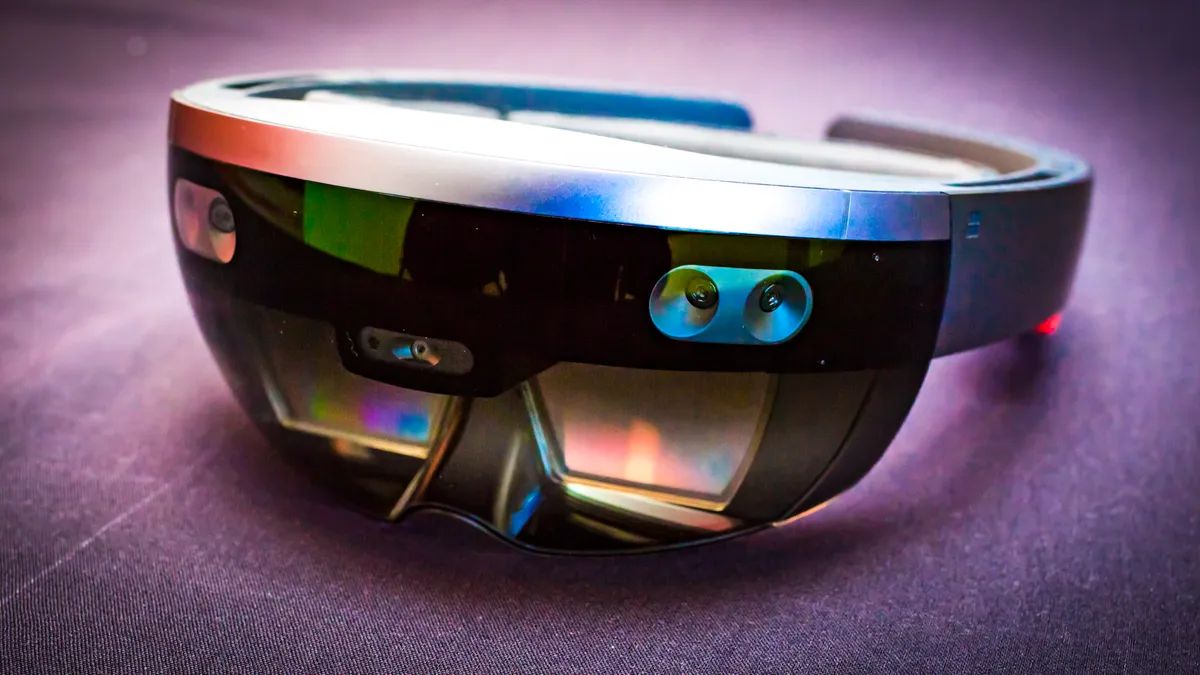
The Microsoft HoloLens is an innovative and cutting-edge mixed reality device that combines virtual reality with the real world. It offers a unique and immersive experience, allowing users to interact with holograms and digital content in their physical environment. Whether you are a developer, designer, or simply a tech enthusiast, learning how to log in to the Microsoft HoloLens is essential to start exploring its endless possibilities.
In this guide, we will walk you through the step-by-step process of logging in to your Microsoft HoloLens device. From powering it on to setting up your Microsoft account, we will cover each stage of the setup process. So, let’s dive in and get started.
Before we begin, it is important to note that you will need to have your Microsoft HoloLens device fully charged and ready to go. Additionally, make sure you have a stable internet connection as this will be required for the setup process. Once you have these prerequisites in place, you are ready to embark on your HoloLens journey.
Step 1: Power on the Microsoft HoloLens
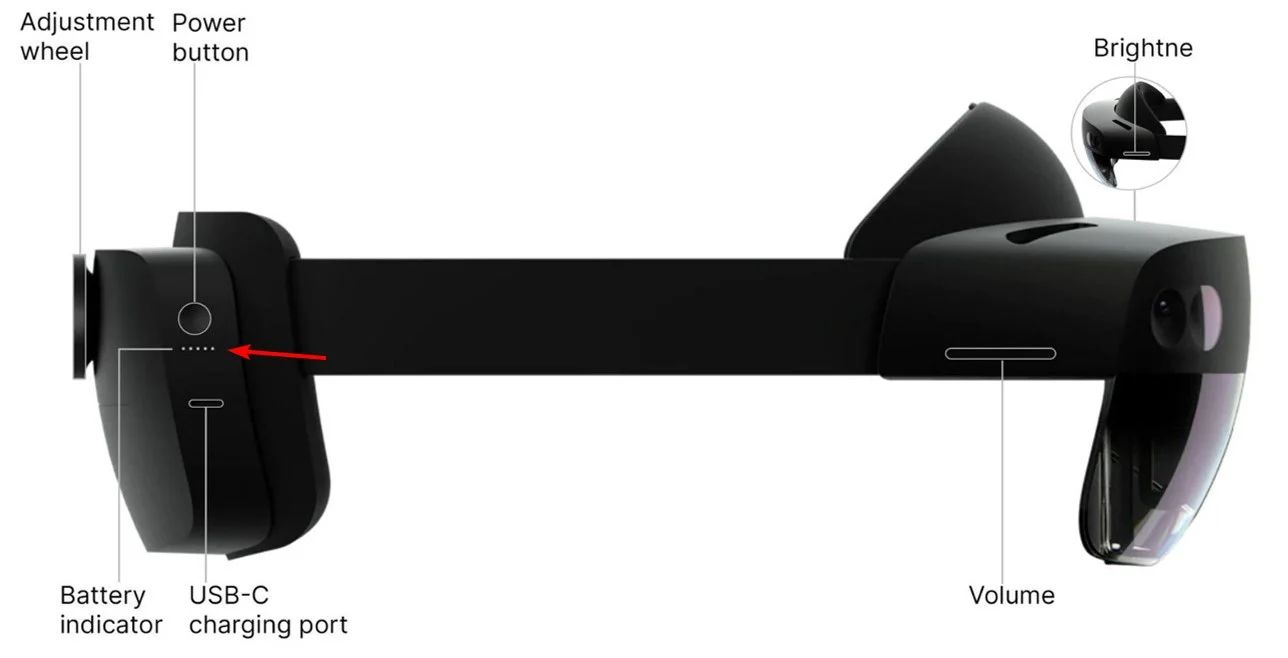
The first step in logging in to your Microsoft HoloLens is to power on the device. Locate the power button, which is located on the upper right side of the headset. Press and hold this button for a few seconds until you see the Microsoft logo appear on the display. This indicates that the HoloLens is booting up.
Once the device has powered on, you will be prompted to adjust the headset for a comfortable fit. Follow the on-screen instructions to ensure that the HoloLens is positioned correctly on your head. Proper placement is important for an optimal user experience.
It is worth noting that the HoloLens is equipped with sensors and cameras that allow it to understand your surroundings. These sensors are essential for accurate hologram placement and interaction. As you use the device, be sure to avoid obstructing these sensors. Ensure that your face is clear of any obstructions, such as glasses or hair, which could interfere with the HoloLens’ functionality.
After adjusting the headset, you will be guided through the initial setup process, which includes selecting the language and region, connecting to Wi-Fi, and signing in to your Microsoft account. This setup process is crucial for personalizing your HoloLens experience and accessing the full range of features and applications.
Now that you have successfully powered on your Microsoft HoloLens and adjusted it to fit comfortably, you are ready to move on to the next step: pairing your device with another device, such as a smartphone or computer. This will allow you to enjoy seamless connectivity and take advantage of the HoloLens’ capabilities to their fullest extent.
Step 2: Pairing your device
Once you have powered on your Microsoft HoloLens and completed the initial setup, the next step is to pair your device with another device, such as a smartphone or computer. Pairing allows for seamless connectivity and enables you to share content and control your HoloLens remotely.
To pair your device, ensure that Bluetooth is enabled on both your HoloLens and the device you want to pair it with. On your HoloLens, go to the Start menu by performing an air tap gesture and navigate to the Settings app. From there, select the Devices option, followed by Bluetooth & other devices.
In the Bluetooth & other devices menu, make sure that the Bluetooth toggle is switched on. Your HoloLens will start searching for nearby devices. On the device you want to pair with, open the Bluetooth settings and make it discoverable. Your HoloLens should detect the device in the list of available devices.
Once your HoloLens detects the device you want to pair with, tap on it to initiate the pairing process. A prompt will appear on both devices asking for confirmation to pair. Confirm the pairing on both devices to establish a connection between them.
Once the pairing process is complete, you can now seamlessly transfer content between your HoloLens and the paired device. This can include sharing files, controlling the HoloLens remotely, or using the paired device as an input method for the HoloLens.
Pairing your HoloLens with another device opens up a range of possibilities for collaboration, content sharing, and enhanced control. It allows you to easily interact with content on your HoloLens, making your mixed reality experience even more immersive and engaging.
Now that your HoloLens is paired with another device, you can move on to the next step: adjusting the headset for a precise fit, ensuring optimal comfort during extended usage periods.
Step 3: Adjusting the headset
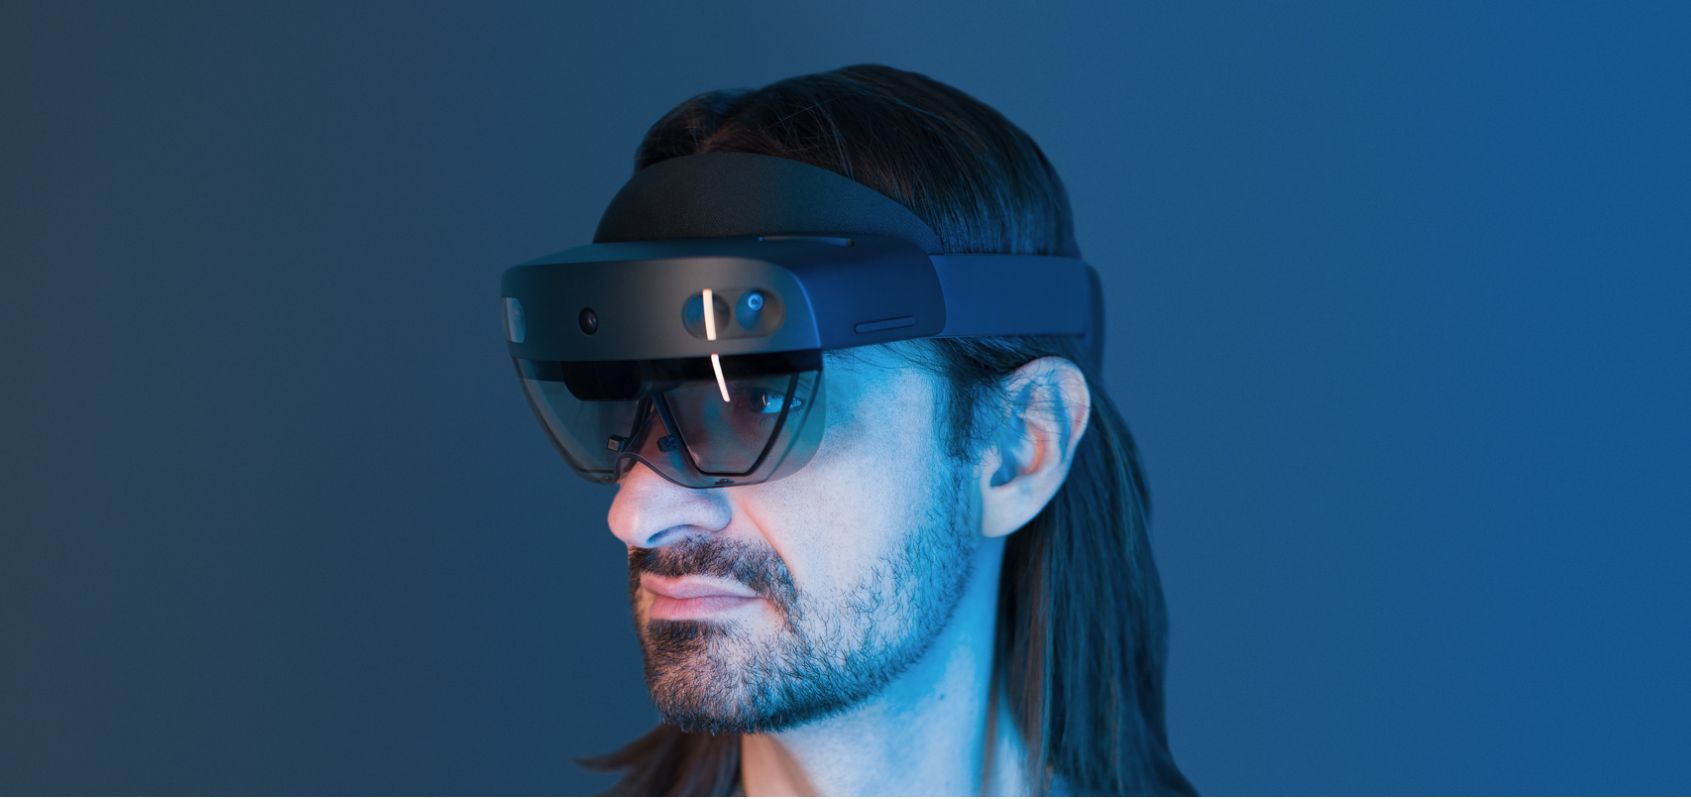
Properly adjusting the headset is essential for a comfortable and immersive experience while using the Microsoft HoloLens. The HoloLens is designed to fit a variety of head sizes and shapes, allowing users to find a customized fit that suits their preferences.
When adjusting the headset, start by placing it on your head with the visor facing forward. The back strap should sit just above the occipital bone at the back of your head, while the side straps should rest comfortably on the sides of your head.
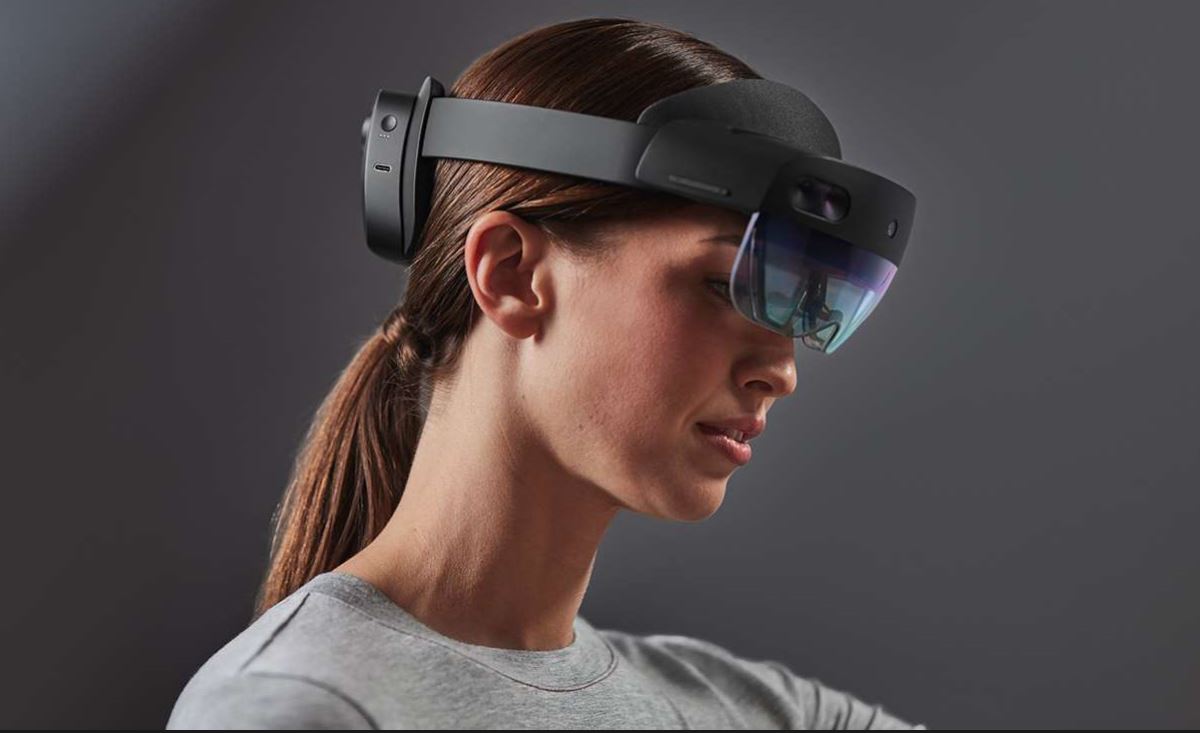
Once the headset is on, use the tightening dial located at the back of the headband to secure it in place. Turn the dial clockwise to tighten the headband until the headset feels snug but not excessively tight. This will help ensure a stable fit and prevent the headset from slipping during use.
Additionally, the holographic eyepiece display should be positioned correctly in front of your eyes. Use the adjustment knob located on the left side of the headband to fine-tune the position of the display. The goal is to align the display with your field of view, allowing you to view holograms and digital content seamlessly within your real-world environment.
As you adjust the headset, it’s important to give attention to the fit around the nose bridge. Use the nosepiece to ensure that the headset sits comfortably on your nose without obstructing your vision. This will help prevent discomfort and eyestrain during extended periods of use.
Take a moment to adjust the straps and dial to find the perfect fit for your individual comfort. A well-adjusted headset will not only enhance your overall experience but also minimize any discomfort or strain that may arise from prolonged use.
With the headset properly adjusted and snugly fit, you are now ready to move on to the next step: selecting the language and region preferences on your HoloLens.
Step 4: Selecting the language and region
After adjusting the headset to fit comfortably, the next step in setting up your Microsoft HoloLens is selecting the language and region preferences. These settings determine the default language for your device’s user interface and the region-specific features and content available to you.
To select the language and region, start by navigating to the Start menu on your HoloLens. Perform an air tap gesture to open the Start menu, and then locate and select the Settings app. Once in the Settings app, scroll down and tap on the Time & language option.
In the Time & language settings, you will find various options related to language and region. Tap on the Language menu to view the available languages. From the list, select your preferred language by tapping on it. The selected language will become the default language for your HoloLens.
Next, tap on the Region option to choose your desired region. The region setting determines the date and time format, currency, and regional-specific features and content. Select the appropriate region from the list by tapping on it.
After selecting the language and region, your HoloLens will apply the changes and prompt you to confirm. Review the selected settings and tap on the Confirm button to finalize your language and region preferences.
Choosing the language and region that best suits your needs is crucial for a personalized and localized experience. It ensures that your HoloLens interface and available content align with your preferences and the region-specific features are accessible to you.
Now that you have selected the language and region preferences, the next step is to connect your HoloLens to a Wi-Fi network. This will enable you to download apps, updates, and holographic content, as well as access online services on your device.
Step 5: Connecting to Wi-Fi
In order to fully utilize the capabilities of your Microsoft HoloLens, it is essential to connect it to a Wi-Fi network. Connecting to Wi-Fi enables you to download apps, updates, and holographic content, as well as access online services on your device.
To connect your HoloLens to Wi-Fi, start by navigating to the Start menu. Perform an air tap gesture to open the menu, and then locate and select the Settings app. Once in the Settings app, scroll down and tap on the Network & Internet option.
In the Network & Internet settings, you will find the Wi-Fi option. Tap on it to view the available Wi-Fi networks in your vicinity. Select your desired Wi-Fi network from the list by tapping on it.
If the Wi-Fi network you want to connect to is secured, you will be prompted to enter the password. Use the on-screen keyboard to input the password and tap the Connect button to establish a connection with the network.
Once connected, your HoloLens will display a confirmation message, indicating that it is successfully connected to the Wi-Fi network. At this point, you can proceed to the next steps and complete the setup process.
It is important to note that a stable and reliable Wi-Fi connection is crucial for optimal performance and access to online services and content on your HoloLens. Ensure that you are within the range of a Wi-Fi network and that the network is functioning properly.
With your HoloLens now connected to Wi-Fi, you can move on to the next step: creating a Microsoft account or signing in with an existing account. Having a Microsoft account is necessary to access various features and services offered by Microsoft, including the HoloLens ecosystem.
Step 6: Creating a Microsoft account or signing in with an existing account
In order to fully utilize the features and services of your Microsoft HoloLens, you need to have a Microsoft account. A Microsoft account allows you to access a wide range of Microsoft services and applications, including the HoloLens ecosystem.
If you already have a Microsoft account, you can simply sign in with your existing credentials. To do this, navigate to the Start menu on your HoloLens by performing an air tap gesture. From there, locate and select the Settings app. Within the Settings app, scroll down and tap on the Accounts option.
In the Accounts settings, you will find the option to sign in with your Microsoft account. Tap on the Sign in with a Microsoft account option and enter your email address and password associated with your Microsoft account. Follow the on-screen prompts to complete the sign-in process.
If you don’t have a Microsoft account yet, you can create one directly from your HoloLens. Within the Accounts settings, you will find the Create one! option under the Sign in with a Microsoft account section. Tap on it, and you will be guided through the process of creating a new Microsoft account.
During the account creation process, you will be required to provide certain information, such as your email address, password, and personal details. Follow the prompts and provide the necessary information accurately to create your Microsoft account. Once your account is created, you can use it to sign in to your HoloLens and enjoy the full range of features and services.
Having a Microsoft account not only allows you to personalize your HoloLens experience but also gives you access to the Microsoft Store, where you can download and install various apps and holographic content onto your device.
With the Microsoft account signed in or created on your HoloLens, you are ready to move on to the next step: calibrating the device to optimize its performance and accuracy during use.
Step 7: Calibrating the device
Calibrating your Microsoft HoloLens is an important step to ensure optimal performance and accuracy while using the device. Calibration allows the HoloLens to understand and interpret your physical movements and gestures accurately, resulting in a more seamless and immersive mixed reality experience.
To begin the calibration process, navigate to the Start menu on your HoloLens by performing an air tap gesture. From there, locate and select the Settings app. Within the Settings app, scroll down and tap on the Mixed reality option.
In the Mixed reality settings, you will find the option to start the calibration process. Tap on the Calibrate HoloLens option to initiate the calibration process. Follow the on-screen instructions carefully to complete the calibration.
During the calibration, you may be asked to perform certain gestures or movements, such as looking at specific points in your environment or tracing shapes in the air. Follow the instructions precisely to ensure accurate calibration.
It is essential to perform the calibration process in a well-lit environment, free from obstructions or reflective surfaces that may interfere with the sensors of the HoloLens. This will help ensure accurate tracking and precise hologram placement.
Once the calibration process is complete, your HoloLens is now primed and ready to accurately interpret your movements and gestures, enhancing the overall mixed reality experience.
Calibration is a one-time process, and you may not need to repeat it unless you experience significant changes in your environment or if instructed to do so by the device. However, it is always a good practice to periodically check the calibration settings to ensure optimal performance.
Now that your HoloLens is calibrated, you can move on to the next step: selecting the default input method, either through air tap or the clicker accessory included with your device.
Step 8: Selecting the default input method
Choosing the default input method for your Microsoft HoloLens is an important step to ensure a seamless and intuitive user experience. The HoloLens offers two primary input methods: using gestures with the air tap gesture or utilizing the clicker accessory that comes with the device.
To select the default input method, navigate to the Start menu on your HoloLens by performing an air tap gesture. From there, locate and select the Settings app. Within the Settings app, scroll down and tap on the Mixed reality option.
In the Mixed reality settings, you will find the Input tab. Tap on it to access the input settings. Here, you will see the options for both Air tap and Clicker. Select the input method you prefer as the default by tapping on it.
If you choose the Air tap gesture as the default input method, you can interact with holograms by performing a simple tapping gesture in the air. This method offers a hands-free experience and is ideal for quick and intuitive interactions.
If you opt for the Clicker accessory, you can connect it to your HoloLens and use it as the primary input device. The Clicker is a handheld device with buttons that allow you to perform actions such as selecting, scrolling, and navigating through menus and interfaces.
It is worth noting that you can switch between the two input methods at any time, depending on your preferences and specific interaction needs. The default input method simply determines which method will be used when no other input option is specified.
Choosing the input method that feels most comfortable and natural to you will enhance your overall experience with the Microsoft HoloLens. Experiment with both options to see which one suits your needs and preferences best.
Now that you have selected the default input method, you are ready to move on to the final step: completing the setup process and start exploring the endless possibilities of the Microsoft HoloLens.
Step 9: Completing the setup process
After going through the various previous steps, you are now on the final step of the setup process for your Microsoft HoloLens. Completing this step will allow you to start using the HoloLens and delve into the immersive world of mixed reality.
Once you have selected your default input method, you can proceed to finalize the setup. Simply navigate to the Start menu on your HoloLens by performing an air tap gesture. From there, locate and select the Settings app. Within the Settings app, scroll down and tap on the Mixed reality option.
In the Mixed reality settings, you will find the option to complete the setup process. Tap on it to finalize the setup and begin exploring the capabilities of your HoloLens.
Completing the setup process may involve a few additional prompts, such as confirming your settings or permissions. Follow the on-screen instructions and provide any necessary information to successfully complete the setup.
Once the setup is complete, your HoloLens is ready to use. You can start discovering and experiencing applications, games, and holograms within your physical environment. Get ready to explore new dimensions and interact with digital content in innovative ways!
As you start using your HoloLens, remember to familiarize yourself with the available apps, settings, and features. Continuously updating your device and exploring the Microsoft Store will provide you with access to the latest advancements and a growing library of mixed reality content.
Now that you have completed the setup process, you are ready to immerse yourself in the world of mixed reality with your Microsoft HoloLens. Enjoy the possibilities that this revolutionary device offers and embark on a journey into a new realm of interactive experiences.
Conclusion
Congratulations on successfully completing the setup process for your Microsoft HoloLens! You are now equipped to embark on a fascinating journey into the world of mixed reality. By following the steps outlined in this guide, you have learned how to power on your HoloLens, pair it with other devices, adjust the headset for a comfortable fit, select the language and region preferences, connect to Wi-Fi, create or sign in with a Microsoft account, calibrate the device, select the default input method, and finally, complete the setup process.
The Microsoft HoloLens opens up a world of possibilities, allowing you to interact with holograms and digital content in your physical environment. Whether you are a developer, designer, or simply a tech enthusiast, the HoloLens offers endless opportunities for creative expression, immersive gaming, educational exploration, and much more.
As you begin using your HoloLens, make sure to stay updated with the latest software updates, explore the Microsoft Store for new apps and experiences, and continue to refine your interactions with the device. The more you familiarize yourself with the features and capabilities of the HoloLens, the more you will be able to unlock its full potential.
Remember to have fun and experiment with different holographic apps and experiences. Explore the virtual landscape, interact with holograms, and let your creativity and imagination run wild.
By following the setup process outlined in this guide, you are now well-equipped to dive into the exciting world of mixed reality with your Microsoft HoloLens. Get ready to experience a new dimension of technology and embark on a journey of innovation and exploration.
Enjoy your Microsoft HoloLens, and may your mixed reality adventures be filled with awe and wonder!