Introduction
In the era of advanced technology, recording videos has become an integral part of our lives. Whether it’s capturing unforgettable moments, creating engaging content, or documenting important events, video recording has become more accessible and convenient. One device that has revolutionized the way we record videos is the HoloLens, a cutting-edge mixed reality headset developed by Microsoft.
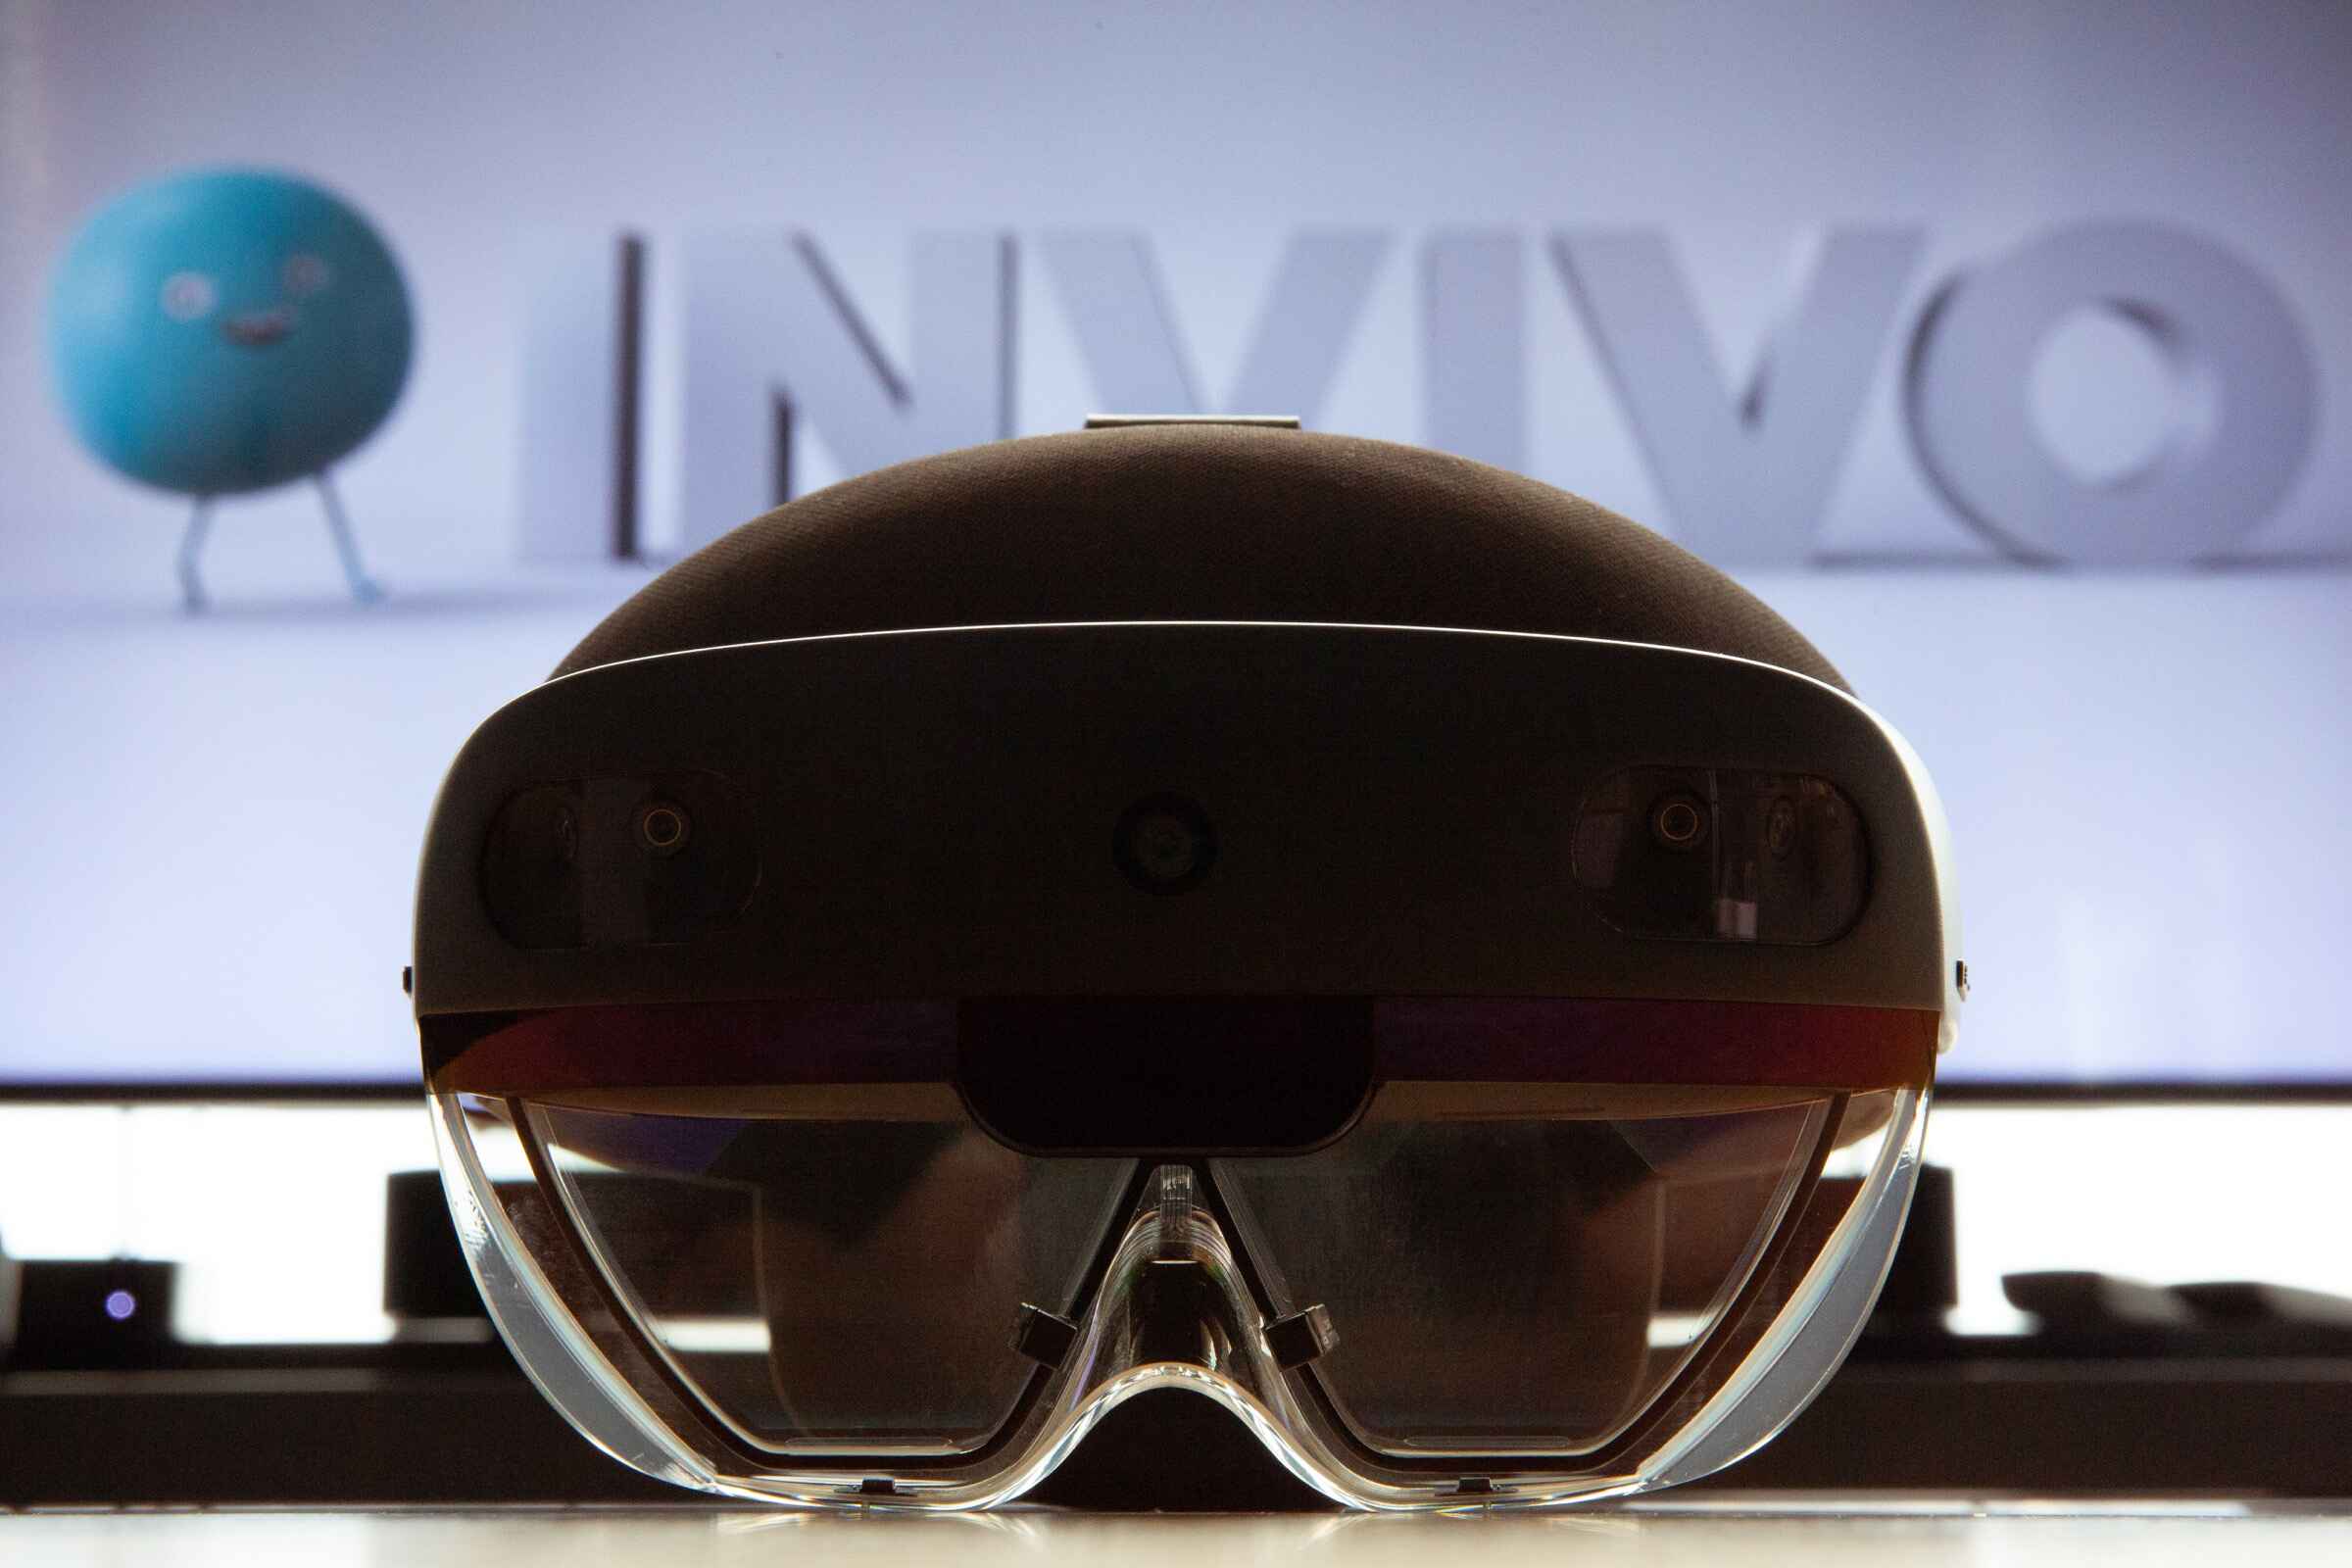
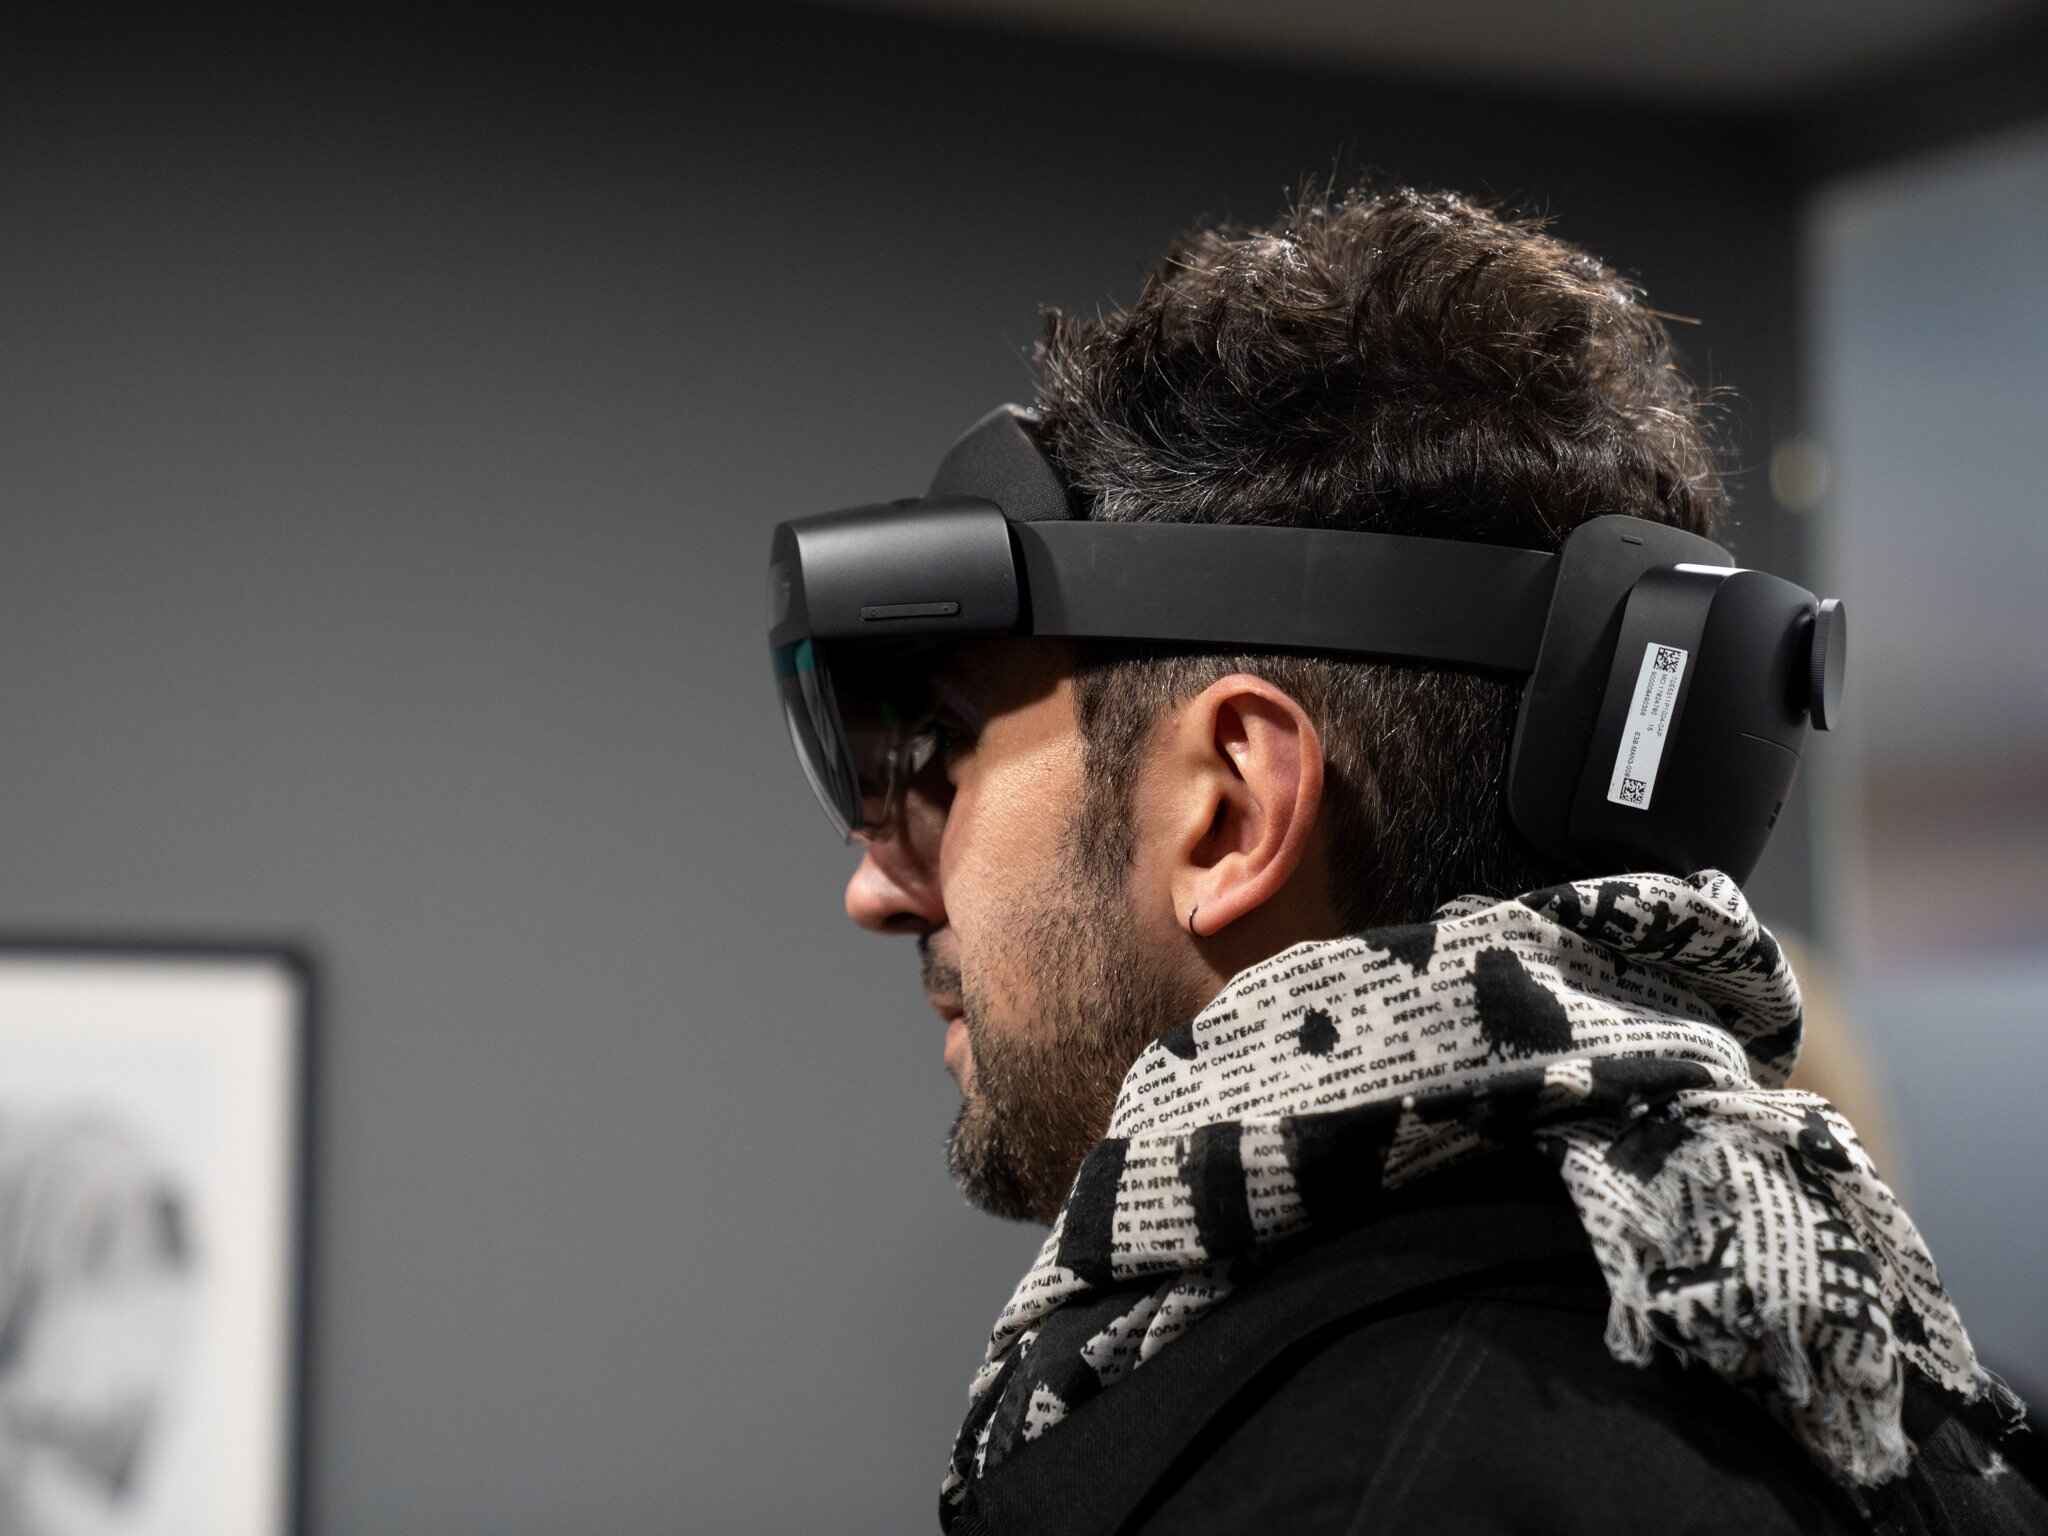
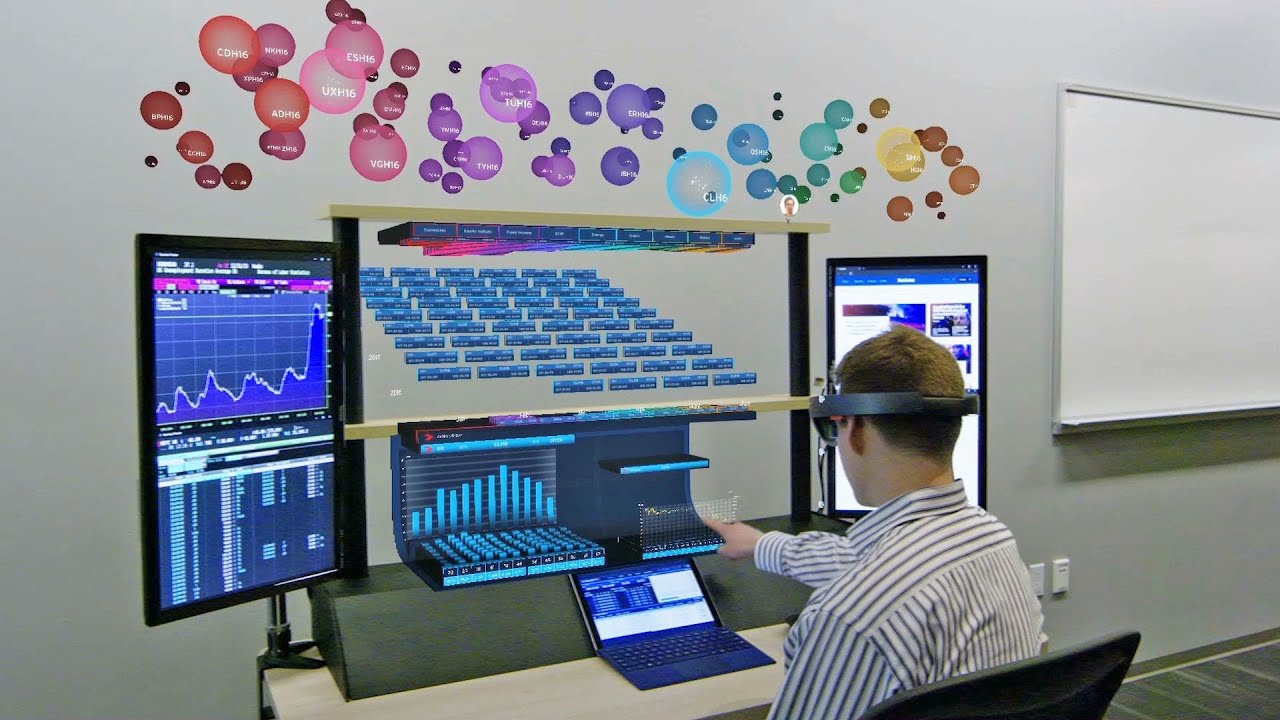
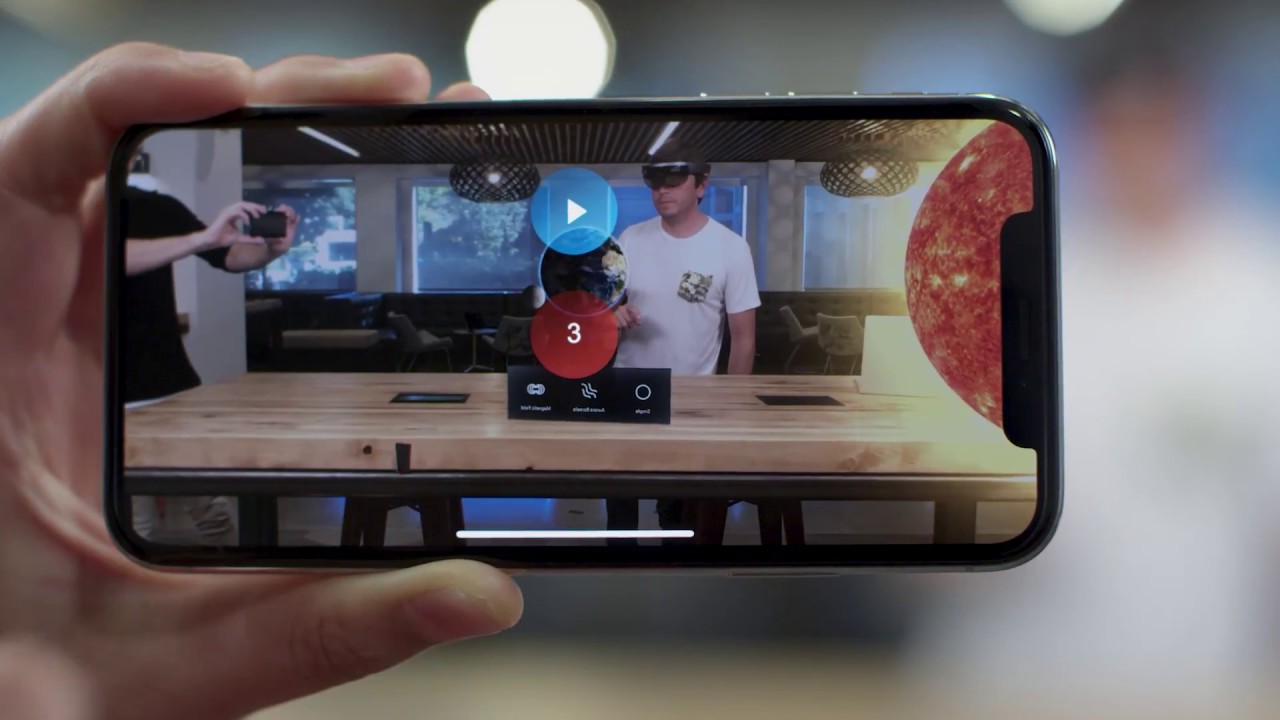
The HoloLens allows users to seamlessly blend the digital world with the real world, offering a unique and immersive experience. With its built-in high-definition camera, you can easily capture videos from your perspective, providing a first-person point of view that enhances the viewer’s engagement and immersion.
In this guide, we will walk you through the process of recording videos with the HoloLens. Whether you’re an aspiring filmmaker, a content creator, or simply want to capture precious moments, we will cover everything you need to know to get started.
From setting up the HoloLens to adjusting video settings and sharing your recordings, we will provide step-by-step instructions and valuable tips to optimize your video recording experience. So, let’s dive into the wonderful world of HoloLens video recording and unleash your creativity!
Getting Started
Before you begin recording videos with your HoloLens, there are a few things you need to do to ensure a smooth and hassle-free experience.
1. Charge your HoloLens: Make sure your HoloLens is fully charged or connected to a power source to avoid interruptions during the recording process.
2. Clear your surroundings: Find a well-lit and clutter-free area where you plan to record your videos. Ensure there are no obstacles or distractions that could potentially interfere with your recording.
3. Connect to Wi-Fi: It’s recommended to connect your HoloLens to a reliable Wi-Fi network for a seamless transfer of your recorded videos.
4. Familiarize yourself with the controls: Take some time to familiarize yourself with the various controls and gestures of the HoloLens. This will make it easier for you to navigate through the recording process.
5. Prepare your subject or script: If you are recording a specific subject or following a script, make sure you have everything prepared in advance. This will help you stay organized and ensure a smoother recording process.
Once you have completed these initial steps, you’re ready to dive into the exciting world of HoloLens video recording. Let’s move on to the next steps where we will guide you through the process of setting up your HoloLens and opening the camera app.
Step 1: Setting up the HoloLens
Setting up your HoloLens is the first crucial step in recording videos. Follow these simple guidelines to ensure a seamless setup process:
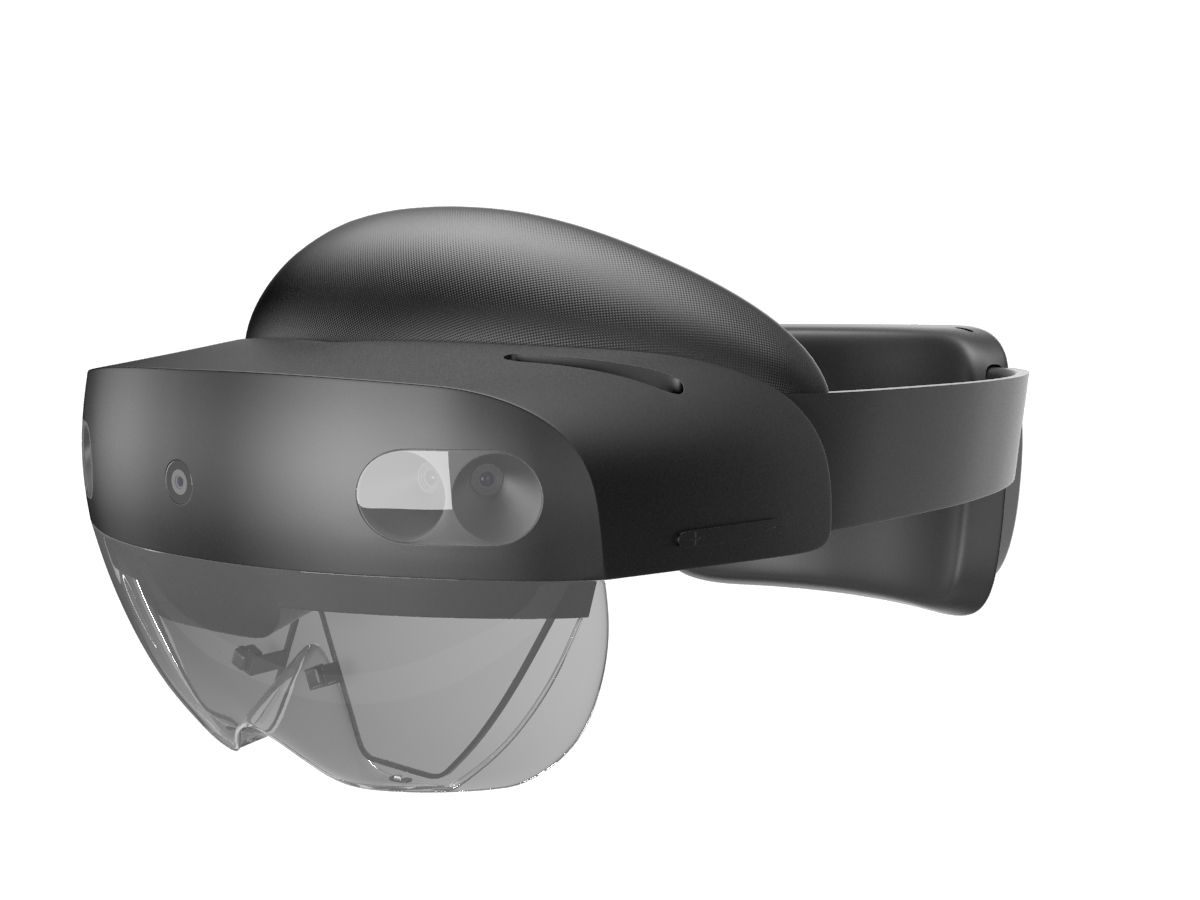
1. Wear the HoloLens: Gently place the HoloLens over your head, ensuring that it fits comfortably. Adjust the straps for a secure fit, making sure the display is positioned correctly in front of your eyes.
2. Adjust the visuals: While wearing the HoloLens, adjust the holographic visuals to your liking. Use the built-in dial located at the back of the HoloLens to fine-tune the focus until the digital objects appear clear and crisp.
3. Calibrate the environment: Follow the on-screen instructions to calibrate the HoloLens to your environment. This process helps the device understand the physical space around you, enabling it to accurately place holographic objects in your surroundings.
4. Log in and update: Once the calibration is complete, log in to your Microsoft account. Check for any available updates and ensure that your HoloLens is running on the latest software version for optimal performance.
5. Enable developer mode (optional): If you are a developer or want access to additional features, you can enable developer mode on your HoloLens. This will allow you to install and test custom applications.
Once you have successfully set up your HoloLens, you’re one step closer to recording amazing videos. In the next section, we will explore how to open the camera app and prepare for video recording.
Step 2: Opening the Camera App
Once your HoloLens is set up and ready to go, it’s time to open the camera app and prepare for video recording. Follow these steps:
1. Navigate to the Start menu: Start by raising your hand with the palm facing forward and making a pinching motion with your fingers. This gesture will open the Start menu, which displays all the available apps on your HoloLens.
2. Locate the Camera app: Scroll or glance through the Start menu until you find the Camera app. It usually appears as a small camera icon.
3. Open the Camera app: Once you’ve located the Camera app, simply gaze at it to select it. The app will open, and you’ll see a live view of the world through the HoloLens camera.
4. Position the camera: Adjust the angle and orientation of the camera by physically moving your head or making slight adjustments to the HoloLens. Ensure that the camera’s perspective aligns with what you want to record.
5. Familiarize yourself with the camera app: Take a moment to explore the camera app’s interface. Become familiar with the various options, such as switching between photo and video modes, adjusting exposure settings, and accessing other features like timers or filters.
Now that you have successfully opened the camera app, you’re ready to start recording your first video with the HoloLens. In the next step, we will walk you through adjusting the video settings for optimal results.
Step 3: Adjusting Video Settings
Before you begin recording your video with the HoloLens, it’s important to adjust certain video settings to ensure the best possible outcome. Follow these steps to fine-tune your video settings:
1. Access the Settings: While in the camera app, gaze at the screen and look for a gear or settings icon. This will allow you to access the video settings.
2. Explore the video settings: Once you’ve accessed the settings, you’ll see various options related to video recording. Take some time to navigate through these options and familiarize yourself with the available settings.
3. Adjust resolution and frame rate: Depending on your preferences and requirements, you can adjust the resolution and frame rate of your videos. Higher resolutions provide more clarity, while higher frame rates result in smoother motion.
4. Enable stabilization: To reduce shakiness and improve the overall stability of your videos, consider enabling the stabilization feature if available. This will ensure smoother footage, especially when capturing fast-paced or handheld shots.
5. Configure audio settings: If you’re planning to capture audio along with your video, check the audio settings. Ensure that the microphone is enabled and adjust the volume levels to ensure clear and balanced audio capture.
6. Experiment with other settings: Depending on your specific needs, explore other video settings such as white balance, exposure, or focus modes. Play around with these settings to find the optimal configuration for your recording environment.
By adjusting the video settings to your preferences, you can optimize the quality and performance of your HoloLens video recordings. In the next step, we will guide you through the process of actually recording a video with your HoloLens.
Step 4: Recording a Video
Now that you have set up the HoloLens and adjusted the video settings, it’s time to start recording your video. Follow these simple steps:
1. Frame your shot: Before you hit the record button, make sure to frame your shot by adjusting the position of your HoloLens and ensuring that the subject or scene is in the desired composition.
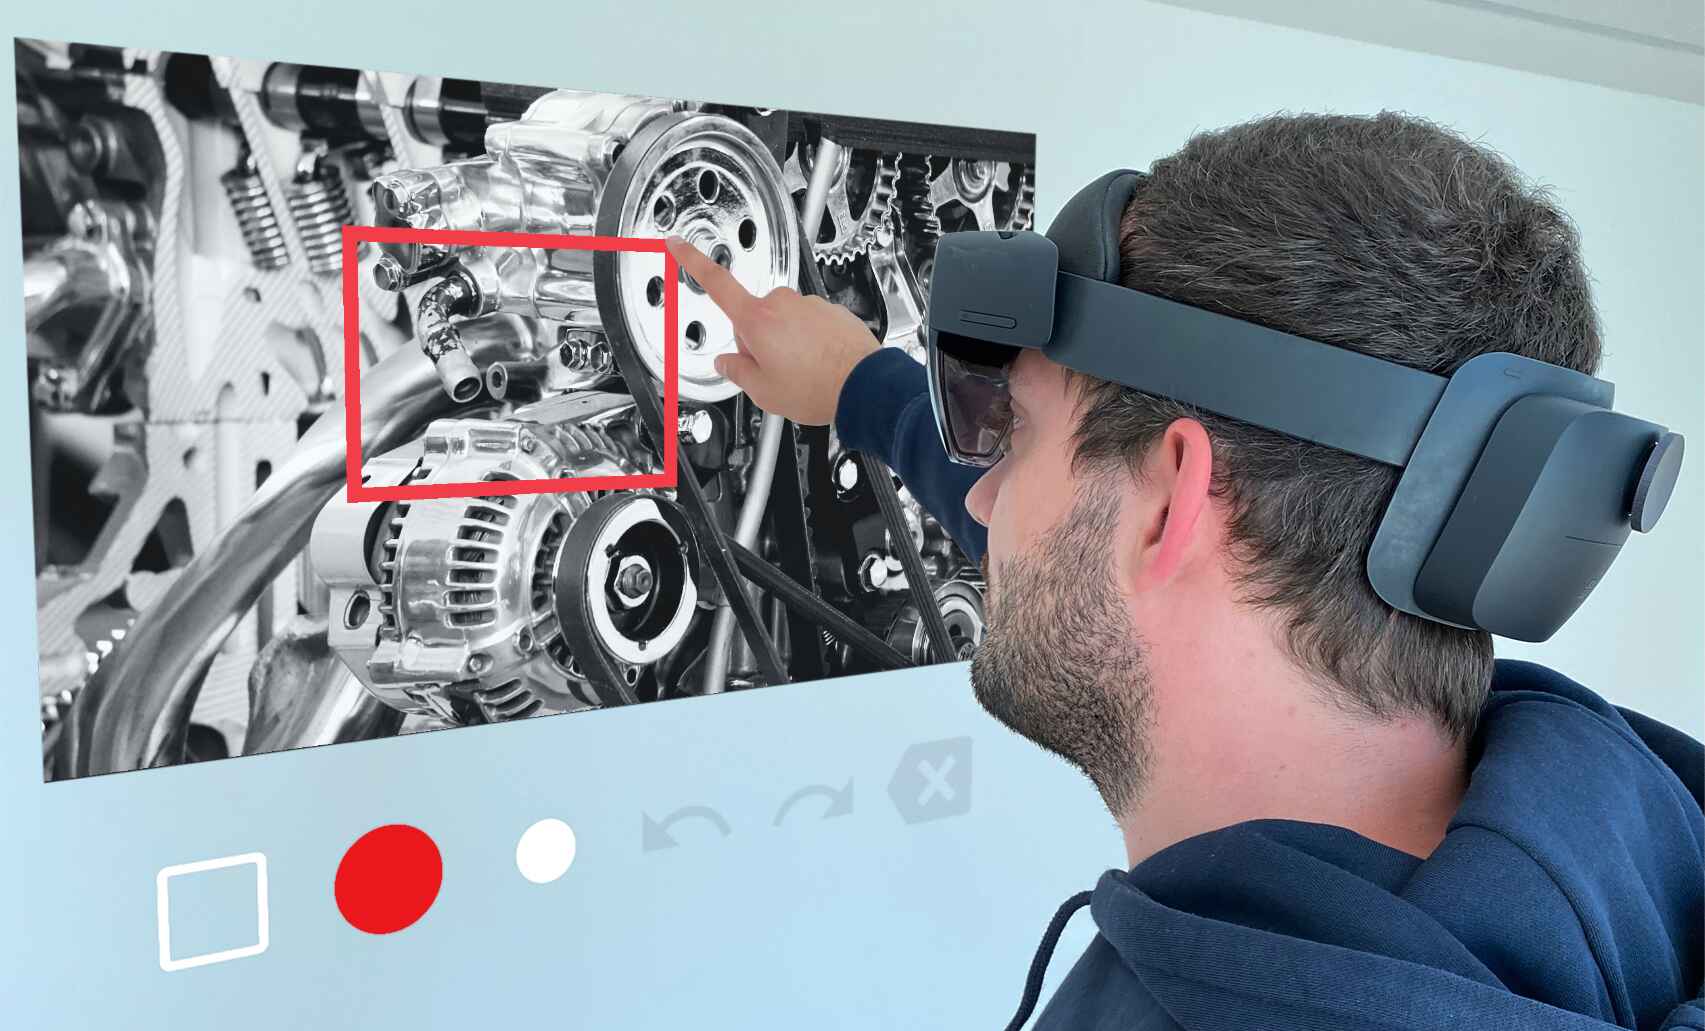
2. Press the record button: Look for the record button on the camera app interface. It is typically represented by a large circular button. Gaze at the button and perform an air tap gesture to start recording.
3. Capture your video: Once the recording starts, proceed to capture your video by simply looking at the subject or scene. Ensure steady movements and try to maintain a consistent distance from the subject to avoid unwanted fluctuations in focus or exposure.
4. Control recording settings (optional): Some camera apps offer additional features during recording, such as adjusting exposure, zooming in or out, or applying filters. Explore these options if you want to enhance your video during the recording process.
5. Stop the recording: When you have finished capturing your video, find the stop button on the camera app interface. It is usually located next to the record button. Gaze at the stop button and perform an air tap gesture to end the recording.
6. Review your video: After stopping the recording, take a moment to review your video. Use the playback controls in the camera app to ensure that the recorded video meets your expectations in terms of quality and content.
Now that you know how to record a video with your HoloLens, you can start exploring the endless possibilities of capturing immersive and engaging experiences. In the next step, we will guide you through the process of reviewing and sharing your recorded videos.
Step 5: Reviewing and Sharing Your Video
After recording a video with your HoloLens, it’s time to review and share your masterpiece. Follow these steps to ensure a seamless process:
1. Access the recorded videos: Open the camera app and look for the gallery or media library section. This is where you’ll find the recorded videos stored on your HoloLens.
2. Select your video: Navigate through the gallery and locate the video you want to review or share. Gaze at the video to select it, which will open it in full-screen mode.
3. Review the video: Take the time to watch your recorded video, paying attention to the quality, framing, and any potential improvements you might need to make for future recordings. Use the playback controls to pause, rewind, or fast forward as needed.
4. Edit the video (optional): If you want to enhance or edit your video further, you can transfer it to a compatible editing software or app on another device. This will allow you to add effects, trim unwanted footage, or apply filters before sharing it with others.
5. Share your video: Once you are satisfied with your video, you can share it with others. Depending on your preferences, you can upload it to social media platforms, share it via messaging apps, or transfer it to another device using compatible file-sharing methods.
6. Archive or delete your video: After reviewing and sharing your video, decide whether you want to keep it for future reference or delete it from your HoloLens to free up storage space. This will help you stay organized and manage your recorded videos efficiently.
With the ability to review and share your videos, you can showcase your creative work, share memorable moments, or collaborate with others. Now that you know how to review and share your video, let’s move on to the next section where we will provide you with some valuable tips to enhance your HoloLens video recording experience.
Tips for Better Video Recording
To make the most out of your HoloLens video recording experience, consider following these tips:
1. Plan your shots: Before you start recording, think about the story or message you want to convey. Plan your shots and frame them strategically to capture compelling visuals.
2. Utilize natural lighting: Whenever possible, take advantage of natural lighting sources. Position yourself or your subjects in well-lit areas to ensure better clarity and depth in your videos.
3. Experiment with angles: Don’t be afraid to try different angles and perspectives to make your videos more dynamic and visually interesting. Explore low angles, high angles, and unique vantage points to add visual variety.
4. Keep the camera steady: To avoid shaky footage, try to keep the HoloLens as stable as possible. If necessary, use a tripod or find a stable surface to rest the HoloLens on for smoother recordings.
5. Use the autofocus feature: The HoloLens camera has an autofocus feature that helps maintain sharp focus on your subjects. Take advantage of this feature to ensure that your videos remain clear and well-defined.
6. Experiment with depth of field: Play around with the distance between the camera and the subject to create a shallow depth of field effect. This can bring emphasis to your subject while creating a pleasing blurred background.
7. Purposeful movement: If you’re capturing moving subjects, make deliberate and purposeful movements to follow their motion smoothly. Avoid sudden or jerky camera movements that can distract or disorient viewers.
8. Capture ambient sounds: Consider capturing the ambient sounds of your surroundings to add depth and realism to your videos. This can enhance the immersive experience for viewers.
9. Practice framing and composition: Pay attention to the elements within the frame and ensure proper composition. Use the rule of thirds, leading lines, and other composition techniques to create visually pleasing videos.
10. Experiment and have fun: Don’t be afraid to experiment with different settings, angles, and techniques to develop your own unique style. Have fun while exploring the possibilities of HoloLens video recording.
By implementing these tips, you can elevate your HoloLens video recording skills and create captivating content. With practice, you’ll be able to capture stunning videos that engage and inspire your audience.
Conclusion
Recording videos with the HoloLens opens up a world of possibilities for creativity and immersive storytelling. By following the steps outlined in this guide, you can confidently navigate the process of setting up the HoloLens, opening the camera app, adjusting video settings, recording videos, reviewing and sharing them with others.
Remember to plan your shots, experiment with angles, and utilize natural lighting to capture visually stunning videos. Keep the camera steady, play with depth of field, and practice framing and composition to enhance the visual appeal of your recordings.
Don’t forget to explore the various video settings available on the HoloLens to tailor your recordings to your specific needs. Experiment with different resolutions, frame rates, and stabilization options for optimal results. And don’t hesitate to unleash your creativity by editing your videos further using compatible software or apps.
Whether you’re a filmmaker, content creator, or simply capturing precious moments, the HoloLens offers a unique and immersive video recording experience. Use the tips provided in this guide to enhance your skills and produce captivating videos that engage and inspire your audience.
So, grab your HoloLens, fuel your imagination, and start capturing moments in a whole new dimension. Happy recording!