Introduction
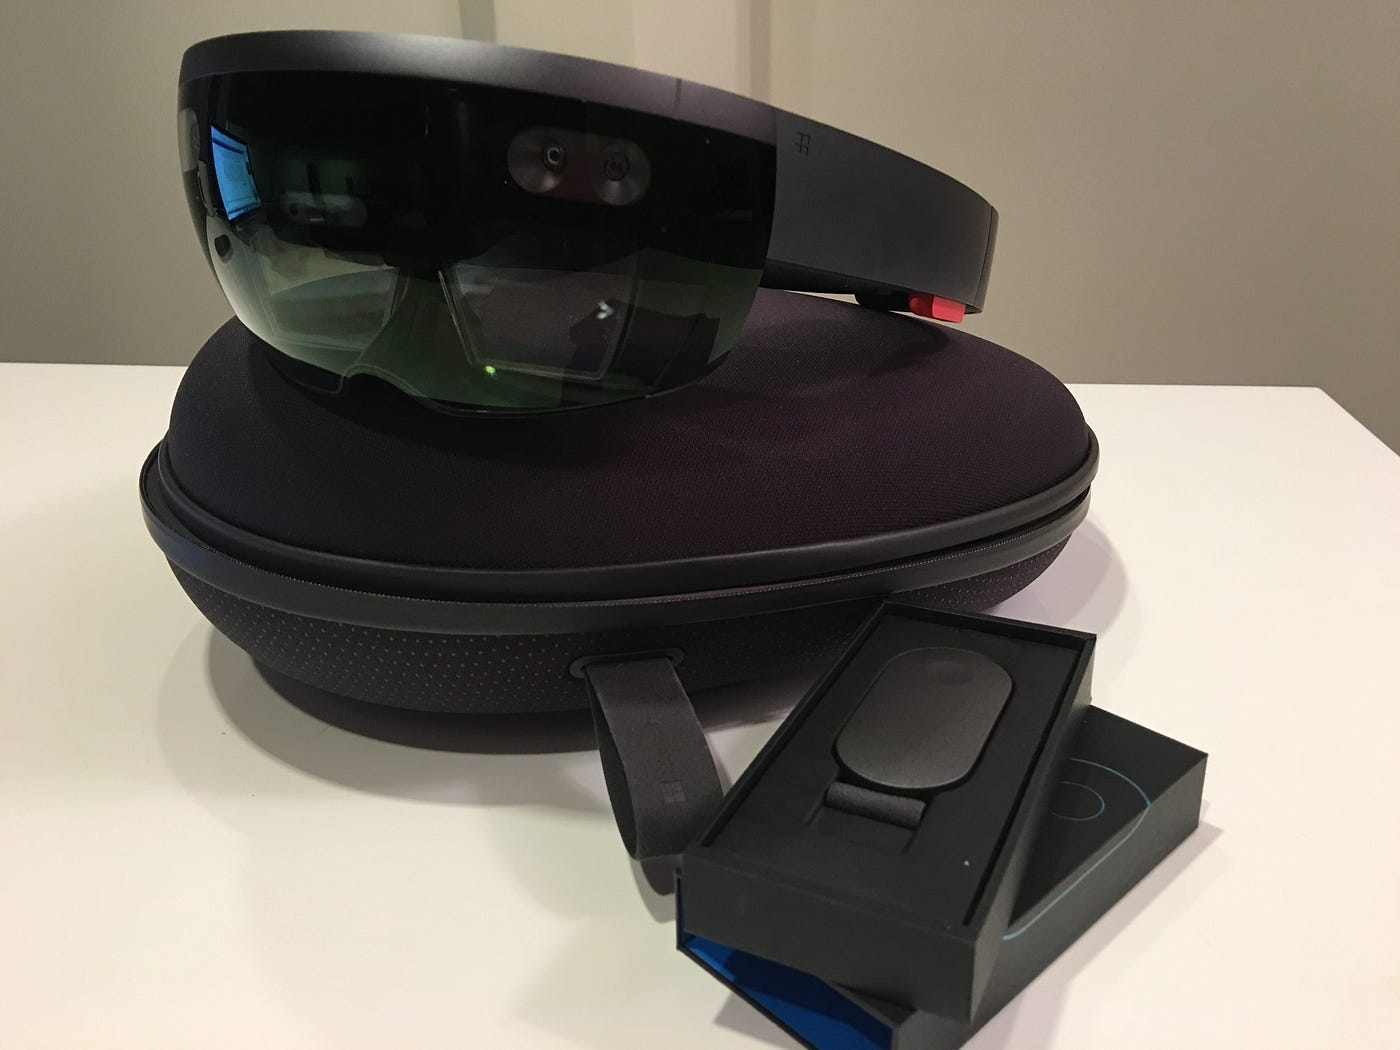
The HoloLens, a groundbreaking mixed reality device developed by Microsoft, enables users to experience a seamless blend of virtual and physical worlds. Whether you’re using the HoloLens for work or personal use, you may find the need to switch between different accounts. Maybe you need to access different apps, or perhaps you’re sharing the device with others. Whatever the reason, knowing how to change accounts in HoloLens is essential for a smooth experience.
In this article, we will explore three different methods to change accounts on your HoloLens. Whether you want to switch to a different account, add a new account, or remove an existing account, we’ve got you covered. These methods are relatively simple and can be easily implemented, allowing you to enjoy a personalized and customized experience on your HoloLens device.
Before we delve into the specifics, it’s important to note that these methods require some basic knowledge of navigating the HoloLens interface. Familiarize yourself with the various gestures and voice commands so you can seamlessly switch between the different account management options.
Method 1: Switching to a Different Account
If you already have multiple accounts configured on your HoloLens and want to switch to a different account, follow these steps:
- Start by navigating to the Start Menu on your HoloLens. You can do this by either using the air tap gesture or saying “Hey Cortana, go to Start.”
- Once you’re on the Start Menu, locate and select the “Settings” app. It should resemble a gear icon.
- In the Settings app, scroll down until you find the “Accounts” option and tap on it.
- Next, you’ll see a list of all the accounts configured on your HoloLens. Tap on the account you want to switch to.
- Lastly, confirm the switch by following the prompts on the screen, such as providing your account credentials if necessary.
That’s it! You’ve successfully switched to a different account on your HoloLens. You should now have access to all the apps and settings associated with the selected account. Remember to save any open files or progress before switching accounts, as some applications may not retain your data across different accounts.
Switching between accounts on the HoloLens is a useful feature, especially if you use the device for different purposes or in a shared environment. Whether you’re switching between accounts for work-related projects or personal tasks, this method allows you to quickly transition to your desired account without any hassle.
Method 2: Adding a New Account
If you need to add a new account to your HoloLens, whether it’s a Microsoft account or a work account, follow these simple steps:
- Begin by accessing the Start Menu on your HoloLens. You can do this through the air tap gesture or by saying “Hey Cortana, go to Start.”
- Once you’re on the Start Menu, locate the “Settings” app, which resembles a gear icon. Tap on it to open the app.
- In the Settings app, navigate to the “Accounts” section by scrolling down until you find it.
- Within the “Accounts” section, you’ll see an option labeled “Add account.” Tap on this option to proceed.
- A window will appear, presenting you with different account options. Choose the type of account you want to add, such as Microsoft account or work account.
- Follow the on-screen prompts to complete the account setup. This may involve providing your account credentials, including username and password.
- Once you’ve successfully added the new account, it will appear in the list of configured accounts on your HoloLens.
That’s it! You’ve now added a new account to your HoloLens. You can switch between accounts using the method described in the previous section. Additionally, you’ll now have access to apps, settings, and personalized features associated with the newly added account.
Adding a new account to your HoloLens can be particularly useful if you want to separate work and personal accounts or if you need to access different apps and content associated with multiple accounts. By following these straightforward steps, you can expand the functionality of your HoloLens and customize your experience to fit your needs.
Method 3: Removing an Account
If you no longer need a specific account on your HoloLens or want to remove it for any reason, you can do so by following these steps:
- Start by accessing the Start Menu on your HoloLens. You can use the air tap gesture or say “Hey Cortana, go to Start.”
- Once on the Start Menu, locate and select the “Settings” app, which is represented by a gear icon.
- In the Settings app, scroll down until you find the “Accounts” option, and tap on it.
- Within the “Accounts” section, you’ll see a list of all the configured accounts on your HoloLens. Locate the account you wish to remove.
- Tap on the account to open its settings.
- In the account settings, look for the option to remove or delete the account. The specific wording may vary depending on the type of account you’re removing.
- Follow any additional prompts or confirmation dialogs to complete the account removal process.
Congratulations! You’ve successfully removed an account from your HoloLens. The account will no longer be accessible on your device, and all associated apps and settings will be removed.
Removing an account can be helpful if you no longer need access to certain applications or if you want to declutter and streamline your HoloLens experience. It’s important to note that removing an account does not delete the account itself; it only removes it from your device. If you ever need to re-add the account, you can use the method described in the previous section.
Conclusion
In conclusion, managing accounts on your HoloLens is a simple process that can greatly enhance your experience with the device. Whether you need to switch between different accounts, add new accounts, or remove existing ones, following the methods outlined in this article will allow you to customize your HoloLens to fit your specific needs.
Switching to a different account on your HoloLens can be done easily through the settings menu, giving you access to different apps and settings associated with that account. Adding a new account expands the functionality of your HoloLens and allows you to separate work and personal accounts or access different content. On the other hand, removing an account streamlines your device and declutters unnecessary apps and settings.
Remember, understanding how to navigate the HoloLens interface is key to efficiently managing your accounts. Familiarize yourself with the gestures and voice commands, as they will make the process even smoother.
By following the methods outlined in this article, you can make the most of your HoloLens experience by seamlessly switching between accounts, adding new accounts, or removing unnecessary ones. Enjoy a customized and personalized experience on your HoloLens, tailored to your work or personal needs.