Introduction
Welcome to our comprehensive guide on how to link your Cash App with Google Pay. With the increasing popularity of cashless transactions, using mobile payment apps like Cash App and Google Pay has become more convenient and efficient. By linking your Cash App with Google Pay, you can easily transfer funds, make seamless payments, and enjoy a hassle-free payment experience.
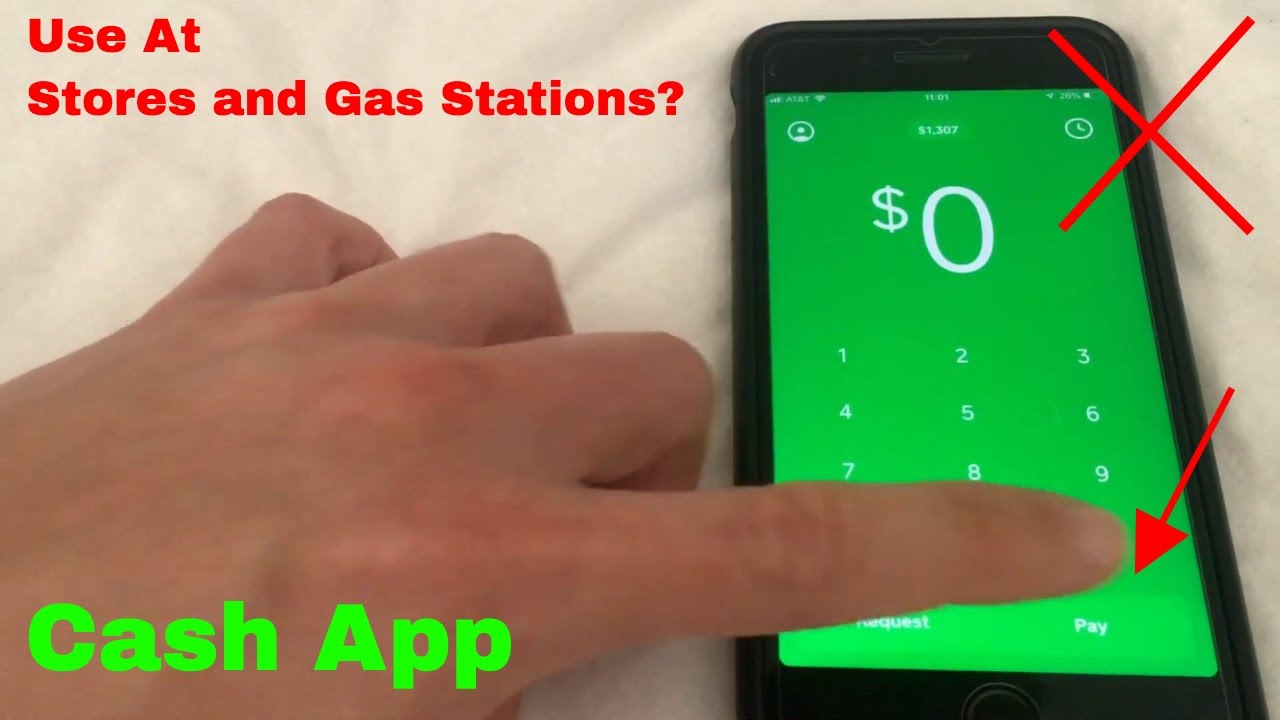
Cash App is a widely used peer-to-peer payment platform that allows users to send and receive money effortlessly. It offers a range of features, including the ability to add funds directly from your bank account, request payments, and even invest in stocks and cryptocurrencies. On the other hand, Google Pay is a digital wallet powered by Google that enables users to make fast and secure payments both online and in physical stores.
Linking your Cash App with Google Pay brings the best of both worlds together, allowing you to leverage the benefits and features of both platforms. In this guide, we will walk you through the step-by-step process of linking your Cash App with Google Pay.
Whether you want to easily split expenses with friends, pay for your favorite online purchases, or make quick payments in stores, this guide will provide you with all the necessary information to connect your Cash App with Google Pay and start using the combined advantages of these two powerful payment platforms.
So, let’s dive in and explore how you can link your Cash App with Google Pay for a seamless and effortless payment experience!
Step 1: Download and Install Google Pay
The first step in linking your Cash App with Google Pay is to download and install the Google Pay app on your mobile device. Google Pay is available for both Android and iOS platforms, so ensure that you have a compatible device.
Here’s how you can download and install Google Pay:
- Open the app store on your device. If you are using an Android device, go to the Google Play Store. If you are using an iPhone, go to the App Store.
- In the search bar, type “Google Pay” and tap on the search icon.
- Locate the official Google Pay app from the search results and tap on it.
- Tap on the “Install” or “Get” button to initiate the download and installation process.
- Wait for the app to download and install on your device. This may take a few moments depending on your internet connection speed.
- Once the installation is complete, you will see the Google Pay app icon on your home screen or app drawer.
- Tap on the Google Pay icon to launch the app.
- If prompted, allow Google Pay to access your device’s location and other necessary permissions.
Once you have successfully downloaded and installed Google Pay on your device, you are now ready to move on to the next step of linking your Cash App with Google Pay. Make sure to keep your device connected to the internet for the subsequent steps.
Step 2: Open Google Pay and Set Up an Account
After installing the Google Pay app on your device, the next step is to open the app and set up an account. Follow these steps to get started:
- Locate the Google Pay app icon on your device’s home screen or app drawer.
- Tap on the Google Pay icon to launch the app.
- On the welcome screen, tap on the “Get Started” or “Sign In” button.
- If you already have a Google account, sign in using your existing credentials. Otherwise, tap on the “Create Account” button to set up a new Google account.
- Follow the on-screen instructions to provide the necessary information for creating your Google account. This typically includes your name, email address, and password.
- Once you have created or signed in to your Google account, you will be prompted to set up a lock screen PIN or use biometric authentication for added security. Choose your preferred option and follow the instructions.
- Review and accept the terms of service and privacy policy to proceed.
- Google Pay may ask for permission to access your device’s contacts, messages, and other data. Grant the necessary permissions to fully utilize the app’s features.
- After completing these steps, you will be taken to the Google Pay home screen, where you can begin setting up your payment methods and linking your Cash App.
Congratulations! You have successfully opened Google Pay and set up an account. Now, let’s move on to the next step of linking your bank account to Google Pay so that you can seamlessly transfer funds between your Cash App and Google Pay.
Step 3: Link your Bank Account to Google Pay
Once you have set up your Google Pay account, the next step is to link your bank account to Google Pay. This will enable you to transfer funds between your Cash App and Google Pay without any hassle. Follow the steps below to link your bank account:
- Open the Google Pay app on your device and sign in to your account if prompted.
- Tap on the profile icon or your initial in the top right corner of the screen to access the menu.
- From the menu, select “Payment methods” or “Payment methods & banks.”
- Tap on the “Add bank account” or “Link bank account” option.
- Choose your bank from the list of available banks or search for your bank by typing its name.
- Google Pay will initiate the account linking process by asking you to provide your bank account details. This may include your account number, routing number, and other relevant information.
- Enter the required information accurately and carefully. Double-check the details to ensure accuracy.
- Once you have entered the information, tap on the “Next” or “Continue” button to proceed.
- Google Pay will verify your bank account by sending a small test deposit to your bank. It may take a few business days for the deposit to appear in your account.
- Check your banking app or statements for the test deposit amount.
- Return to the Google Pay app and access the “Payment methods” or “Payment methods & banks” section.
- Tap on your bank account and enter the test deposit amount to confirm the verification.
- Once verification is successful, Google Pay will display your linked bank account in the app.
By linking your bank account to Google Pay, you have completed an important step in connecting your Cash App with Google Pay. This will allow you to transfer funds effortlessly between the two platforms and ensure a seamless payment experience.
Step 4: Add Cash App as a Payment Method on Google Pay
Now that you have linked your bank account to Google Pay, the next step is to add Cash App as a payment method. This will enable you to use funds from your Cash App account for transactions made through Google Pay. Follow the steps below to add Cash App as a payment method:
- Open the Google Pay app on your device and sign in to your account if prompted.
- Tap on the profile icon or your initial in the top right corner of the screen to access the menu.
- From the menu, select “Payment methods” or “Payment methods & banks.”
- Tap on the “Add payment method” or “Add payment method & banks” option.
- Choose “Cash App” from the list of available payment methods.
- If you already have the Cash App installed on your device, Google Pay will automatically detect it and link it to your account.
- If you do not have the Cash App installed, you will be directed to the app store to download and install it.
- Once you have installed the Cash App, return to the Google Pay app.
- Google Pay will prompt you to sign in to your Cash App account using your credentials.
- Follow the on-screen instructions to sign in or create a new Cash App account, if needed.
- After signing in, Google Pay will confirm the addition of Cash App as a payment method.
Now, you can use the funds in your Cash App account for transactions made through Google Pay. This integration allows you to enjoy the convenience and functionality of both platforms while making seamless and secure payments.
It’s worth noting that any transactions made using Cash App through Google Pay will be reflected in your Cash App transaction history as well.
With Cash App added as a payment method, you are one step closer to fully linking your Cash App with Google Pay. Let’s proceed to the next step to verify your Cash App account.
Step 5: Verify your Cash App Account
After adding Cash App as a payment method on Google Pay, the next step is to verify your Cash App account. Verifying your Cash App account ensures that you have full access to all the features and limits of the app. Follow the steps below to verify your Cash App account:
- Open the Cash App on your device.
- Sign in to your Cash App account using your registered phone number or email address and password.
- Once you are signed in, your Cash App home screen will appear.
- Tap on your account balance or the “Profile” icon located in the top left corner of the screen.
- Scroll down and locate the “Cash Support” option. Tap on it.
- Select “Verify Your Account” or a similar option from the list of available support topics.
- Follow the instructions provided to complete the verification process. This may involve providing additional information, such as your full legal name, date of birth, and the last four digits of your Social Security Number.
- Upload any required documentation to verify your identity. This can include a valid government-issued ID, such as a driver’s license or passport.
- Submit the necessary information and wait for Cash App to review and verify your account.
- Once your account is verified, you will receive a confirmation notification from Cash App.
Verifying your Cash App account is an important step in ensuring security, as it helps to protect against unauthorized use and provides access to additional features, such as higher transaction limits and the ability to withdraw funds to your bank account.
By completing the verification process, you have successfully linked your Cash App with Google Pay and verified your Cash App account. Now, let’s move on to the next step to add funds to your Google Pay wallet from Cash App.
Step 6: Add Funds to your Google Pay Wallet from Cash App
After verifying your Cash App account, you can now add funds to your Google Pay wallet from your Cash App. This will allow you to have a balance in your Google Pay account and make payments seamlessly. Follow the steps below to add funds to your Google Pay wallet from Cash App:
- Open the Cash App on your device and sign in to your account.
- On the Cash App home screen, locate and tap on the “Balance” tab at the bottom of the screen.
- Tap on the “Cash Out” button to initiate the process of transferring funds from your Cash App to your bank account.
- Enter the amount you would like to transfer to your bank account.
- Tap on the “Cash Out” button again to confirm the transaction.
- Wait for the funds to be transferred from your Cash App to your linked bank account. This process may take a few business days depending on your bank’s processing time.
- Once the funds are successfully transferred to your bank account, open the Google Pay app on your device.
- Sign in to your Google Pay account if prompted.
- Tap on the profile icon or your initial in the top right corner of the screen to access the menu.
- From the menu, select “Wallet” or “Payment methods.”
- Tap on the “Add money” or “Add funds” option.
- Enter the amount you wish to add to your Google Pay wallet from the transferred funds in your bank account.
- Confirm the transaction and wait for the funds to be added to your Google Pay wallet. This is usually a quick process.
Great! You have successfully added funds from your Cash App to your Google Pay wallet. Now, you can enjoy the convenience of using funds from your Cash App account for transactions made through Google Pay.
It’s important to note that the funds added to your Google Pay wallet are separate from your bank account balance and are used specifically for making payments through Google Pay.
Next, we will explore how you can use Google Pay to make payments with your Cash App funds.
Step 7: Use Google Pay to Make Payments with Cash App
Now that you have added funds to your Google Pay wallet from your Cash App, you can use Google Pay to make payments seamlessly using your Cash App funds. Here’s how you can use Google Pay to make payments with your Cash App funds:
- Open the Google Pay app on your device and sign in to your account if prompted.
- On the Google Pay home screen, locate and tap on the “Payment” or “Pay” button.
- Choose the payment method you would like to use by tapping on it. Select your Cash App account or the linked bank account associated with your Cash App funds.
- Enter the payment amount and the recipient details. This can include the recipient’s email address, phone number, or scanning a QR code.
- Review the payment details and tap on the “Pay” or “Send” button to proceed with the transaction.
- Verify your payment using the authentication method you have set up, such as a PIN or biometric authentication like fingerprint or facial recognition.
- Once the payment is successfully processed, you will receive a confirmation notification in the Google Pay app.
- The recipient will also receive a notification of the payment.
Using Google Pay to make payments with your Cash App funds offers a convenient and secure way to complete transactions. It eliminates the need to manually enter your payment details each time, as your Cash App account is already linked and accessible within Google Pay.
With the integration of Cash App into Google Pay, you can pay for online purchases, split bills with friends, or make payments at stores, all using your Cash App funds.
Keep in mind that any transactions made through Google Pay with your Cash App funds will be reflected in your Cash App transaction history as well.
Congratulations! You have successfully learned how to link your Cash App with Google Pay and use your Cash App funds to make payments. Enjoy the convenience and flexibility of combining these two powerful payment platforms!
Conclusion
Linking your Cash App with Google Pay opens up a world of convenience and seamless transactions. By following the steps outlined in this guide, you have successfully connected these two powerful payment platforms, allowing you to make payments using your Cash App funds through Google Pay.
With your Cash App linked to Google Pay, you can easily transfer funds, pay for online purchases, split bills with friends, and make payments in physical stores with just a few taps on your mobile device.
Remember, it is essential to download and install the Google Pay app, set up an account, link your bank account, add Cash App as a payment method, verify your Cash App account, and finally, add funds to your Google Pay wallet from Cash App.
Using Google Pay to make payments with your Cash App funds offers a convenient and secure way to handle your financial transactions. It eliminates the need to carry physical cash or constantly switch between different payment apps.
So, whether you are grabbing coffee with friends, shopping online, or treating yourself to a nice meal, you can confidently use Google Pay with your Cash App funds for a seamless payment experience.
Take advantage of the features and benefits offered by both Cash App and Google Pay, and enjoy the convenience of using your Cash App funds across platforms.
Now that you have successfully linked your Cash App with Google Pay, you are ready to make secure, hassle-free transactions and enjoy the ease of mobile payments.
Happy transacting!