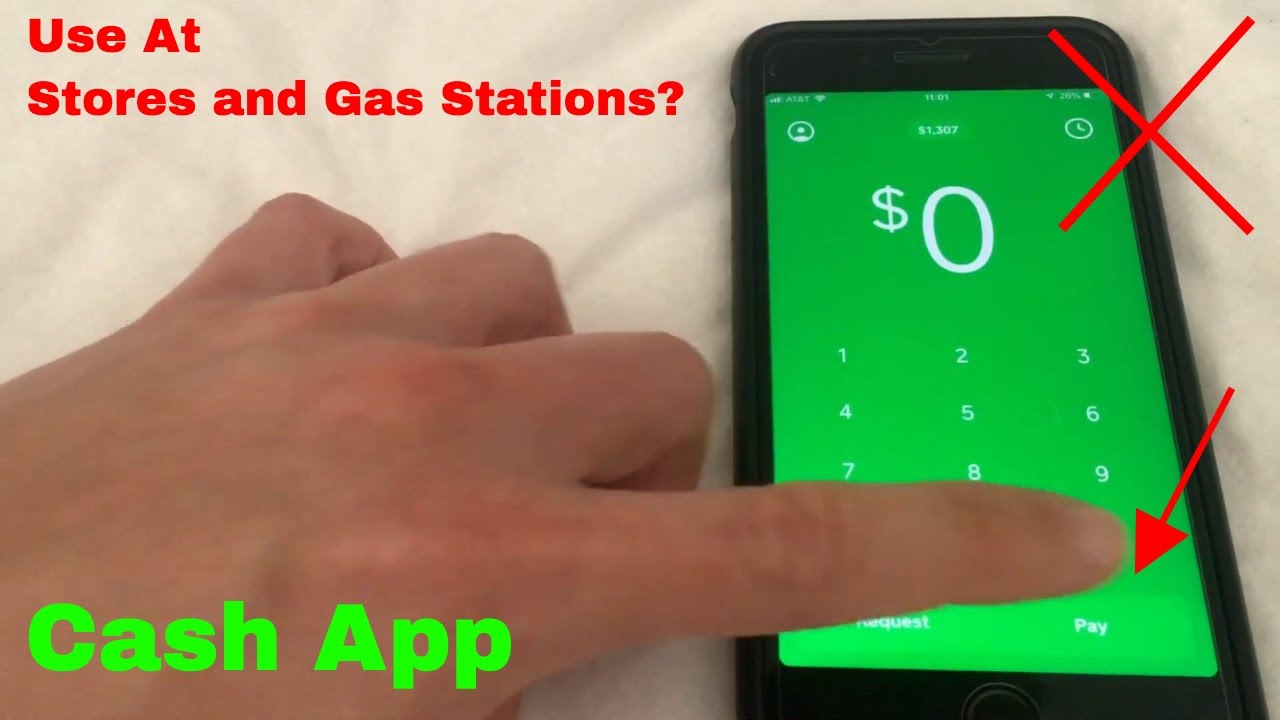
Introduction
Welcome to our comprehensive guide on how to use Cash App at a gas station without a card! Cash App is a popular mobile payment app that offers a convenient and secure way to make transactions, including paying for gas. With Cash App, you no longer need to carry your physical cards with you; all you need is your smartphone and the Cash App installed.
Whether you forgot your wallet at home or simply prefer to go cashless, using Cash App at a gas station can be a game-changer. Not only does it eliminate the need for physical cards, but it also adds an extra layer of security since your card information is stored securely within the app.
In this guide, we will walk you through the step-by-step process to seamlessly use Cash App for gas transactions without relying on your card. From setting up your Cash App account to confirming the transaction, we’ll cover everything you need to know.
So, if you’re ready to discover how to use Cash App at a gas station without a card, let’s dive right in!
Step 1: Set Up Your Cash App Account
The first step to using Cash App at a gas station without a card is to set up your Cash App account. If you already have the app installed on your smartphone, you can skip this step.
To get started, download the Cash App from the App Store or Google Play Store and follow the on-screen instructions to install it on your device. Once the app is installed, open it and click on the “Sign Up” button. You will be prompted to enter your email address or phone number to create your account.
After providing the necessary details, Cash App will send you a verification code via email or SMS. Enter the code to verify your account. Next, you will be prompted to link a bank account or debit card to your Cash App account. This step is necessary to add funds to your Cash App balance.
Follow the prompts to enter your card details or choose your bank from the list of supported financial institutions. Cash App will securely link your account, and you will now have the option to add funds to your Cash App balance or receive direct deposits.
It’s worth noting that Cash App may require additional verification, such as providing your full name, date of birth, and social security number, to comply with regulatory requirements. This information is necessary for Cash App to ensure the security and authenticity of your account.
Once your account is set up and verified, you’re ready to proceed to the next step: adding funds to your Cash App account.
Step 2: Add Funds to Your Cash App Account
Before you can use Cash App for gas transactions, you’ll need to add funds to your Cash App account. Thankfully, Cash App provides several convenient methods for adding money to your balance.
To add funds, open the Cash App on your smartphone and navigate to the “Account Balance” tab. Here, you’ll see the option to add funds. Click on it.
Cash App allows you to add funds via various methods, including:
- Bank Transfer: If you’ve linked your bank account to Cash App, you can transfer money directly from your bank to your Cash App balance. Simply select the linked bank account, enter the amount you want to add, and confirm the transfer.
- Debit Card: If you have a debit card linked to your Cash App account, you can instantly add funds using your card. Select the “Add Money” option, choose your debit card, enter the amount, and confirm the transaction.
- Cash Card Reload: Cash App also offers its own Cash Card, a customizable debit card linked to your Cash App balance. If you have a Cash Card, you can reload funds onto it from your linked bank account or debit card and then use the card for gas payments.
Once you have successfully added funds to your Cash App account, the balance will be available for use during transactions. The added funds can be used not only for gas purchases but also for various other payments offered by Cash App, such as peer-to-peer transfers, online purchases, and more.
Now that you have funds in your Cash App account, let’s move on to the next step: linking your Cash App account to a mobile wallet.
Step 3: Link Your Cash App Account to a Mobile Wallet
To seamlessly use Cash App for gas transactions without a card, you’ll need to link your Cash App account to a mobile wallet. By doing so, you can easily access your Cash App funds and make payments at a gas station using your smartphone.
Here’s how you can link your Cash App account to a mobile wallet:
- Apple Pay: If you have an iPhone, you can link your Cash App account to Apple Pay. Open the Wallet app on your iPhone and tap the “+” button to add a new card. Select “Cash App” as the card type and follow the prompts to authenticate your Cash App account. Once linked, you can use Apple Pay for gas payments, and the transaction amount will be deducted from your Cash App balance.
- Google Pay: For Android users, linking Cash App to Google Pay is a straightforward process. Open the Google Pay app on your smartphone and tap on the “+” button to add a new payment method. Select “Cash App” and follow the instructions to authenticate your Cash App account. Once linked, you can use Google Pay for gas transactions, and the payment will be deducted from your Cash App balance.
- Samsung Pay: If you have a Samsung smartphone, you can link Cash App to Samsung Pay. Open the Samsung Pay app, tap on “Wallet,” and then select “Add Card.” Choose “Cash App” as the card type and authenticate your account. Once linked, you can use Samsung Pay at gas stations to pay using your Cash App balance.
Linking your Cash App account to a mobile wallet simplifies the payment process and allows you to make contactless transactions with ease. Just make sure that the gas station you plan to visit accepts mobile payments so you can fully utilize this feature.
Now that you have successfully linked your Cash App account to a mobile wallet, let’s move on to the next step: locating a gas station that accepts mobile payments.
Step 4: Locate a Gas Station That Accepts Mobile Payments
Once you have your Cash App account set up and linked to a mobile wallet, the next step is to find a gas station that accepts mobile payments. While many gas stations now offer this convenient payment option, it’s important to ensure that the station you plan to visit supports mobile payments before fueling up.
Here are a few ways to locate a gas station that accepts mobile payments:
- Check Gas Station Apps: Some gas station chains have their own mobile apps that provide information about their services, including accepted payment methods. Download the app of a popular gas station chain and look for the payment options or search for gas stations near you that accept mobile payments.
- Use Navigation Apps: Navigation apps like Google Maps, Apple Maps, or Waze often have information about gas stations, including whether they accept mobile payments. Open the app on your smartphone, search for gas stations nearby, and check the details to see if they support mobile payments.
- Online Search: Perform a quick online search using keywords like “gas stations that accept mobile payments” or “Cash App-friendly gas stations.” This can lead you to relevant websites or forums where users share information about gas stations that offer mobile payment options.
By using these methods, you can easily find a gas station in your area that accepts mobile payments. Make sure to check the details provided by the gas station to ensure that they support Cash App or the mobile wallet you have linked to your Cash App account.
Once you have identified a gas station that accepts mobile payments, you’re ready to move on to the next step: making a gas payment using Cash App without a card.
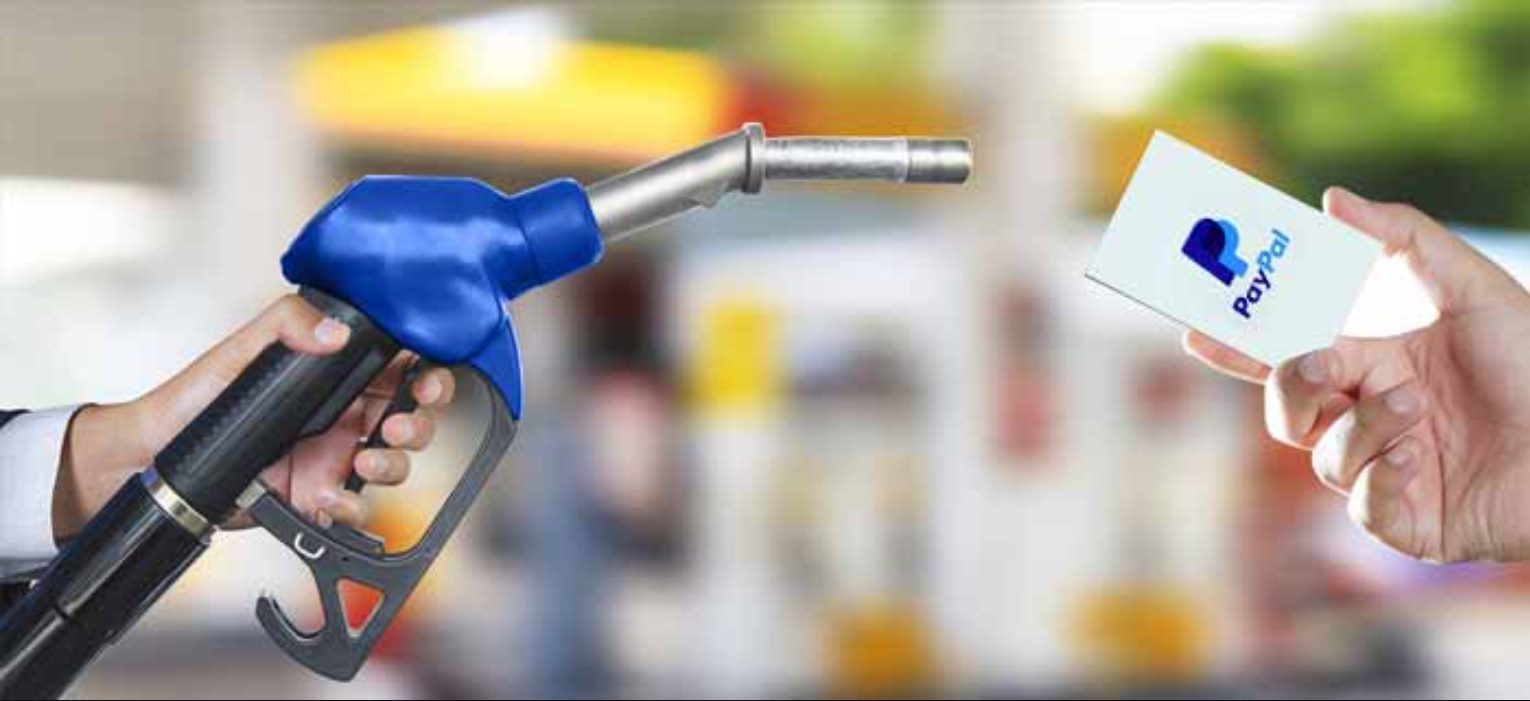
Step 5: Pay for Gas Using Cash App Without a Card
Now that you have set up your Cash App account, added funds, linked it to a mobile wallet, and located a gas station that accepts mobile payments, it’s time to pay for gas without a card using Cash App. Follow these steps:
- Open your mobile wallet app (e.g., Apple Pay, Google Pay, Samsung Pay) and make sure your Cash App balance is correctly displayed.
- Drive to the gas station and go to the pump. If required, enter your pump number or follow the instructions provided.
- When prompted to pay, instead of reaching for your physical card, unlock your phone and open your mobile wallet app.
- Select your linked Cash App card or account within the mobile wallet app.
- Hold your phone near the payment terminal or scan the QR code, depending on the gas station’s payment method.
- Follow any additional instructions on the payment terminal or your phone’s screen to complete the transaction.
- Once the payment is successful, you will receive a confirmation notification on your mobile device.
It’s important to note that the exact steps may vary slightly depending on the gas station and specific mobile wallet app you are using. However, the underlying process remains the same: using your mobile wallet to access your Cash App funds and completing the payment at the gas station.
When using Cash App for gas payments, make sure to keep your smartphone secure and protected. Treat it as you would your physical cards to prevent unauthorized access to your Cash App account.
Now that you know how to pay for gas using Cash App without a card, let’s move on to the next step: confirming the transaction and keeping the receipt.
Step 6: Confirm the Transaction and Keep the Receipt
After making a gas payment using Cash App without a card, it’s essential to confirm the transaction and keep the receipt for your records. Following these steps will ensure that you have a proper record of the transaction:
- Once the payment is completed, take a moment to double-check the payment confirmation on both your mobile wallet app and Cash App.
- Ensure that the transaction amount matches the fuel amount and any additional charges.
- If available, request a digital or paper receipt from the gas station. This will serve as proof of purchase and can be useful for expense tracking or reconciling your records.
- Check your Cash App account transaction history to ensure that the payment is reflected accurately.
Confirming the transaction and keeping the receipt is important for maintaining accurate financial records and resolving any discrepancies that may arise. It’s a good practice to regularly review your transaction history on the Cash App to stay informed about your expenses.
In the event of any issues or concerns related to the transaction, having the receipt and corresponding transaction details will help facilitate any necessary discussions with both the gas station and Cash App customer support.
Now that you know how to confirm the transaction and keep the receipt, let’s move on to the final step: monitoring your Cash App account for transactions.
Step 7: Monitor Your Cash App Account for Transactions
Once you have successfully made a gas payment using Cash App without a card, it’s important to actively monitor your Cash App account for any transactions. Keeping an eye on your account activity helps ensure the accuracy of your transactions and helps detect any unauthorized or fraudulent charges. Follow these steps to monitor your Cash App account:
- Regularly log into your Cash App account using the app or the Cash App website.
- Navigate to the transactions or activity section to view a list of recent transactions.
- Review each transaction to ensure that they align with your purchases and expectations.
- Look out for any suspicious or unfamiliar transactions and report them immediately to Cash App support.
- Consider enabling push notifications or email alerts for transaction updates to stay informed in real-time.
- If you notice any discrepancies or unauthorized charges, contact Cash App customer support as soon as possible to report the issue and take appropriate action.
Monitoring your Cash App account is crucial for maintaining financial security and promptly addressing any concerns. By staying vigilant, you can detect and resolve any fraudulent activity swiftly, ensuring the integrity of your transactions.
Additionally, regularly reviewing your account activity can help you track your spending, identify patterns, and better manage your finances. It’s an excellent practice to reconcile your Cash App transactions with your personal records or budgeting tools for accurate financial management.
With these steps, you are now equipped with the knowledge to confidently use Cash App for gas purchases without a card. Remember to always keep your Cash App account secure by using strong passwords, enabling two-factor authentication, and being cautious while sharing sensitive information.
By following these steps and staying proactive in monitoring your transactions, you can enjoy the convenience and security of using Cash App for gas payments.
Conclusion
Congratulations! You’ve reached the end of our guide on how to use Cash App at a gas station without a card. We’ve covered all the essential steps, from setting up your Cash App account to monitoring your transactions. Now, you can confidently make gas payments using Cash App and enjoy the convenience of going cashless.
By following the steps outlined in this guide, you can easily set up your Cash App account, add funds, link it to a mobile wallet, find gas stations that accept mobile payments, and make payments without using a physical card. This process not only eliminates the need to carry multiple cards but also offers added security for your transactions.
Remember to always confirm your transactions and keep the receipts for record-keeping purposes. Regularly monitoring your Cash App account helps maintain the accuracy of your transactions and safeguards against any unauthorized charges.
As you continue to use Cash App, keep in mind general security practices, such as keeping your phone and Cash App account information secure. By being proactive and vigilant, you can ensure a smooth and secure payment experience at gas stations and various other merchants that accept Cash App.
We hope this guide has been helpful in simplifying your gas payment process and empowering you to make transactions without relying on physical cards. As technology continues to advance, mobile payment solutions like Cash App offer a convenient and efficient way to handle your everyday transactions.
So get out there, fuel up your vehicle, and experience the ease and convenience of using Cash App at gas stations without a card.