Introduction
Welcome to this guide on how to create a Cash App account. Cash App is a popular mobile payment service that allows users to send and receive money quickly and securely. Whether you need to split a bill, pay a friend, or receive payments for your business, Cash App provides a convenient and hassle-free solution.
In this article, we will walk you through the step-by-step process of creating a Cash App account. From downloading the app to customizing your account settings, we will cover all the essential steps to get you up and running. So, grab your smartphone and let’s get started.
Before we dive into the details, it is important to note that Cash App is available for both iOS and Android devices. You can download the app for free from the App Store or Google Play Store. Once you have the app installed on your phone, you’re ready to begin.
Creating a Cash App account is quick and easy, and you’ll be able to start sending and receiving money in no time. So, whether you’re a seasoned user or new to the world of mobile payments, let’s get started on setting up your Cash App account.
Step 1: Downloading the Cash App
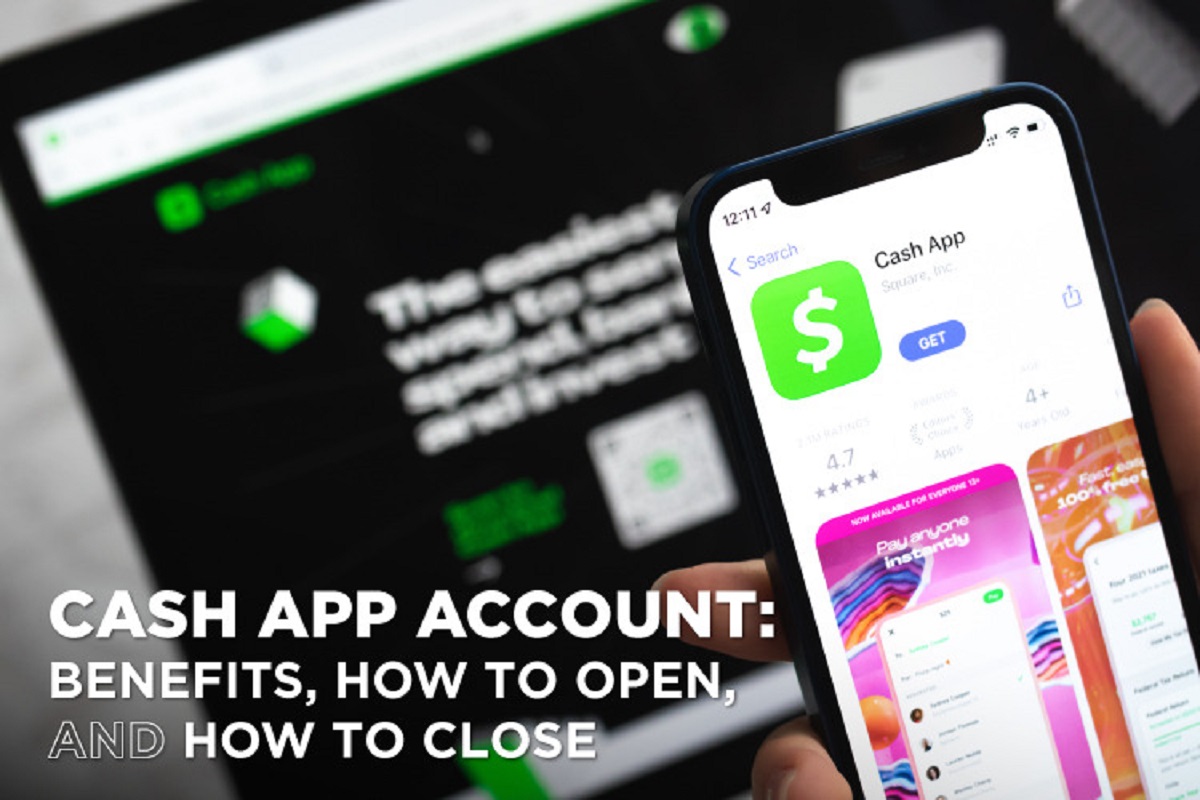
The first step in creating a Cash App account is to download the app onto your smartphone. Follow these simple instructions to get started:
- Open the App Store if you’re using an iPhone, or Google Play Store if you’re using an Android device.
- Search for “Cash App” in the search bar at the top of the screen.
- Tap on the Cash App icon to view more details and screenshots.
- Click on the “Install” or “Get” button to begin the download process.
- Wait for the app to finish downloading and installing on your device.
Once the installation is complete, you’ll find the Cash App icon on your home screen. Tap on the icon to launch the app and proceed to the next step.
Downloading the Cash App is a straightforward process that should only take a few minutes. Make sure you have a stable internet connection to ensure a smooth download and installation process.
Pro tip: It is recommended to download the Cash App directly from the official App Store or Google Play Store to ensure you are getting the legitimate and up-to-date version of the app.
Step 2: Launching the Cash App
Now that you have successfully downloaded the Cash App, it’s time to launch the app and get started with creating your account. Follow these steps:
- Locate the Cash App icon on your smartphone’s home screen and tap on it to launch the app.
- Once the app is launched, you will be greeted with the Cash App login screen.
- If you already have a Cash App account, you can simply enter your login credentials and proceed. However, since we are creating a new account, tap on the “Sign Up” or “Create Account” button.
- Next, you will be prompted to enter your email address or phone number. Choose the option that is most convenient for you and enter the required information.
- After entering your email or phone number, you will be asked to create a unique username or “Cashtag” for your Cash App account. This Cashtag will be your unique identifier for receiving payments.
- Choose a Cashtag that is easy to remember and represents your personal or business identity. Keep in mind that Cashtags are unique, so you may need to experiment with different options until you find an available one.
- Once you have selected a Cashtag, tap on the “Next” button to proceed.
Congratulations! You have successfully launched the Cash App and completed the initial steps to set up your account. In the next step, we will cover how to link a payment method to your Cash App account.
Step 3: Creating a Cash App Account
Now that you have launched the Cash App, it’s time to create your account. Follow these steps to complete the account creation process:
- After selecting your Cashtag in the previous step, you will be asked to provide your valid email address or phone number for account verification purposes.
- Enter the required information and click on the “Next” button.
- Next, you will be prompted to create a strong, unique password for your Cash App account. Make sure to choose a password that includes a combination of uppercase and lowercase letters, numbers, and special characters.
- Once you have entered your desired password, click on the “Next” button.
- In the next step, you will be asked to confirm your password. Enter the same password again and click on the “Next” button to proceed.
- Cash App will now send a verification code to the email address or phone number you provided earlier. Check your inbox or messages and enter the verification code when prompted.
- After entering the verification code, click on the “Next” button to continue.
- Lastly, you will be asked to review the Cash App terms and conditions. Take a moment to read through them and click on the “Agree” or “Accept” button to confirm your agreement.
Great job! You have successfully created your Cash App account. In the next step, we will cover how to link a payment method to your account so you can start sending and receiving money.
Step 4: Linking a Payment Method
Now that you have created your Cash App account, it’s time to link a payment method to your account. Follow these steps to link a payment method:
- Launch the Cash App on your smartphone and log in to your account using your credentials.
- On the Cash App home screen, tap on the “Account” or “Profile” icon, usually located at the top left or bottom right corner of the screen.
- In the account settings menu, look for the “Linked Accounts” or “Add Bank” option and tap on it.
- You will be presented with various options to link a payment method, such as a bank account or debit card. Choose the option that suits you best.
- If you choose to link a bank account, Cash App will prompt you to provide your bank account details, including the account number and routing number. Enter the information accurately and click on the “Next” button.
- If you prefer to link a debit card, Cash App will ask you to enter the card details, including the card number, expiration date, and CVV code. Enter the required information correctly and click on the “Next” button.
- Cash App will then verify the payment method by making a small transaction or sending a verification code to your linked bank account or debit card. Follow the instructions provided to complete the verification process.
Congratulations, you have successfully linked a payment method to your Cash App account! You can now use this payment method to send and receive money through the app. In the next step, we will cover the process of verifying your Cash App account.
Step 5: Verifying Your Cash App Account
After linking a payment method to your Cash App account, the next important step is to verify your account. Verifying your account adds an extra layer of security and enables you to access additional features. Follow these steps to verify your Cash App account:
- Open the Cash App on your smartphone and log in to your account using your credentials.
- On the Cash App home screen, tap on the “Account” or “Profile” icon, typically located at the top left or bottom right corner of the screen.
- In the account settings menu, find the “Verification” or “Verify Account” option and tap on it.
- You will be prompted to provide additional personal information for verification purposes. This may include your full name, date of birth, social security number, and sometimes a photo of a valid government-issued ID.
- Enter the required information accurately and follow the prompts to complete the verification process.
- Depending on the information provided and the verification method chosen, the verification process may take a few minutes or a few days to complete.
- Once your account is successfully verified, you will receive a confirmation notification from Cash App.
Verification is an essential step to ensure the security and legitimacy of your Cash App account. It also allows you to unlock additional features, such as increased sending and receiving limits and the ability to add funds to your Cash App balance.
Now that your Cash App account is verified, you can proceed to the next step, where we will discuss customizing your Cash App account to suit your preferences.
Step 6: Customizing Your Cash App Account
Now that you have set up and verified your Cash App account, it’s time to customize it to suit your preferences. Cash App offers various customization options that allow you to personalize your account. Follow these steps to customize your Cash App account:
- Open the Cash App on your smartphone and log in to your account using your credentials.
- On the Cash App home screen, locate the “Account” or “Profile” icon, usually located at the top left or bottom right corner of the screen.
- Tap on the icon to access your account settings.
- Explore the available options for customization, such as profile picture, display name, and notification preferences. Tap on each setting to make changes.
- To add or change your profile picture, tap on the option to upload a photo from your gallery or take a new photo using your device’s camera.
- For the display name, you can enter a unique name that you want others to see when they interact with your Cash App account.
- Review and adjust the notification settings according to your preferences. You can choose to receive notifications for transactions, promotions, or important updates.
- Once you have customized your Cash App account to your liking, tap on the “Save” or “Done” button to apply the changes.
Customizing your Cash App account allows you to add a personal touch and make your profile more recognizable to your friends, family, or customers. It also helps you stay informed by receiving relevant notifications about your transactions and account activity.
Congratulations! You have successfully created and customized your Cash App account. Now you’re ready to start sending and receiving money with ease. Enjoy the convenience and simplicity that Cash App offers!
Conclusion
Congratulations on successfully creating your Cash App account! In this guide, we have walked you through the step-by-step process of downloading the app, launching it, creating an account, linking a payment method, verifying your account, and customizing your profile. Now, you are ready to take advantage of all the features and benefits that Cash App has to offer.
With Cash App, you can easily send and receive money, split bills, pay for goods and services, and even receive payments for your business. The app provides a secure and convenient way to handle your financial transactions with just a few taps on your smartphone.
Remember to keep your login credentials and payment information secure and always follow best practices for online safety. Cash App takes security seriously and offers layers of protection to keep your information and transactions secure.
If you ever need assistance or have any questions regarding your Cash App account, you can reach out to their customer support team for help. They are available to assist you and address any concerns you may have.
Now that you are familiar with the process of creating a Cash App account, go ahead and explore the app’s features, send money to friends and family, and enjoy the convenience of mobile payments.
Thank you for using this guide, and we wish you a seamless and enjoyable experience with Cash App!


