Introduction
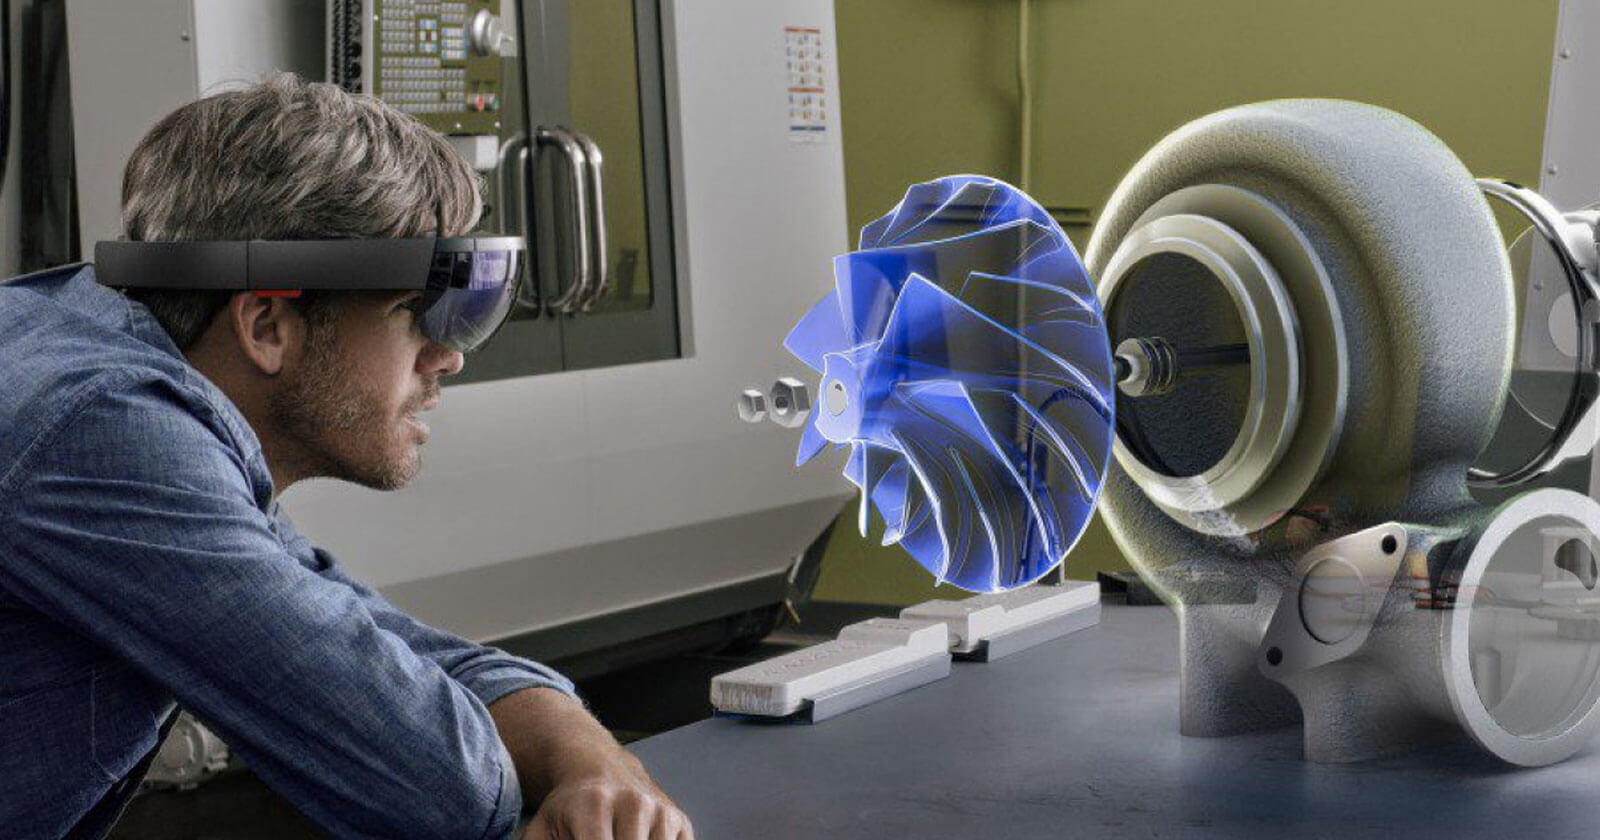
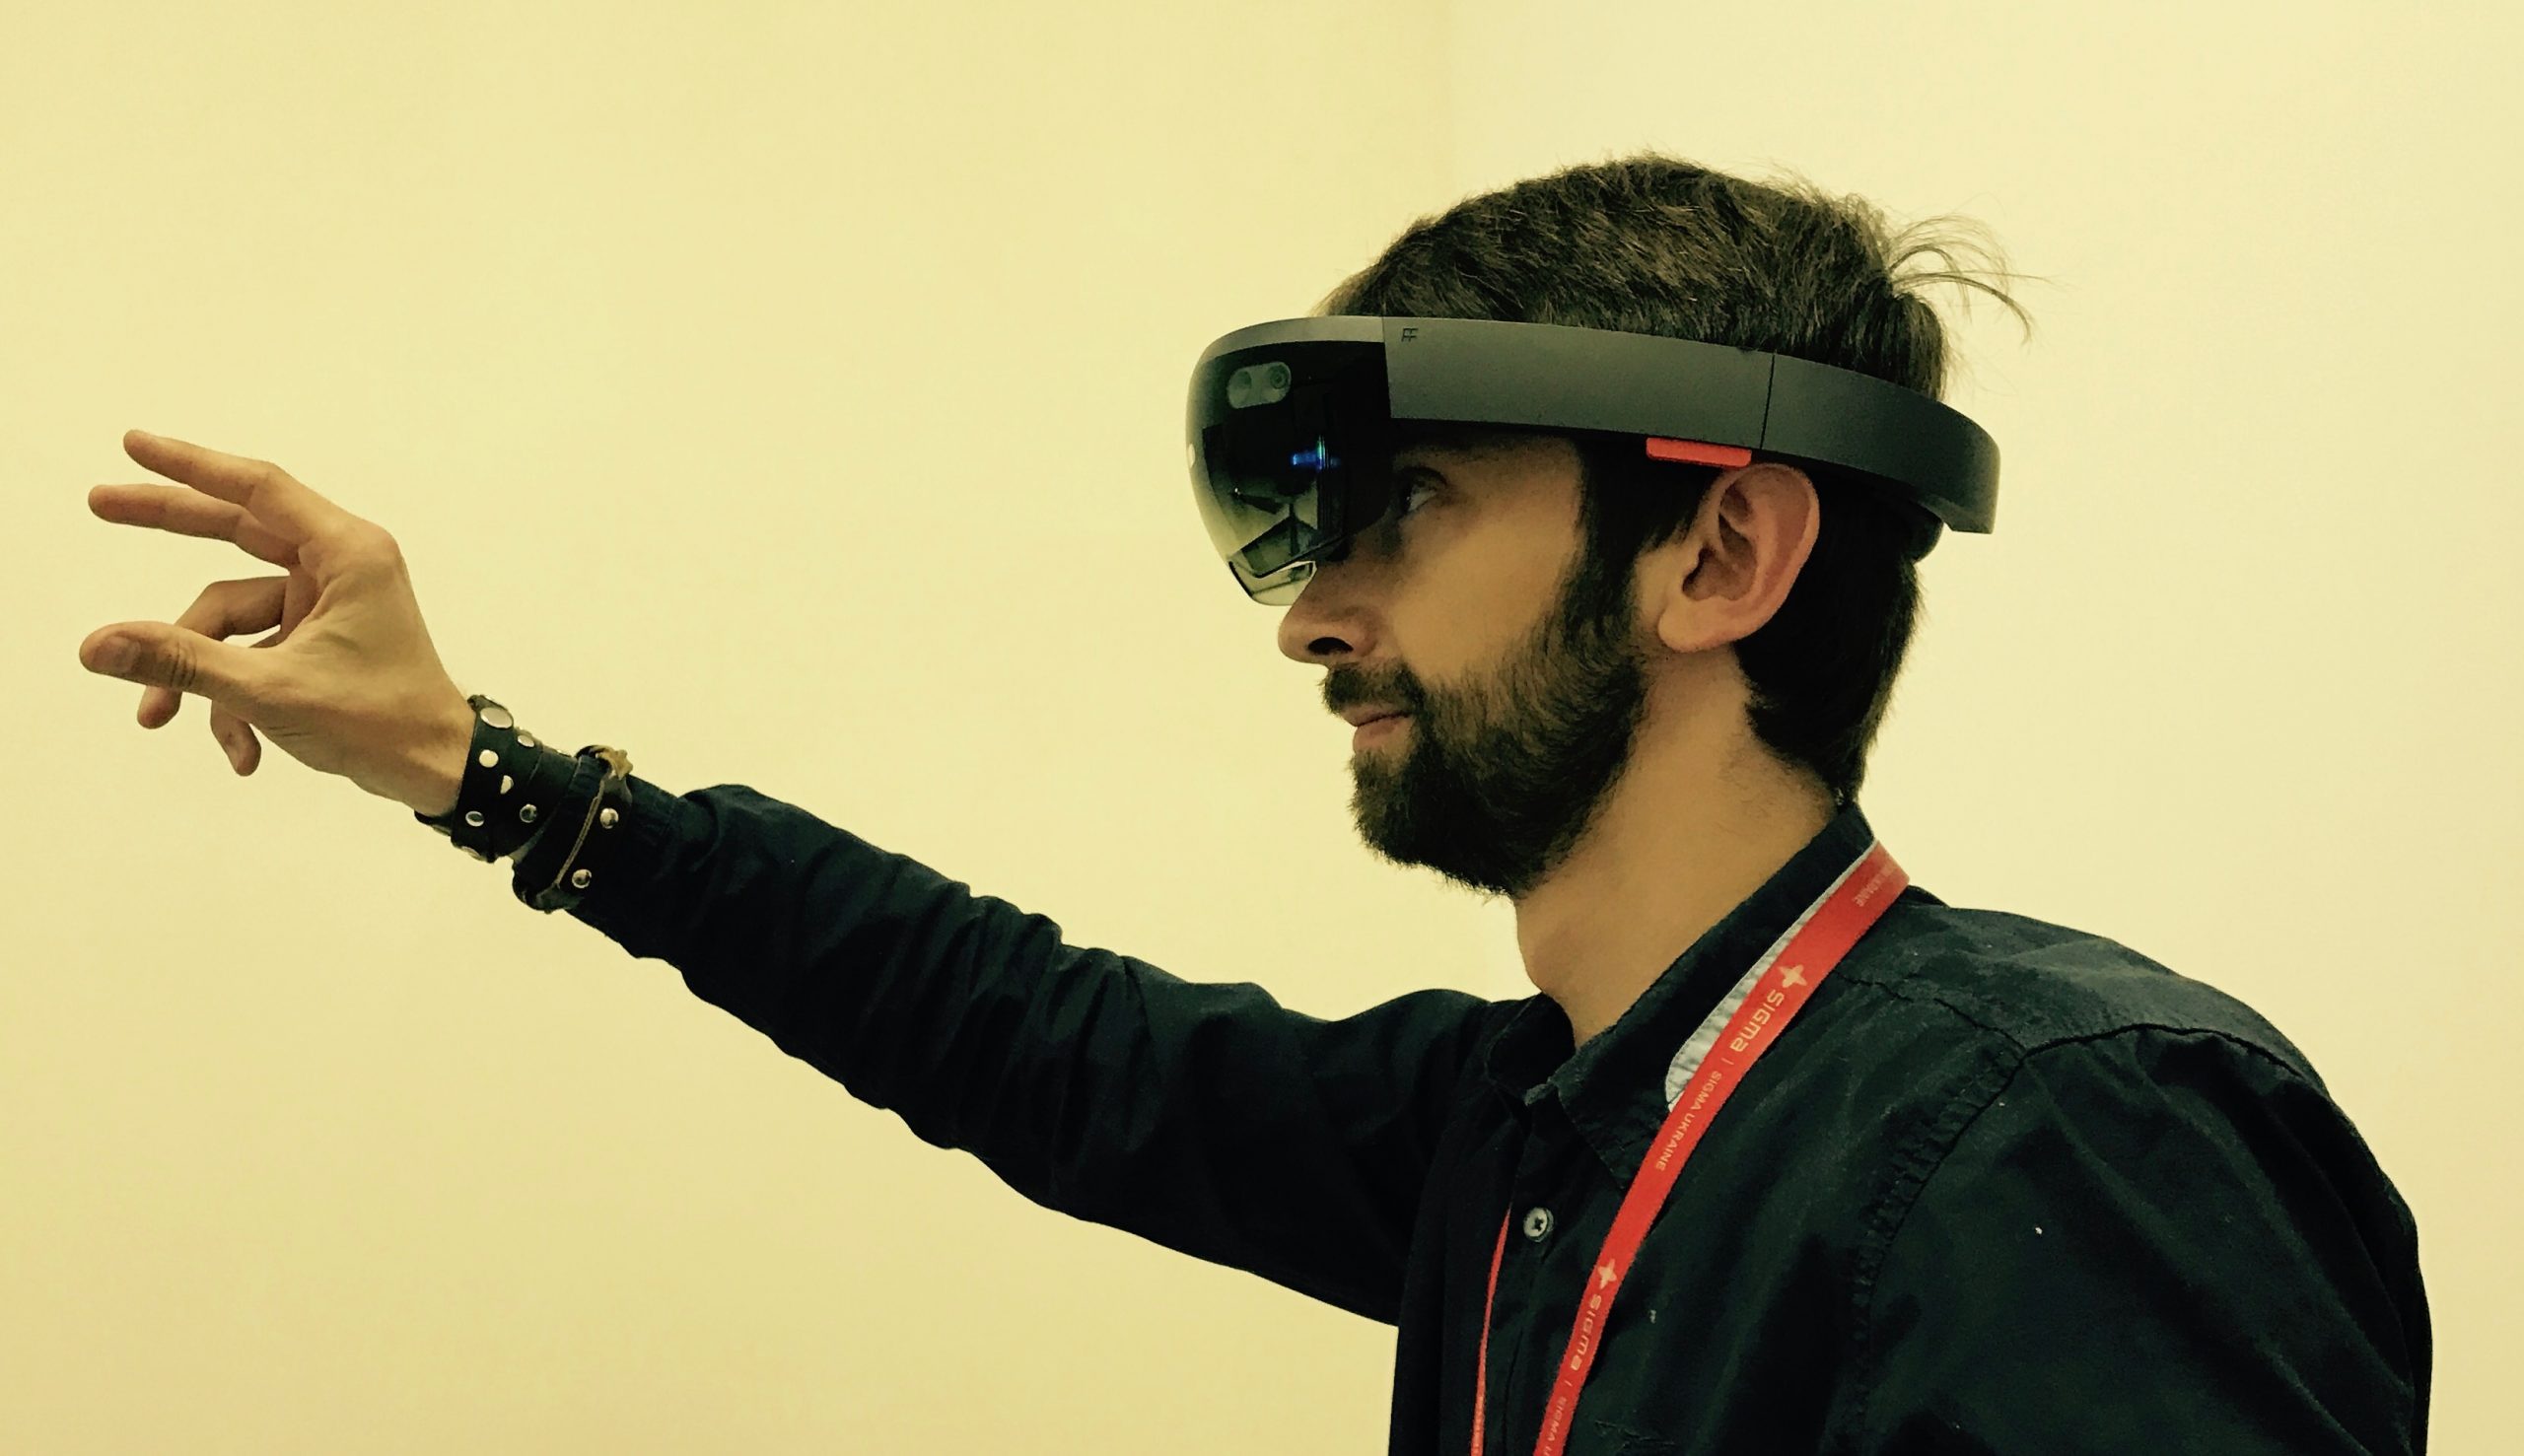
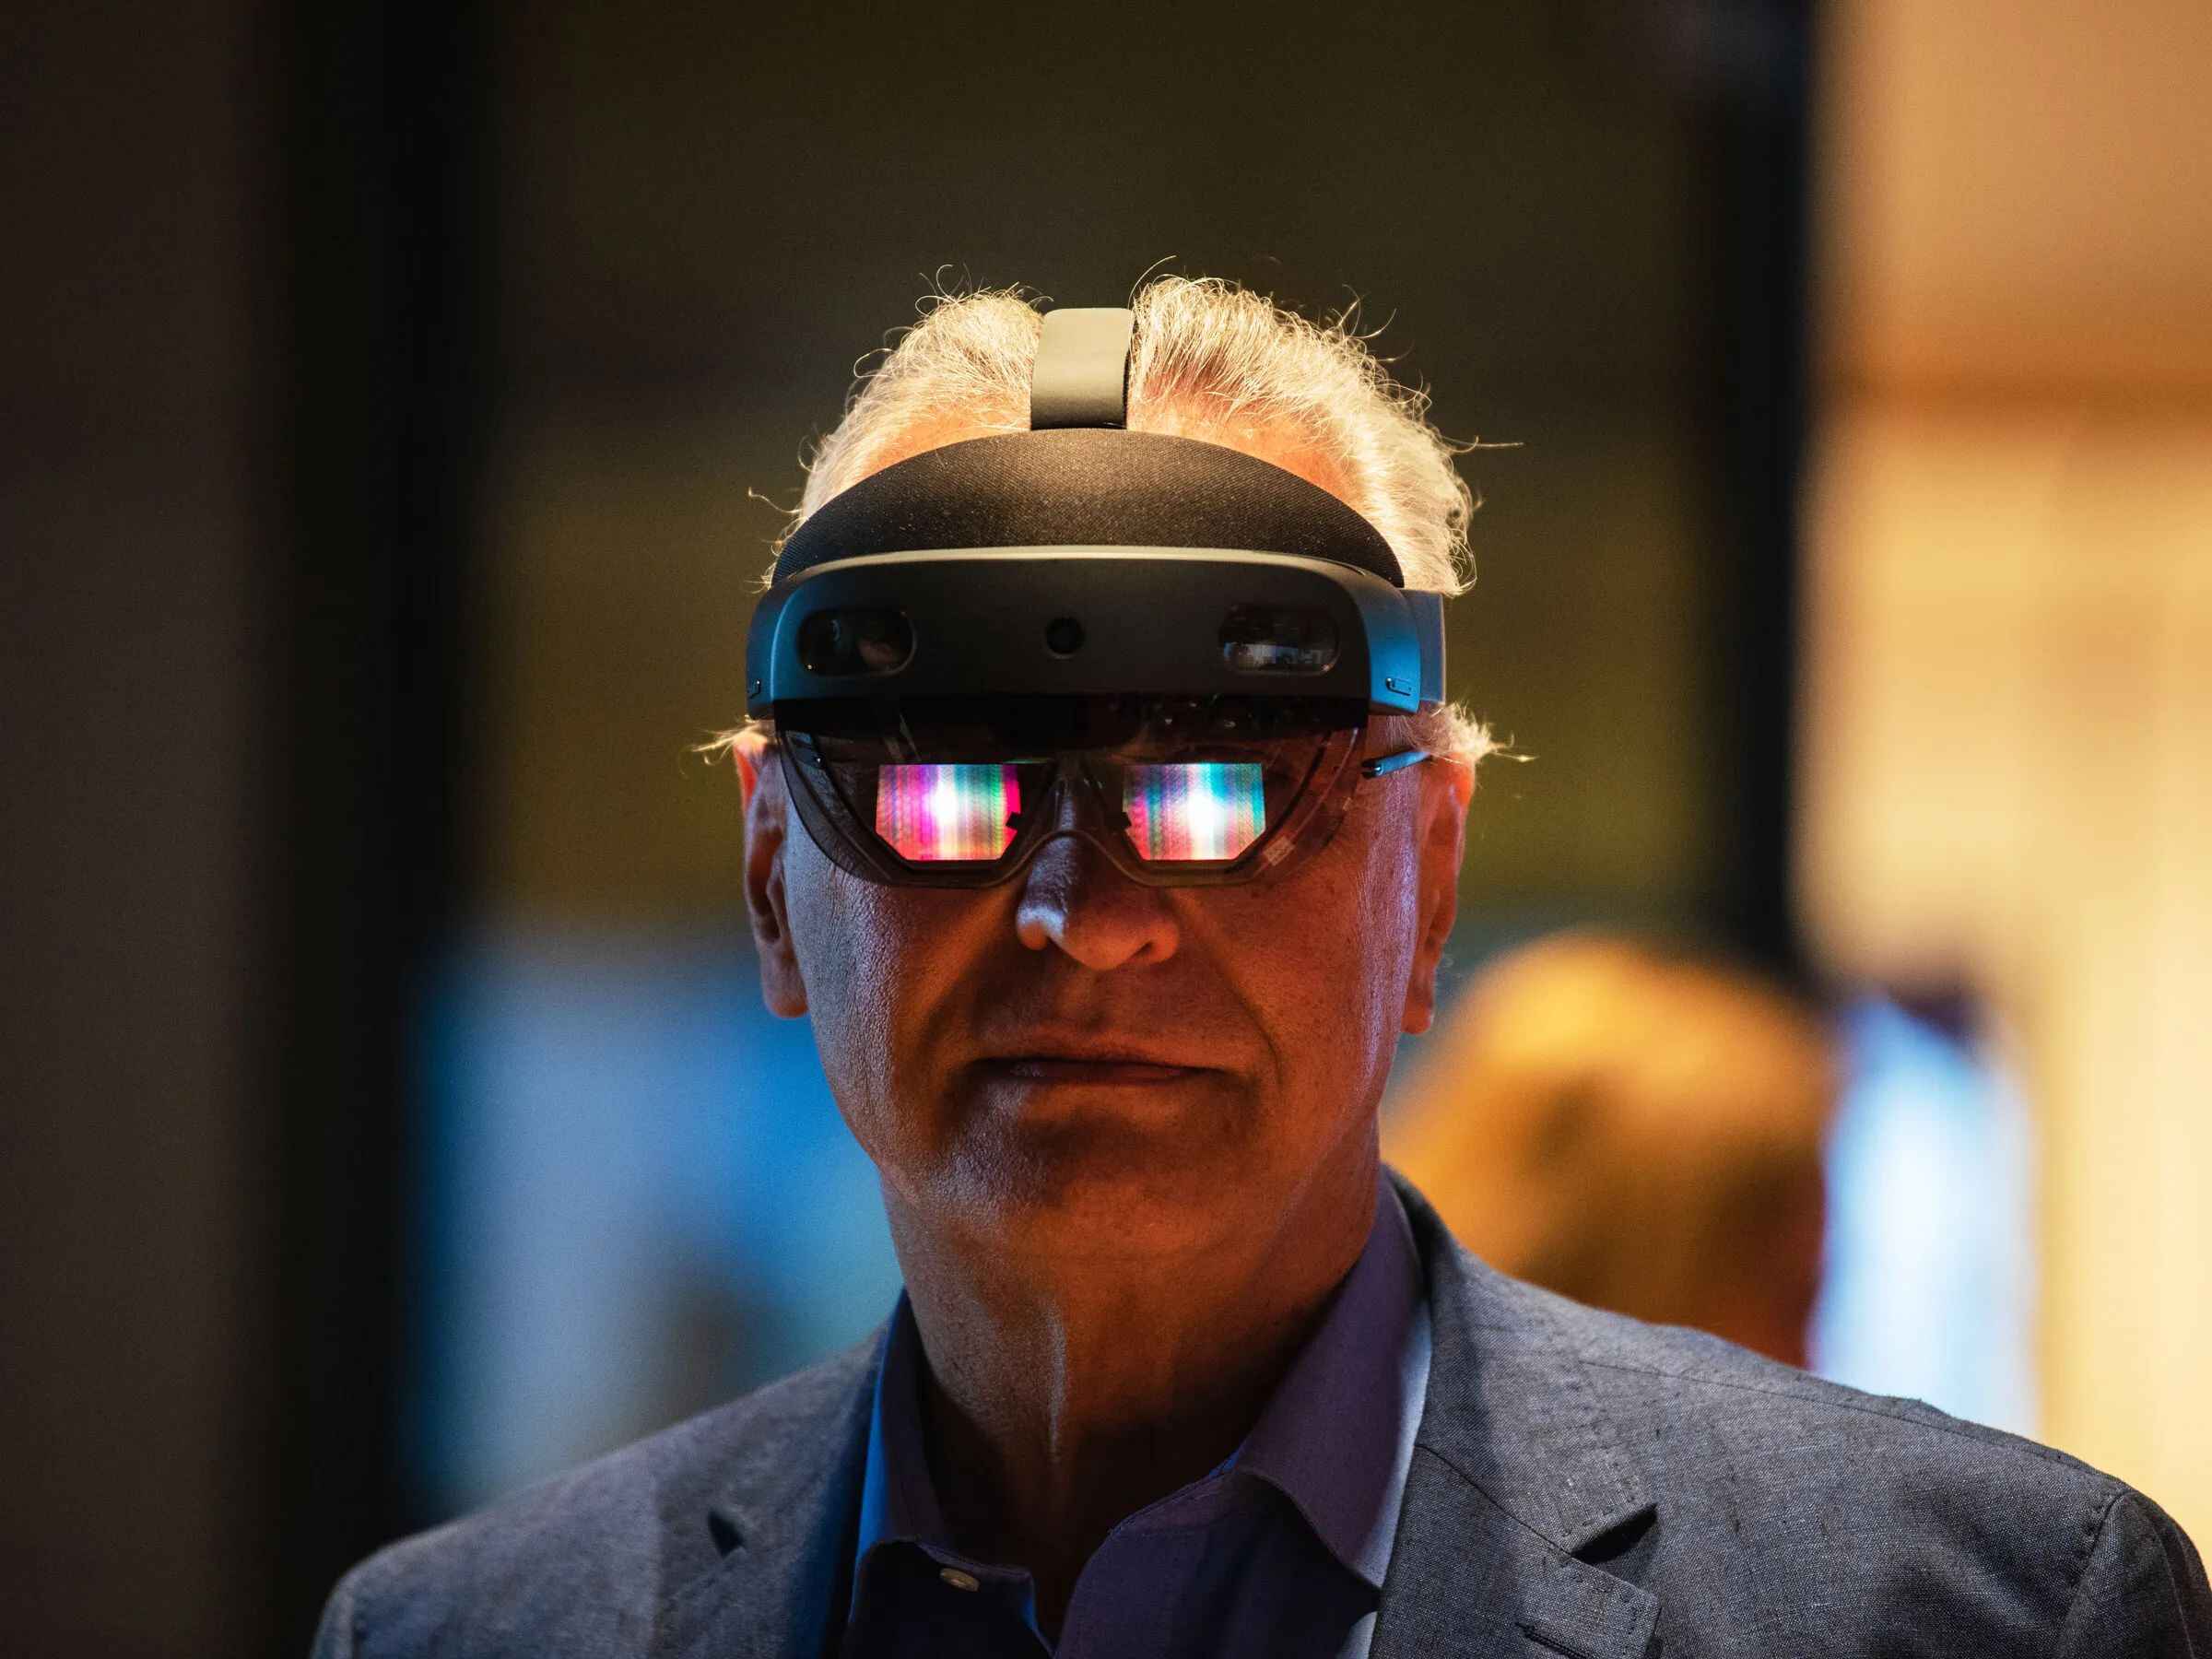
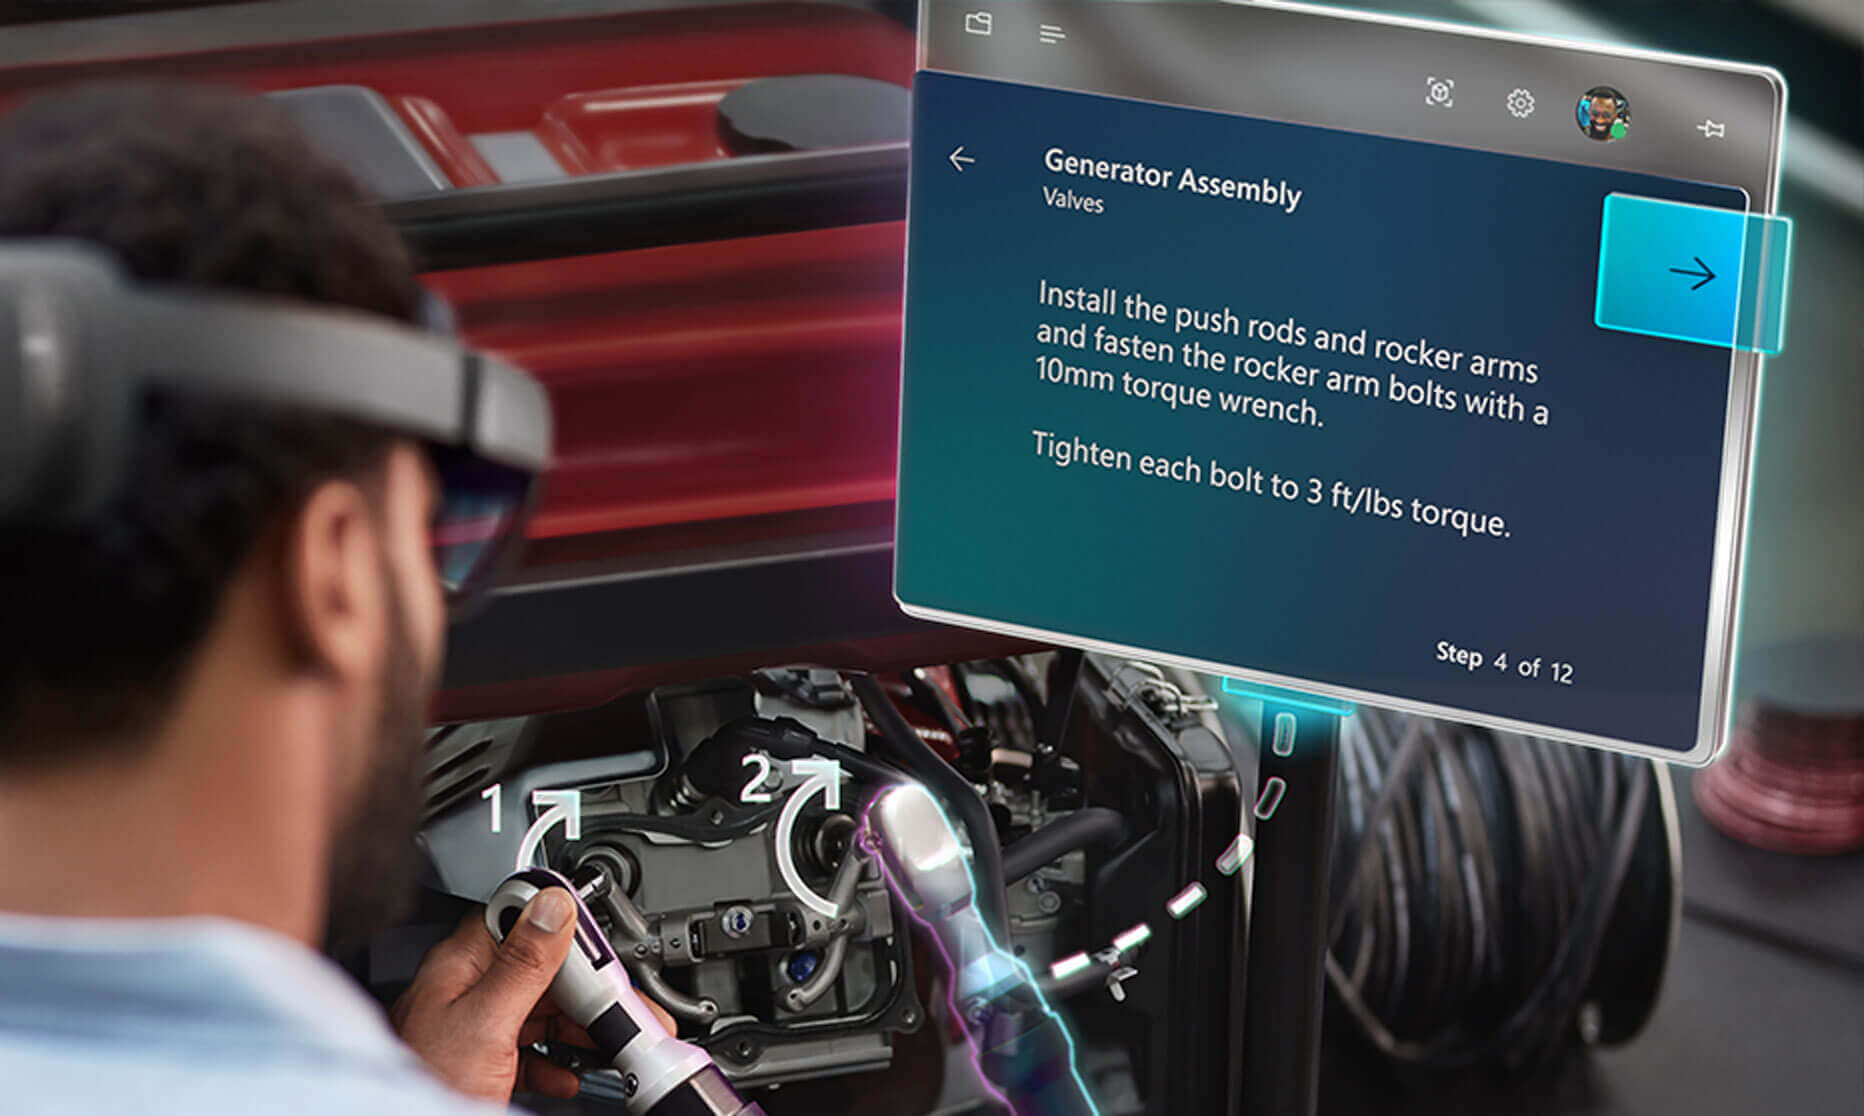
Developing applications for Microsoft HoloLens has opened up a world of possibilities for developers, allowing them to create immersive and interactive augmented reality experiences. While traditionally, HoloLens development has been tied to the Windows platform, it is now possible to develop HoloLens applications using a Mac.
With the right tools and setup, Mac users can dive into HoloLens development and unleash their creativity. This article will guide you through the process of setting up your Mac to develop for HoloLens, installing the necessary software, creating a Unity project, building and deploying your app, and provide some helpful tips for a smooth development experience.
Whether you’re a Mac enthusiast or simply prefer working on macOS, you’ll soon discover that you can bring your HoloLens ideas to life directly from your Mac machine. Without further ado, let’s dive into the exciting world of HoloLens development on a Mac!
Setting up your Mac for HoloLens development
Before you begin developing HoloLens applications on your Mac, there are a few essential tools you need to set up. Here’s a step-by-step guide to help you get started:
- Install Windows on your Mac: To develop HoloLens apps, you’ll need to run Windows on your Mac. There are a few options available for running Windows on a Mac, such as using Boot Camp or a virtualization software like Parallels Desktop.
- Download and install the Windows 10 SDK: The Windows 10 SDK contains the necessary libraries, tools, and documentation for developing HoloLens applications. You can download the Windows 10 SDK from the official Microsoft website and follow the installation instructions.
- Enable Developer mode: To deploy and test your HoloLens app directly from your Mac, you need to enable Developer mode on your Windows installation. Go to “Settings > Update & Security > For developers” and select the Developer mode option.
- Install Unity: Unity is a powerful game development engine widely used for creating HoloLens applications. Head over to the Unity website and download the latest version that supports HoloLens development. Follow the installation instructions to set up Unity on your Mac.
- Install Visual Studio for Mac: Visual Studio is an integrated development environment (IDE) that provides a comprehensive set of tools for building HoloLens apps. Download and install Visual Studio for Mac from the official Microsoft website.
- Install the HoloLens emulator: The HoloLens emulator allows you to test your applications without needing an actual HoloLens device. You can install the emulator from the Windows 10 SDK installation package, or download it separately from the Microsoft website.
With these tools installed, your Mac is now ready for HoloLens development. In the next section, we will explore how to create a Unity project for HoloLens on your Mac.
Installing Visual Studio and Unity on your Mac
Once you have set up your Mac for HoloLens development, the next step is to install Visual Studio and Unity, the two essential tools for building HoloLens applications. Here’s how you can get them up and running on your Mac:
- Download and install Visual Studio for Mac: Head to the official Microsoft website and download the Visual Studio for Mac installation package. Once downloaded, launch the installer and follow the on-screen instructions to complete the installation process. Visual Studio for Mac provides a comprehensive development environment and supports C# scripting, which is commonly used for HoloLens app development.
- Download and install Unity: Unity is a powerful game development engine that allows you to create immersive experiences for HoloLens. Visit the Unity website and download the latest version that supports HoloLens development. Open the installer, follow the prompts, and select the necessary components for installation. Once installed, launch Unity on your Mac.
- Configure Unity for HoloLens development: In Unity, navigate to the Preferences window by selecting “Unity > Preferences” from the toolbar. Go to the “External Tools” section and select the checkbox for “Windows Store”. This enables Unity to build applications specifically for the Windows Store platform, which includes HoloLens.
- Set up Visual Studio as the preferred script editor: In Unity’s Preferences window, go to the “External Tools” section and choose “Visual Studio for Mac” from the “External Script Editor” dropdown menu. This ensures that when you open script files in Unity, they will open automatically in Visual Studio for Mac for editing.
- Verify the installation: After completing the installation processes, it’s a good idea to verify that both Visual Studio and Unity are set up correctly. Launch Visual Studio for Mac and create a new C# script file. Similarly, open Unity and create a new project. If you encounter any issues during this process, consult the documentation provided by the respective software and troubleshoot as necessary.
With Visual Studio and Unity successfully installed, you’re now equipped with the tools needed to build HoloLens applications on your Mac. In the next section, we will explore how to create a Unity project specifically for HoloLens.
Creating a Unity project for HoloLens on your Mac
Now that you have Visual Studio and Unity installed on your Mac, it’s time to create a Unity project specifically for HoloLens app development. Follow the steps below to get started:
- Open Unity: Launch Unity on your Mac. If this is your first time using Unity, you will be prompted to sign in or create a Unity ID.
- Create a new Unity project: In the Unity Hub, click on the “New” button to create a new Unity project. Give your project a name and select a location to save it on your Mac.
- Choose the correct project settings: In the “Template” section, select the “3D” template as most HoloLens applications are 3D experiences. Additionally, ensure that the “Platform” is set to “Universal Windows Platform.”
- Configure project settings for HoloLens: In the “Player Settings” window, go to the “Publishing Settings” section and select “UWP” as the target platform. Set the architecture to “x86” and the build type to “D3D.” These settings ensure compatibility with HoloLens devices.
- Enable Holographic Emulation: In the “Player Settings” window, go to the “XR Settings” section and check the “Virtual Reality Supported” checkbox. Then, click on the “+” button to add a Virtual Reality SDK. Choose “Windows Mixed Reality” from the dropdown menu. This enables the Holographic Emulation feature for testing your app.
- Save and build your project: Once you have configured the project settings, save your changes and build the project. Unity will generate the necessary files and folders for the project, which can take a few moments depending on your Mac’s processing speed.
You now have a Unity project ready for HoloLens development on your Mac. In the next section, we will discuss how to build and deploy your HoloLens app directly from your Mac.
Building and deploying your HoloLens app from your Mac
Once you have created a Unity project for HoloLens on your Mac, the next step is to build and deploy your app to your HoloLens device. Follow these steps to successfully build and deploy your HoloLens app:
- Connect your HoloLens device to your Mac: Use a USB cable to connect your HoloLens device to your Mac. Ensure that your HoloLens is powered on and in developer mode.
- Build the project: In Unity, go to “File > Build Settings” to open the Build Settings window. Select the “Universal Windows Platform” as the target platform and click on the “Switch Platform” button. Once the platform is switched, click on “Build” to start the build process.
- Save the built app: When prompted, choose a location on your Mac to save the built app. Unity will generate an app package (.appx) file and a Visual Studio solution file (.sln) for your project.
- Open the Visual Studio solution: Open the generated Visual Studio solution file (.sln) in Visual Studio for Mac. This will load the project and allow you to make any final adjustments or configurations if needed.
- Deploy the app to HoloLens: With the Visual Studio solution open, ensure that your HoloLens device is selected as the deployment target. Click on the “Run” button in Visual Studio to start deploying your app to the HoloLens. The app will be installed and launched automatically on the HoloLens device.
Once the deployment process is complete, you can interact and test your HoloLens app on the device itself. This allows you to experience and fine-tune your app’s performance and functionality directly on the HoloLens. In the next section, we will explore some useful tips and tricks for HoloLens development on a Mac.
Debugging and testing your HoloLens app on your Mac
Debugging and testing are crucial steps in the app development process, allowing you to identify and fix issues in your HoloLens app. Here’s how you can debug and test your app on your Mac:
- Enable debugging on your HoloLens: To enable debugging on your HoloLens device, go to “Settings > Update & Security > For developers” and select the “Enable Device Portal” option. This will allow you to remotely debug and monitor your app through the Device Portal.
- Access the Device Portal: On your Mac, open a web browser and enter the IP address of your HoloLens device followed by “:10080. This will open the Device Portal, which provides a web-based interface for debugging and testing your app.
- Remote debugging with Visual Studio: In Visual Studio for Mac, go to “Debug > Attach to Process”. In the “Attach to Process” dialog, select the “Universal” transport and enter the IP address of your HoloLens device. Choose the process related to your app and click on the “Attach” button to start debugging.
- Monitor app performance: Use the Device Portal to monitor the performance of your HoloLens app. You can view real-time frame rates, memory usage, and performance metrics to help optimize your app’s performance.
- Testing user interactions: Interact with your HoloLens app on the device to test user interactions and ensure a smooth and intuitive user experience. Pay attention to gestures, voice commands, and spatial mapping to identify any issues or areas for improvement.
- Collect user feedback: Share your app with others and collect feedback on usability, performance, and any bugs or glitches they encounter. This feedback will help you refine and enhance your HoloLens app.
By thoroughly testing and debugging your HoloLens app on your Mac, you can ensure a high-quality user experience before releasing it to the broader audience. In the next section, we will share some tips and tricks to enhance your HoloLens development experience on a Mac.
Tips and tricks for HoloLens development on a Mac
Developing HoloLens applications on a Mac can be an exciting and rewarding experience. Here are some helpful tips and tricks to enhance your HoloLens development journey on a Mac:
- Stay updated: Regularly check for updates and new releases of Unity, Visual Studio, and the Windows 10 SDK. Keeping your development tools up to date ensures access to the latest features, bug fixes, and performance improvements.
- Utilize online resources: Take advantage of the vast array of online resources available for HoloLens development. Websites, forums, and communities like the Microsoft Developer Network (MSDN) and Unity forums provide valuable insights, tutorials, and support from the developer community.
- Optimize performance: HoloLens applications require efficient performance to deliver a smooth augmented reality experience. Optimize your app by minimizing unnecessary rendering, reducing asset sizes, and utilizing efficient coding practices.
- Use HoloLens emulator: The HoloLens emulator allows you to test your app without needing a physical device. The emulator provides a virtual HoloLens environment on your Mac, enabling you to simulate interactions and evaluate your app’s behavior.
- Test on actual devices: While the emulator is valuable for initial testing, it’s essential to test your app on actual HoloLens devices. This ensures accurate evaluation of app performance, user experience, and real-world interactions.
- Experiment with spatial mapping: HoloLens relies on spatial mapping to understand the environment. Experiment with spatial mapping features in Unity to create engaging experiences that interact seamlessly with the physical world.
- Iterate and gather feedback: Regularly iterate on your app, gathering feedback from users and fellow developers. This iterative process allows you to address issues, improve functionality, and refine the user experience.
- Collaborate with others: Join developer communities, attend meet-ups, and engage with other HoloLens developers. Collaborating with others can provide valuable insights, solutions to challenges, and inspire new ideas.
- Document your code and processes: Keep detailed documentation of your code and development processes. This not only helps in understanding and maintaining your codebase but also allows you to share your knowledge with others.
By utilizing these tips and tricks, you can optimize your HoloLens development workflow on a Mac and create exceptional augmented reality experiences. Remember to embrace the creativity and endless possibilities that HoloLens development offers. Happy coding!
Conclusion
Developing HoloLens applications on a Mac opens up a world of possibilities for creators and developers. With the right tools and setup, you can bring your ideas to life and create immersive augmented reality experiences directly from your Mac machine.
In this article, we explored the process of setting up your Mac for HoloLens development, installing Visual Studio and Unity, creating a Unity project specifically for HoloLens, building and deploying your app, and debugging and testing on both the emulator and actual HoloLens devices. We also shared some valuable tips and tricks to enhance your HoloLens development experience.
Remember to stay updated with the latest tools and resources, optimize your app’s performance, and gather feedback to iteratively improve your HoloLens app. Collaboration with other developers and documentation of your code and processes will foster growth and knowledge-sharing within the HoloLens development community.
With the ability to develop HoloLens applications on a Mac, you have the opportunity to create groundbreaking experiences that blend the digital and physical worlds. So, let your creativity soar and dive into the exciting world of HoloLens development on your Mac!


