Introduction
Pairing HoloLens with Visual Studio is an indispensable step for developers looking to embark on their journey into creating immersive mixed reality experiences. By connecting HoloLens to Visual Studio, developers gain the ability to deploy, debug, and test applications directly on the device, unleashing the true potential of this cutting-edge technology.
Combining the power of HoloLens, a self-contained holographic computing device, and Visual Studio, a robust integrated development environment (IDE), opens up endless possibilities for creating captivating holographic applications. Whether you’re building a game, creating a revolutionary design tool, or developing a next-level training simulation, the integration between HoloLens and Visual Studio provides a seamless development experience.
Throughout this tutorial, we will explore the step-by-step process of pairing your HoloLens device with Visual Studio, enabling you to effortlessly deploy your applications and unlock the captivating world of mixed reality.
Before we dive into the pairing process, there are a few prerequisites that need to be in place. Make sure you have the necessary tools and software installed to ensure a smooth development experience. Let’s get started!
Prerequisites
Before you can pair HoloLens with Visual Studio, there are several prerequisites that you need to fulfill. By ensuring that you have the necessary tools and software in place, you can streamline the process of connecting your HoloLens device to Visual Studio.
Here are the prerequisites:
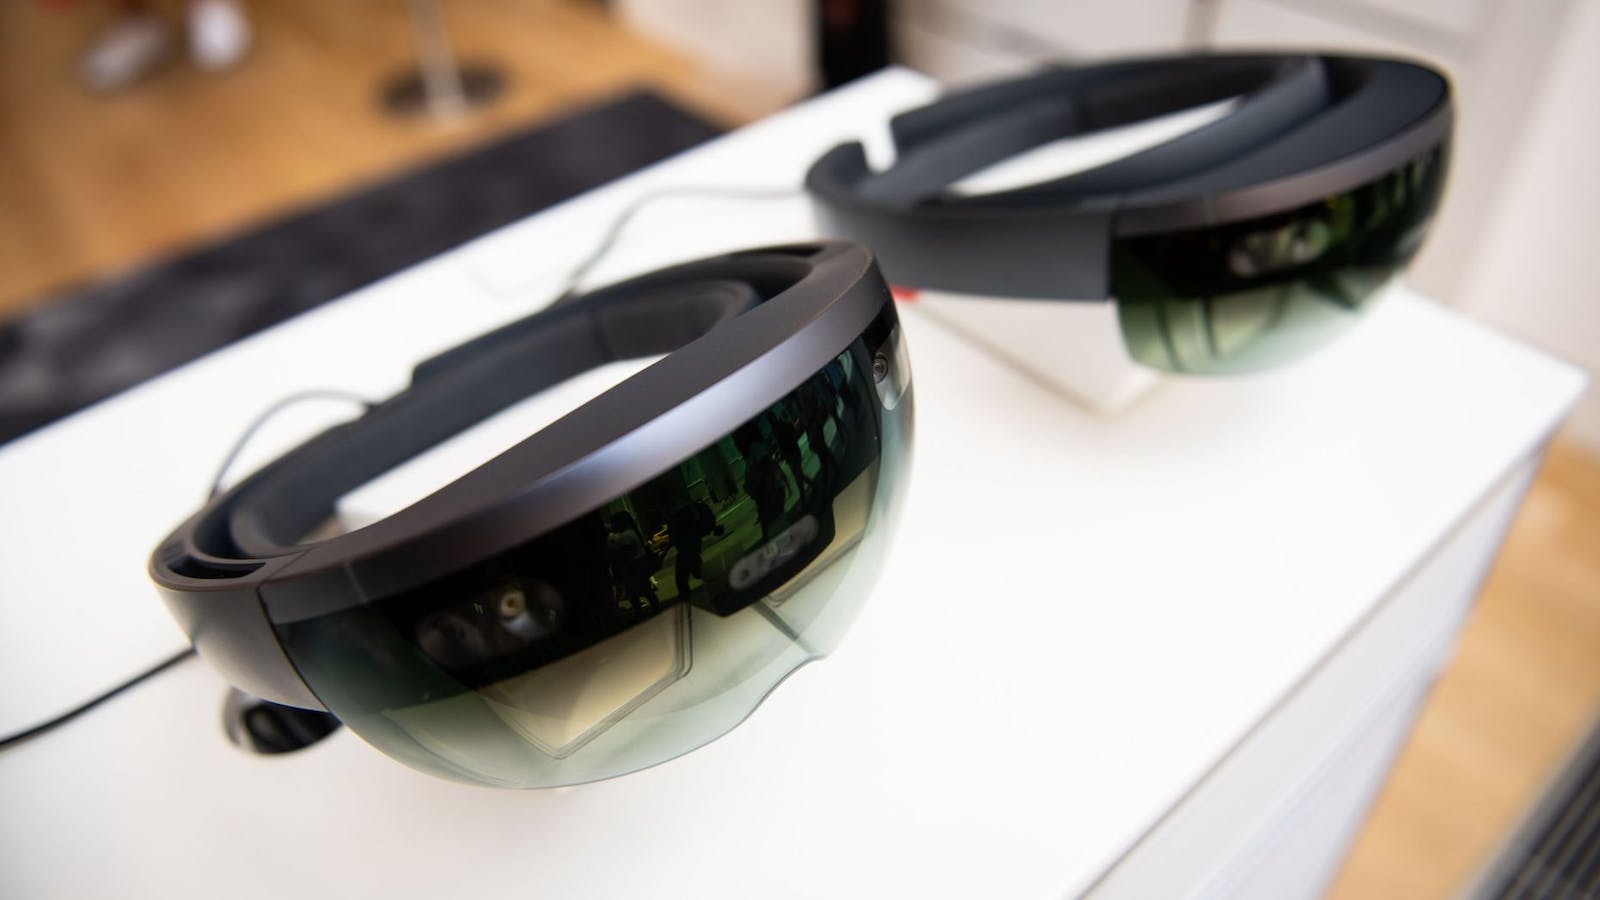
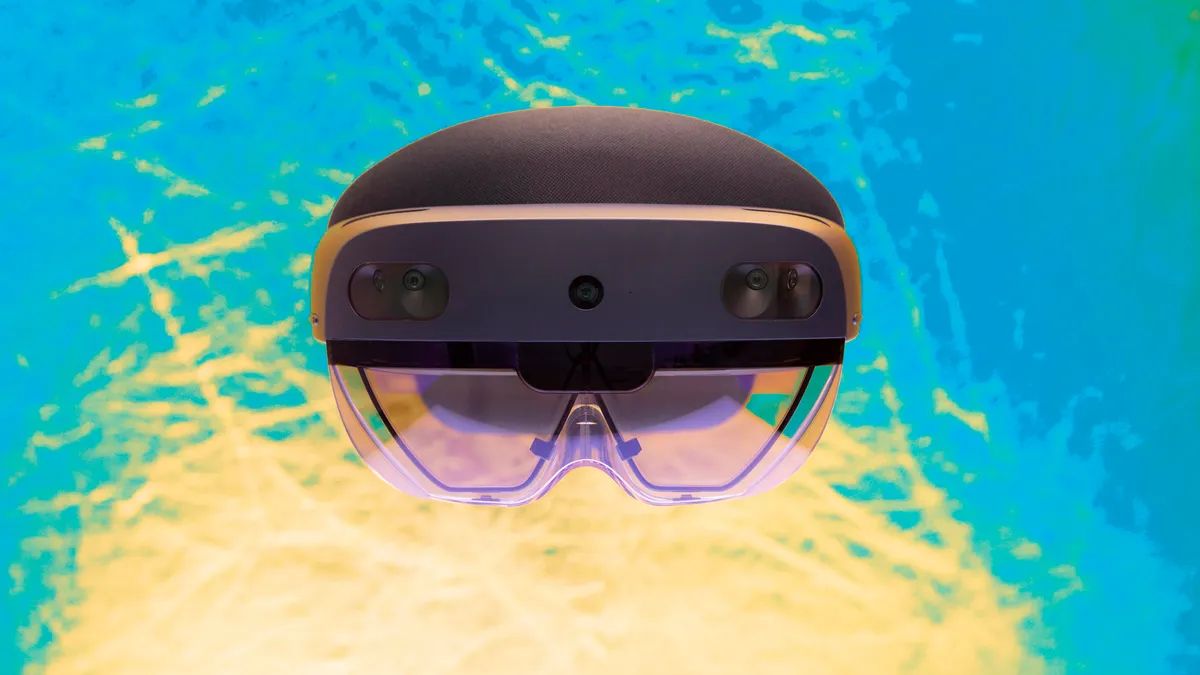
- HoloLens Device: First and foremost, you will need a HoloLens device. This self-contained holographic computer allows you to experience mixed reality by overlaying virtual content onto the real world.
- Windows 10 PC: You will need a Windows 10 PC to run Visual Studio and perform the necessary development tasks. Ensure that your PC meets the hardware requirements to handle the mixed reality development process.
- Visual Studio: Install Visual Studio on your Windows 10 PC. Make sure to download and install the most recent version to take advantage of the latest features and improvements. You can choose to install the free Community edition or opt for the more advanced Professional or Enterprise editions, depending on your requirements.
- HoloLens Emulator: If you don’t have access to a physical HoloLens device, you can still proceed with development using the HoloLens Emulator. The emulator provides a virtual HoloLens environment that allows you to test and debug your applications without needing the physical hardware.
- Windows Device Portal Enabled: Ensure that the Windows Device Portal is enabled on your HoloLens device. This feature allows you to connect to your device remotely via a web browser and provides additional tools and settings for managing your HoloLens device.
By meeting these prerequisites, you will be ready to proceed with pairing your HoloLens device with Visual Studio. In the next sections, we will guide you through the necessary steps to establish the connection and deploy your applications onto the HoloLens device. Let’s move on!
Step 1: Install Visual Studio
Before you can pair your HoloLens with Visual Studio, you need to ensure that Visual Studio is installed on your Windows 10 PC. Visual Studio is a powerful integrated development environment (IDE) that provides a comprehensive set of tools for creating mixed reality applications.
Follow these steps to install Visual Studio:
- Visit the official Visual Studio website, and choose the version that suits your needs. You can opt for the free Community edition or select one of the paid editions based on your requirements.
- Click on the download button to start downloading the Visual Studio installer.
- Once the download is complete, run the installer to begin the installation process. You may be prompted to choose the workloads and components you want to install. For developing HoloLens applications, make sure to select the Universal Windows Platform development workload.
- Follow the on-screen instructions to complete the installation. The process may take some time, so grab a cup of coffee and be patient.
- Once the installation is finished, launch Visual Studio and ensure that everything is set up properly.
It’s important to keep Visual Studio up to date by regularly checking for updates. The updates often include bug fixes, performance improvements, and new features that can enhance your mixed reality development experience.
With Visual Studio installed on your Windows 10 PC, you have taken a crucial step towards pairing your HoloLens device. In the next section, we will guide you through the process of setting up the HoloLens development environment to ensure seamless integration with Visual Studio. Let’s move on!
Step 2: Set Up the HoloLens Development Environment
Before you can pair your HoloLens device with Visual Studio, you need to set up the HoloLens development environment on your Windows 10 PC. This involves installing the necessary tools and dependencies for developing mixed reality applications.
Follow these steps to set up the HoloLens development environment:
- Ensure that your Windows 10 PC is up to date with the latest Windows updates. This will ensure compatibility with the HoloLens and its development tools.
- Open Visual Studio and go to the “Tools” menu. From there, select “Extensions and Updates.”
- In the Extensions and Updates window, search for “HoloLens” in the search box.
- Install the “Windows Mixed Reality” extension, which provides the necessary tools and templates for HoloLens development.
- Once the extension is installed, restart Visual Studio to apply the changes.
- Next, install the Windows Software Development Kit (SDK) for HoloLens. You can find the SDK on the official Windows Dev Center website or by searching for “Windows SDK for HoloLens” in your favorite search engine.
- Download and run the SDK installer, following the on-screen instructions. This will install the required software components and tools for HoloLens development on your PC.
- After the SDK installation is complete, go to the Windows Device Portal on your HoloLens device. You can access it by going to “Settings” > “Update & security” > “For developers” and enabling developer mode.
- In the Windows Device Portal, navigate to the “Apps” tab and enable the “Device discovery” feature.
With the HoloLens development environment set up on your Windows 10 PC, you are ready to move on to the next step: connecting your HoloLens device to your computer. We will guide you through this process in the following section. Let’s continue!
Step 3: Connect HoloLens to Your Computer
In order to pair your HoloLens device with Visual Studio, you need to establish a connection between the device and your Windows 10 computer. This connection is vital for deploying and debugging your mixed reality applications directly on the HoloLens device.
Here is a step-by-step guide to connect your HoloLens to your computer:
- Make sure that both your HoloLens device and your Windows 10 computer are connected to the same Wi-Fi network.
- Put on your HoloLens device and navigate to the “Settings” app.
- In the Settings app, go to the “Update & security” section.
- Select the “For developers” option.
- Enable the “Developer mode” option.
- Open Visual Studio on your computer and go to the “Tools” menu.
- Select the “Device” menu and choose “Pair HoloLens” from the dropdown list.
- A connection dialog will appear in Visual Studio. Follow the on-screen instructions to connect your HoloLens device to your computer.
- Once the connection is established, you should see your HoloLens device listed in the Device Explorer pane within Visual Studio.
It’s important to note that both your HoloLens device and your computer need to be running the same version of Windows 10. Ensure that both devices are up to date with the latest software updates to avoid compatibility issues.
With your HoloLens device successfully connected to your computer, you are now ready to proceed with the next step: pairing HoloLens with Visual Studio. We will guide you through this process in the following section. Let’s move forward!
Step 4: Pair HoloLens with Visual Studio
Now that your HoloLens device is connected to your computer, it’s time to pair it with Visual Studio. This step is crucial for deploying and running your mixed reality applications directly on the HoloLens device.
Follow these steps to pair HoloLens with Visual Studio:
- Launch Visual Studio on your computer.
- In the toolbar at the top of the window, click on the “Debug” dropdown menu.
- Select the name of your HoloLens device from the list of available devices.
- Click on the green “Play” button or press F5 to deploy your application to the HoloLens device.
- Visual Studio will build and deploy the application to your HoloLens device, and you will be able to see it running in mixed reality.
During the deployment process, Visual Studio will automatically install any necessary dependencies and libraries onto your HoloLens device. This ensures that your application is fully functional and can take advantage of the HoloLens hardware capabilities.
If you encounter any issues while pairing your HoloLens with Visual Studio, double-check that your HoloLens is properly connected to your computer and that both devices are on the same Wi-Fi network.
Once your HoloLens device is successfully paired with Visual Studio, you are ready to deploy and test your mixed reality applications. In the next step, we will walk you through the process of deploying an app to HoloLens from Visual Studio. Let’s proceed!
Step 5: Deploy an App to HoloLens from Visual Studio
With your HoloLens device properly paired with Visual Studio, you are now ready to deploy your mixed reality application onto the device. This step will allow you to test and experience your application in the immersive world of the HoloLens.
Follow these steps to deploy an app to HoloLens from Visual Studio:
- In Visual Studio, open the project of the application you want to deploy to HoloLens.
- Configure the build settings for your application. Make sure that the build configuration is set to “Release” and the target platform is set to “ARM”.
- Connect your HoloLens device to your computer using a USB cable.
- In Visual Studio, select the HoloLens device from the dropdown menu in the toolbar.
- Click on the green “Play” button or press F5 to deploy the application to your HoloLens.
- Visual Studio will build, package, and deploy the application to your connected HoloLens device.
- Once the deployment is complete, you will be able to see and interact with your application on the HoloLens device.
During the deployment process, Visual Studio will automatically handle the installation and setup of the application on the HoloLens. It will also deploy any necessary assets and dependencies required for the application to run smoothly.
It’s important to note that the first deployment to your HoloLens device may take a bit longer as Visual Studio sets up the necessary environment. Subsequent deployments should be faster, allowing you to iterate and test your application more efficiently.
By deploying your app to HoloLens from Visual Studio, you can evaluate the user experience, interaction patterns, and overall performance of your mixed reality application. This step is crucial in the development process to ensure that your app meets the intended objectives and delivers an exceptional user experience.
Congratulations! You have successfully deployed your application to HoloLens. Now, it’s time to explore the endless possibilities of mixed reality development and continue refining and enhancing your application based on user feedback and your own creative vision.
Conclusion
Pairing HoloLens with Visual Studio allows developers to unleash the full potential of mixed reality experiences. By following the step-by-step process outlined in this tutorial, you have learned how to connect your HoloLens device to Visual Studio, enabling you to deploy, debug, and test your applications directly on the device.
Throughout the tutorial, we covered the prerequisites, including having a HoloLens device, a Windows 10 PC with Visual Studio installed, and the necessary development environment set up. We then walked through the process of connecting HoloLens to your computer and pairing it with Visual Studio.
Finally, we explored how to deploy an app to HoloLens from Visual Studio, allowing you to test and experience your application in the immersive world of mixed reality.
With your HoloLens device and Visual Studio working in harmony, you are now equipped to create captivating holographic experiences. Whether you are developing games, designing tools, or building training simulations, the integration between HoloLens and Visual Studio provides a seamless development experience.
Remember to keep your Visual Studio installation up to date and stay informed about the latest advancements in HoloLens development. Continuously test and iterate on your applications to deliver high-quality and immersive experiences to your users.
Now that you have the knowledge and the tools, it’s up to you to dive into the world of mixed reality development and bring your innovative ideas to life. Get started with pairing your HoloLens with Visual Studio and unlock the boundless potential of mixed reality!


