Introduction
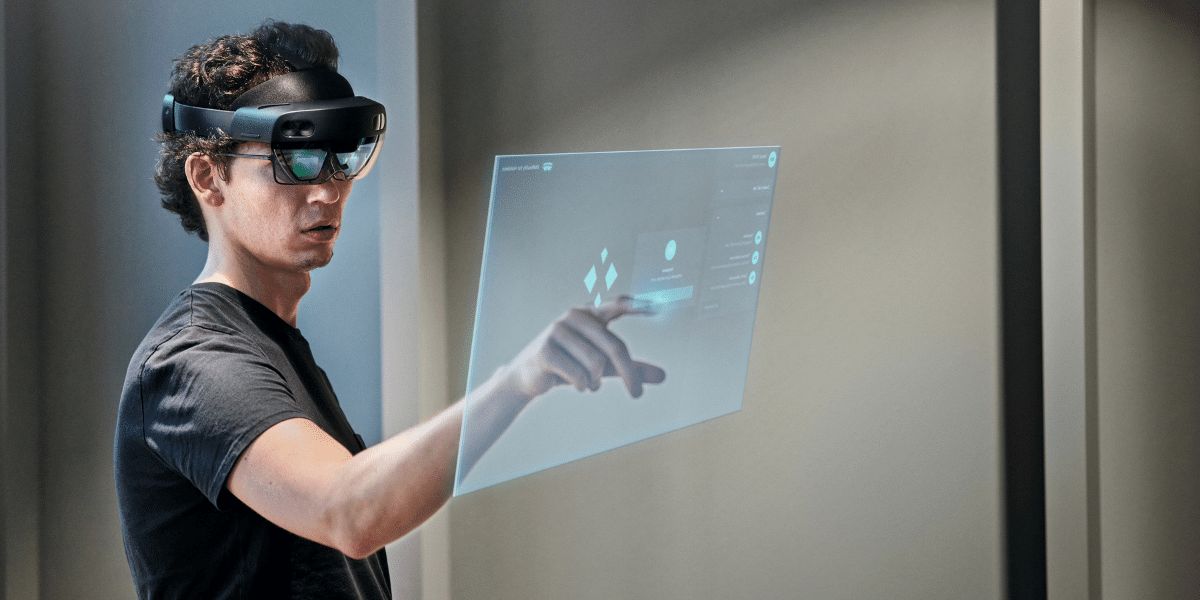
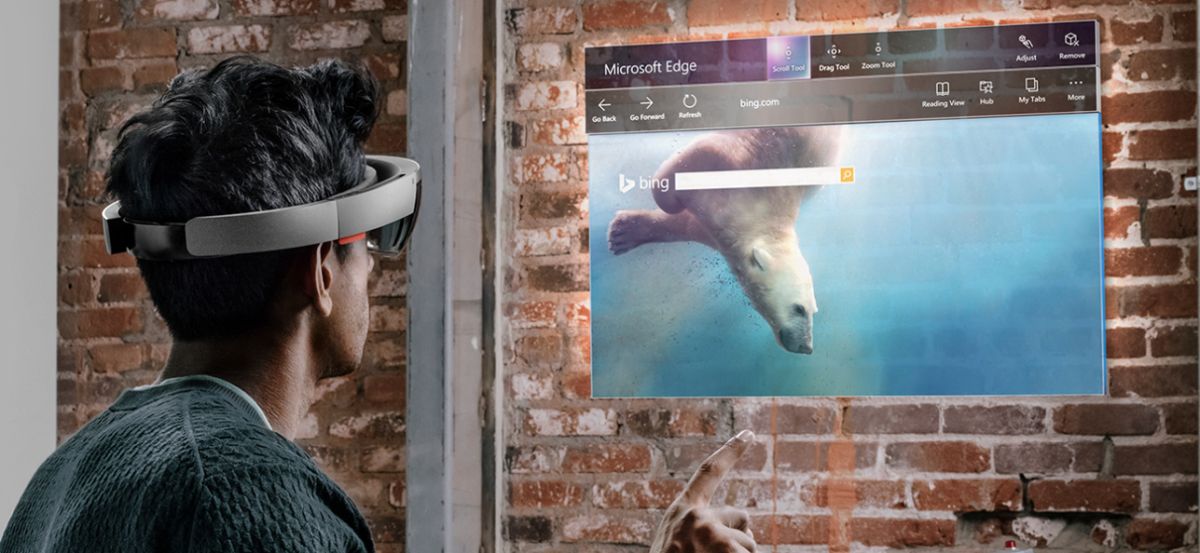
Imagine a world where your augmented reality device can effortlessly detect specific locations and trigger relevant actions. Thanks to iBeacons, this is now a reality. In this article, we will explore how to detect iBeacons using the HoloLens, a cutting-edge augmented reality headset developed by Microsoft.
iBeacons are small wireless devices that transmit Bluetooth signals using Apple’s iBeacon technology. They are often used to provide location-specific information and deliver personalized experiences to users. By detecting the signals emitted by these iBeacons, the HoloLens can identify its proximity to certain locations, allowing developers to create innovative applications that react accordingly.
Understanding how iBeacons work and how to set up the HoloLens for iBeacon detection is crucial for developers seeking to integrate this technology into their applications. This article will guide you through the steps required to prepare your HoloLens for iBeacon detection and demonstrate how to scan for and analyze iBeacon data using the device.
By the end of this article, you will be equipped with the knowledge necessary to incorporate iBeacons and HoloLens into your own projects, opening up a new world of possibilities in augmented reality.
What Are iBeacons?
iBeacons are small Bluetooth devices that emit signals to communicate with nearby devices like smartphones, tablets, and augmented reality headsets. These devices use Apple’s iBeacon technology, which is a protocol for creating location-based experiences. iBeacons are often deployed in physical spaces, such as retail stores, airports, and museums, to provide personalized information and services to users.
iBeacons use Bluetooth Low Energy (BLE) technology to transmit signals to nearby devices. Each iBeacon has a unique identifier that distinguishes it from other beacons. When a device comes within range of an iBeacon, it receives the beacon’s signal and can determine its proximity to the iBeacon based on the strength of the signal.
The range of an iBeacon can vary depending on factors such as the environment and any physical obstacles. Generally, the range can extend from a few meters up to 70 meters, making iBeacons suitable for both small and large spaces.
One of the advantages of iBeacons is their low power consumption. Due to the efficiency of Bluetooth Low Energy, iBeacons can operate for months or even years on a single battery, making them cost-effective and practical for long-term deployments.
Developers can leverage the power of iBeacons to create location-specific applications. For example, in a retail store setting, iBeacons can be placed at various sections of the store to trigger personalized offers or product recommendations based on the customer’s location. In museums, iBeacons can provide visitors with additional information about exhibits as they move through the gallery.
By understanding the capabilities and potential of iBeacons, developers can design immersive experiences that seamlessly integrate digital content with physical spaces. In the next section, we will explore the inner workings of iBeacons and how they communicate with devices like the HoloLens.
How Do iBeacons Work?
iBeacons work by utilizing Bluetooth Low Energy (BLE) technology, which enables devices to transmit and receive small packets of data while consuming minimal power. Each iBeacon is equipped with a Bluetooth transmitter that continuously broadcasts signals containing three key pieces of information: a Universally Unique Identifier (UUID), a Major value, and a Minor value.
The UUID is a 128-bit value that uniquely identifies a group or family of iBeacons, such as those associated with a specific location or organization. The Major value, which is 16 bits in length, differentiates a specific subset of iBeacons within a UUID group. Finally, the Minor value, also 16 bits, provides further granularity within the subset of iBeacons identified by the Major value.
When a device, such as the HoloLens, comes within range of an iBeacon, it scans for Bluetooth signals and detects the transmission from the iBeacon. The device can then read the UUID, Major, and Minor values from the received signal, allowing it to identify the specific iBeacon it is in proximity to.
The strength of the signal received by the device can be used as an indicator of the distance between the device and the iBeacon. This measurement is known as the received signal strength indicator (RSSI). By analyzing the RSSI, the device can estimate its distance from the iBeacon using algorithms. However, it’s important to note that the RSSI can be influenced by environmental factors, such as physical obstructions or interference from other Bluetooth devices.
Once the device has detected an iBeacon and obtained its identifier and proximity information, it can trigger specific actions or fetch relevant data based on predefined rules and logic. This allows developers to create highly targeted and personalized experiences for users within a specific location or context.
Overall, iBeacons provide a seamless and efficient way to detect and interact with physical spaces, bringing a new level of interactivity and personalization to augmented reality experiences. In the next sections, we will delve into how to set up the HoloLens for iBeacon detection and explore the steps required to scan, filter, and analyze iBeacon data using the device.
Setting Up HoloLens for iBeacon Detection
Before you can start detecting iBeacons using the HoloLens, you need to ensure that your device is properly set up for iBeacon detection. Here are the steps to get started:
- Enable Developer Mode: To enable the necessary features for iBeacon detection on the HoloLens, you need to enable Developer Mode. This can be done by going to the Settings app on the HoloLens and selecting the Update & Security option. From there, navigate to the For developers section and enable Developer Mode.
- Create a Universal Windows Platform (UWP) Project: To build a HoloLens application that can detect iBeacons, you will need to create a UWP project in Visual Studio. This will allow you to leverage the necessary APIs and tools for iBeacon detection.
- Install the Windows 10 SDK: Make sure that you have the Windows 10 SDK installed in Visual Studio. The Windows 10 SDK provides the necessary tools, libraries, and APIs to develop applications for the HoloLens.
- Configure App Permissions: In order for your HoloLens application to access the necessary Bluetooth capabilities for iBeacon detection, you will need to define the required permissions in the app manifest file. This includes the “bluetooth” and “bluetooth.genericAttributeProfile” capabilities.
- Include iBeacon Libraries: To simplify iBeacon detection, you can include third-party libraries and frameworks that provide easy-to-use APIs for working with iBeacons. There are several open-source libraries available, such as the Windows Beacon Library, that abstract the complexities of working with Bluetooth and iBeacons.
By following these steps, you will have your HoloLens properly set up for iBeacon detection. With the necessary permissions, libraries, and tools in place, you can move on to preparing your HoloLens application to scan for and analyze iBeacon data, which we will explore in the next section.
Preparing the HoloLens Application
Once you have set up your HoloLens for iBeacon detection, the next step is to prepare your application to scan for and analyze iBeacon data. Here are the key considerations for preparing your HoloLens application:
- Define the iBeacon Region: Before initiating the scanning process, you need to define the region that you want to monitor for iBeacons. This involves specifying the UUID, Major, and Minor values that correspond to the iBeacon(s) you are interested in. By defining the region, you can filter out irrelevant iBeacons and focus on the ones that are relevant to your application.
- Implement iBeacon Scanning: To scan for iBeacons, you will need to utilize the Bluetooth APIs provided by the Windows 10 SDK. These APIs allow you to discover and retrieve information from nearby Bluetooth devices, including iBeacons. By implementing the scanning process, you can listen for iBeacon signals and collect the data transmitted by the beacons.
- Process and Analyze iBeacon Data: Once you have detected iBeacons and retrieved their data, you can further process and analyze the information to extract valuable insights. This can involve calculations based on the received signal strength indicator (RSSI) to estimate proximity to the iBeacon, as well as filtering and sorting the iBeacon data based on specific criteria.
- Integrate with AR Application: To leverage the iBeacon data in your augmented reality application, you need to integrate it with the relevant features and functionalities. This can include triggering AR content or actions based on the proximity to iBeacons, such as displaying specific information or activating interactive elements.
By following these steps, you can ensure that your HoloLens application is ready to scan for iBeacons and utilize the retrieved data in a meaningful way. In the next section, we will explore the configuration of Bluetooth on the HoloLens to enable seamless iBeacon detection.
Configuring Bluetooth on HoloLens
Before you can begin scanning for iBeacons using your HoloLens application, you need to make sure that Bluetooth is properly configured on the device. Here are the steps to configure Bluetooth on the HoloLens:
- Open the Settings app: On your HoloLens, navigate to the Start menu and select the Settings app.
- Go to the Devices section: Within the Settings app, locate and select the Devices option.
- Select Bluetooth & other devices: In the Devices section, choose Bluetooth & other devices to access the Bluetooth settings on your HoloLens.
- Enable Bluetooth: Once in the Bluetooth settings, toggle the Bluetooth switch to the On position. This will activate Bluetooth functionality on your HoloLens.
- Pair iBeacons (if necessary): If the iBeacons you are working with require pairing, follow the specific instructions provided by the iBeacon manufacturer to complete the pairing process. This typically involves putting the iBeacon into pairing mode and establishing a connection with your HoloLens.
After configuring Bluetooth on your HoloLens, the device is now ready to scan for and detect iBeacons. The Bluetooth functionality will allow your HoloLens application to receive the signals emitted by iBeacons and retrieve the corresponding data.
It’s important to note that the HoloLens uses built-in Bluetooth capabilities to communicate with iBeacons. Therefore, ensuring that Bluetooth is enabled and properly configured is essential for successful iBeacon detection.
In the next section, we will dive into the process of scanning for iBeacons and explore how to filter and analyze the received iBeacon data using your HoloLens application.
Scanning for iBeacons
Once Bluetooth is configured on your HoloLens, you can start scanning for iBeacons using your application. Here is an overview of the process:
- Initialize the BluetoothLEAdvertisementWatcher: In your HoloLens application, create an instance of the BluetoothLEAdvertisementWatcher class, which allows you to scan for nearby Bluetooth devices, including iBeacons.
- Set the iBeacon UUID: Specify the UUID of the iBeacon region you want to monitor by setting the BluetoothLEAdvertisementFilter object’s Advertisement property to a new BluetoothLEAdvertisementDataSection object with the UUID value.
- Start the scanning process: Call the Start method on the BluetoothLEAdvertisementWatcher object to initiate the scanning process. This will enable the HoloLens to detect and receive the advertisements broadcasted by iBeacons.
- Handle the received iBeacon data: Implement event handlers to handle the events raised by the BluetoothLEAdvertisementWatcher when iBeacon advertisements are received. Upon detecting an iBeacon, you can access the iBeacon’s UUID, Major, Minor, and received signal strength indicator (RSSI) values.
By following these steps, your HoloLens application can actively scan for iBeacons in the specified region. The scanning process allows you to detect and retrieve information from iBeacons within range of the HoloLens.
It’s important to note that the scanning process is ongoing, and your application will continuously listen for iBeacon advertisements. This allows your application to react in real-time to changes in iBeacon proximity or presence.
In the next section, we will explore how to filter and analyze the received iBeacon data, enabling you to extract valuable insights and enhance the functionality of your HoloLens application.
Filtering and Analyzing iBeacon Data
Once your HoloLens application has detected iBeacons and retrieved their data, the next step is to filter and analyze that data to extract meaningful insights. Here are some important considerations for filtering and analyzing iBeacon data:
- Apply proximity filtering: Utilize the received signal strength indicator (RSSI) value to determine the proximity between the HoloLens and each detected iBeacon. You can define thresholds to categorize iBeacons into different proximity ranges, such as “near,” “far,” or “immediate.” This allows you to filter out iBeacons that are not within the desired proximity range.
- Sort and prioritize iBeacon data: If your application is scanning for multiple iBeacons, you can sort the detected iBeacons based on their RSSI values. This gives you the ability to prioritize and focus on the iBeacon that is closest to the HoloLens or the one with the strongest signal.
- Perform data analysis: Beyond proximity filtering, you can analyze other aspects of the iBeacon data to extract valuable insights. For example, you can track the duration of interactions with specific iBeacons, count the number of times the HoloLens comes into range of an iBeacon, or correlate iBeacon data with other contextual information to create personalized experiences.
- Integrate with external systems: If your application requires additional data processing or external integration, you can send the iBeacon data to other systems or APIs. This allows you to leverage external services for deeper analysis, such as connecting to a cloud-based analytics platform or integrating with customer relationship management (CRM) systems.
By filtering and analyzing iBeacon data, you can gain insights into user behavior, location patterns, and other relevant metrics. These insights can then be used to enhance the functionality and interactivity of your HoloLens application, providing more personalized and context-aware experiences for users.
In the next section, we will explore how to utilize the iBeacon data within a HoloLens application, enabling you to trigger specific actions or display relevant content based on the proximity to iBeacons.
Using iBeacon Data in a HoloLens Application
Utilizing the iBeacon data within your HoloLens application allows you to create engaging and context-aware experiences for users. Here are some ways you can integrate iBeacon data into your application:
- Trigger AR content and interactions: When the HoloLens detects an iBeacon within proximity, you can use the iBeacon data to trigger augmented reality (AR) content, such as displaying 3D models, videos, or interactive holograms. This allows you to enhance the user experience by delivering relevant content at specific locations.
- Provide personalized information: With iBeacon data, you can customize and tailor the information displayed on the HoloLens based on the user’s location. For example, in a museum setting, you can provide additional details about a specific exhibit as the user approaches it.
- Enable location-based interactions: By leveraging the iBeacon data, you can create interactive experiences that respond to the user’s proximity to an iBeacon. For example, you can design a virtual guide or tour application that provides step-by-step instructions or interactive elements as the user navigates through a physical space.
- Offer context-aware recommendations: Using the information retrieved from iBeacons, you can provide personalized recommendations or suggestions to users based on their location. For instance, in a retail store, you can offer product recommendations or discounts based on the customer’s proximity to specific iBeacons.
By harnessing the power of iBeacon data, you can create unique and immersive experiences that seamlessly blend the physical and digital worlds. Users can engage with your application in a more personalized and interactive way based on their proximity to iBeacons.
It’s important to consider the privacy and data security implications when working with iBeacon data. Ensure that you handle and store user data in compliance with relevant regulations and industry best practices.
In the final section, we will wrap up our discussion and summarize the key insights gained from exploring iBeacon detection on the HoloLens.
Conclusion
In this article, we have explored the exciting world of iBeacon detection on the HoloLens, allowing developers to create immersive and context-aware experiences. We learned that iBeacons are small Bluetooth devices that transmit signals using Apple’s iBeacon technology, enabling location-based interactions and personalized services.
By setting up the HoloLens for iBeacon detection and preparing the application to scan for iBeacon data, developers can unlock the potential of this technology. Configuring Bluetooth, scanning for iBeacons, and filtering and analyzing the received data provide the foundation for creating engaging applications.
We discussed the importance of properly configuring Bluetooth on the HoloLens and understanding how iBeacons work by utilizing Bluetooth Low Energy technology. By filtering and analyzing the iBeacon data, developers can extract valuable insights and enhance the functionality of their applications.
With iBeacon data integrated into a HoloLens application, developers can trigger augmented reality content, provide personalized information, enable location-based interactions, and offer context-aware recommendations. These capabilities allow for enhanced user experiences and more meaningful interactions between the digital and physical worlds.
It is important to keep in mind that iBeacon usage should always prioritize user privacy and data security. Developers need to ensure compliance with relevant regulations and best practices when handling and storing user data.
By harnessing the power of iBeacon detection on the HoloLens, developers can create innovative applications that revolutionize the way users interact with augmented reality. The combination of location-based sensing and augmented reality opens up a world of possibilities, enabling dynamic and immersive experiences tailored to the user’s context and surroundings.
So, start exploring iBeacon technology on the HoloLens today and unlock the potential of location-based experiences in your applications!


