Introduction
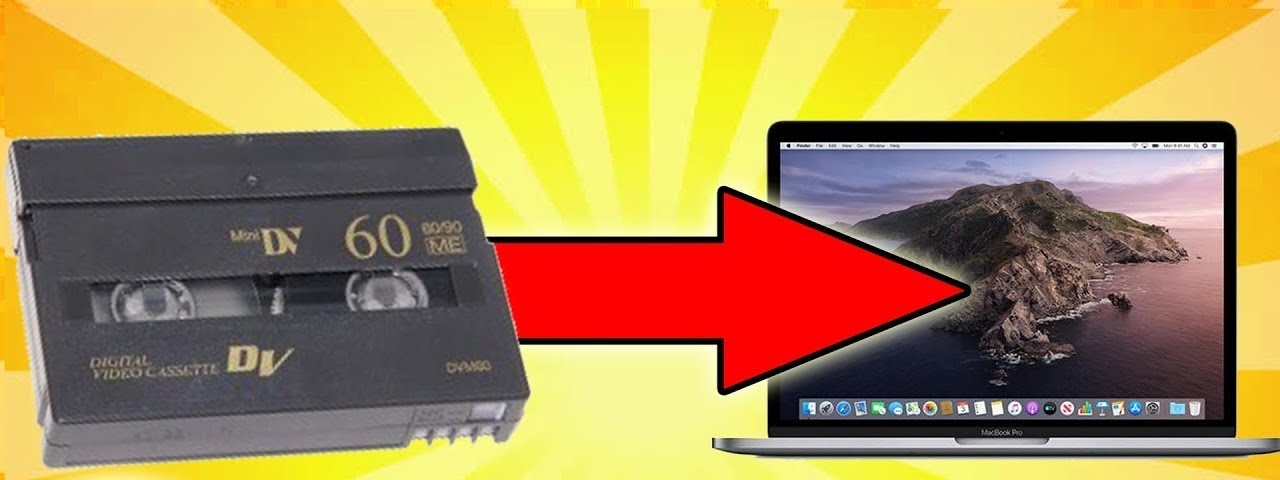
Are you eager to transfer your cherished memories from your MiniDV camcorder to your PC? This comprehensive guide will walk you through the process step by step, ensuring that you can enjoy and preserve those precious moments for years to come.
Transferring videos from a MiniDV camcorder to a PC may seem daunting at first, especially if you're new to the process. However, with the right equipment and a clear understanding of the steps involved, you can easily accomplish this task. Whether you want to create a digital archive of your family vacations, special events, or creative projects, this guide will equip you with the knowledge and confidence to transfer your video files seamlessly.
By following the instructions outlined in this guide, you'll be able to connect your MiniDV camcorder to your PC, transfer the video files, and even edit and save them for future viewing. Whether you're a novice or have some experience with digital devices, this guide will provide you with the necessary information to complete the process successfully.
So, gather your MiniDV camcorder, your PC, and any required cables, and let's embark on this journey of preserving your precious memories in digital format. With a few simple steps, you'll soon have your videos safely stored on your computer, ready to be shared, edited, and enjoyed for years to come. Let's get started!
Step 1: Gather the Necessary Equipment
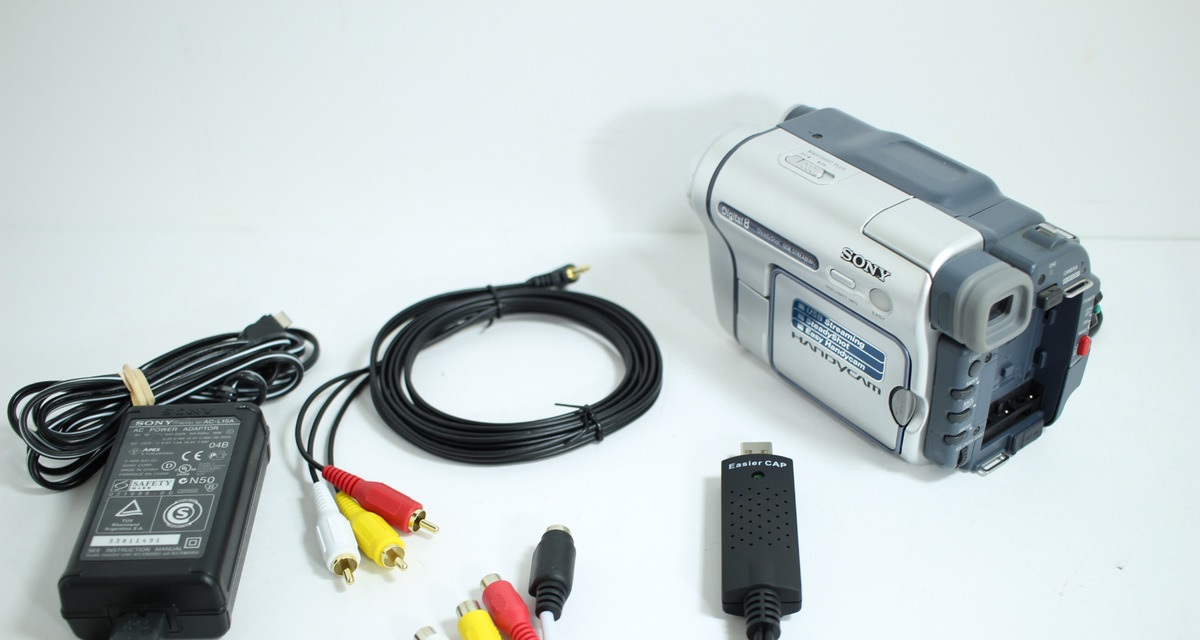
Before embarking on the process of transferring video from your MiniDV camcorder to your PC, it’s essential to gather the required equipment. Here’s what you’ll need:
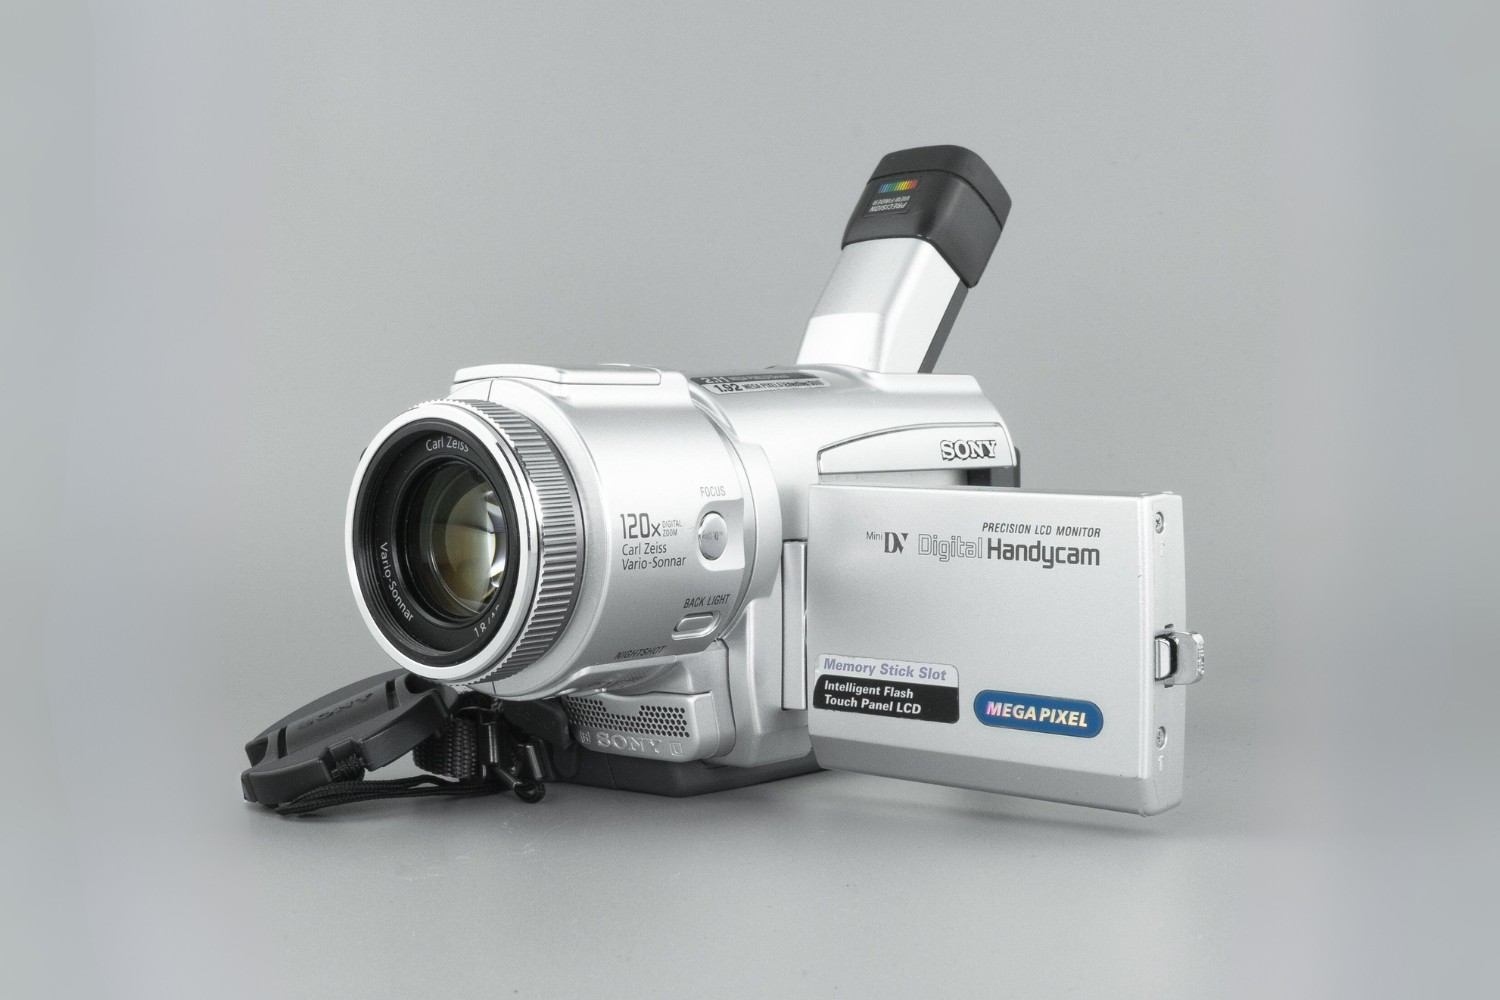
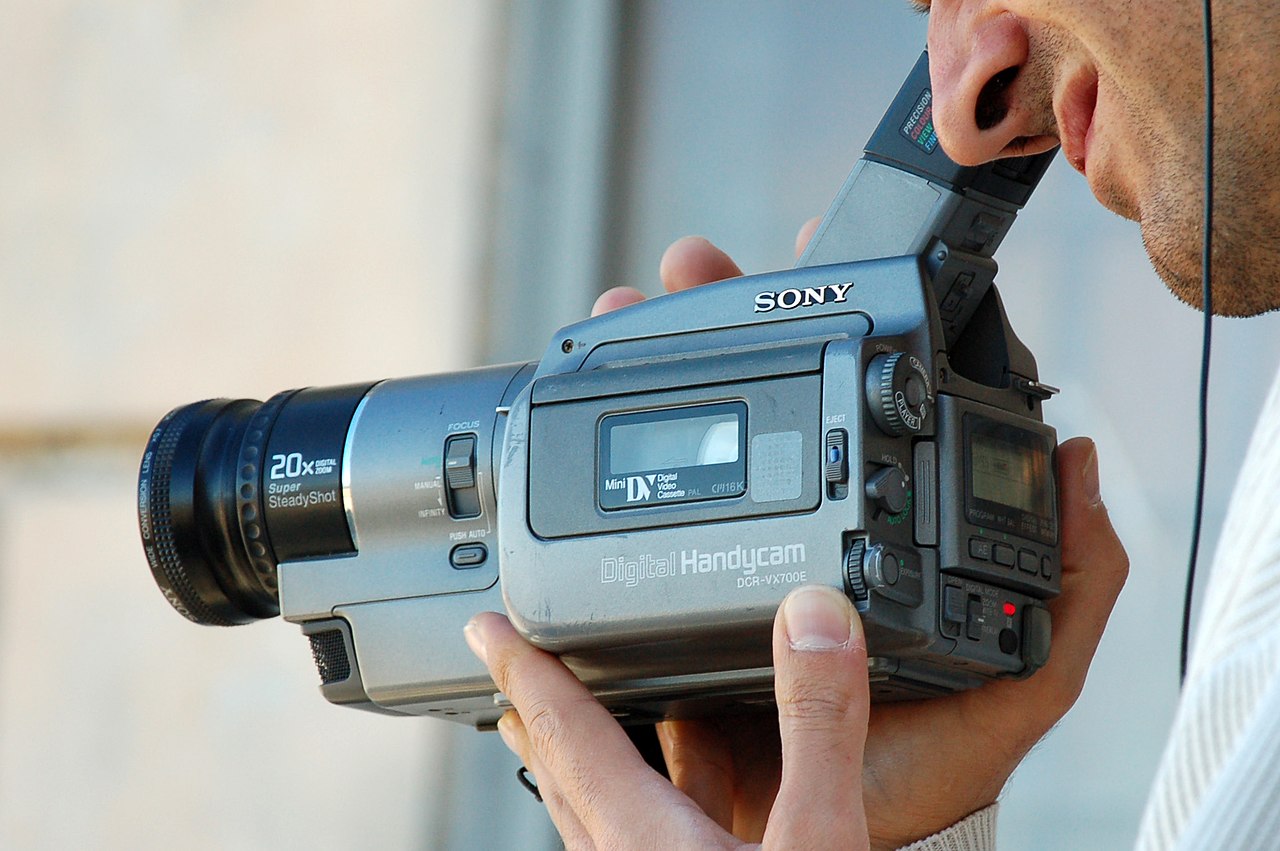
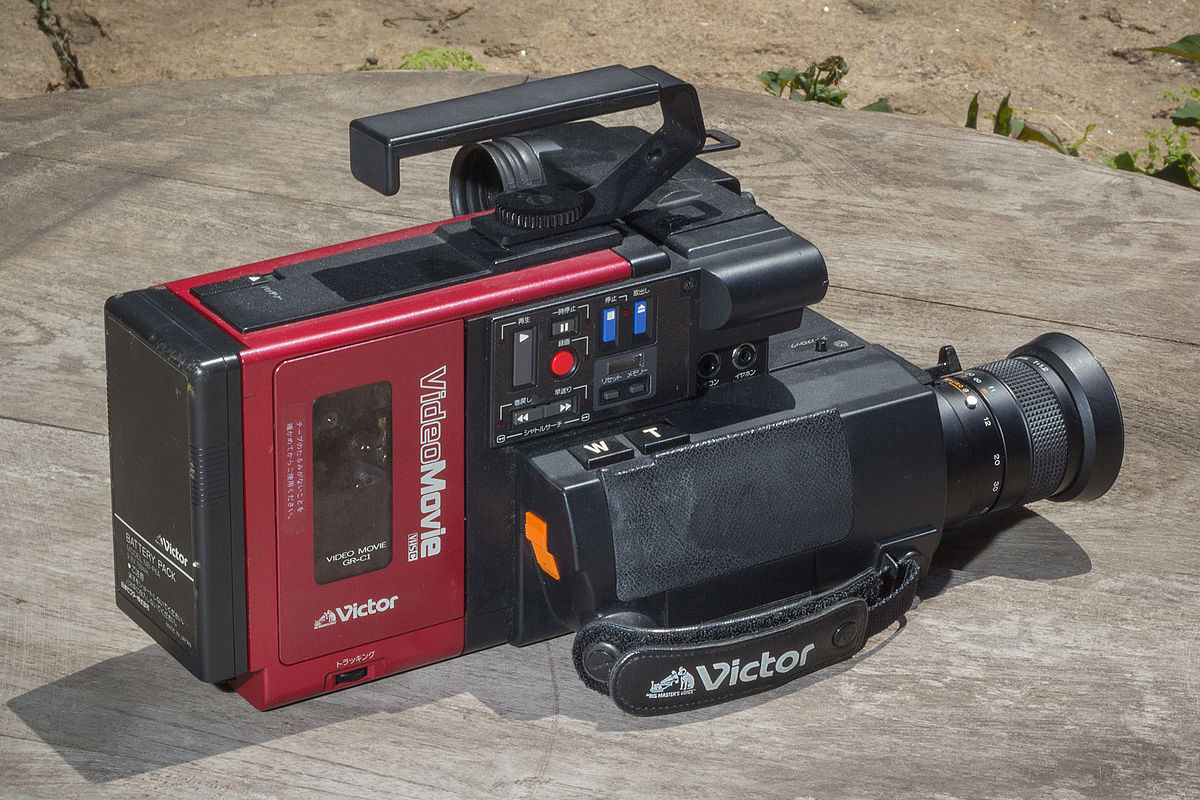
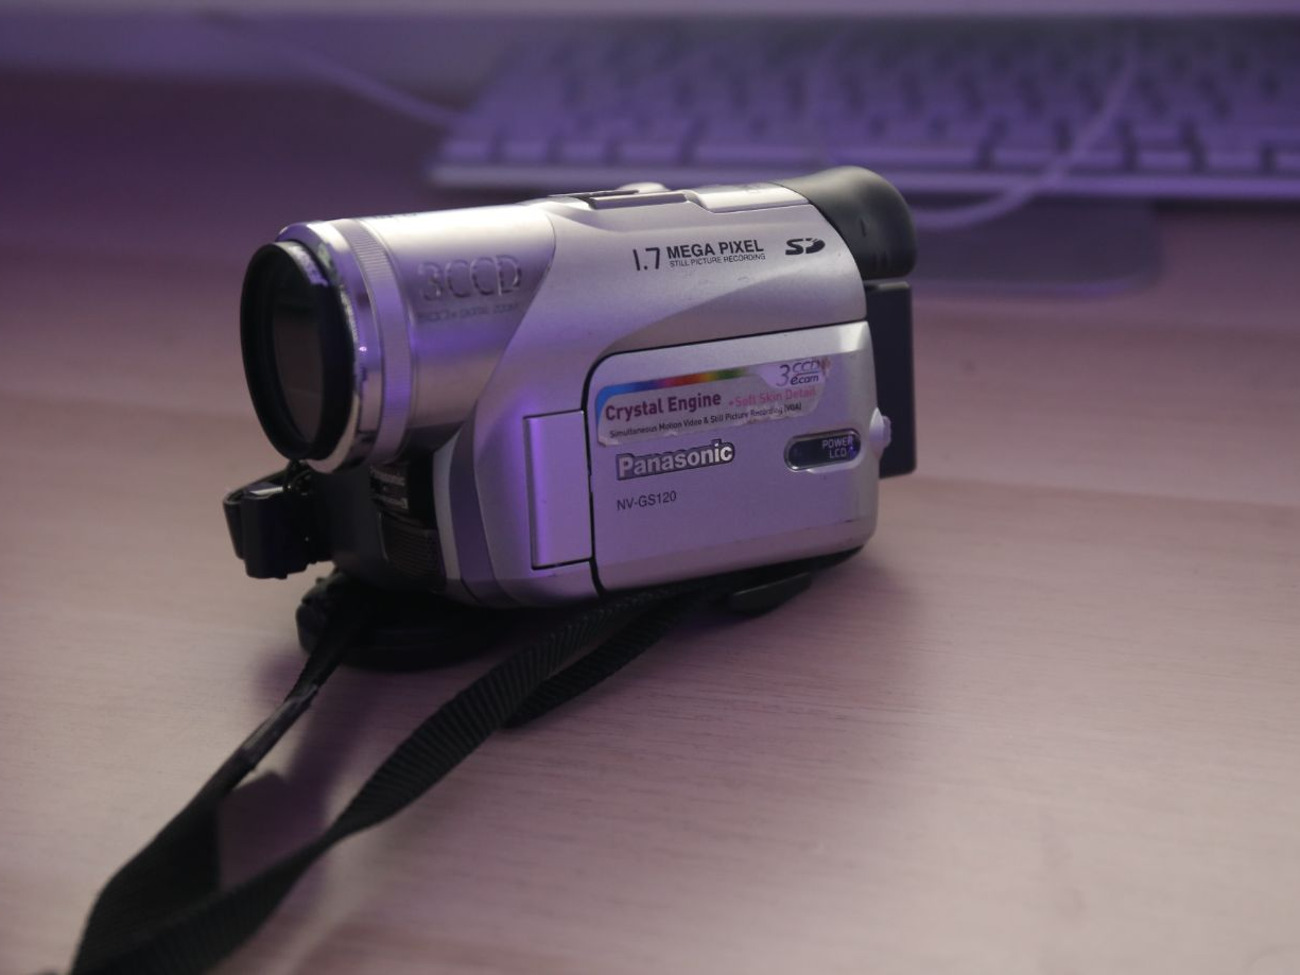
- MiniDV Camcorder: Ensure that your MiniDV camcorder is in working condition and has the video footage you wish to transfer.
- PC or Laptop: You’ll need a computer with a compatible operating system, such as Windows or macOS, to facilitate the transfer process.
- FireWire Cable: Most MiniDV camcorders utilize a FireWire (also known as IEEE 1394) connection for transferring video data. Ensure that you have a FireWire cable that is compatible with both your camcorder and your PC.
- FireWire Port or Adapter: Check if your PC has a built-in FireWire port. If not, you may need to acquire a FireWire adapter that can be connected to a USB port on your computer.
- Video Editing Software: While not mandatory, having video editing software installed on your PC can be beneficial for editing and saving the transferred video files. There are various options available, including Adobe Premiere Pro, Final Cut Pro, and Windows Movie Maker.
By ensuring that you have all the necessary equipment ready, you’ll set the stage for a smooth and successful video transfer process. Once you’ve gathered these items, you’ll be prepared to move on to the next step: connecting your MiniDV camcorder to your PC.
Step 2: Connect the MiniDV Camcorder to the PC
With the necessary equipment in hand, the next step is to establish a connection between your MiniDV camcorder and your PC. Follow these steps to ensure a seamless connection:
- Turn Off Devices: Before making any connections, ensure that both your MiniDV camcorder and your PC are turned off. This precaution will prevent any potential electrical issues during the setup process.
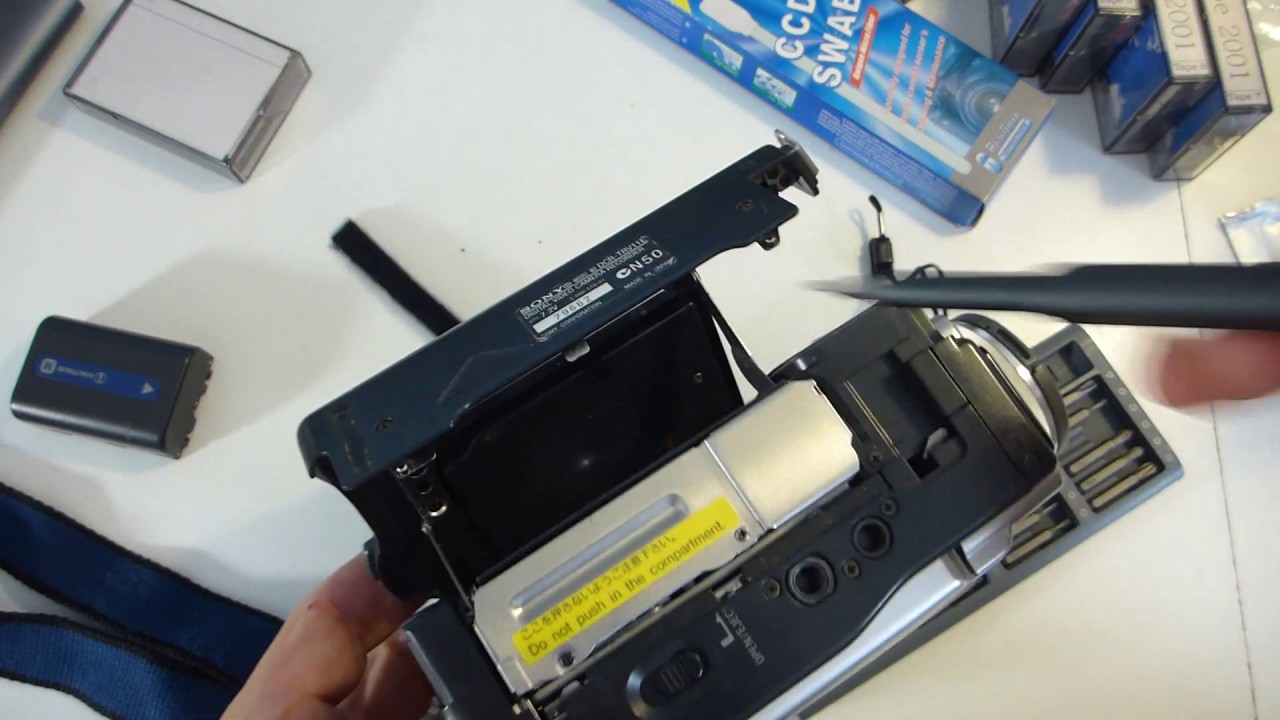
- Locate Ports: Identify the FireWire port on your MiniDV camcorder and the corresponding port on your PC. The FireWire port on your camcorder is typically labeled as “DV” or “IEEE 1394,” while your PC’s FireWire port may be located on the front or back panel.
- Connect the FireWire Cable: Take one end of the FireWire cable and plug it into the FireWire port on your MiniDV camcorder. Then, connect the other end of the cable to the FireWire port on your PC. If your PC doesn’t have a built-in FireWire port, use the FireWire adapter to connect the cable to a USB port on your computer.
- Power On and Configure: Once the cable is securely connected, power on your MiniDV camcorder. Your PC should detect the camcorder and initiate the necessary driver installation process. Follow any on-screen prompts to complete the installation. If your video editing software is not already running, launch it on your PC.
- Check Connection: After the installation is complete, check the connection between your MiniDV camcorder and your PC. Ensure that the camcorder is recognized by your computer and that the video transfer process can proceed smoothly.
By following these steps, you’ll establish a reliable connection between your MiniDV camcorder and your PC, laying the groundwork for the seamless transfer of your video files. Once the connection is established, you’ll be ready to proceed to the next step: transferring the video files from your camcorder to your PC.
Step 3: Transfer the Video Files
With the MiniDV camcorder successfully connected to your PC, you’re now ready to initiate the transfer of your precious video files. Follow these steps to ensure a smooth and efficient transfer process:
- Open Video Editing Software: Launch your preferred video editing software on your PC. Once the software is running, navigate to the section or feature that allows for the import or capture of video footage from an external device.
- Initiate Video Capture: Within the video editing software, locate the option to capture or import video from an external device. This feature may be labeled as “Capture,” “Import from Device,” or something similar, depending on the software you’re using. Initiate the video capture process to begin transferring the video files from your MiniDV camcorder to your PC.
- Control Camcorder Playback: Use the controls within the video editing software to play the video footage on your MiniDV camcorder. This will allow the software to capture the video in real-time and transfer it to your PC. You may have the option to specify the start and end points for the capture, depending on your editing software’s capabilities.
- Monitor Transfer Progress: As the video capture process commences, monitor the transfer progress within your video editing software. You should see the video footage being displayed on your computer screen as it is transferred from the camcorder. Once the transfer is complete, you’ll have the video files stored on your PC for further editing and archiving.
By following these steps, you’ll successfully transfer the video files from your MiniDV camcorder to your PC, ensuring that your precious memories are safely preserved in digital format. With the video files now stored on your computer, you’re ready to proceed to the next step: editing and saving the transferred videos.
Step 4: Edit and Save the Video Files
Now that your video files are safely transferred to your PC, you have the opportunity to edit and enhance them using video editing software. Follow these steps to edit and save your precious video files:
- Import Video Files: Within your video editing software, import the transferred video files into the editing interface. This typically involves locating the files on your computer and adding them to your project or timeline within the software.
- Editing Features: Explore the various editing features offered by your video editing software. These may include options to trim and cut footage, apply transitions, add text or captions, incorporate music or audio tracks, and enhance the visual quality of the videos.
- Save and Export: Once you’ve completed the desired edits and enhancements, it’s time to save and export your edited video files. Most video editing software provides options to save the edited project in a variety of formats, such as MP4, AVI, or MOV. Choose the format that best suits your needs and preferences.
- Naming and Storage: When saving your edited video files, consider giving them descriptive and memorable names that reflect their content. Select a location on your PC where you’d like to store the edited videos, ensuring that it’s easily accessible for future viewing and sharing.
- Backup and Archiving: As a best practice, consider creating a backup of your edited video files to prevent any potential loss of data. You may choose to store a copy on an external hard drive, cloud storage service, or another secure location to ensure the preservation of your edited videos.
By following these steps, you’ll have the opportunity to transform your raw video footage into polished and captivating content. Whether you’re creating a family montage, a documentary, or a creative project, the editing process allows you to add a personal touch and bring your vision to life. With your edited videos saved and securely stored, you’ve successfully completed the process of transferring, editing, and preserving your cherished memories from your MiniDV camcorder to your PC.
Conclusion
Congratulations! By following this comprehensive guide, you’ve successfully navigated the process of transferring video from your MiniDV camcorder to your PC. From gathering the necessary equipment to editing and saving your precious video files, each step has brought you closer to preserving your cherished memories in digital format.
Through careful connection setup and the use of video editing software, you’ve seamlessly transferred your video files, allowing for future viewing, sharing, and creative enhancement. The ability to edit and save your videos provides a personalized touch, enabling you to craft captivating narratives and preserve the essence of each moment captured on your MiniDV camcorder.
As you reflect on the journey from the initial setup to the final editing stages, you’ve gained valuable skills and knowledge that extend beyond the technical aspects of video transfer. You’ve embraced the art of storytelling and preservation, ensuring that your memories will endure for years to come.
Whether you’re documenting family milestones, preserving travel adventures, or expressing your creativity through visual storytelling, the process of transferring video from your MiniDV camcorder to your PC has empowered you to safeguard and celebrate the moments that matter most.
As you embark on future video projects, remember the steps outlined in this guide as a foundation for your digital preservation endeavors. With your newfound expertise, you’re equipped to continue capturing, transferring, and preserving the moments that shape your unique story.
Now, armed with the knowledge and skills acquired through this process, you’re prepared to embark on new digital adventures, preserving and sharing your memories with confidence and creativity.