Introduction
When it comes to capturing high-quality video footage, a stable and secure mounting solution is essential. Mounting a camcorder on a tripod provides the stability required to achieve smooth, professional-looking shots, whether you’re filming a family event, creating video content, or capturing breathtaking landscapes. With the right equipment and proper technique, you can significantly enhance the visual appeal and professionalism of your video recordings.
In this comprehensive guide, we will walk you through the process of mounting a camcorder on a tripod, covering everything from selecting the right tripod for your needs to properly securing the camcorder in place. Whether you’re a seasoned videographer or a beginner looking to improve your video production skills, this step-by-step tutorial will equip you with the knowledge and confidence to achieve steady and captivating footage.
By understanding the nuances of tripod selection, quick release plate attachment, camcorder mounting, and angle adjustment, you can elevate the quality of your video projects. With a firm grasp of these fundamental techniques, you’ll be able to unleash your creativity and produce visually stunning videos that captivate and engage your audience.
So, let’s dive into the intricacies of mounting a camcorder on a tripod, unlocking the potential to capture breathtaking moments with stability and precision. Whether you’re filming a documentary, vlog, or family vacation, the skills you’ll gain from this guide will undoubtedly enhance the visual impact of your video content.
Choosing the Right Tripod
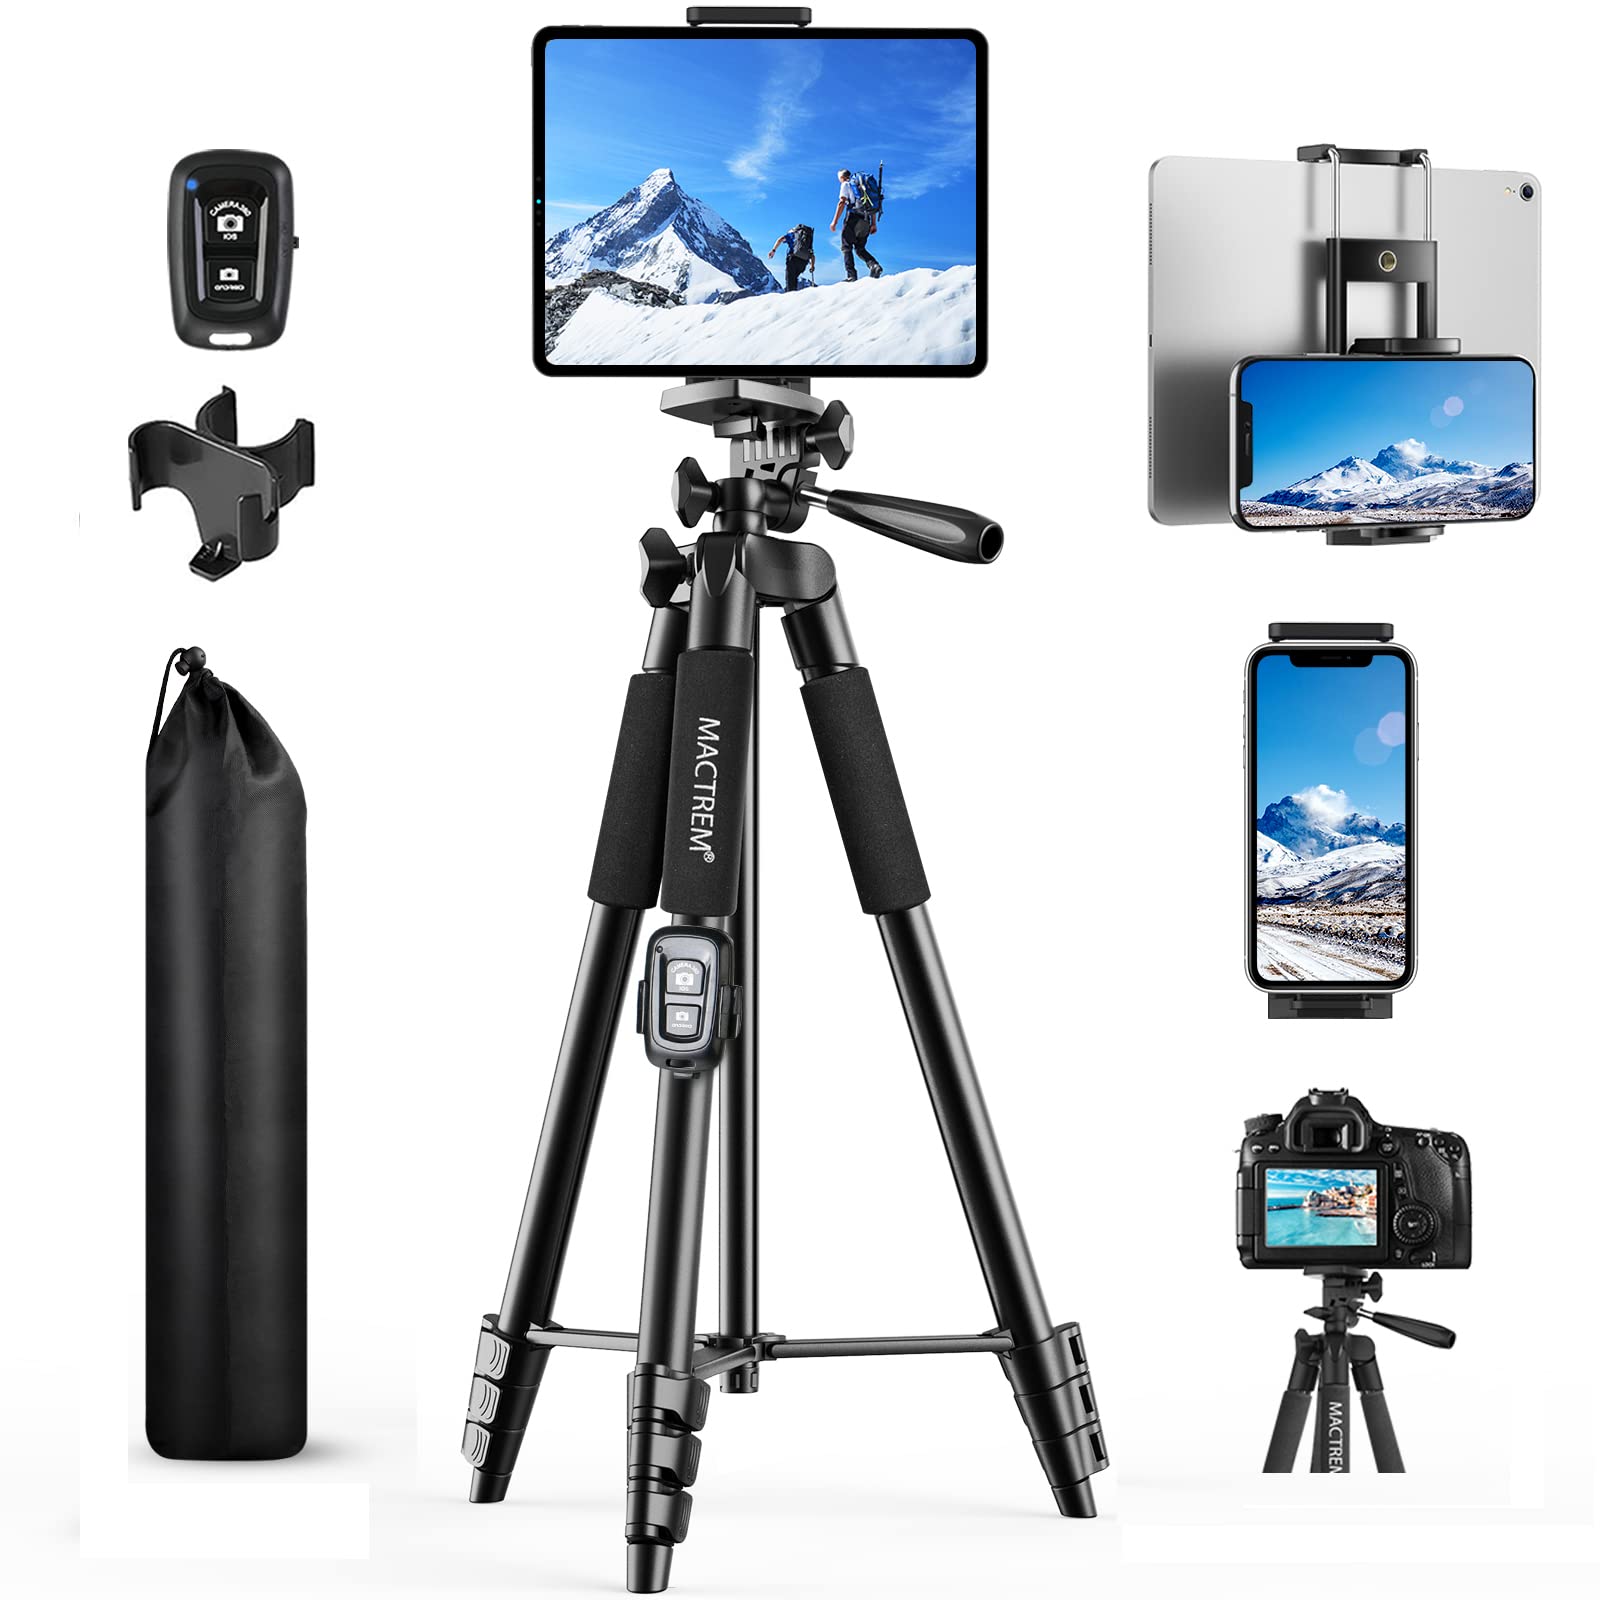
Before embarking on the process of mounting your camcorder, it’s crucial to select a tripod that suits your specific filming requirements. The market offers a wide array of tripods, each designed with unique features and capabilities to cater to diverse filming scenarios. Consider the following factors when choosing the right tripod for your camcorder:
- Weight Capacity: Assess the weight of your camcorder and any additional accessories you plan to use, such as external microphones or lighting attachments. Ensure that the tripod’s weight capacity exceeds the total weight of your equipment to maintain stability and prevent potential accidents.
- Material: Tripods are commonly constructed from aluminum, carbon fiber, or a combination of materials. Aluminum tripods offer durability at an affordable price, while carbon fiber tripods are lightweight and ideal for travel. Evaluate your filming needs to determine the most suitable material for your tripod.
- Leg Lock Mechanism: Tripod legs are secured using various locking mechanisms, including flip locks and twist locks. Consider the ease of use and stability provided by the leg lock system, as it directly impacts the setup time and overall sturdiness of the tripod.
- Height and Portability: Assess the maximum and minimum height of the tripod to ensure it aligns with your desired shooting angles. Additionally, if you anticipate frequent travel with your camcorder, prioritize a tripod that offers a balance between height and portability for on-the-go filming.
- Fluid Head: For smooth panning and tilting movements, opt for a tripod equipped with a fluid head. This feature is particularly beneficial for capturing dynamic video shots with seamless motion.
By carefully evaluating these factors, you can narrow down the options and select a tripod that complements your filming style and equipment. Whether you prioritize stability, portability, or advanced motion capabilities, choosing the right tripod sets the foundation for achieving professional-quality video recordings.
Attaching the Quick Release Plate
Before mounting your camcorder on the tripod, it’s essential to attach a quick release plate to the base of the camcorder. This small yet crucial component facilitates swift and secure attachment of the camcorder to the tripod. Follow these steps to properly affix the quick release plate:
- Locate the Mounting Socket: Identify the mounting socket located at the bottom of your camcorder. It is typically positioned near the center of the device to ensure balanced support when attached to the tripod.
- Align the Plate: Position the quick release plate beneath the camcorder, aligning it with the mounting socket. Ensure that the plate is centered and flush with the base of the camcorder to maintain stability during attachment.
- Secure the Plate: Using the provided screw or lever, fasten the quick release plate to the mounting socket. Apply firm but gentle pressure to ensure a snug fit, preventing any potential movement or slippage during filming.
- Test the Attachment: Once the quick release plate is secured, perform a gentle shake or tilt test to confirm that the camcorder remains firmly attached to the plate. This step helps verify the reliability of the attachment before mounting the camcorder on the tripod.
By following these steps, you can effectively attach the quick release plate to your camcorder, laying the groundwork for seamless integration with the tripod. The quick release plate streamlines the process of mounting and dismounting the camcorder, allowing for efficient transitions between handheld and tripod-based filming. With the plate securely in place, you are now prepared to proceed to the next phase of mounting your camcorder on the tripod.
Mounting the Camcorder
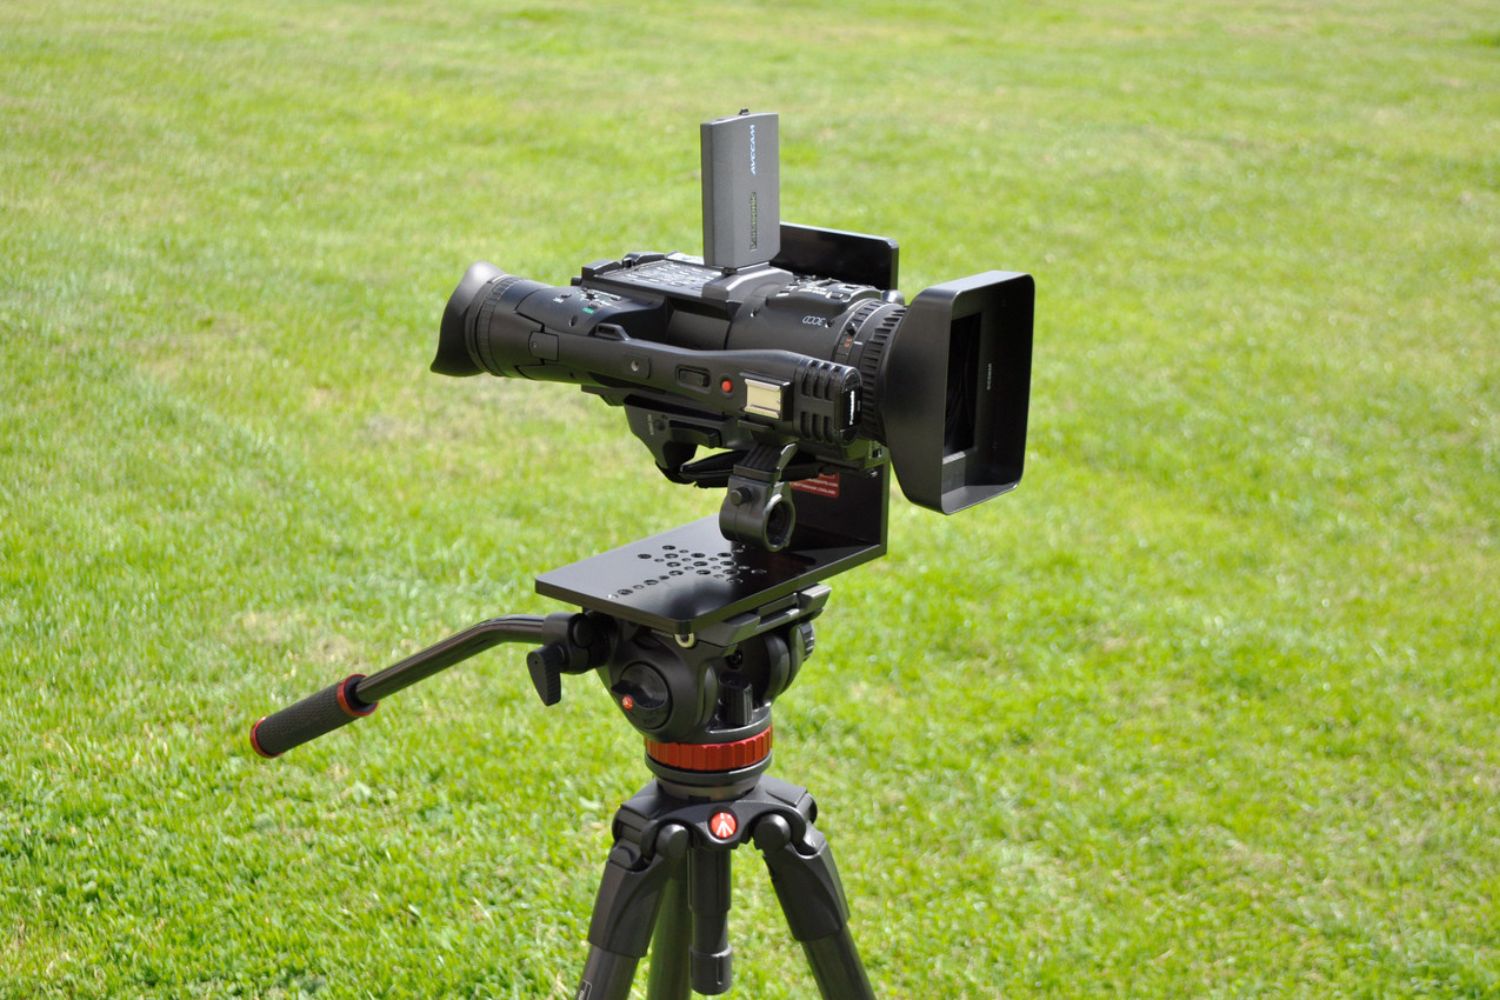
With the quick release plate successfully attached to the base of your camcorder, it’s time to mount the camcorder onto the tripod. This step is pivotal in ensuring the stability and balance of your filming setup. Follow these guidelines to securely mount your camcorder:
- Position the Tripod: Set up the tripod on a level surface, ensuring that the legs are fully extended and locked in place. Confirm that the tripod head is aligned with the desired shooting direction to streamline the mounting process.
- Engage the Quick Release System: If your tripod features a quick release system, place the camcorder with the attached quick release plate onto the tripod head. Engage the locking mechanism to secure the camcorder in place, preventing any unintended movement during filming.
- Align the Camcorder: Ensure that the camcorder is positioned parallel to the horizon, maintaining a level orientation for your initial setup. This alignment serves as a foundational reference point for adjusting the shooting angle and composition.
- Tighten the Mounting Mechanism: If your tripod utilizes a screw or lever to secure the quick release plate, ensure that it is tightened sufficiently to hold the camcorder firmly in place. Avoid over-tightening, as it may exert unnecessary pressure on the camcorder’s base.
By following these steps, you can effectively mount your camcorder onto the tripod, laying the groundwork for steady and professional-grade video capture. The secure attachment of the camcorder to the tripod not only enhances stability but also provides a platform for precise adjustments to achieve your desired filming angles and compositions.
Adjusting the Angle and Height
Once your camcorder is securely mounted on the tripod, the next crucial step is to adjust the shooting angle and height to achieve your desired composition. Properly positioning the camcorder plays a pivotal role in capturing engaging and visually appealing footage. Follow these steps to adjust the angle and height of your camcorder:
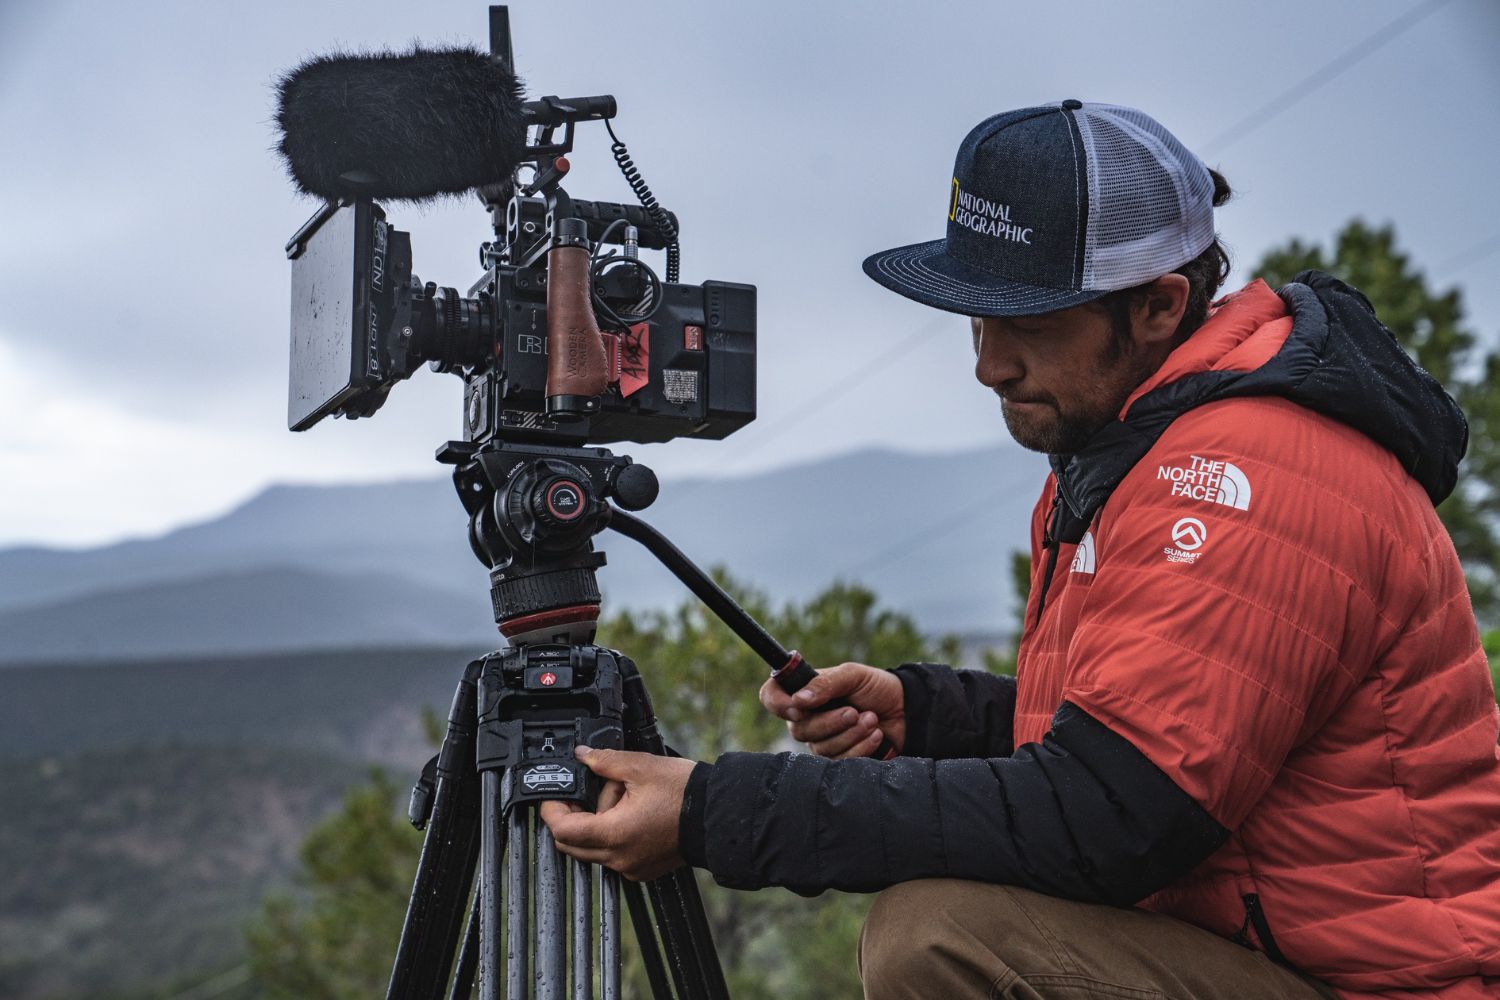
- Angle Adjustment: Depending on your filming scenario, adjust the tripod head to tilt the camcorder up or down, allowing you to frame the shot precisely. Ensure that the horizon remains level, maintaining visual balance and professionalism in your footage.
- Panoramic Movement: If your tripod features a fluid head or pan handle, utilize these functionalities to perform smooth panning movements from left to right. This capability is especially valuable for capturing wide-angle shots or tracking moving subjects with fluid motion.
- Height Adjustment: Extend or retract the tripod legs to achieve the desired height for your filming setup. Whether you’re capturing low-angle shots or positioning the camcorder at eye level, adjusting the tripod’s height provides flexibility in framing your subject or scene.
- Stability Check: After making angle and height adjustments, ensure that the tripod remains stable and balanced. Avoid abrupt movements or disturbances that may compromise the stability of the camcorder, as this can impact the quality of your footage.
By carefully adjusting the angle and height of your camcorder, you can tailor the visual composition to suit your filming objectives. Whether you’re aiming for dynamic, sweeping shots or intimate, close-up perspectives, the adaptability of the tripod allows you to fine-tune the camcorder’s position with precision and ease.
Securing the Camcorder
Once you have adjusted the angle and height of your camcorder to achieve the desired composition, it is essential to ensure that the camcorder is securely fastened to the tripod. Properly securing the camcorder not only prevents accidental dislodgment but also contributes to the overall stability of your filming setup. Follow these steps to effectively secure your camcorder:
- Double-Check the Mounting Mechanism: Verify that the quick release plate or mounting system is firmly engaged, with no signs of looseness or instability. Gently attempt to wiggle the camcorder to confirm that it remains securely attached to the tripod.
- Inspect the Locking Mechanisms: If your tripod features locking knobs or levers for angle and height adjustments, ensure that they are tightened to maintain the selected positions. This prevents unintended shifts in the camcorder’s orientation during filming.
- Test Stability: Perform a brief test recording or monitor the camcorder’s stability as you simulate the anticipated filming movements. This step allows you to identify any potential issues with stability or balance before commencing your actual recording.
- Secure Loose Cables: If your camcorder is connected to external microphones, power sources, or other accessories, secure any loose cables to prevent interference with the tripod or accidental tripping hazards.
By meticulously securing the camcorder and assessing the stability of your filming setup, you can mitigate the risk of disruptions or compromised footage quality. A securely mounted and stable camcorder provides the foundation for capturing professional-grade video content with confidence and precision.
Conclusion
Mastering the art of mounting a camcorder on a tripod is a fundamental skill that empowers videographers to elevate the quality and professionalism of their video productions. By carefully selecting the right tripod, attaching the quick release plate, mounting the camcorder, and adjusting the angle and height, you lay the groundwork for capturing steady and visually captivating footage.
Choosing a tripod that aligns with your filming needs and equipment specifications sets the stage for a stable and reliable filming setup. The material, weight capacity, leg lock mechanism, and additional features such as a fluid head collectively contribute to the overall performance and versatility of the tripod.
The seamless attachment of the quick release plate to the camcorder facilitates swift transitions between handheld and tripod-based filming, allowing for efficient and secure mounting. This small yet essential component streamlines the process of integrating the camcorder with the tripod, ensuring stability and balance throughout the filming process.
Properly mounting the camcorder onto the tripod and adjusting the shooting angle and height are pivotal steps in achieving visually compelling compositions. The adaptability of the tripod enables videographers to fine-tune the camcorder’s position with precision, catering to diverse filming scenarios and creative objectives.
Securing the camcorder to the tripod and assessing the stability of the filming setup are crucial final steps that instill confidence in the reliability of the entire rig. By meticulously inspecting the mounting and locking mechanisms and testing the stability, videographers can proceed with their filming endeavors with assurance and peace of mind.
With these foundational techniques at your disposal, you are equipped to embark on a journey of creative expression and visual storytelling, capturing moments with stability, precision, and artistry. The mastery of mounting a camcorder on a tripod opens the door to a world of possibilities, enabling you to produce professional-grade video content that resonates with your audience and brings your creative vision to life.


