Introduction
So, you've captured an amazing sound recording on your camcorder, and now you're eager to get it onto your computer for safekeeping or to share with others. This guide will walk you through the process of extracting the sound recording from your camcorder and transferring it to your computer. Whether it's a memorable speech, a live music performance, or any other audio gem, you'll soon have it at your fingertips in digital format.
Capturing audio with a camcorder offers a convenient way to preserve precious moments or create professional-quality recordings. However, to fully utilize and share these recordings, you'll want to transfer them to a computer for editing, storage, and easy access. This guide will equip you with the necessary steps to achieve this seamlessly.
By following the steps outlined in this guide, you'll be able to preserve and utilize your camcorder's sound recordings with ease. Whether you're a novice or an experienced user, this process can be straightforward and immensely rewarding. Let's dive into the essential steps to extract and transfer your sound recording from your camcorder to your computer.
Step 1: Gather the necessary equipment
Before embarking on the process of extracting a sound recording from your camcorder, it is crucial to gather the essential equipment. Here’s what you’ll need:
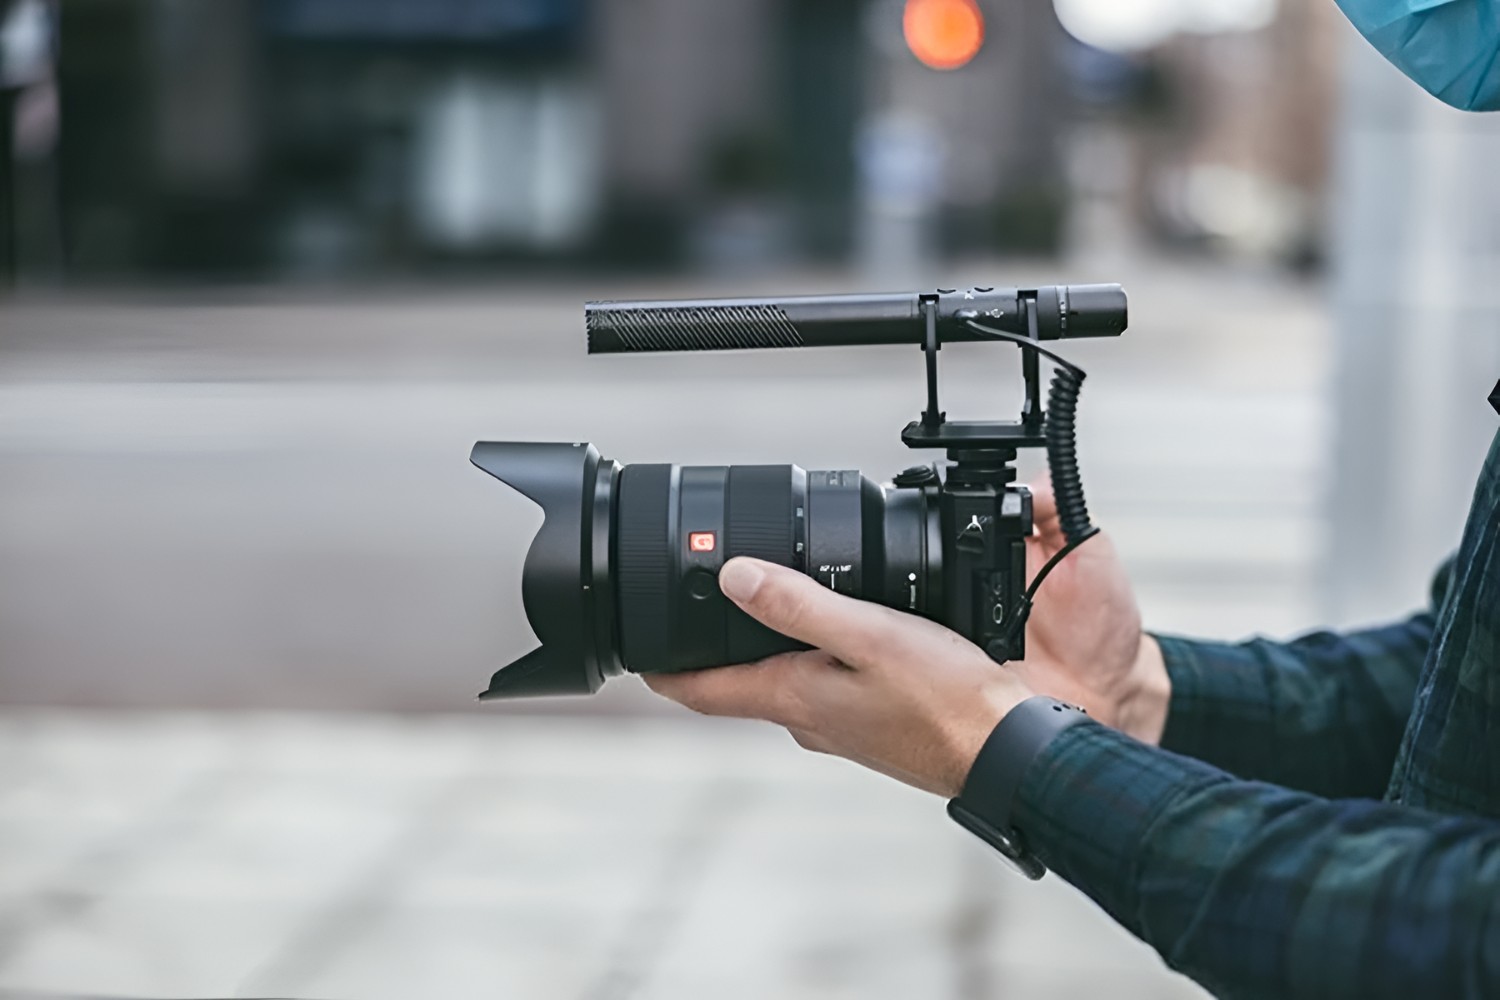
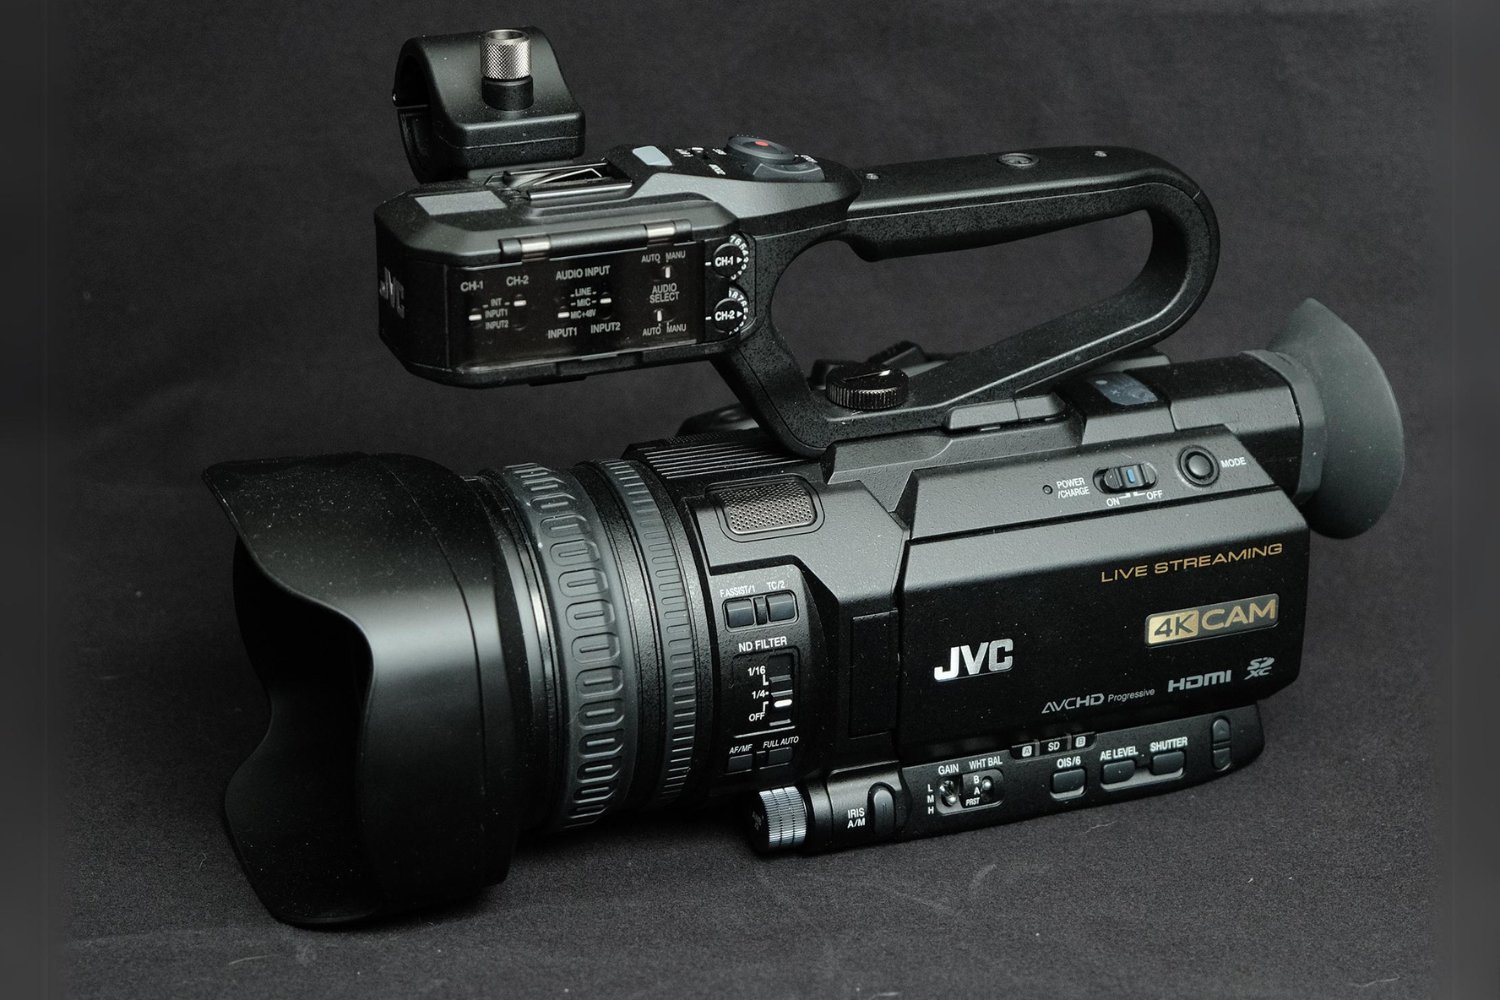
- Camcorder: Of course, you’ll need the camcorder that contains the sound recording you wish to transfer. Ensure that it is charged or connected to a power source to avoid interruptions during the transfer process.
- Computer: You’ll require a computer with sufficient storage space and the capability to handle the transfer and editing of the sound recording. Ensure that the computer is equipped with the necessary ports or adapters to connect to the camcorder.
- USB or Firewire cable: Depending on the type of camcorder you have, you’ll need a compatible USB or Firewire cable to establish a connection between the camcorder and the computer. Check the specifications of your camcorder to determine the appropriate cable.
- External storage (optional): If you prefer to have a backup of the recording or if your computer has limited storage, an external hard drive or USB drive can be useful for storing the transferred recording.
- Editing software (optional): If you intend to edit the sound recording, consider having suitable audio editing software installed on your computer. This will allow you to refine the recording to your preference.
Ensuring that you have these essential items at hand will streamline the process of transferring the sound recording from your camcorder to your computer. With the equipment ready, you’ll be well-prepared to proceed to the next steps and successfully extract the recording.
Step 2: Connect the camcorder to a computer
Once you have gathered the necessary equipment, the next step is to establish a connection between your camcorder and the computer. Follow these steps to ensure a successful connection:
- Power on the camcorder: Ensure that your camcorder is powered on and ready for the transfer process. If the camcorder requires a power source, ensure that it is connected to avoid any interruptions during the transfer.
- Locate the appropriate port: Identify the port on your camcorder that allows for connection to a computer. This may be a USB or Firewire port, depending on the model of your camcorder. Refer to the camcorder’s manual or specifications to locate the port.
- Use the correct cable: Select the USB or Firewire cable that is compatible with your camcorder. Connect one end of the cable to the port on the camcorder and the other end to a USB or Firewire port on your computer. Ensure that the connections are secure.
- Switch the camcorder to the appropriate mode: Depending on your camcorder, you may need to switch it to “PC” or “Playback” mode to enable the transfer of the sound recording. Refer to the camcorder’s manual for specific instructions on switching modes.
- Wait for the computer to recognize the camcorder: Once the camcorder is connected and in the appropriate mode, allow your computer a few moments to recognize the device. You may receive a notification or see the camcorder appear as a connected device on your computer.
By following these steps, you will have successfully connected your camcorder to your computer, laying the groundwork for the subsequent transfer of the sound recording. A stable and secure connection is essential for a smooth transfer process, ensuring that the recording is safely extracted from the camcorder.
Step 3: Transfer the recording to the computer
With the camcorder successfully connected to your computer, you are now ready to transfer the sound recording. Follow these steps to initiate the transfer and ensure that the recording is safely imported to your computer:
- Locate the recording on the camcorder: Navigate through the camcorder’s menu or interface to locate the specific recording you wish to transfer. Depending on the camcorder model, recordings may be organized by date, file type, or other categories.
- Copy the recording to your computer: Once you have located the desired recording, select the option to copy or transfer the file to your computer. This process may vary depending on the camcorder’s interface, but it typically involves selecting the recording and choosing the “copy” or “transfer” option.
- Choose the destination on your computer: When prompted, select the location on your computer where you want the recording to be saved. This could be a specific folder or directory that you have prepared for storing your camcorder recordings.
- Monitor the transfer process: As the recording is being transferred, monitor the progress to ensure that the process completes successfully. Depending on the size of the recording and the speed of the connection, the transfer may take some time.
- Verify the transferred recording: Once the transfer is complete, navigate to the destination on your computer where the recording was saved. Verify that the recording has been successfully transferred and is accessible for playback or further editing.
By following these steps, you will have effectively transferred the sound recording from your camcorder to your computer, making it readily available for playback, editing, and safekeeping. This marks a crucial stage in the process of preserving and utilizing your valuable recordings.
Step 4: Edit and save the recording
Now that the sound recording has been successfully transferred to your computer, you may want to consider editing and saving it in a preferred format. Follow these steps to refine and preserve your recording:
- Choose suitable editing software: If you intend to edit the recording, open the appropriate audio editing software on your computer. There are several user-friendly options available, ranging from basic to advanced editing tools, catering to different levels of expertise.
- Import the recording into the editing software: Locate the transferred recording on your computer and import it into the audio editing software. This will allow you to manipulate the recording, apply effects, adjust levels, and perform any necessary enhancements.
- Edit and enhance the recording: With the recording loaded into the editing software, you can now make adjustments to improve its quality or tailor it to your specific requirements. This may involve trimming unnecessary sections, applying filters, adjusting volume levels, or adding effects.
- Save the edited recording: Once you are satisfied with the edits and enhancements, save the recording in your desired audio format. Common formats include MP3, WAV, or FLAC. Choose a format that suits your intended use and ensures compatibility with various playback devices.
- Backup the edited recording: To safeguard your edited recording, consider creating a backup copy on an external storage device or cloud storage. This provides an additional layer of protection against potential data loss or corruption.
By following these steps, you can refine and save your sound recording with precision, ensuring that it meets your expectations and remains safely preserved for future use. Whether it’s a personal memento or a professional project, the ability to edit and save your recordings empowers you to fully realize their potential.
Step 5: Backup the recording
After editing and saving your sound recording, it is crucial to create a backup to safeguard against potential loss or damage. Follow these steps to ensure that your recording is securely backed up:
- Choose a backup destination: Select a reliable backup destination for your recording. This could be an external hard drive, USB drive, or cloud storage service. Assess the available options based on their capacity, accessibility, and redundancy.
- Copy the recording to the backup destination: Transfer a copy of your edited recording to the chosen backup destination. If you are using an external storage device, connect it to your computer and copy the recording to the designated location. For cloud storage, follow the service’s guidelines for uploading and organizing your files.
- Verify the backup: Once the recording has been copied to the backup destination, verify its presence and integrity. Access the backup location and ensure that the recording is complete and accessible for retrieval. This step is essential to confirm the effectiveness of your backup process.
- Implement redundancy measures: Consider implementing redundancy measures to further protect your recording. This may involve creating multiple copies stored in different locations or utilizing automated backup solutions that regularly synchronize your recording across various devices and platforms.
- Establish a backup routine: Formulate a backup routine to ensure that your recording remains consistently backed up. Whether it’s a weekly manual backup or an automated schedule, maintaining regular backups mitigates the risk of data loss and provides peace of mind.
By following these steps, you can establish a robust backup strategy for your sound recording, minimizing the likelihood of irreparable loss and ensuring that your valuable audio content remains secure and accessible. A proactive approach to backup management is fundamental in preserving your recordings for the long term.
Conclusion
Congratulations! You have successfully navigated the process of extracting a sound recording from your camcorder and transferring it to your computer. By following the outlined steps, you have gained the knowledge and skills to preserve, edit, and securely backup your valuable recordings. This journey has empowered you to fully utilize the potential of your camcorder’s sound capturing capabilities.
As you reflect on this process, consider the newfound possibilities at your fingertips. Your sound recordings are now readily accessible for playback, sharing, and further refinement. Whether it’s a cherished family moment, a musical performance, or professional audio content, the ability to seamlessly transfer and manage your recordings opens up a world of creative and practical opportunities.
Remember, the journey doesn’t end here. Embrace the habit of regularly backing up your recordings to safeguard against unforeseen circumstances. Additionally, continue to explore the realm of audio editing and enhancement, leveraging the tools and techniques available to refine your recordings to perfection.
With your recordings safely stored on your computer and backed up for added security, you can confidently embark on future recording endeavors, knowing that your valuable audio content is well-protected and primed for further exploration and utilization.
As you continue to engage with your recordings, consider the myriad ways in which they can enrich your personal and professional endeavors. The process you’ve mastered today serves as a foundation for leveraging the power of sound, enabling you to preserve cherished memories, create captivating content, and embark on new audio-centric ventures with confidence and proficiency.