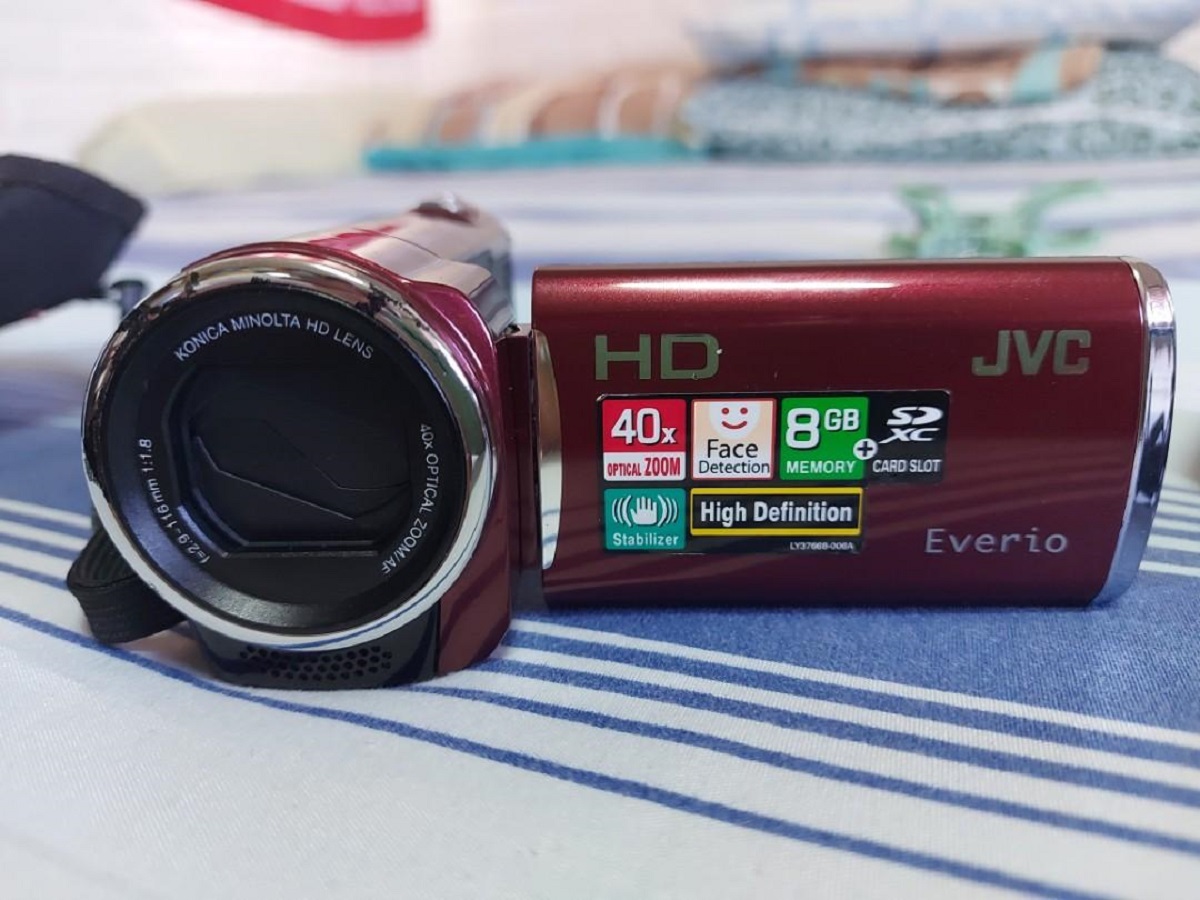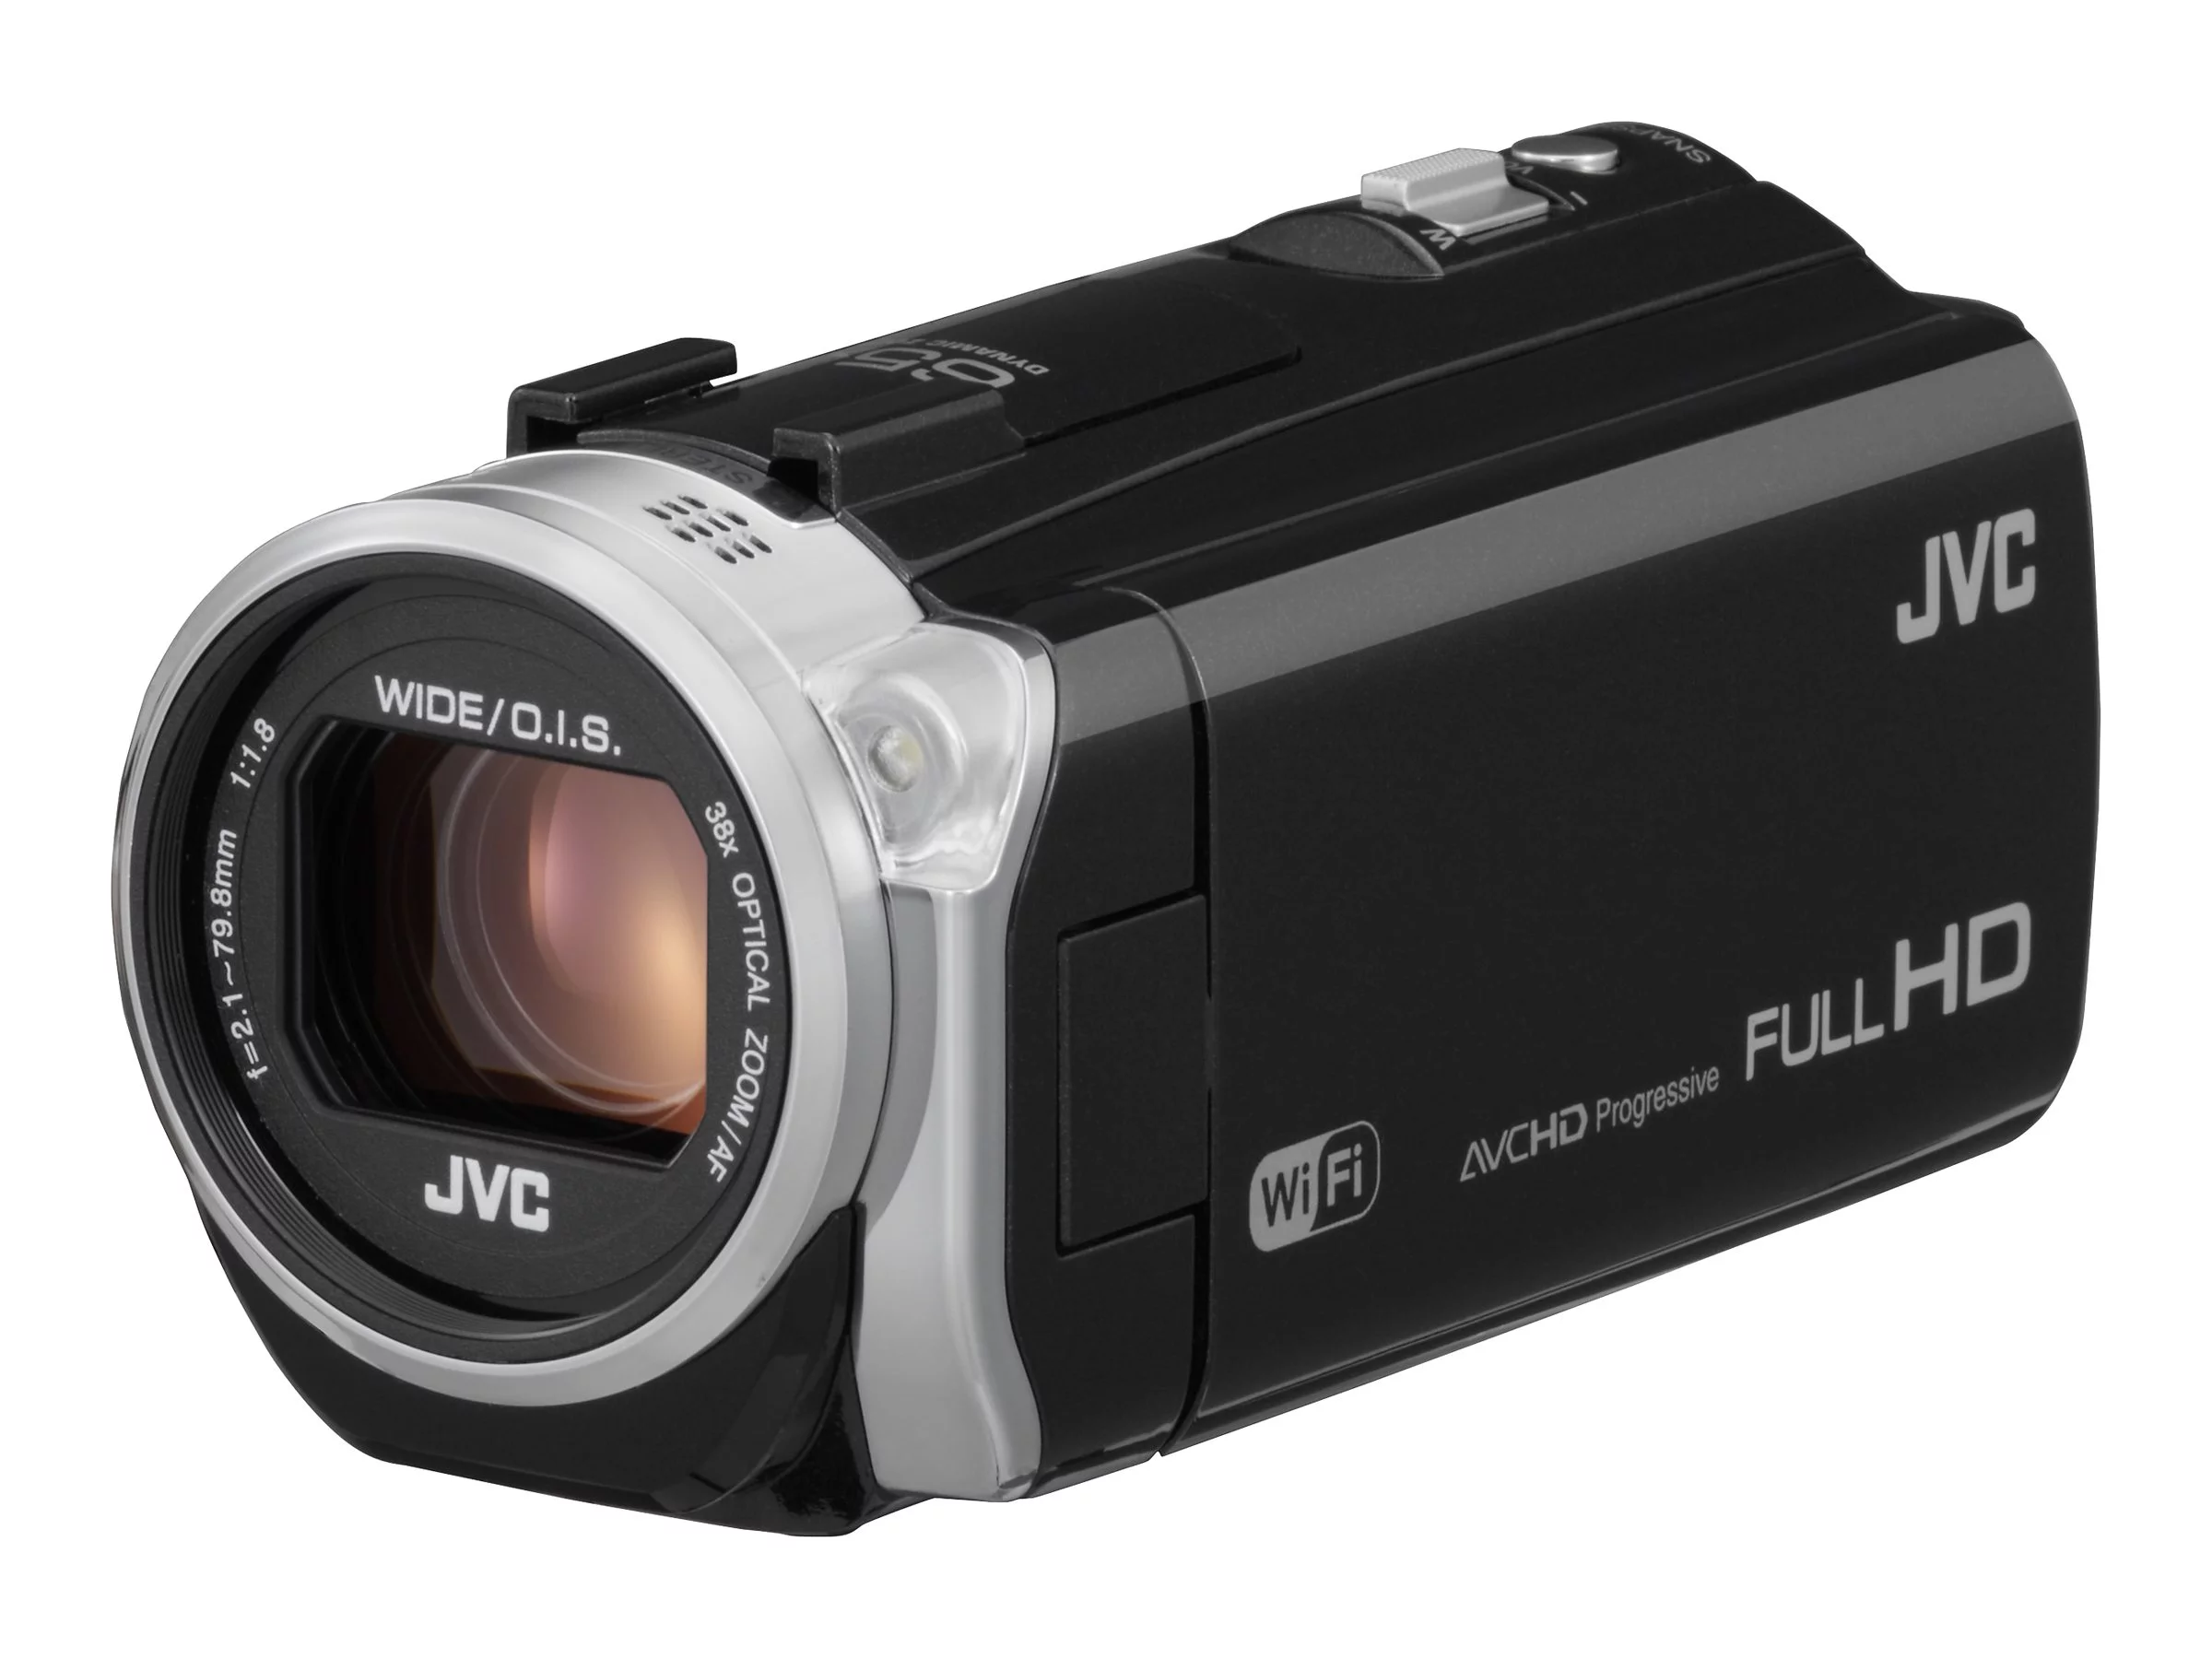
Introduction
If you've recently captured some incredible moments with your JVC camcorder, you're probably eager to relive those memories by watching the videos you've recorded. However, locating these videos on the SD card within your camcorder may seem like a daunting task, especially if you're unfamiliar with the device's interface. Fortunately, with a few simple steps, you can easily access and manage your videos on the JVC camcorder SD card.
In the following guide, we'll walk you through the process of finding your videos on the JVC camcorder SD card. Whether you're looking to view your footage directly on the camcorder or transfer it to another device for editing or sharing, this comprehensive tutorial will provide you with the necessary steps to accomplish these tasks seamlessly.
By following the instructions outlined in this guide, you'll gain a better understanding of how to navigate the camcorder's menu and access your videos effortlessly. So, grab your JVC camcorder, insert the SD card, and let's embark on this journey to uncover and enjoy the precious moments captured on your device.
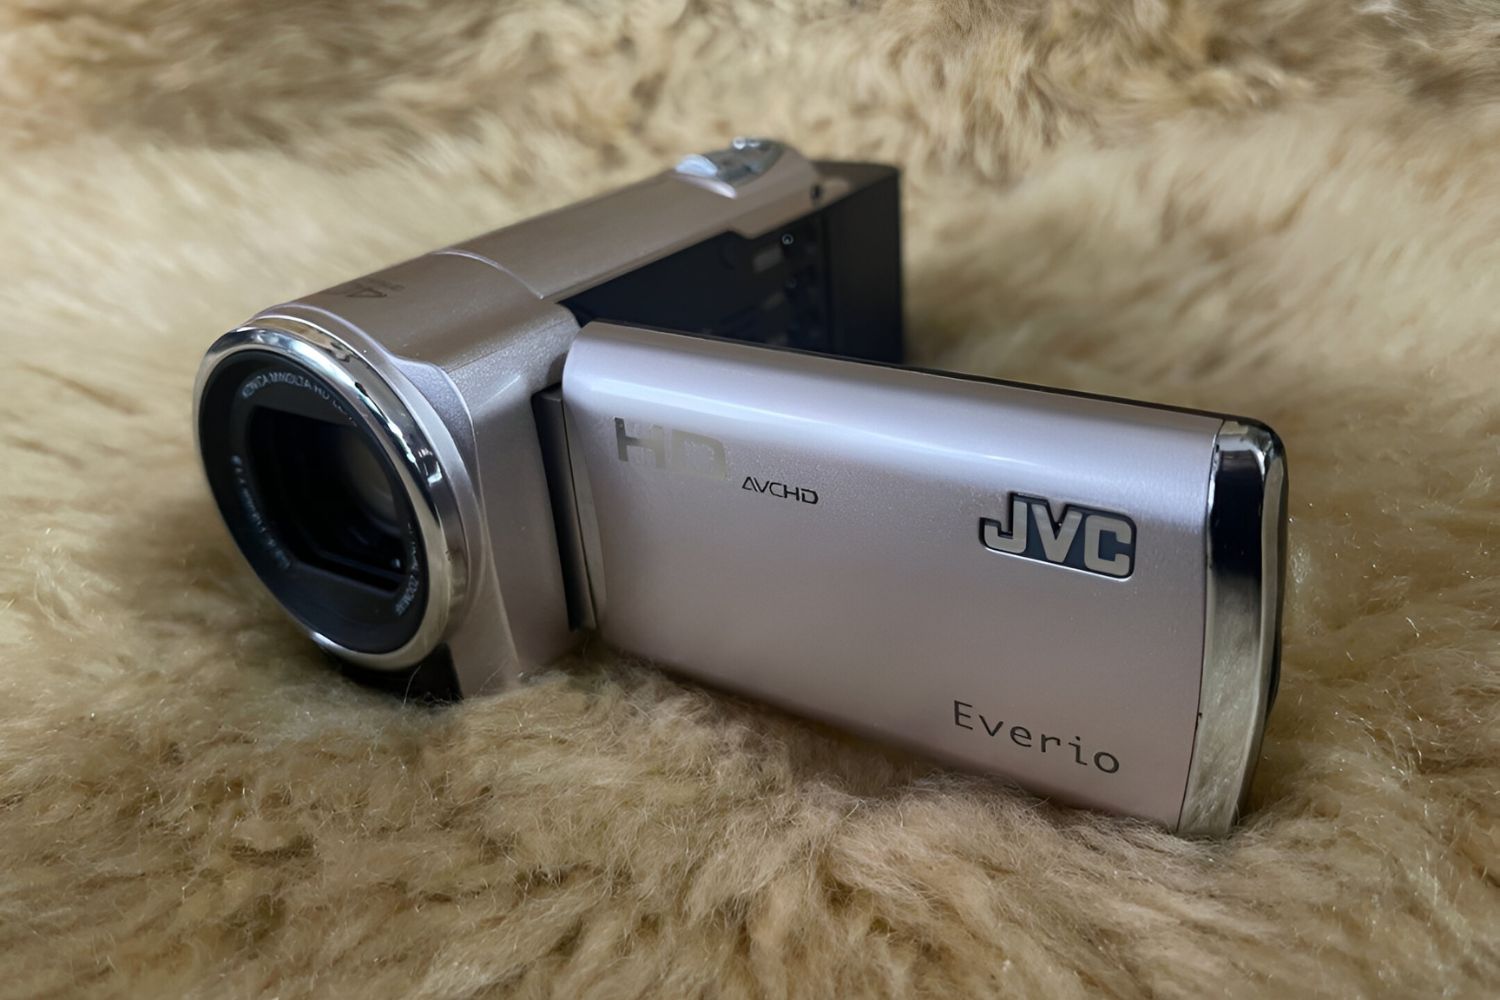
Step 1: Inserting the SD Card
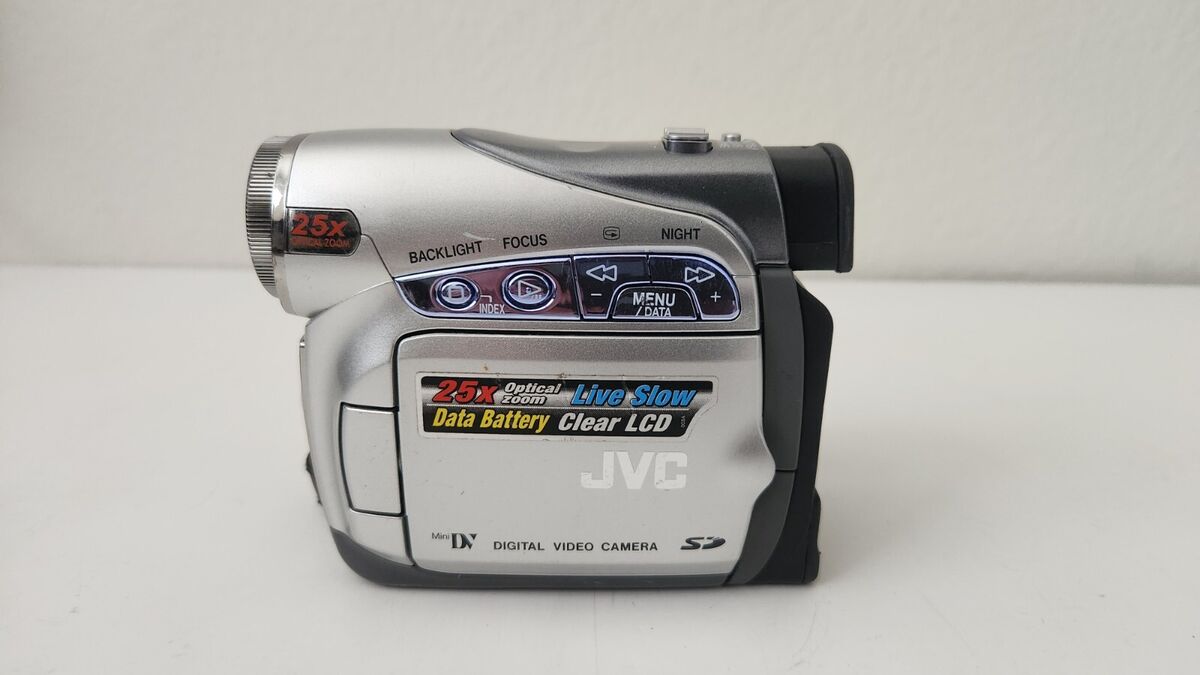
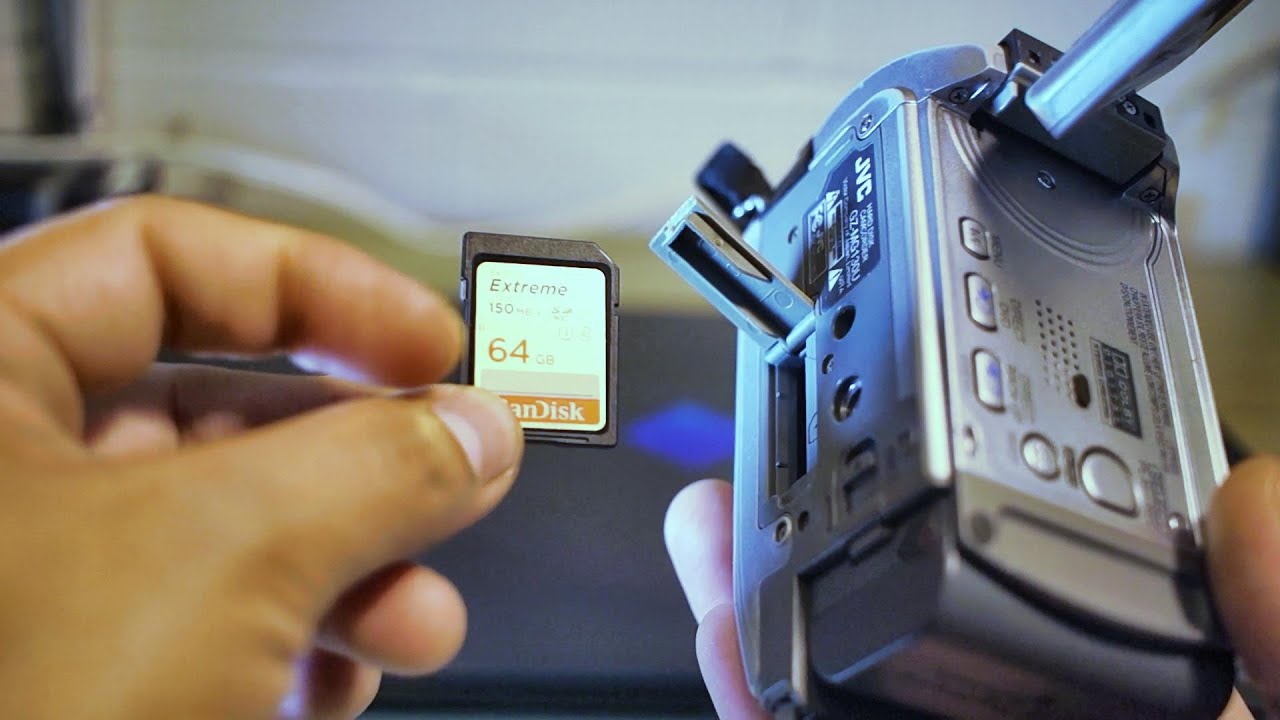
Before you can begin exploring the videos on your JVC camcorder, it’s essential to ensure that the SD card containing your footage is properly inserted into the device. The location of the SD card slot may vary depending on the model of your JVC camcorder, so refer to the user manual or inspect the camcorder’s body to locate it.
Once you’ve located the SD card slot, follow these steps to insert the SD card:
- Power Off: Before handling the SD card, power off the JVC camcorder to prevent any potential data corruption or damage to the card.
- Open the Cover: Depending on the design of your camcorder, you may need to slide a cover or press a button to access the SD card slot.
- Insert the SD Card: Carefully insert the SD card into the designated slot, ensuring that it is oriented correctly to avoid forcing it into the slot.
- Close the Cover: Once the SD card is securely in place, close the cover to protect the card and ensure it remains in position.
After successfully inserting the SD card, power on your JVC camcorder to proceed to the next step of navigating the menu to access your videos.
Step 2: Navigating the Menu
With the SD card securely inserted, it’s time to navigate the menu of your JVC camcorder to locate and access your videos. The menu system may vary slightly between different models, but the fundamental steps for accessing the videos remain consistent. Here’s a general outline of how to navigate the menu:
- Power On: Ensure that the camcorder is powered on and ready for operation.
- Access the Menu: Locate the menu button or icon on the camcorder. Press the button or select the icon to access the menu interface on the camcorder’s display screen.
- Navigate the Menu: Using the directional buttons or touchscreen, navigate through the menu options until you find the section related to media or playback. This section typically contains options for viewing and managing the videos and photos stored on the SD card.
- Select Media Source: Once you’ve accessed the media section, choose the SD card as the media source to display the videos stored on it.
- Browse the Videos: After selecting the SD card as the media source, you should see a list of videos stored on the card. Use the navigation controls to browse through the videos and select the one you wish to view.
By following these steps, you can effectively navigate the menu of your JVC camcorder and access the videos stored on the SD card with ease. Once you’ve located the desired video, you can proceed to view it directly on the camcorder’s display or transfer it to another device for further editing or sharing.
Step 3: Viewing and Transferring Videos
Now that you’ve successfully accessed the videos stored on the SD card, you have the option to view them directly on your JVC camcorder or transfer them to another device for further processing or sharing. Here’s a guide on how to accomplish both tasks:
Viewing Videos on the Camcorder:
If you prefer to view the videos directly on your JVC camcorder, follow these simple steps:
- Select the Video: Using the navigation controls, highlight and select the video you wish to view from the list of videos displayed on the camcorder’s screen.
- Play the Video: Once the video is selected, press the play button or the designated playback control to start viewing the video on the camcorder’s display.
- Enjoy the Playback: Sit back and enjoy reliving the captured moments as the video plays on the camcorder’s screen.
Transferring Videos to Another Device:
If you want to transfer the videos to a computer or another device for editing, sharing, or safekeeping, consider the following steps:
- Connect to a Computer: Use a compatible USB cable to connect your JVC camcorder to a computer. Ensure that the camcorder is set to the appropriate mode for data transfer.
- Access the Videos: Once the camcorder is connected, navigate to the folder containing the videos on the SD card using the file explorer or media management software on your computer.
- Transfer the Videos: Select the videos you wish to transfer and copy them to the desired location on your computer or external storage device.
By following these steps, you can conveniently transfer the videos from your JVC camcorder to another device, allowing you to edit, share, or store the footage as needed.
Conclusion
Congratulations! You’ve successfully learned how to find and manage your videos on the SD card of your JVC camcorder. By following the steps outlined in this guide, you’ve gained the knowledge and confidence to navigate the camcorder’s menu, access your videos, and even transfer them to other devices for further enjoyment and sharing.
Remember, the process of locating and managing videos on your JVC camcorder’s SD card is designed to be user-friendly and intuitive. Whether you’re a casual videographer or a seasoned enthusiast, the convenience of accessing and transferring your footage ensures that your captured memories can be easily enjoyed and shared with others.
As you continue to explore the capabilities of your JVC camcorder, don’t hesitate to experiment with different settings, capture new moments, and unleash your creativity through video storytelling. The ability to effortlessly access and manage your videos empowers you to preserve cherished memories and create compelling visual narratives.
With your newfound proficiency in navigating the menu, viewing videos, and transferring footage, you’re well-equipped to make the most of your JVC camcorder’s capabilities. Whether you’re documenting family gatherings, capturing breathtaking landscapes, or pursuing your passion for videography, the seamless access to your videos ensures that your storytelling endeavors are met with ease and efficiency.
So, grab your JVC camcorder, insert the SD card, and embark on your next video adventure, knowing that the process of finding and managing your videos is now well within your grasp.