Introduction
Understanding the Different Types of Microphones
When it comes to capturing high-quality audio for your DSLR camera, connecting a microphone is essential. However, the process of connecting a microphone to a DSLR camera can be daunting for beginners. In this guide, we will explore the various types of microphones available, provide insights into choosing the right microphone for your DSLR camera, and offer step-by-step instructions for connecting both wired and wireless microphones. Additionally, we will share valuable tips for achieving the best audio quality from your microphone and DSLR camera setup.
Whether you're a vlogger, filmmaker, or content creator, understanding the nuances of microphone connectivity is crucial for producing professional-grade audio in your videos. By familiarizing yourself with the different types of microphones and learning how to connect them to your DSLR camera, you can elevate the overall quality of your content and engage your audience more effectively.
In the following sections, we will delve into the specifics of wired and wireless microphones, providing comprehensive guidance on connecting each type to your DSLR camera. By the end of this guide, you will have a solid grasp of the microphone connectivity process and be well-equipped to capture exceptional audio for your video productions.
Understanding the Different Types of Microphones
Before delving into the intricacies of connecting a microphone to your DSLR camera, it’s crucial to understand the different types of microphones available and their respective functionalities. By familiarizing yourself with these variations, you can make an informed decision when selecting the most suitable microphone for your specific recording needs.
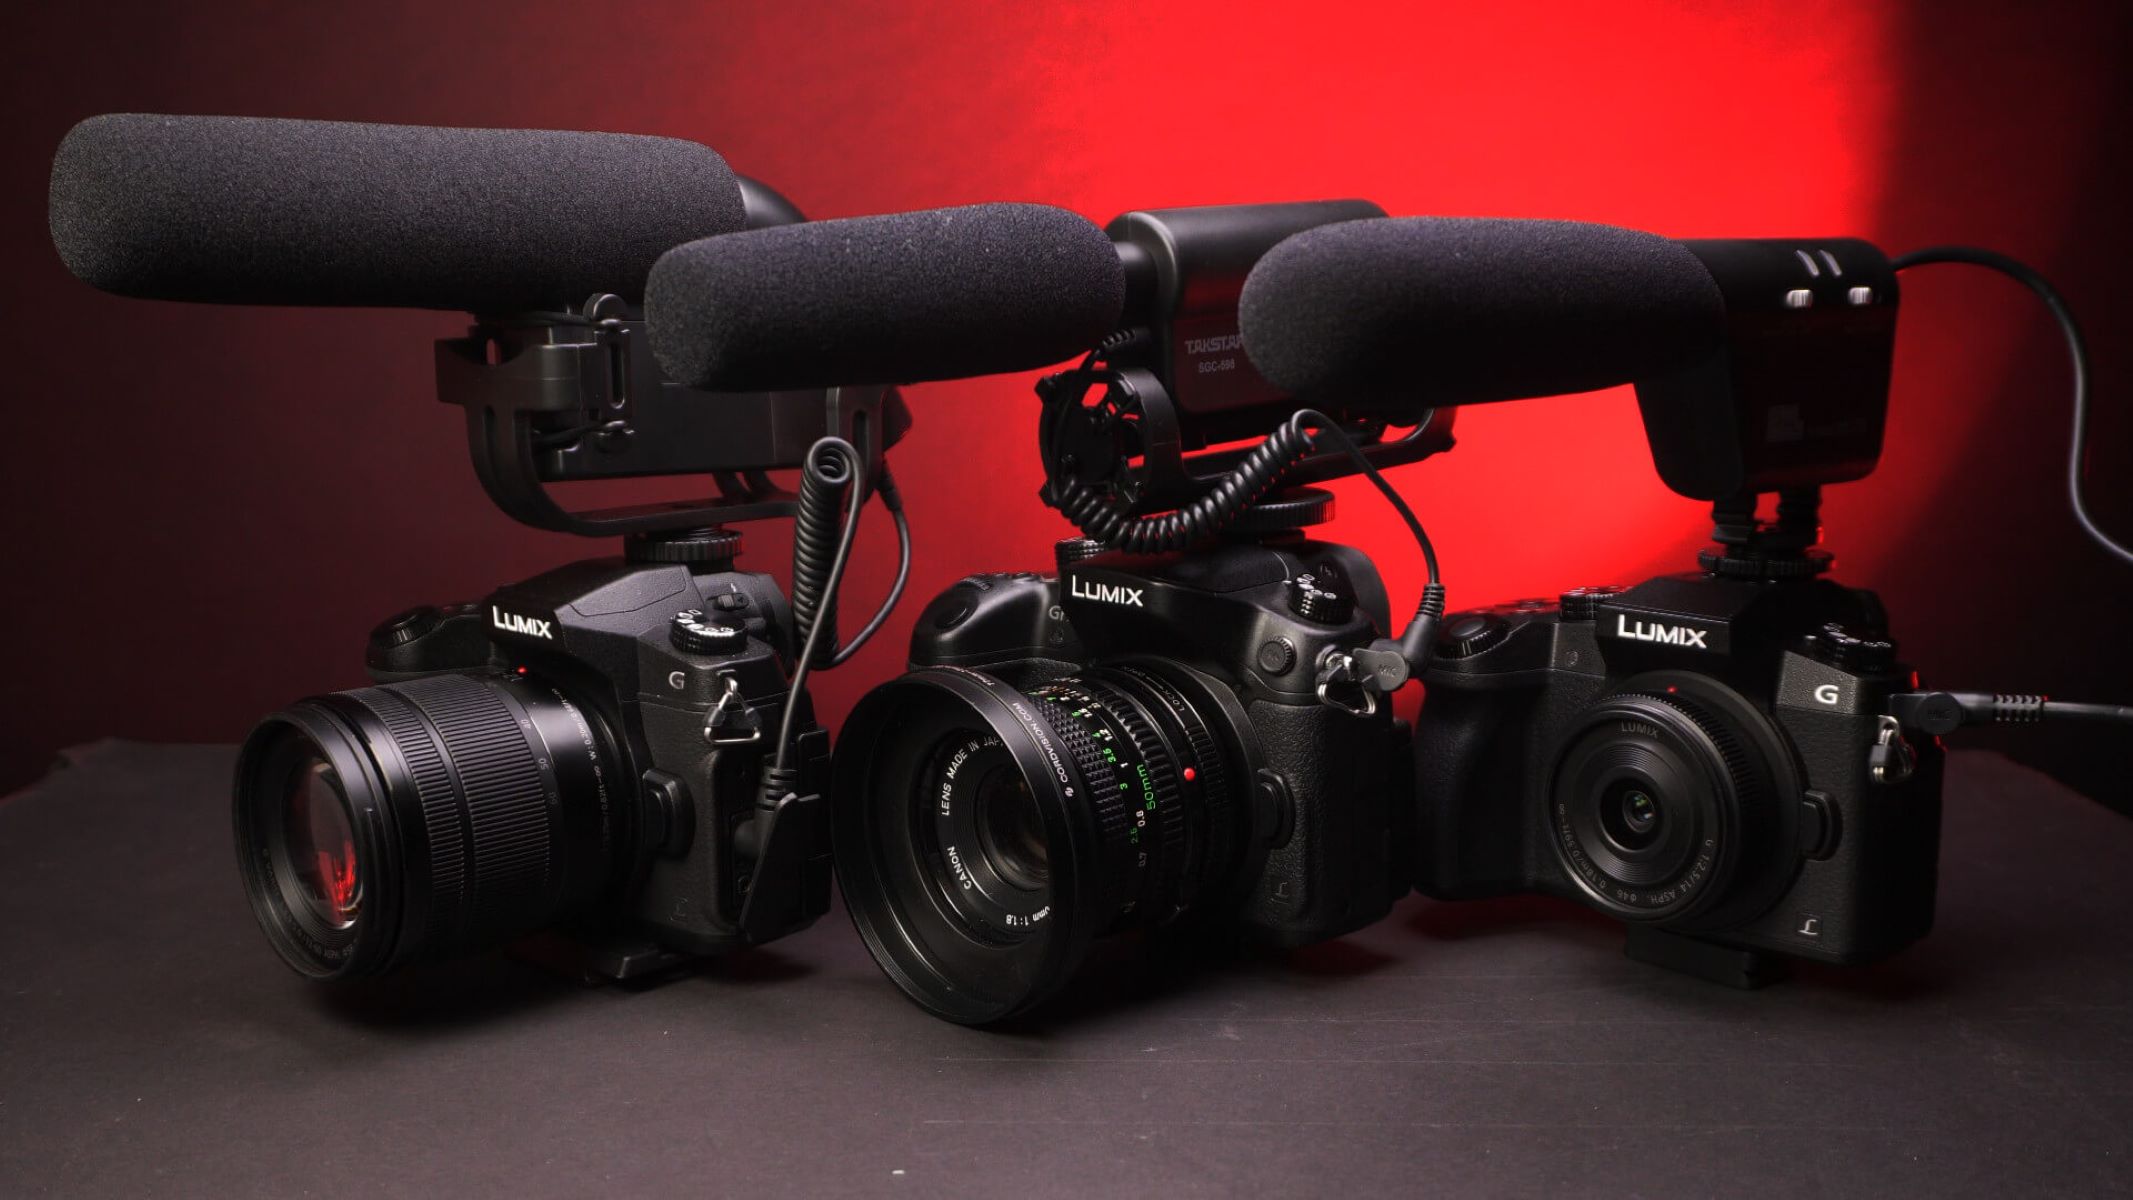
1. Dynamic Microphones: These microphones are known for their durability and versatility. Ideal for recording loud sound sources, such as live music performances and interviews, dynamic microphones can handle high sound pressure levels without distortion, making them a popular choice for DSLR video production.
2. Condenser Microphones: Renowned for their exceptional sensitivity and high-quality sound reproduction, condenser microphones are favored for capturing nuanced audio details. They are well-suited for recording vocals, acoustic instruments, and ambient sounds, making them an excellent choice for filmmakers and content creators seeking pristine audio for their DSLR videos.
3. Shotgun Microphones: Designed to capture sound from a specific direction while minimizing ambient noise, shotgun microphones are indispensable for video production. Their narrow pickup pattern allows for precise audio capture, making them ideal for recording dialogue, voiceovers, and on-location sound effects.
4. Lavalier Microphones: Also known as lapel microphones, lavalier mics are discreet, omnidirectional microphones that can be clipped onto clothing, making them perfect for hands-free operation. They are commonly used in interviews, presentations, and documentary filmmaking, providing clear and unobtrusive audio recordings.
By familiarizing yourself with these microphone types, you can assess which one aligns best with your intended recording scenarios. Whether you require a rugged, all-purpose microphone like a dynamic mic, a sensitive and detailed condenser mic, a directional shotgun mic, or a hands-free lavalier mic, understanding the unique characteristics of each type will empower you to make an informed decision when choosing a microphone for your DSLR camera.
Choosing the Right Microphone for Your DSLR Camera
When selecting a microphone for your DSLR camera, it’s essential to consider the specific requirements of your recording environment and the type of content you intend to produce. Each microphone type offers distinct advantages, and choosing the right one will significantly impact the overall audio quality of your videos.
Consider the Recording Environment: If you frequently record in noisy or outdoor settings, a shotgun microphone may be the most suitable option, as it can effectively capture targeted sound while minimizing ambient noise. Conversely, for indoor interviews or vlogging, a lavalier microphone provides clear and unobtrusive audio capture.
Assess the Sound Source: Understanding the nature of the sound you intend to record is crucial in selecting the appropriate microphone. For capturing live music performances or loud sound sources, dynamic microphones excel, while condenser microphones are ideal for detailed vocal recordings and nuanced ambient sounds.
Evaluate Portability and Flexibility: If you require a portable and versatile microphone setup for on-the-go video production, a wireless lavalier microphone offers freedom of movement and convenience, enabling you to capture high-quality audio without being tethered to your camera.
Factor in Budget and Long-Term Use: While budget considerations are important, it’s equally vital to invest in a microphone that aligns with your long-term recording needs. Prioritizing quality and durability ensures that your microphone will serve you well in various recording scenarios over time.
By carefully evaluating these factors, you can narrow down your options and select a microphone that complements your DSLR camera setup, enhances the audio quality of your videos, and accommodates your specific recording requirements. Whether you opt for a dynamic, condenser, shotgun, or lavalier microphone, choosing the right microphone for your DSLR camera is a pivotal step in achieving professional-grade audio recordings for your video productions.
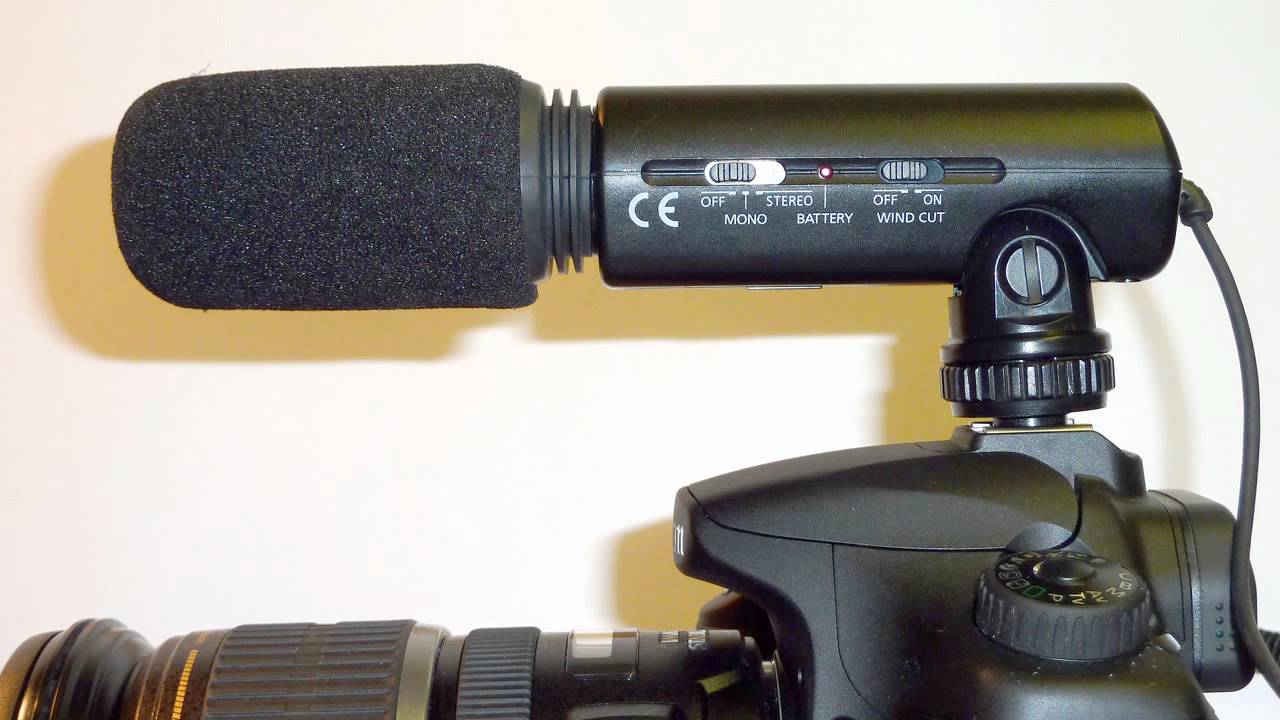
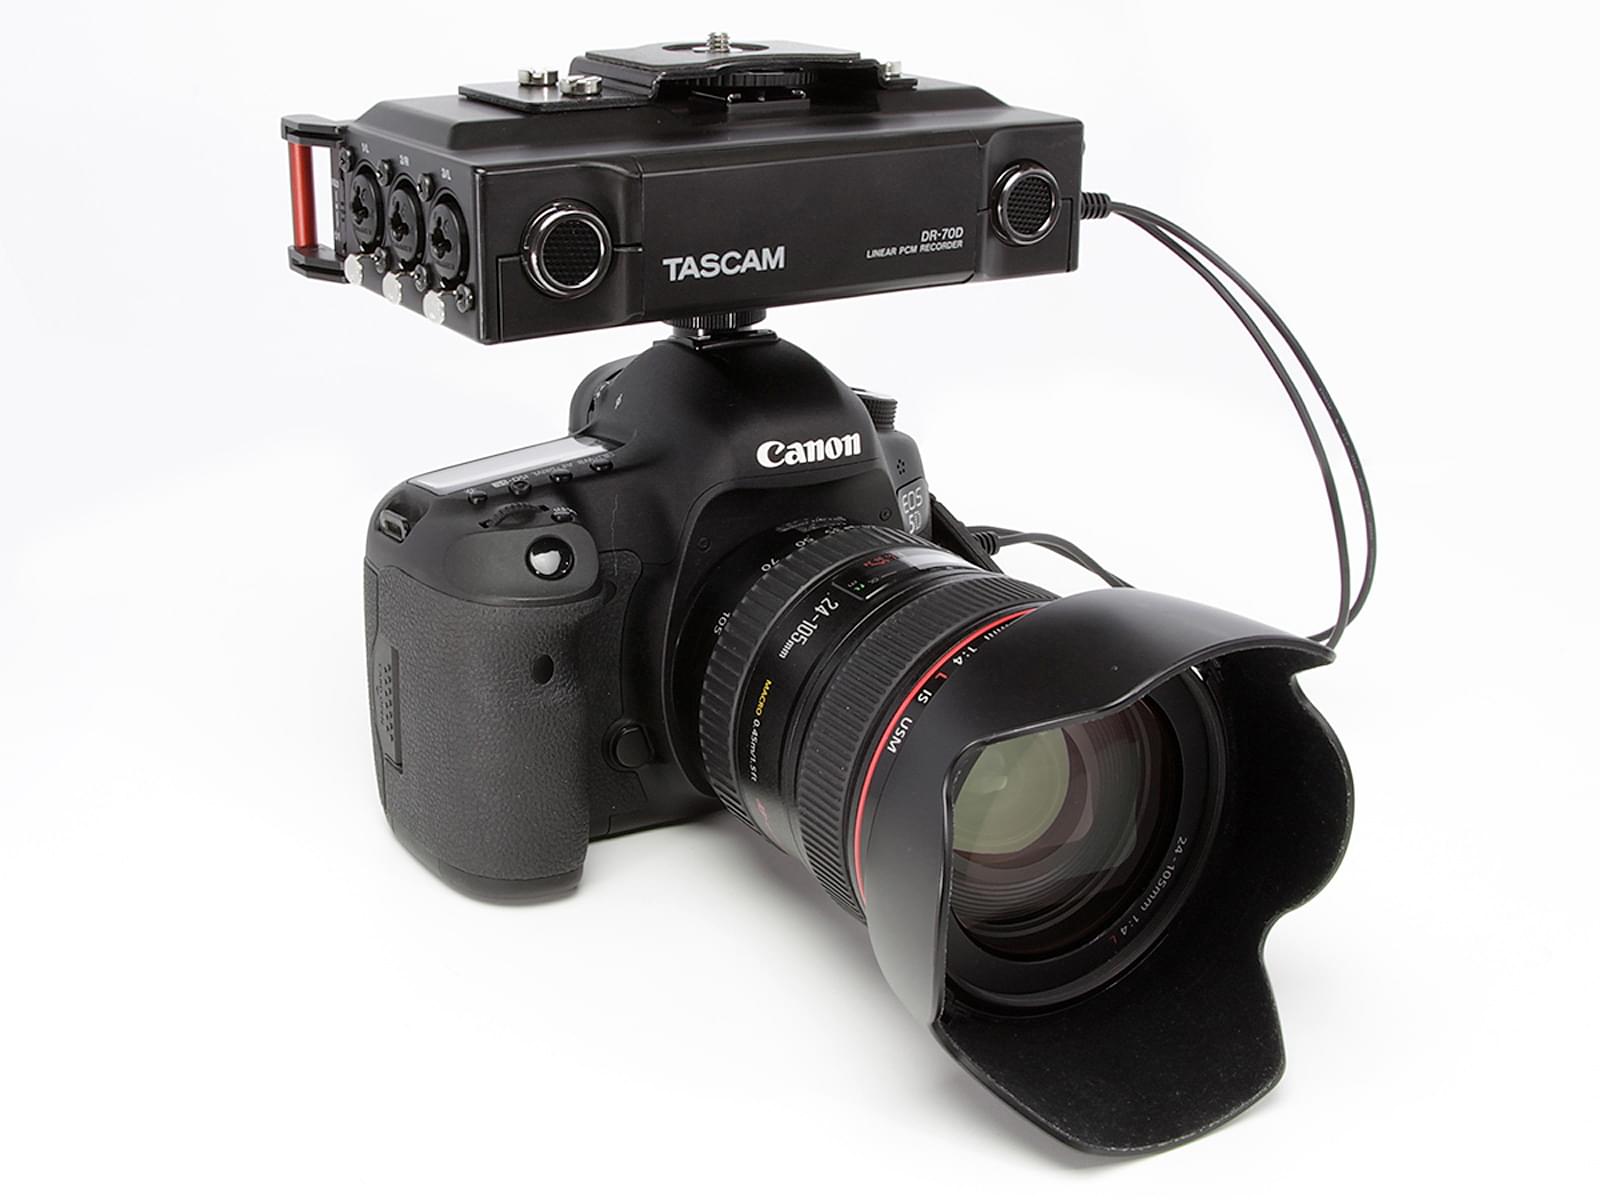
Connecting a Wired Microphone to Your DSLR Camera
Connecting a wired microphone to your DSLR camera is a straightforward process that can significantly improve the audio quality of your video recordings. Whether you’re using a dynamic, condenser, or lavalier microphone, the following steps will guide you through the seamless integration of a wired microphone with your DSLR camera.
Step 1: Select the Appropriate Cable: Depending on the type of microphone you’re using, ensure that you have the compatible audio cable. For XLR microphones, a standard XLR to 3.5mm audio cable is typically required for connecting to the DSLR camera’s audio input.
Step 2: Adjust the Audio Settings: Before connecting the microphone, access your DSLR camera’s audio settings. Ensure that the audio input source is set to “External Mic” or “Mic In,” and adjust the input level to optimize the audio signal without peaking or distorting.
Step 3: Connect the Microphone: With the camera turned off, plug the microphone’s cable into the DSLR camera’s audio input jack. For XLR microphones, attach the XLR to 3.5mm audio cable to the microphone’s output and then connect the 3.5mm end to the camera’s audio input.
Step 4: Secure the Connection: Once the cable is connected, ensure that it is securely plugged in to prevent audio interruptions or loose connections during recording sessions. A snug and stable connection is essential for consistent and reliable audio capture.
Step 5: Test the Audio Input: Turn on the DSLR camera and perform a brief audio test to confirm that the microphone is successfully integrated. Monitor the audio levels on the camera’s display and make any necessary adjustments to achieve the desired audio quality.
By following these steps, you can effectively connect a wired microphone to your DSLR camera, enhancing the overall audio fidelity of your video content. Whether you’re conducting interviews, capturing ambient sounds, or recording dialogue, a wired microphone offers a dependable and professional audio solution for your DSLR video productions.
Connecting a Wireless Microphone to Your DSLR Camera
Integrating a wireless microphone with your DSLR camera provides the flexibility and freedom to capture high-quality audio without being tethered to the camera. Whether you’re conducting interviews, vlogging, or filming on-location, connecting a wireless microphone to your DSLR camera offers convenience and professional-grade audio capture. Follow these steps to seamlessly integrate a wireless microphone into your DSLR video setup.
Step 1: Pair the Wireless Microphone: Begin by pairing the wireless microphone’s transmitter with its corresponding receiver. Ensure that both devices are powered on and set to the same frequency or channel to establish a reliable wireless connection.
Step 2: Connect the Receiver to the DSLR Camera: Using an appropriate audio cable, such as a 3.5mm TRS cable, connect the receiver’s audio output to the DSLR camera’s audio input jack. This allows the audio signal from the wireless microphone to be transmitted directly to the camera for recording.
Step 3: Adjust the Audio Settings: Access the DSLR camera’s audio settings and configure the input source for the external microphone. Ensure that the input level is optimized to capture clear audio without distortion, and monitor the audio levels on the camera’s display during testing.
Step 4: Secure the Connection: Once the receiver is connected to the camera, verify that the audio cable is securely plugged in to prevent signal loss or disruptions during recording. A stable connection is essential for consistent and reliable wireless audio transmission.
Step 5: Test the Wireless Microphone: Turn on the wireless microphone system and conduct a brief audio test to confirm that the audio signal is successfully transmitted to the DSLR camera. Verify that the audio levels are optimal and make any necessary adjustments to achieve the desired audio quality.
By following these steps, you can effectively connect a wireless microphone to your DSLR camera, providing a versatile and mobile audio solution for your video productions. Whether you’re capturing dynamic outdoor scenes, conducting on-the-go interviews, or recording engaging vlogs, a wireless microphone enhances the overall audio quality and flexibility of your DSLR video content.
Tips for Getting the Best Audio Quality from Your Mic and DSLR Camera
Obtaining exceptional audio quality from your microphone and DSLR camera setup is essential for producing professional-grade video content. By implementing the following tips, you can optimize the audio recording process and elevate the overall sound fidelity of your DSLR video productions.
1. Use a Windscreen or Deadcat: When recording outdoors or in windy conditions, attach a windscreen or deadcat to your microphone to minimize wind noise and unwanted environmental disturbances. This simple accessory can significantly improve the clarity of your outdoor audio recordings.
2. Monitor Audio Levels: Regularly monitor the audio levels on your DSLR camera’s display to ensure that the input signal from the microphone is well-balanced and free from distortion. Adjust the input level as needed to prevent audio peaking and maintain optimal sound quality.
3. Position the Microphone Strategically: When using a directional microphone, such as a shotgun mic, position it appropriately to capture the desired sound source while minimizing background noise. Adjusting the microphone’s angle and distance from the audio source can enhance the clarity and focus of the recorded audio.
4. Conduct Audio Tests: Before embarking on a recording session, perform audio tests with your microphone and DSLR camera to verify the quality of the audio signal. This allows you to make real-time adjustments to the audio settings and microphone positioning, ensuring optimal audio capture during filming.
5. Utilize Manual Audio Control: Whenever possible, utilize the manual audio control settings on your DSLR camera to fine-tune the input levels and prevent automatic gain adjustments that may introduce unwanted background noise or audio artifacts.
6. Invest in Quality Microphone Accessories: Consider investing in high-quality microphone accessories, such as shock mounts, boom poles, and extension cables, to enhance the versatility and performance of your microphone setup. These accessories can contribute to stable and professional audio recordings.
7. Perform Post-Production Audio Editing: After recording, utilize audio editing software to refine and enhance the recorded audio. Tasks such as noise reduction, equalization, and audio mastering can further polish the audio quality and ensure a pristine final sound mix for your videos.
By implementing these tips, you can maximize the audio quality of your microphone and DSLR camera setup, resulting in compelling and immersive audio experiences for your video audience. Whether you’re capturing dialogue, ambient sounds, or on-location audio, prioritizing audio excellence elevates the overall impact and professionalism of your DSLR video productions.