Introduction
Welcome to the world of camcorders, where capturing life's precious moments is made easy and convenient. Whether you're a professional videographer or an enthusiast looking to document special events, having a fully charged camcorder is essential for uninterrupted recording. In this guide, we'll walk you through the simple yet crucial process of charging your camcorder, ensuring that you're always ready to capture the perfect shot.
A camcorder is a valuable tool for preserving memories, documenting events, and creating visual content. From family gatherings and vacations to professional projects, these versatile devices offer the ability to relive and share experiences through high-quality videos. However, without a charged battery, a camcorder becomes nothing more than a handheld accessory. Therefore, understanding the process of charging your camcorder is fundamental to its functionality and your ability to capture life's most memorable moments.
Throughout this guide, we'll provide step-by-step instructions on how to charge your camcorder, covering everything from identifying the battery type to monitoring the charging progress. By following these simple yet essential steps, you'll ensure that your camcorder is always ready to record, allowing you to focus on capturing the moments that matter most.
So, whether you're preparing for a day of filming or simply maintaining your camcorder's battery life, this guide will equip you with the knowledge and confidence to keep your device charged and ready for action. Let's dive into the process of charging your camcorder and ensure that you're always prepared to capture life's unforgettable moments.
Step 1: Check the Battery Type
Before embarking on the charging process, it’s crucial to identify the type of battery your camcorder employs. Camcorders typically utilize rechargeable lithium-ion batteries, which offer high energy density and long-lasting performance. However, some models may still utilize nickel-cadmium or nickel-metal hydride batteries, which have specific charging requirements.
To determine the battery type, consult your camcorder’s user manual or inspect the battery compartment for any labeling or indicators. Additionally, the battery itself may bear markings or labels indicating its type, voltage, and capacity. Understanding the specific battery type is essential as it dictates the appropriate charging method and ensures the longevity and optimal performance of the battery.
For lithium-ion batteries, the charging process is relatively straightforward and does not require complete discharge before recharging. These batteries can be conveniently topped off or recharged at any time without affecting their lifespan. Conversely, nickel-based batteries may benefit from occasional full discharges to prevent the “memory effect” and maintain their capacity.
By familiarizing yourself with the type of battery your camcorder utilizes, you’ll be better equipped to follow the appropriate charging guidelines and maximize the battery’s efficiency and lifespan. With this crucial information in hand, you’re ready to proceed to the next step of the charging process and ensure that your camcorder is powered up and ready to capture life’s memorable moments.
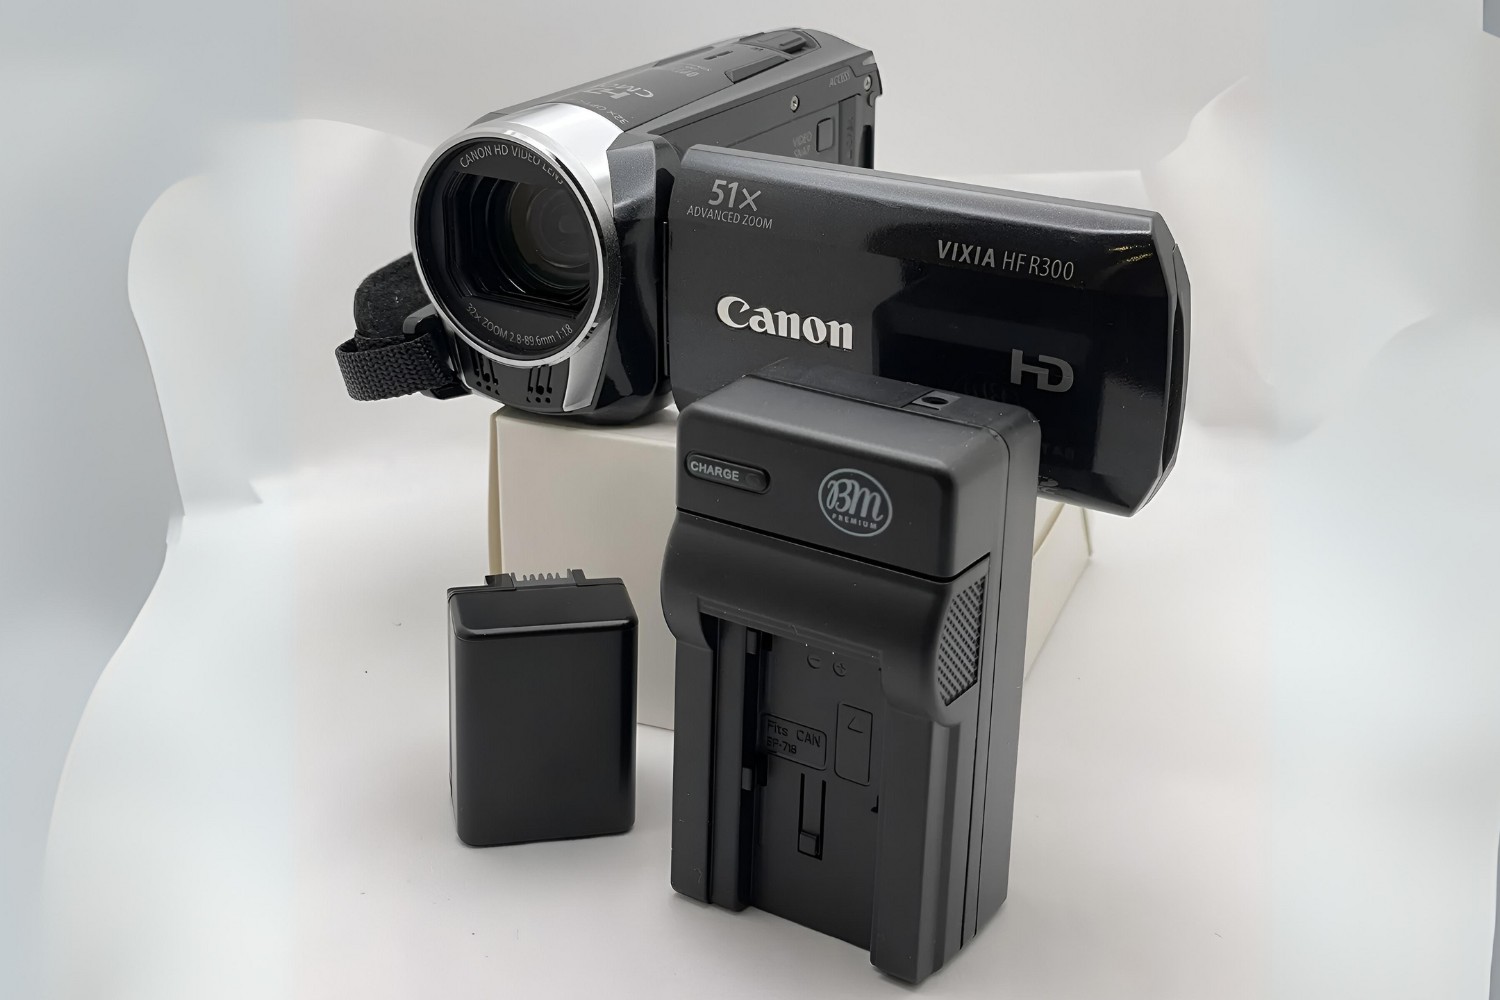
Step 2: Find the Appropriate Charging Cable
Once you’ve determined the battery type of your camcorder, the next step is to locate the appropriate charging cable. Most modern camcorders are equipped with a dedicated charging cable that is specifically designed to interface with the camcorder’s charging port and deliver the necessary electrical current to the battery. These cables often feature a proprietary connector on one end that plugs into the camcorder and a standard USB or AC adapter on the other end for connecting to a power source.
To find the correct charging cable for your camcorder, refer to the accessories that were included with the device at the time of purchase. The charging cable is typically provided as part of the standard accessory kit and may be accompanied by a compatible AC adapter for direct power connection or a USB cable for charging via a computer or other USB power source.
If the original charging cable is unavailable or damaged, it’s essential to obtain a replacement cable that is compatible with your camcorder’s specific make and model. This can often be accomplished by contacting the camcorder’s manufacturer or authorized dealers to procure a genuine replacement cable that meets the device’s charging specifications.
It’s important to note that using an incompatible or third-party charging cable may result in suboptimal charging performance, potential damage to the camcorder, or even safety hazards. Therefore, always ensure that the charging cable you use is approved for use with your camcorder and meets the necessary electrical standards to deliver a safe and efficient charging experience.
By securing the appropriate charging cable for your camcorder, you’ll be ready to proceed with the next steps of the charging process, ensuring that your device is powered up and ready to capture life’s most memorable moments.
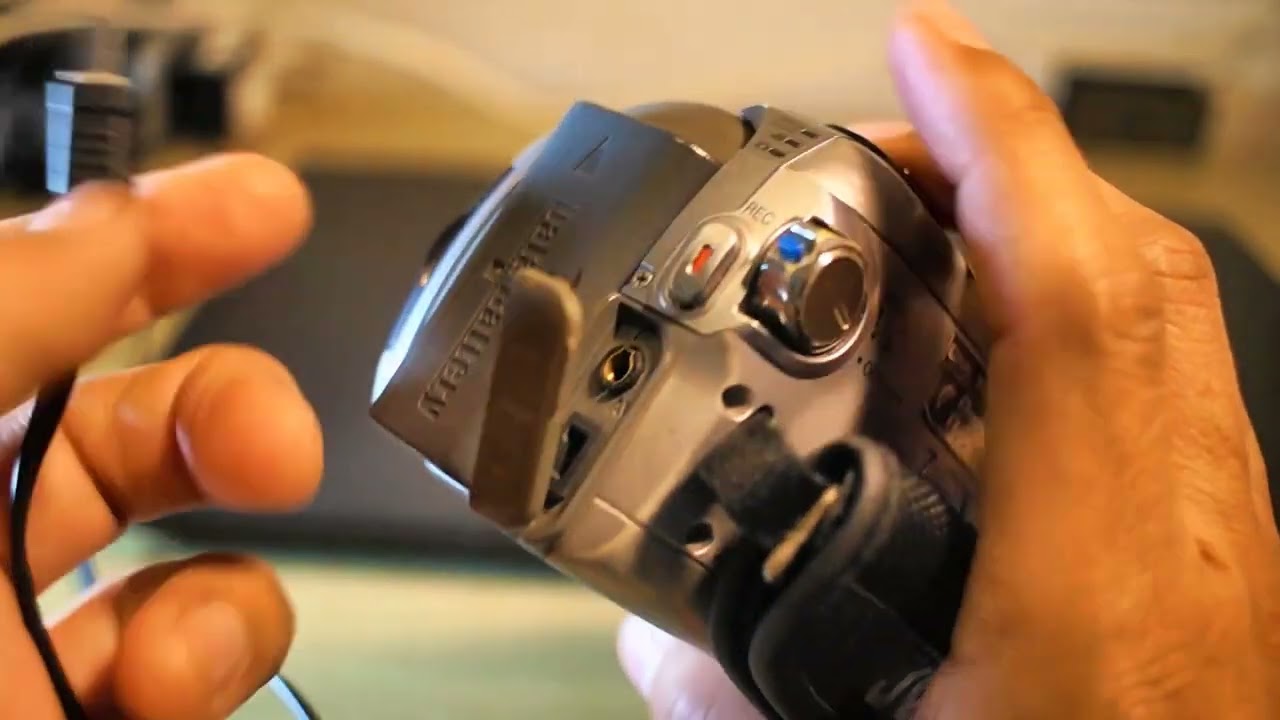
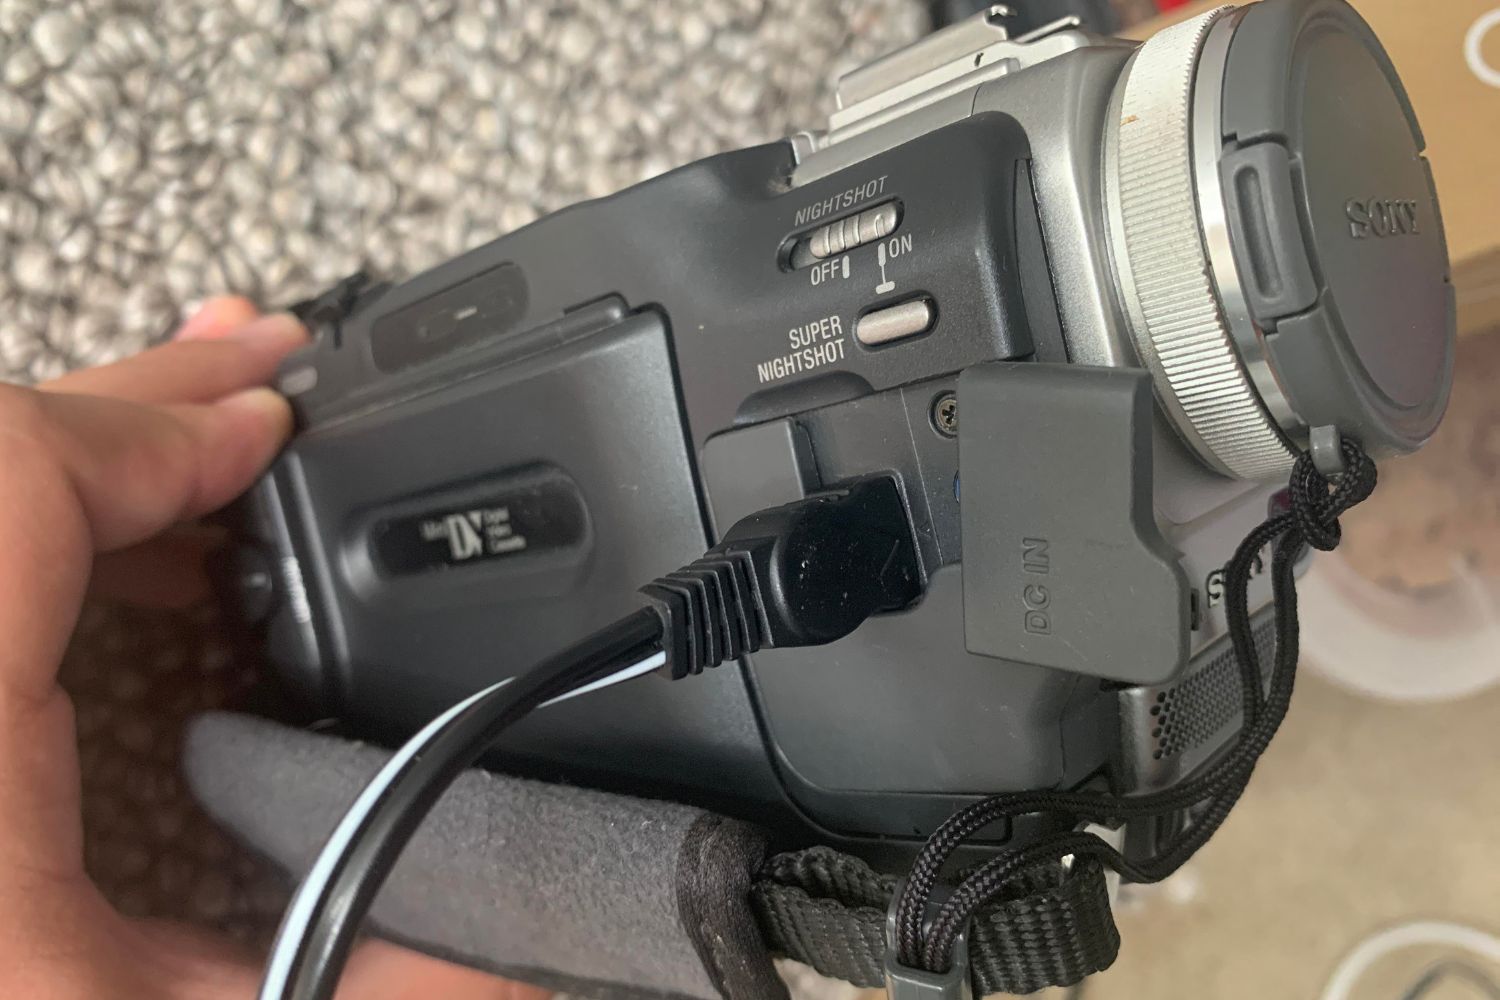
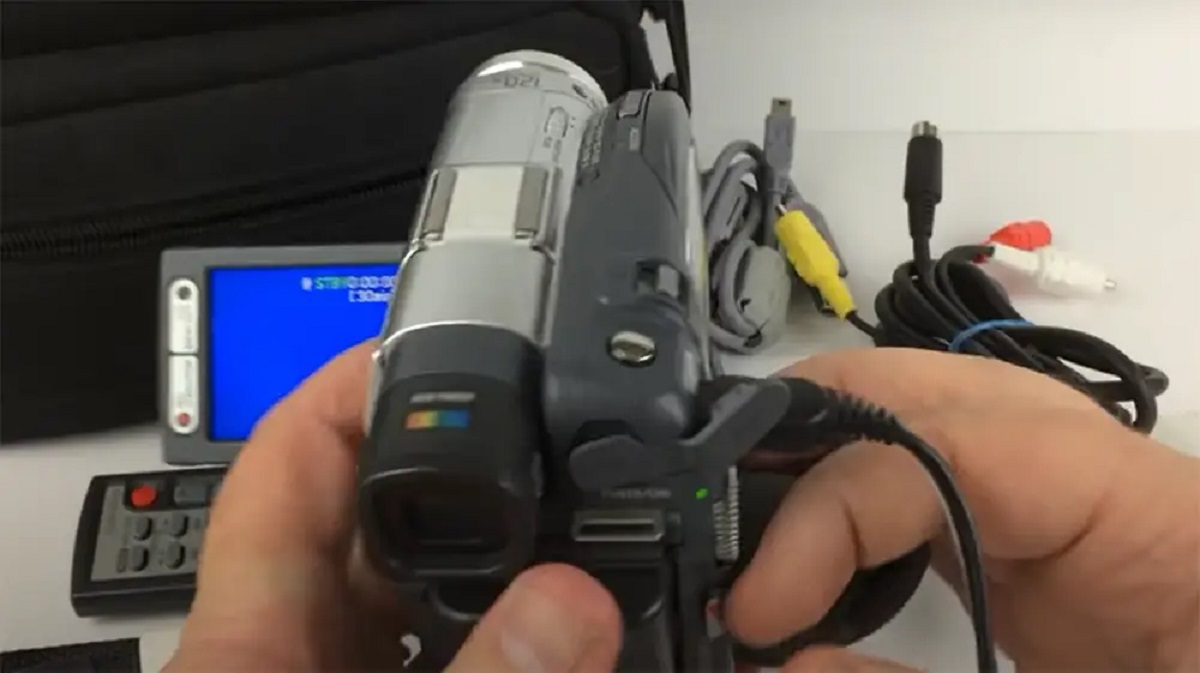
Step 3: Connect the Charging Cable to the Camcorder
With the appropriate charging cable in hand, the next step in the process of charging your camcorder is to connect the cable to the device itself. This simple yet crucial step ensures that the electrical current necessary for charging is properly delivered to the camcorder’s battery, allowing it to replenish its power reserves and prepare for the next recording session.
Begin by locating the charging port on your camcorder, which is typically situated on the device’s body or within a designated compartment. The charging port is designed to accommodate the specific connector of the charging cable, ensuring a secure and reliable connection for the duration of the charging process.
Once the charging port is identified, carefully align the connector of the charging cable with the port, taking care to orient the connector correctly to prevent any potential damage. Depending on the design of the charging cable and port, you may need to apply gentle pressure to seat the connector fully into the port, establishing a solid electrical connection between the cable and the camcorder.
Upon successful connection, you may notice a visual indicator on the camcorder, such as an LED light or display notification, confirming that the device is now charging. This visual cue provides reassurance that the charging process has commenced and allows you to monitor the progress of the battery replenishment.
It’s important to ensure that the charging cable is securely connected to the camcorder throughout the entire charging duration to prevent interruptions or potential damage. Additionally, be mindful of the cable’s positioning to avoid strain on the connector or port, as this can impact the charging efficiency and longevity of the components.
By successfully connecting the charging cable to your camcorder, you’ve initiated the crucial charging process, setting the stage for a fully powered and ready-to-use device. With the camcorder now in the charging mode, you’re prepared to move on to the subsequent steps and ensure that your device is always equipped to capture life’s most memorable moments.
Step 4: Plug the Charging Cable into a Power Source
Having securely connected the charging cable to your camcorder, the next vital step in the charging process is to supply the necessary electrical power by plugging the charging cable into a suitable power source. This action initiates the flow of electricity from the power outlet or USB port to the camcorder, enabling the battery to begin the recharging process and ensuring that your device is ready for future use.
When selecting a power source for charging, consider the options available based on the type of charging cable provided with your camcorder. If the charging cable is equipped with a standard USB connector, you may opt to connect it to a computer, laptop, or USB power adapter. Alternatively, if the cable is designed for direct power connection, locate a nearby electrical outlet and ensure that the voltage and current ratings align with the requirements specified for your camcorder’s charging cable.
Before plugging in the charging cable, it’s essential to inspect the cable and power source for any signs of damage or wear that could compromise the charging process or pose safety risks. Additionally, verify that the power source is operational and capable of delivering the necessary electrical current to facilitate the charging of your camcorder’s battery.
Once you’ve confirmed the suitability and integrity of the power source, carefully plug the charging cable into the designated outlet or USB port, ensuring a secure and snug connection to prevent accidental disconnection during the charging process. Take care to align the connector properly and apply gentle pressure to seat it fully, establishing a reliable electrical link between the power source and your camcorder.
Upon successfully plugging in the charging cable, you may observe visual indicators on the camcorder or charging cable, confirming that the device is now receiving power and commencing the recharging process. These visual cues provide reassurance that the camcorder is actively charging and allow you to monitor the progress of the battery replenishment.
By plugging the charging cable into a suitable power source, you’ve initiated the essential flow of electricity to your camcorder, setting the stage for a fully charged device ready to capture life’s most memorable moments. With the charging process underway, you’re prepared to proceed to the next steps, ensuring that your camcorder is always powered up and ready for action.
Step 5: Monitor the Charging Progress
Once the charging cable is securely connected to your camcorder and plugged into a power source, it’s essential to monitor the charging progress to ensure that the battery is replenishing its power reserves effectively. This step allows you to stay informed about the status of the charging process, enabling you to make necessary adjustments and ensuring that your camcorder will be fully charged and ready for use when needed.
Many modern camcorders feature visual indicators, such as LED lights or display notifications, that provide real-time feedback on the charging status. These indicators may illuminate or display specific patterns to signal that the camcorder is actively charging, nearing full charge, or fully charged. Familiarize yourself with the meaning of these indicators by referring to the camcorder’s user manual, ensuring that you can interpret the charging progress accurately.
Throughout the charging process, periodically check the visual indicators on the camcorder or charging cable to gauge the progress of the battery replenishment. Depending on the camcorder model and the battery’s capacity, the charging duration may vary, and it’s essential to remain attentive to any changes in the charging status to anticipate when the battery will reach full capacity.
While monitoring the charging progress, it’s important to ensure that the camcorder remains undisturbed and the charging cable remains securely connected to the power source. Any interruptions or disconnections during the charging process can impede the battery’s charging efficiency and may require restarting the charging process from the beginning.
Additionally, if your camcorder features a removable battery, you may consider periodically checking the battery’s temperature during the charging process. A moderate increase in temperature is normal during charging, but excessively high temperatures may indicate a potential issue and warrant further attention to ensure the safety and longevity of the battery.
By actively monitoring the charging progress, you’re taking a proactive approach to ensuring that your camcorder’s battery is replenishing its power reserves effectively. This vigilance allows you to anticipate when the charging process will be complete, ensuring that your device is always ready to capture life’s most memorable moments.
Step 6: Disconnect the Charging Cable
As the charging process nears completion, it’s essential to proceed with disconnecting the charging cable from your camcorder to ensure that the device’s battery is fully charged and ready for use. This final step in the charging process allows you to safely and effectively prepare your camcorder for its next recording session while maintaining the longevity and optimal performance of the battery.
Before disconnecting the charging cable, carefully check the visual indicators on the camcorder or charging cable to verify that the battery has reached its full capacity. Many camcorders feature specific signals, such as a solid LED light or a display notification, to indicate that the battery is fully charged and ready for use. It’s crucial to confirm this status before proceeding with the disconnection of the charging cable.
Once you’ve confirmed that the battery is fully charged, gently unplug the charging cable from the power source, ensuring that the connector is removed smoothly and without applying excessive force. This careful approach prevents any potential damage to the cable or power source and maintains the integrity of the charging components for future use.
After disconnecting the charging cable from the power source, proceed to carefully remove the connector from the camcorder’s charging port, taking care to avoid any unnecessary strain or damage to the port or cable. By handling the disconnection process with care, you ensure that the camcorder and charging cable remain in optimal condition for future charging cycles.
Following the disconnection of the charging cable, take a moment to inspect the cable and connectors for any signs of wear, damage, or debris that may affect their performance or safety. If any issues are identified, address them promptly to ensure that the charging cable remains reliable and effective for future use.
With the charging cable safely disconnected from the camcorder and power source, you’ve successfully completed the charging process, ensuring that your device’s battery is fully charged and ready for the next recording session. By following this final step, you maintain the functionality and longevity of both the camcorder and its battery, ensuring that you’re always prepared to capture life’s most memorable moments.