Introduction
Introduction
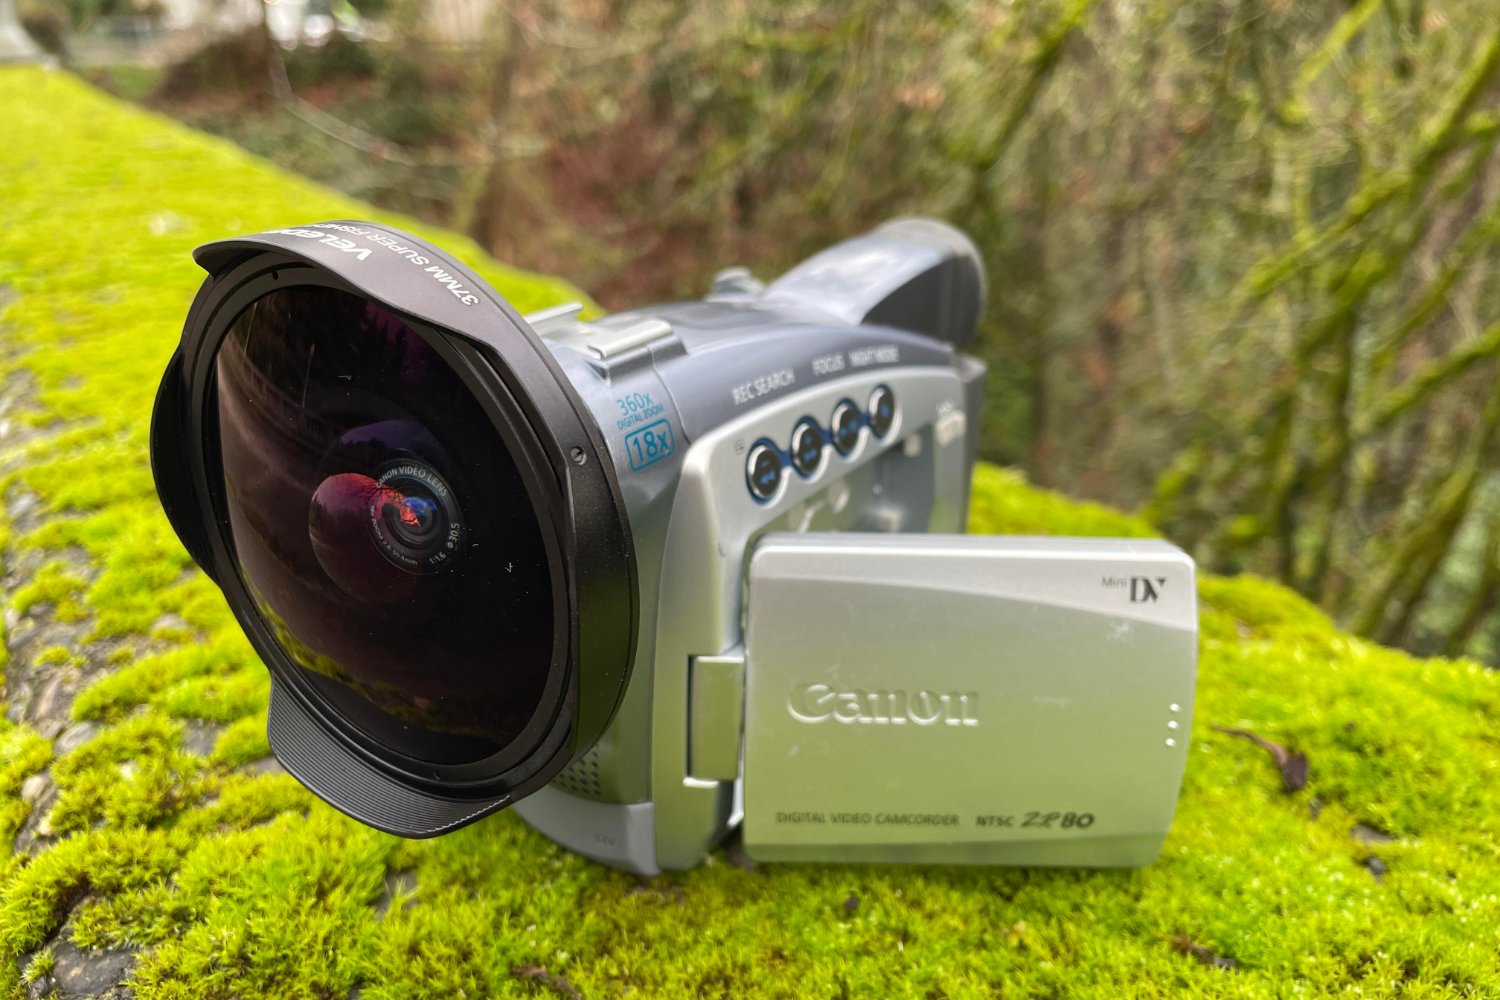
Canon digital video camcorders are valuable tools for capturing special moments, but they require a fully charged battery to function optimally. Ensuring that your Canon digital video camcorder battery is adequately charged is essential for uninterrupted recording and a seamless filming experience. This article provides a comprehensive guide on how to charge your Canon digital video camcorder battery effectively.
Properly charging your Canon digital video camcorder battery is crucial for maintaining the longevity of the battery and maximizing its performance. By following the steps outlined in this guide, you can ensure that your Canon digital video camcorder is always ready to capture life’s precious moments.
Whether you’re a novice videographer or a seasoned professional, understanding the intricacies of charging your Canon digital video camcorder battery is essential for achieving high-quality footage. Let’s delve into the steps required to charge your Canon digital video camcorder battery effectively.
Checking the Battery Level
Before initiating the charging process, it is imperative to assess the current battery level of your Canon digital video camcorder. This step ensures that you have a clear understanding of the remaining charge and helps determine the appropriate duration for charging the battery.
To check the battery level on your Canon digital video camcorder, power off the device and locate the battery release button. Press the release button to remove the battery from the camcorder gently. Once the battery is removed, inspect the battery’s exterior for a small series of indicators. These indicators display the current charge level, typically represented by a series of bars or a numerical percentage.
If your Canon digital video camcorder features a digital display screen, you can also power on the device and navigate to the settings or battery information section to view the remaining charge. This method provides a digital representation of the battery level, offering a precise indication of the remaining power.
By diligently checking the battery level before commencing the charging process, you can effectively gauge the required charging duration and ensure that the battery is sufficiently powered for your filming endeavors. This practice prevents unexpected power depletion during crucial recording moments and promotes a seamless videography experience.
Using the Correct Charger
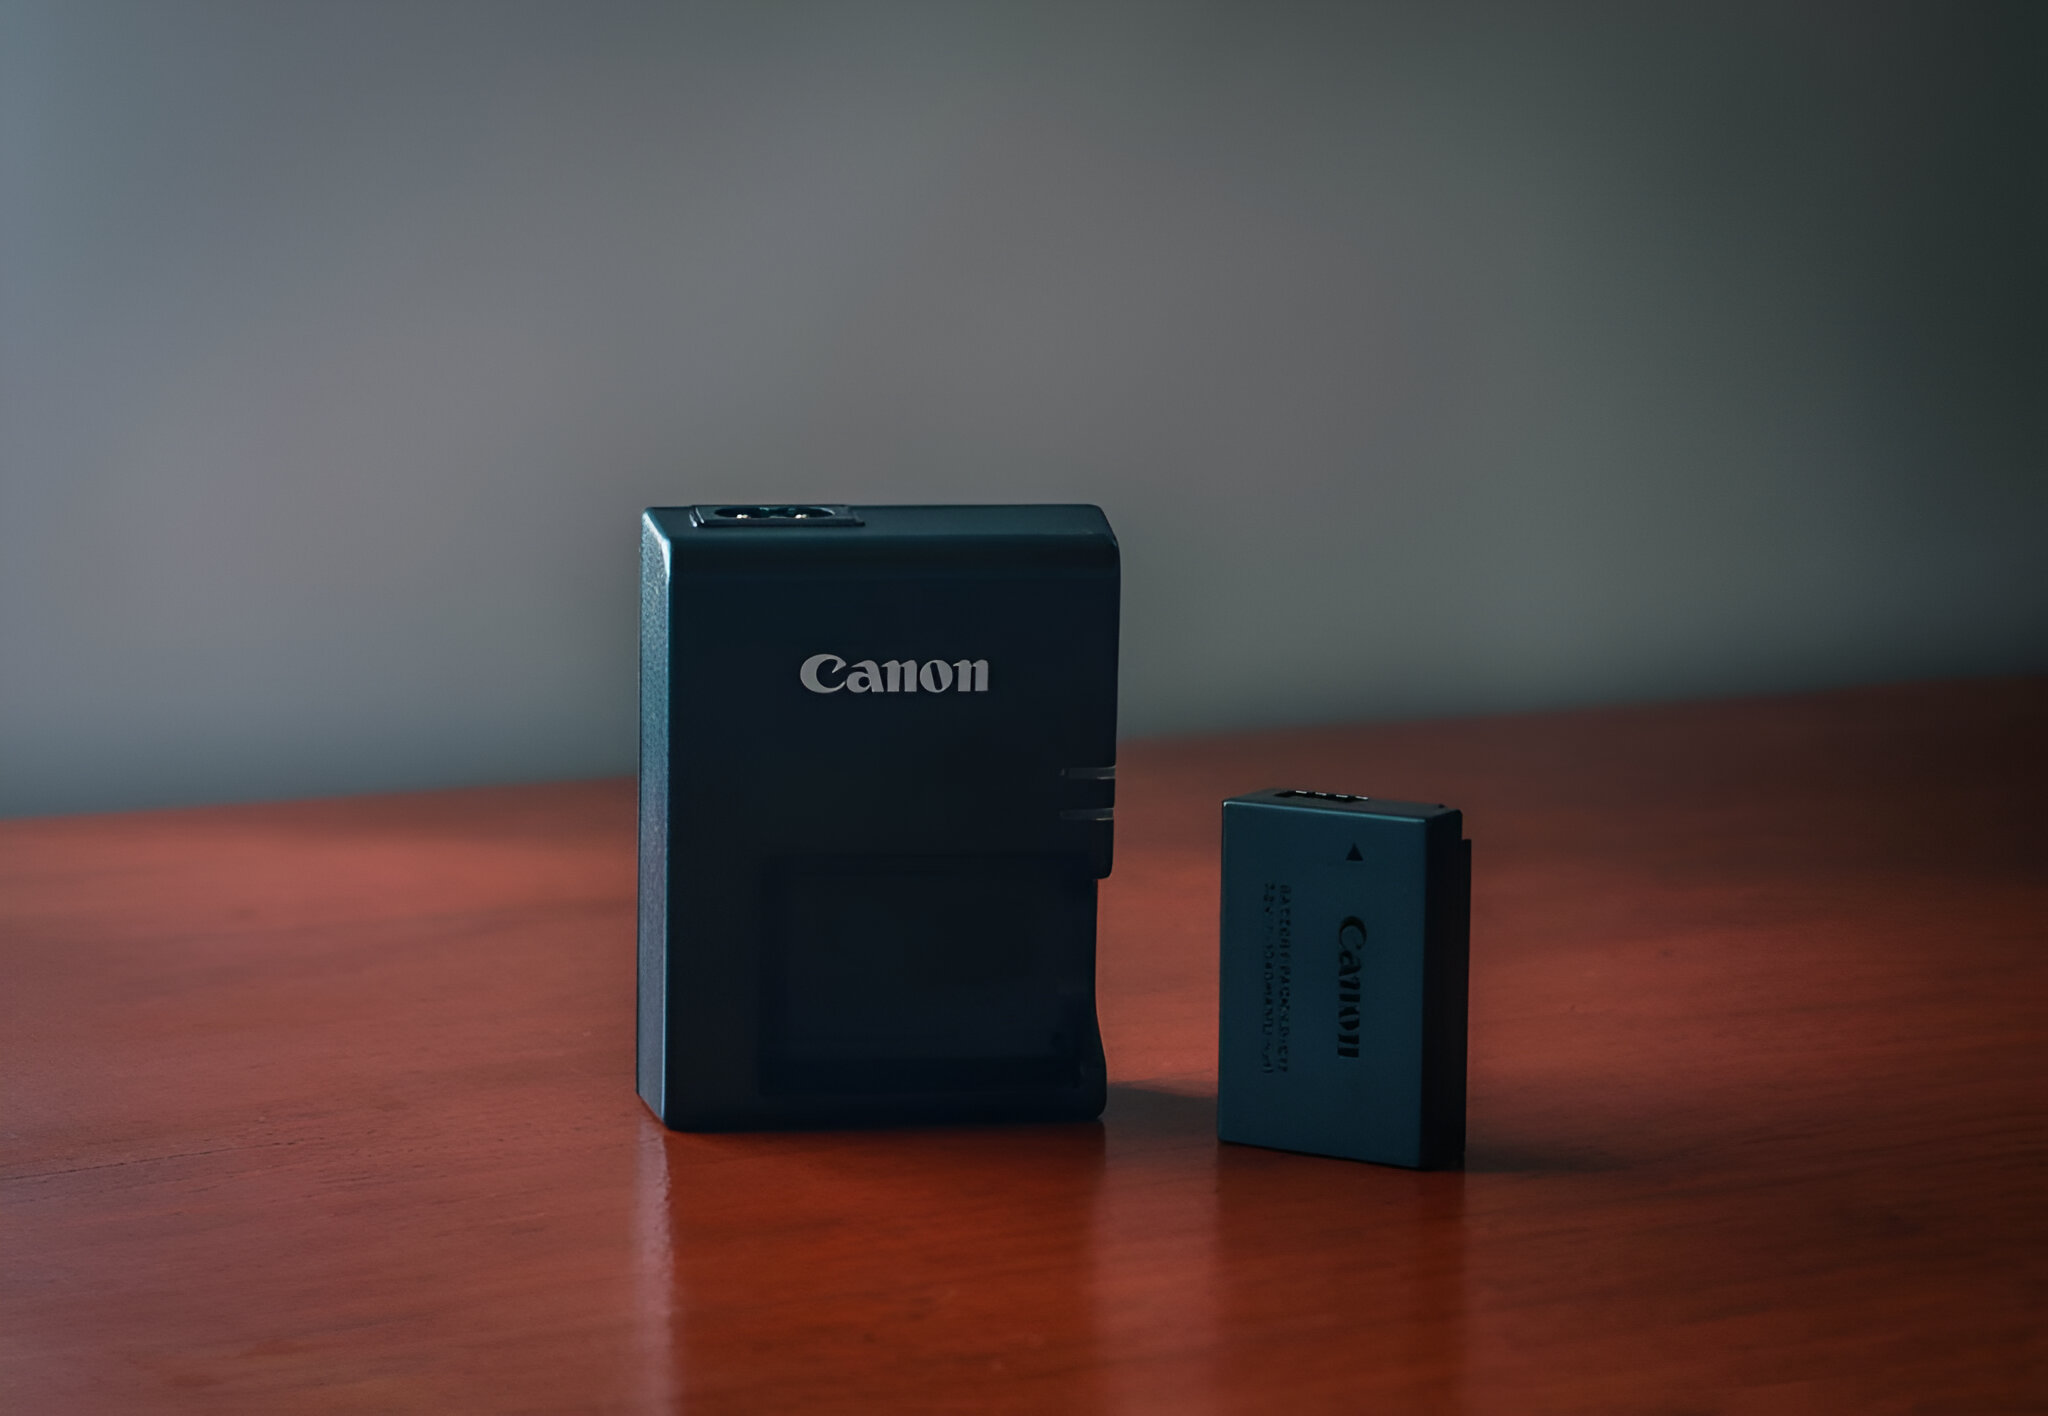
When it comes to charging your Canon digital video camcorder battery, using the correct charger is paramount for optimal performance and safety. Canon provides specific chargers designed to accommodate the unique power requirements of their camcorder batteries. It is imperative to use the charger that is compatible with your Canon digital video camcorder battery model to ensure efficient and safe charging.
Before proceeding with the charging process, identify the model number of your Canon digital video camcorder battery. This information can typically be found on the battery itself or in the camcorder’s user manual. Once you have the model number, locate the corresponding charger that is specifically designed for that battery model.
Using an incorrect charger that is not intended for your Canon digital video camcorder battery can lead to suboptimal charging performance and, in some cases, may pose safety risks. Canon’s designated chargers are engineered to deliver the precise voltage and current required for efficient and safe charging, thereby safeguarding the longevity and performance of the battery.
Additionally, utilizing the correct charger from the manufacturer ensures compatibility and mitigates the risk of damage to the battery or the camcorder itself. It is essential to prioritize the use of the recommended charger to maintain the integrity of the battery and uphold the manufacturer’s specifications for charging.
By adhering to the guidelines provided by Canon and using the designated charger that corresponds to your specific Canon digital video camcorder battery model, you can optimize the charging process and uphold the safety and longevity of your equipment.
Connecting the Charger to a Power Source
Once you have the correct charger for your Canon digital video camcorder battery, the next step is to connect the charger to a suitable power source. Before proceeding, it is crucial to ensure that the power source meets the necessary electrical requirements and is compatible with the charger provided by Canon.
Begin by identifying a stable and reliable power outlet that is easily accessible. Inspect the outlet to ensure that it is in good condition and can accommodate the charger’s plug securely. Avoid using damaged or compromised power outlets, as this may lead to unstable charging or potential electrical hazards.
Before plugging the charger into the power outlet, verify that the voltage and frequency of the electrical supply align with the charger’s specifications. This information is typically indicated on the charger itself or in the accompanying user manual. Ensuring a proper match between the charger and the power source voltage is essential for safe and effective charging.
Once you have confirmed the compatibility of the power source, insert the charger’s plug into the power outlet firmly. Exercise caution to prevent any undue force or damage to the charger or the power outlet during this process. Upon successful insertion, the charger should be securely connected to the power source, ready to facilitate the charging of your Canon digital video camcorder battery.
It is advisable to position the charger in a location where it can operate undisturbed and free from potential obstructions. This ensures a stable connection to the power source throughout the charging process, minimizing the risk of interruptions or disconnections that could impede the charging efficiency.
By diligently connecting the charger to a suitable power source and prioritizing the compatibility and stability of the electrical supply, you can lay a solid foundation for the successful charging of your Canon digital video camcorder battery.
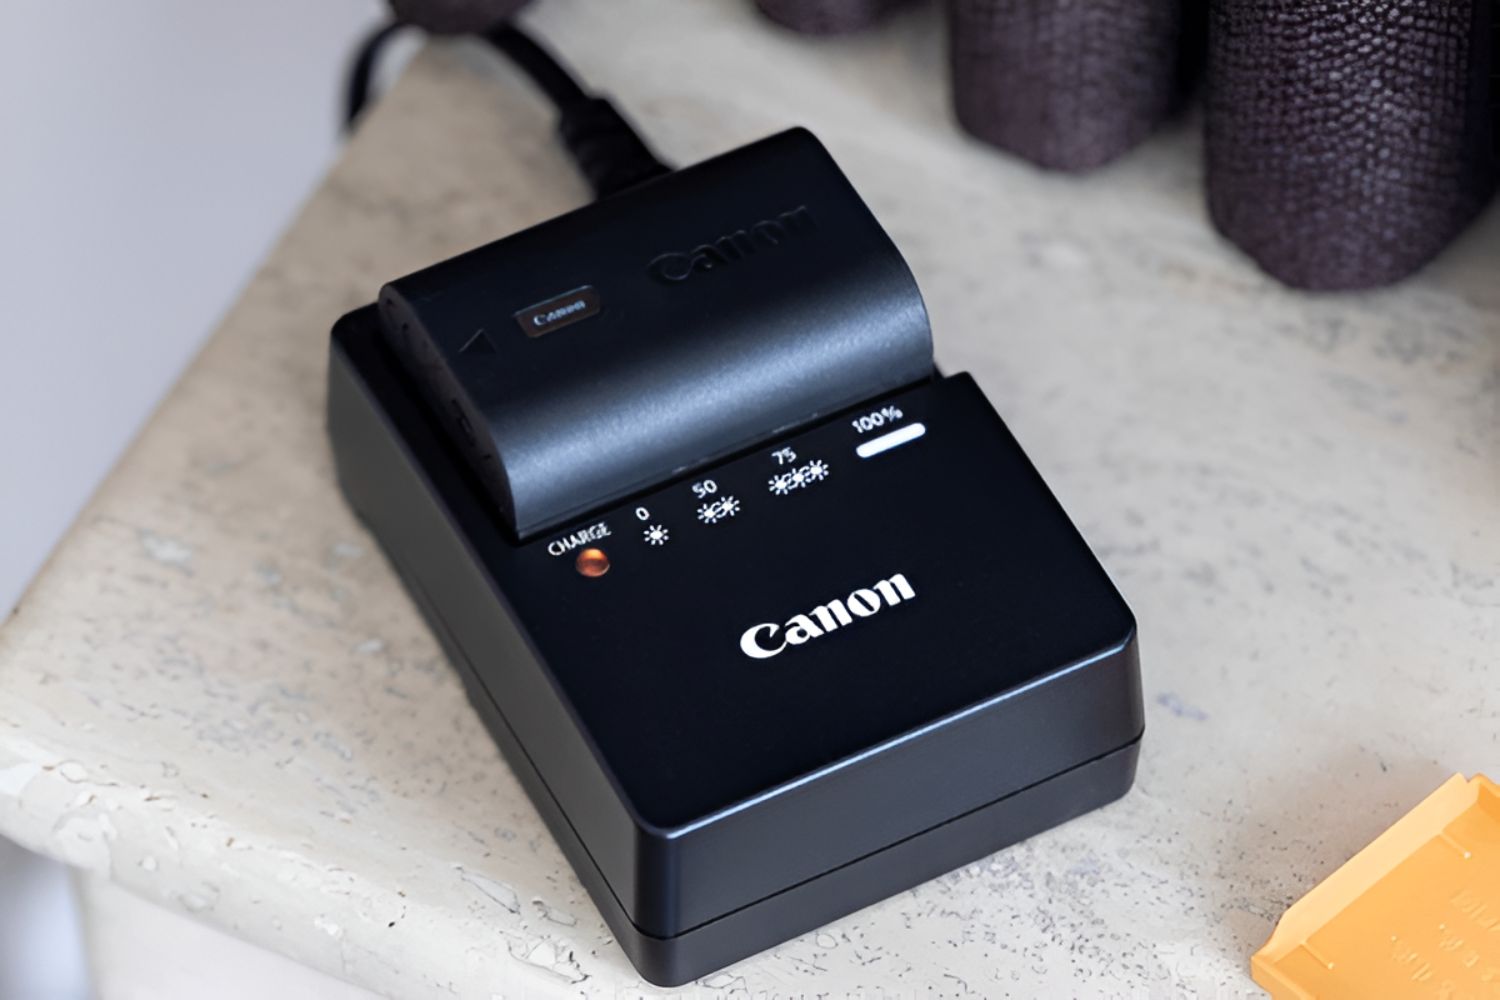
Inserting the Battery into the Charger
With the charger connected to a suitable power source, the next step in the charging process involves inserting the Canon digital video camcorder battery into the charger. Proper handling and alignment are essential to ensure a secure and effective connection between the battery and the charger.
Begin by locating the designated slot on the charger that is specifically designed to accommodate your Canon digital video camcorder battery. This slot is typically shaped to match the dimensions of the battery, facilitating a snug fit and secure positioning during the charging process.
Gently pick up the Canon digital video camcorder battery, taking care to align the contacts on the battery with the corresponding terminals within the charger’s slot. Ensure that the battery is oriented correctly, matching the polarity indicators to guarantee a proper connection. Avoid applying excessive force when inserting the battery, as this may damage the contacts or the charger itself.
Once the battery is aligned with the charger’s slot, carefully insert it into place, ensuring a smooth and steady motion. The battery should fit snugly within the slot, with minimal wobbling or displacement. Take a moment to verify that the battery is securely positioned and that the contacts are making proper contact with the charger’s terminals.
It is essential to exercise caution and precision when inserting the battery into the charger, as mishandling or improper alignment may hinder the charging process or result in an unstable connection. By prioritizing gentle and accurate insertion, you can set the stage for a reliable and efficient charging experience for your Canon digital video camcorder battery.
Charging the Battery
Once the Canon digital video camcorder battery is securely inserted into the charger, the charging process can commence. This phase is pivotal in replenishing the battery’s power and ensuring that it is fully charged for uninterrupted usage during filming sessions. Understanding the nuances of the charging process is essential for optimizing the battery’s performance and longevity.
Upon inserting the battery into the charger, verify that the charger’s indicator lights, if present, confirm the initiation of the charging process. These indicators may include LED lights or digital displays that provide real-time feedback on the charging status, such as the current charge level or the ongoing charging activity.
It is important to allow the battery to charge undisturbed for the recommended duration specified by the manufacturer. Avoid removing the battery from the charger prematurely, as this may result in an incomplete charge, impacting the battery’s overall capacity and performance. Adhering to the designated charging duration ensures that the battery attains its maximum charge potential, ready to power your Canon digital video camcorder effectively.
During the charging process, it is advisable to monitor the charger for any unusual behavior or signs of malfunction. If you observe any irregularities, such as excessive heat or unusual sounds emanating from the charger, immediately discontinue the charging process and seek assistance from Canon’s support channels or authorized service centers.
As the battery approaches full charge, the charger’s indicators may reflect a change in the charging status, signaling that the battery is nearing its maximum capacity. Some chargers may feature a distinct indicator, such as a solid light or a digital notification, to denote the completion of the charging process. Once the charger confirms that the battery is fully charged, carefully remove the battery from the charger to prevent overcharging.
By conscientiously monitoring the charging process and adhering to the manufacturer’s guidelines, you can ensure that your Canon digital video camcorder battery is optimally charged and primed for extended usage, empowering you to capture memorable moments with confidence and reliability.
Removing the Battery from the Charger
Upon completion of the charging process, the next crucial step is to remove the fully charged Canon digital video camcorder battery from the charger. Proper handling and attention to detail during this phase are essential to safeguard the battery’s integrity and ensure a seamless transition to its usage in the camcorder.
Before removing the battery from the charger, it is advisable to verify that the charger’s indicator lights or display confirm the completion of the charging process. These indicators typically signal when the battery has reached its full charge capacity, providing assurance that the charging cycle is successfully concluded.
Once the charging process is confirmed as complete, carefully disconnect the charger from the power source. Exercise caution to avoid tugging or pulling on the charger’s cable, opting to grip the plug firmly and remove it from the power outlet with a smooth and steady motion. This precautionary measure helps prevent damage to the charger’s cable and ensures a safe disconnection from the power source.
With the charger disconnected, proceed to remove the fully charged Canon digital video camcorder battery from the charger. Gently grasp the battery and apply even pressure to slide it out of the charger’s slot, taking care to avoid abrupt movements that could dislodge the battery or damage the charger.
Upon successfully removing the battery from the charger, inspect the contacts on the battery to ensure they are clean and free from any debris or foreign particles. This quick examination helps maintain the integrity of the battery’s connections and promotes optimal performance when inserted into the camcorder.
After confirming the cleanliness of the battery’s contacts, store the fully charged battery in a safe and dry location, ready for use in your Canon digital video camcorder. It is advisable to place the battery in a protective case or designated compartment to shield it from potential damage and environmental factors until it is ready for insertion into the camcorder.
By meticulously following the proper procedures for removing the fully charged battery from the charger, you can ensure that the battery remains in pristine condition and is poised to deliver reliable power for your Canon digital video camcorder, empowering you to capture life’s precious moments with confidence and ease.