Introduction
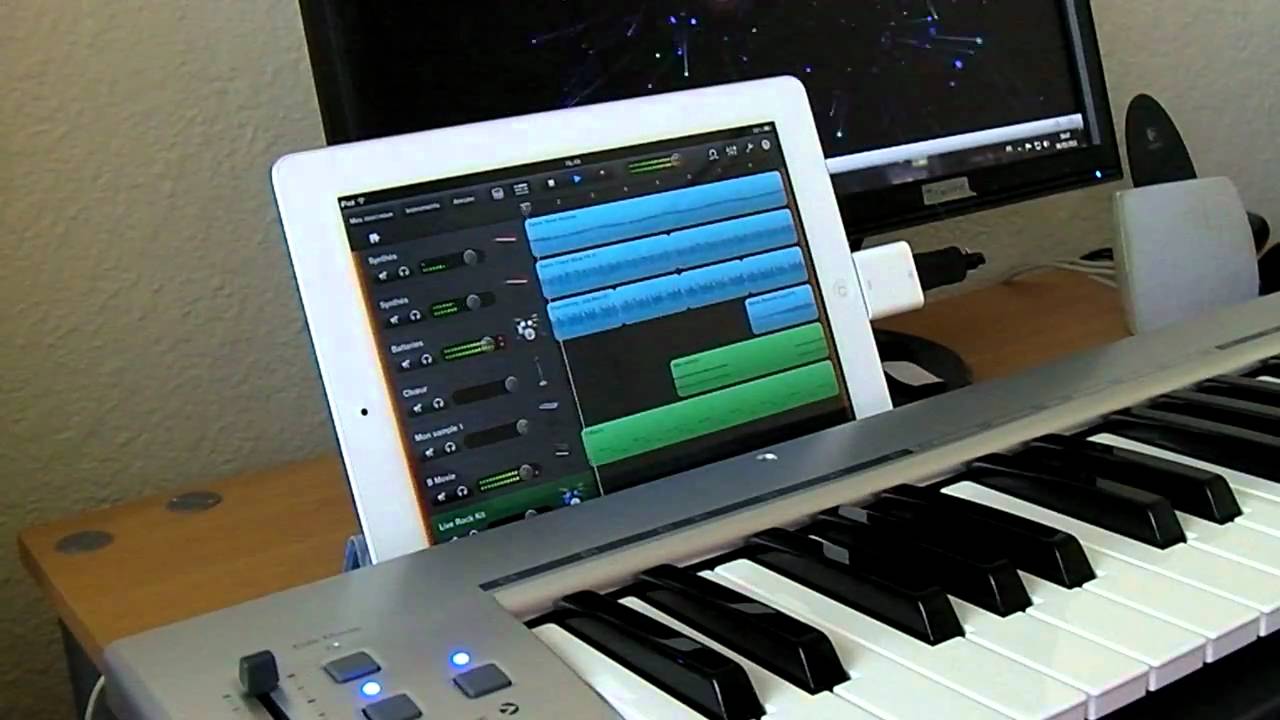
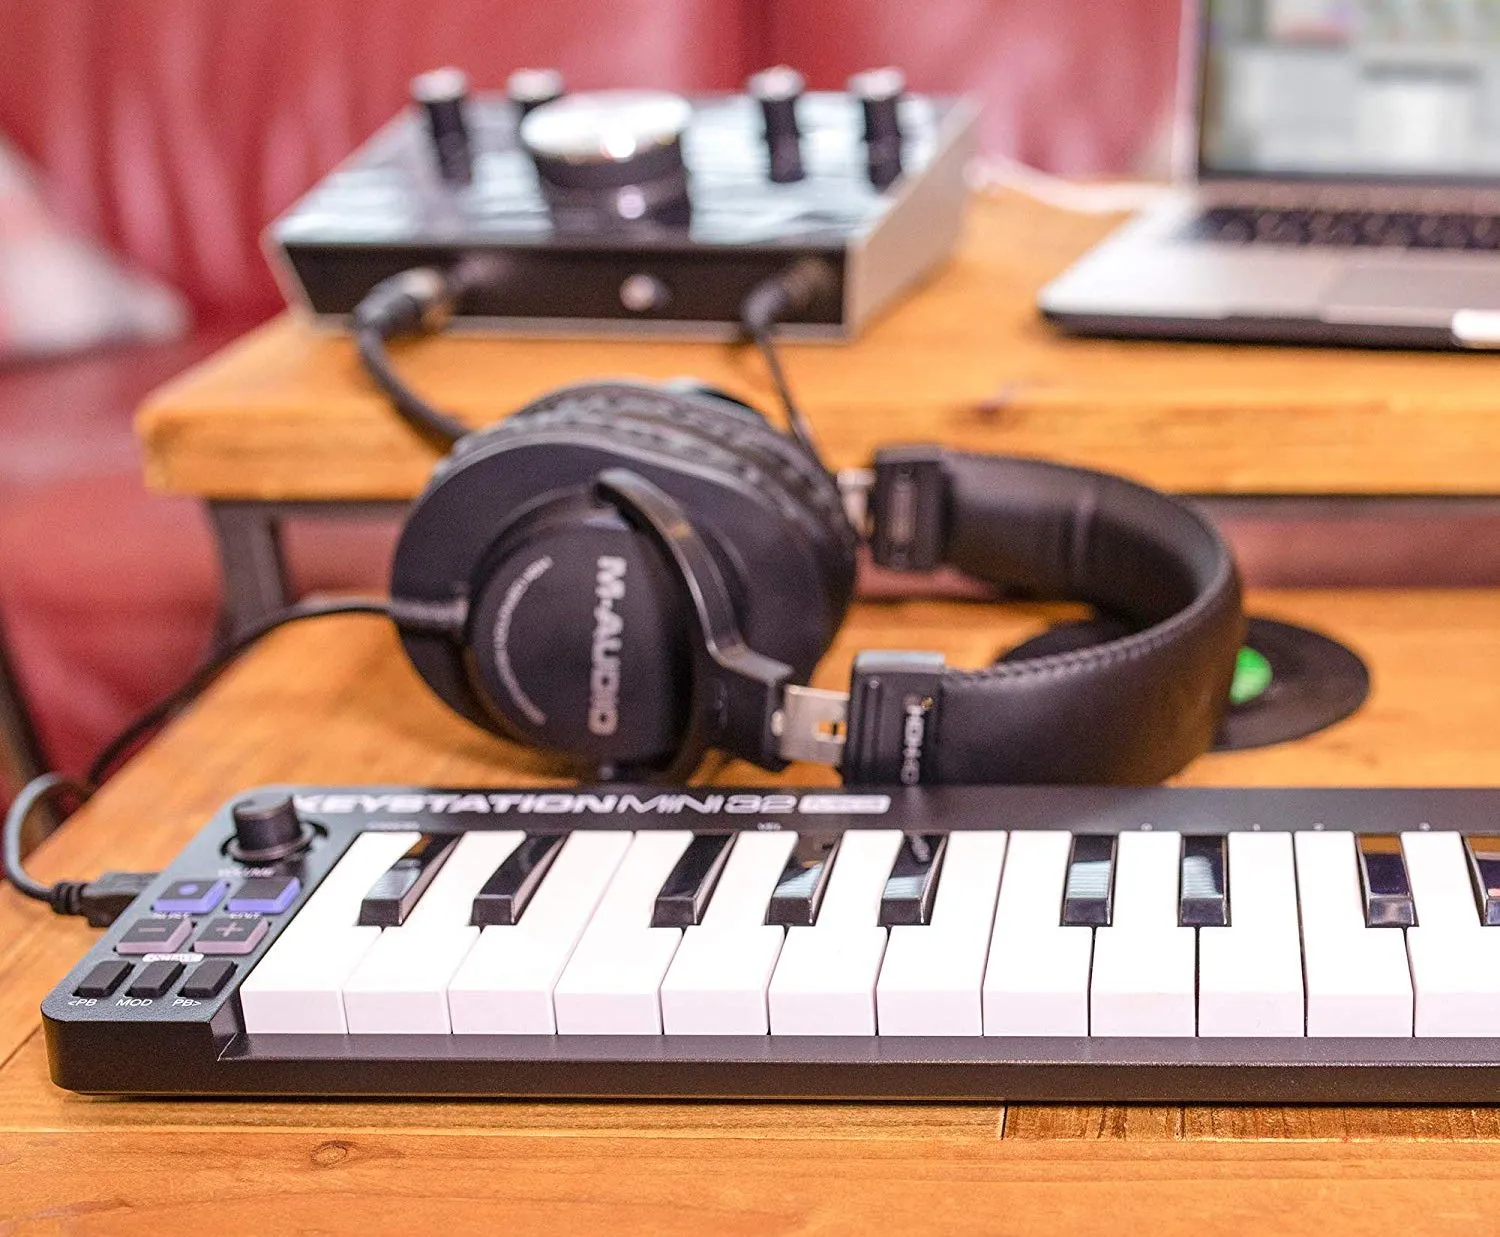
So, you've got a MIDI keyboard and an iPad, and you want to make some music using Garageband. Well, you're in the right place! In this guide, I'll walk you through the process of using your MIDI keyboard with Garageband on your iPad, so you can start creating your own musical masterpieces.
Garageband is a powerful music creation tool that comes pre-installed on most iPads. It offers a wide range of virtual instruments and a user-friendly interface, making it an ideal platform for both beginners and experienced musicians. By connecting your MIDI keyboard to Garageband, you can take advantage of the expressive capabilities of a physical instrument while leveraging the versatility of digital music production.
Whether you're a seasoned pianist, a budding producer, or just someone who loves to tinker with sounds, integrating your MIDI keyboard with Garageband opens up a world of creative possibilities. You'll be able to play and record realistic-sounding instruments, experiment with different sounds and effects, and unleash your musical imagination in a way that's simply not possible with the iPad's touchscreen alone.
In the following sections, I'll guide you through the process of setting up your MIDI keyboard, connecting it to Garageband, and using it to play virtual instruments and record your performances. By the end of this guide, you'll be well-equipped to harness the full potential of your MIDI keyboard within the Garageband environment, empowering you to explore, create, and express yourself through the magic of music. Let's dive in and unlock the synergy between your MIDI keyboard and Garageband on your iPad!
Setting up your MIDI Keyboard
Before you can start using your MIDI keyboard with Garageband on your iPad, you need to ensure that it is properly set up and ready to communicate with your device. Here’s how to get everything in place:
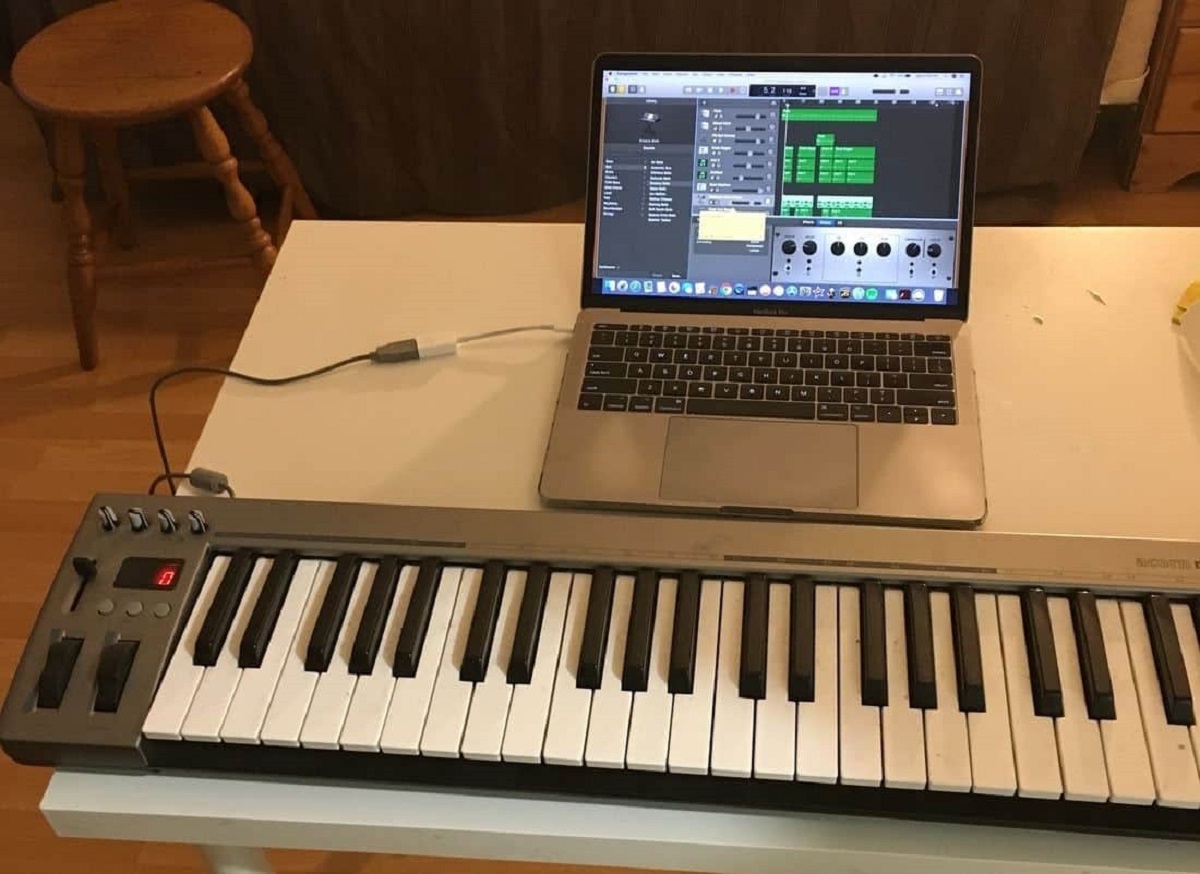
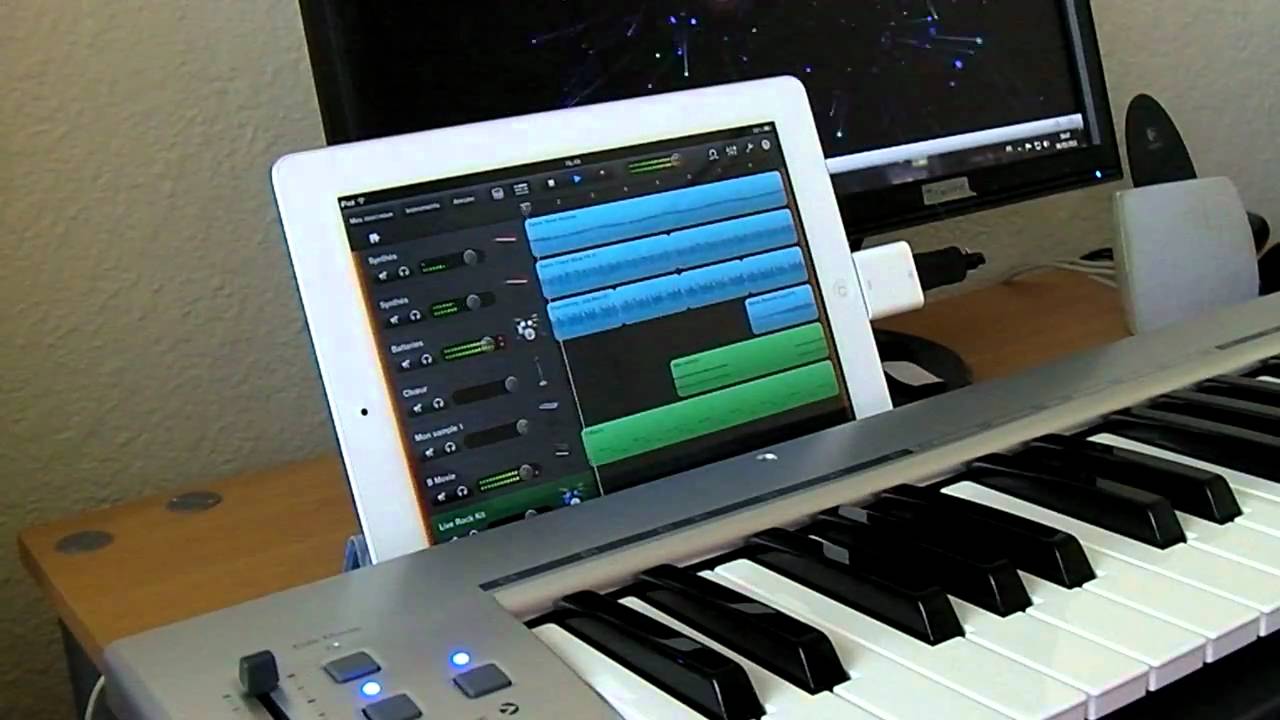
- Power On and Connect: Begin by powering on your MIDI keyboard and connecting it to your iPad using a compatible USB adapter or MIDI interface. Ensure that all connections are secure and that the keyboard is receiving power.
- Enable MIDI Access: Once your keyboard is connected, navigate to the Settings app on your iPad. From there, go to “Garageband” and make sure that the “MIDI” option is enabled. This allows Garageband to recognize and communicate with your MIDI keyboard.
- Check Compatibility: It’s important to verify that your specific MIDI keyboard model is compatible with Garageband and iOS devices. Refer to the manufacturer’s documentation or website for any specific compatibility requirements or software updates.
- Adjust Settings: Within Garageband, access the settings menu to configure the MIDI input preferences. This includes selecting your MIDI keyboard as the input device and adjusting any additional parameters such as velocity sensitivity and MIDI channel assignments.
By following these steps, you’ll ensure that your MIDI keyboard is properly set up and ready to interface with Garageband on your iPad. This initial preparation is crucial for establishing a seamless connection and enabling a smooth musical workflow. Once your MIDI keyboard is set up, you can move on to the next steps of integrating it with Garageband to unleash its full potential.
Connecting your MIDI Keyboard to Garageband
Now that your MIDI keyboard is set up and ready to go, it’s time to establish the connection between your keyboard and Garageband on your iPad. Here’s how to seamlessly integrate the two:
- Launch Garageband: Open the Garageband app on your iPad to access the main interface. Once inside the app, you’ll be able to create a new project or open an existing one where you want to use your MIDI keyboard.
- Select a Virtual Instrument: Within Garageband, choose a virtual instrument or software instrument track where you want to use your MIDI keyboard. This could be a piano, synthesizer, drum kit, or any other instrument available in Garageband’s extensive library.
- Enable MIDI Input: Tap on the track’s settings or instrument icon to access the instrument settings. Look for the MIDI input options and ensure that your MIDI keyboard is selected as the input device for the track. This allows Garageband to receive and interpret the signals from your keyboard.
- Test the Connection: Press the keys on your MIDI keyboard to verify that the connection is working properly. You should hear the sound of the selected virtual instrument in Garageband as you play, indicating that the MIDI input is successfully linked to the software instrument.
- Adjust Latency and Settings: If you encounter any noticeable delay (latency) between pressing the keys on your MIDI keyboard and hearing the sound from Garageband, you may need to adjust the audio settings within the app to minimize latency for a more responsive playing experience.
By following these steps, you’ll establish a direct connection between your MIDI keyboard and Garageband, allowing you to harness the expressive capabilities of your physical instrument to play and control the virtual instruments within the app. This integration sets the stage for creating and performing music with a tactile and dynamic approach, bringing your compositions to life with the touch of your fingertips.
Using your MIDI Keyboard to play virtual instruments
Now that your MIDI keyboard is connected to Garageband on your iPad, you can begin exploring the creative possibilities of playing virtual instruments with the tactile responsiveness of your keyboard. Here’s how to make the most of this musical synergy:
- Expressive Playing: The MIDI keyboard allows for nuanced and expressive playing, enabling you to infuse your music with dynamics, articulation, and emotion. The velocity-sensitive keys respond to the force of your touch, allowing for a wide range of musical expression.
- Exploring Sound Options: With your MIDI keyboard, you can easily explore and switch between different virtual instruments within Garageband. Whether it’s a classic piano, a lush string ensemble, or a cutting-edge synthesizer, your keyboard provides a hands-on approach to selecting and experimenting with various sounds.
- Control Parameters: Many virtual instruments in Garageband offer adjustable parameters such as filter cutoff, resonance, and modulation. Your MIDI keyboard’s knobs, sliders, and wheels can be mapped to these parameters, giving you real-time control over the sonic characteristics of the instruments you’re playing.
- Layering and Splitting: Some MIDI keyboards support layering multiple sounds or splitting the keyboard into different zones, allowing you to play multiple instruments simultaneously or switch between them seamlessly. This feature enhances your ability to craft complex and textured arrangements with ease.
- Recording Performances: Garageband enables you to record your MIDI keyboard performances directly into the app, capturing your musical ideas and improvisations as MIDI data. This recorded data can then be edited, quantized, and refined to shape your compositions with precision.
By leveraging your MIDI keyboard to play virtual instruments in Garageband, you’ll experience a level of musical interaction and control that transcends the limitations of traditional touchscreen interfaces. The tactile nature of the keyboard empowers you to connect with your music on a deeper level, fostering creativity and musicality in your compositions and performances.
Recording with your MIDI Keyboard
Once you’ve mastered playing virtual instruments with your MIDI keyboard in Garageband, the next step is to harness its recording capabilities to capture your musical performances and ideas. Recording with your MIDI keyboard opens up a world of possibilities for creating and refining your compositions. Here’s how to make the most of this functionality:
- Setting Up the Recording: Before you start recording, ensure that your MIDI keyboard is properly connected to Garageband and that the desired virtual instrument is selected. You can create a new track specifically for recording your keyboard performances or use an existing one within your project.
- Enabling Metronome and Count-In: Garageband offers a metronome and count-in feature to help you stay in time and prepare for the recording. Activate these tools to establish a steady rhythm and provide a lead-in before your performance begins.
- Recording MIDI Data: When you’re ready, simply press the record button within Garageband to start capturing your MIDI keyboard performance. As you play, the app will record the MIDI data, including note events, velocity, and other expressive nuances, allowing you to capture the essence of your playing.
- Overdubbing and Layering: Garageband supports overdubbing, which means you can record additional layers of MIDI data on top of existing recordings. This feature is invaluable for building up complex arrangements and adding layers of instrumentation to your compositions.
- Editing and Quantizing: After recording, you can edit the recorded MIDI data to refine the timing, dynamics, and phrasing of your performance. Garageband offers tools for quantizing notes to the grid, adjusting velocities, and fine-tuning the musical details to achieve the desired musical expression.
- Exporting and Sharing: Once you’re satisfied with your recorded MIDI performances, you can export them from Garageband in various formats for sharing, further production, or collaboration with other musicians and producers.
Recording with your MIDI keyboard in Garageband empowers you to capture the spontaneity and creativity of your musical ideas, turning them into polished compositions and arrangements. Whether you’re laying down melodies, crafting intricate harmonies, or experimenting with rhythmic patterns, the recording capabilities of Garageband provide a versatile platform for realizing your musical vision.
Conclusion
Congratulations! You’ve now unlocked the potential of your MIDI keyboard within the Garageband environment on your iPad. By following the steps outlined in this guide, you’ve learned how to seamlessly integrate your physical instrument with the virtual world of music production, opening up a realm of creative possibilities.
From setting up your MIDI keyboard and establishing the connection with Garageband to playing virtual instruments, recording performances, and refining your compositions, you’ve embarked on a journey that merges the tactile artistry of traditional instruments with the boundless capabilities of digital music creation.
By leveraging your MIDI keyboard, you can infuse your music with nuanced expression, dynamic performances, and personalized control over virtual instruments. The ability to record and refine your musical ideas directly within Garageband empowers you to capture the essence of your creativity and share it with the world.
Whether you’re a seasoned musician, a budding producer, or an enthusiast exploring the art of music creation, the synergy between your MIDI keyboard and Garageband offers a platform for innovation, expression, and sonic exploration. The marriage of traditional and modern musical tools fosters a rich and immersive creative experience, allowing you to bring your musical visions to life with unparalleled depth and authenticity.
As you continue to explore the realm of MIDI music production on your iPad, remember that the journey is as rewarding as the destination. Embrace the joy of experimentation, the thrill of discovery, and the satisfaction of bringing your musical ideas to fruition. Your MIDI keyboard is not just a tool; it’s an extension of your musical voice, and with Garageband as your canvas, the possibilities are endless.
So, go ahead, immerse yourself in the world of MIDI music creation, and let your creativity soar. Whether you’re composing, performing, or simply exploring new sounds, your MIDI keyboard and Garageband await, ready to amplify your musical journey with every note and every beat.


