Introduction
Welcome to the world of music production with GarageBand! Whether you’re a seasoned pianist or just starting out, using a digital piano on GarageBand opens up a world of creative possibilities. With its intuitive interface and powerful features, GarageBand allows you to harness the full potential of your digital piano, turning your musical ideas into polished tracks.
By integrating your digital piano with GarageBand, you can take advantage of its extensive library of virtual instruments, recording and editing tools, and professional-grade effects. This seamless integration empowers you to compose, record, and produce high-quality piano performances without leaving the comfort of your home studio.
In this guide, we’ll walk you through the process of using your digital piano on GarageBand, from setting up your instrument to recording, editing, and adding effects to your piano tracks. Whether you’re looking to create beautiful piano compositions, record cover songs, or experiment with different musical genres, GarageBand provides the platform and tools to bring your musical vision to life.
So, grab your digital piano, fire up GarageBand, and let’s embark on a musical journey where your creativity knows no bounds. Get ready to explore the endless possibilities of using a digital piano on GarageBand and unleash your musical genius.
Setting Up Your Digital Piano
Before you can start creating beautiful music with your digital piano on GarageBand, it’s essential to ensure that your instrument is properly set up and ready to be integrated with the software. Follow these steps to set up your digital piano for a seamless experience:
- Positioning Your Digital Piano: Find a comfortable and well-lit space for your digital piano. Ensure that it is placed near an electrical outlet for power and within reach of your computer or recording device.
- Connecting Power and Audio: Use the provided power adapter to connect your digital piano to a power source. Additionally, if your digital piano has audio output options, such as USB or MIDI, ensure that the necessary cables are connected to your computer or audio interface.
- Adjusting Settings: Familiarize yourself with the settings and features of your digital piano. Check the volume, key sensitivity, and any other customizable options to suit your playing style and preferences.
- Installing Drivers (if required): Some digital pianos may require specific drivers to be installed on your computer to enable seamless communication between the instrument and GarageBand. Check the manufacturer’s instructions and install any necessary drivers before proceeding.
By meticulously setting up your digital piano, you lay the foundation for a smooth and productive music-making experience on GarageBand. Once your instrument is positioned, powered, and connected to your recording setup, you’re ready to dive into the world of digital music production with confidence.
Connecting Your Digital Piano to GarageBand
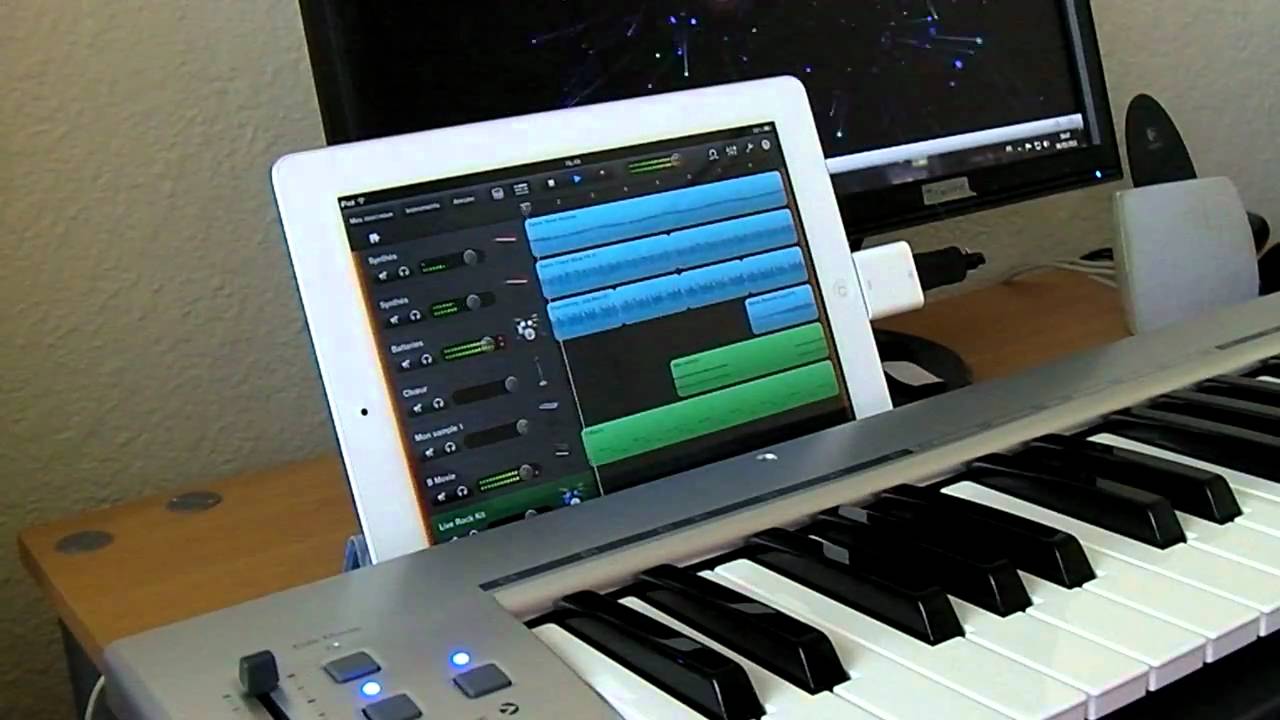
Now that your digital piano is set up and ready to go, it’s time to establish a seamless connection between your instrument and GarageBand. This step is crucial for enabling real-time performance recording, MIDI input, and accessing the diverse range of virtual instruments available within the software. Here’s how to connect your digital piano to GarageBand:
- USB or MIDI Connection: Depending on the connectivity options of your digital piano, you can connect it to your computer using a USB cable or MIDI interface. USB connection offers plug-and-play convenience, while MIDI connections may require additional setup in GarageBand’s preferences.
- Configuring GarageBand’s MIDI Settings: Open GarageBand’s preferences and navigate to the MIDI section. Ensure that your digital piano is recognized and selected as a MIDI input device. This step establishes the communication link between your piano and GarageBand, allowing MIDI data to be transmitted seamlessly.
- Testing MIDI Input: To verify that your digital piano is successfully connected, play a few notes on the instrument and observe the MIDI input signal within GarageBand. You should see visual feedback indicating that MIDI data is being received from your piano.
- Assigning Virtual Instruments: GarageBand offers a vast array of virtual instruments, including pianos, synthesizers, and orchestral sounds. Once your digital piano is connected, you can assign these virtual instruments to respond to MIDI input from your piano, allowing you to play and record using high-quality sampled sounds.
By establishing a solid connection between your digital piano and GarageBand, you unlock the full potential of both your instrument and the software, enabling a seamless and expressive music-making experience. With the technical aspects sorted, you’re now ready to delve into the creative process of composing, recording, and producing captivating piano performances.
Choosing the Right Instrument
GarageBand offers a diverse selection of virtual instruments, each meticulously sampled to deliver authentic and expressive sounds. When using your digital piano on GarageBand, selecting the right instrument is essential to evoke the desired mood and enhance the musicality of your compositions. Here’s how to choose the perfect instrument for your piano performances:
- Piano Models: GarageBand features an extensive collection of piano models, ranging from classic grands to modern uprights. Consider the tonal characteristics and responsiveness of each model to find one that complements your playing style and musical genre.
- Electric Pianos and Keyboards: Explore the variety of electric pianos and vintage keyboards available in GarageBand. These instruments offer distinct timbres, from warm and mellow tones to bright and percussive sounds, adding versatility to your piano performances.
- Orchestral Sounds: For cinematic compositions or orchestral arrangements, GarageBand provides an array of orchestral instruments, including string ensembles, brass sections, and woodwinds. Incorporating these instruments can elevate your piano recordings to symphonic heights.
- Synthesizers and Soundscapes: Unleash your creativity by experimenting with synthesizers and atmospheric soundscapes. These instruments allow you to sculpt otherworldly textures and ethereal pads, expanding the sonic palette of your piano-based compositions.
By carefully selecting the right instrument for your piano performances, you can infuse your recordings with character, emotion, and sonic depth. Whether you’re aiming for a traditional piano sound, seeking experimental textures, or orchestrating complex arrangements, GarageBand’s diverse instrument library empowers you to realize your musical vision with precision and artistry.
Recording Your Piano Performance
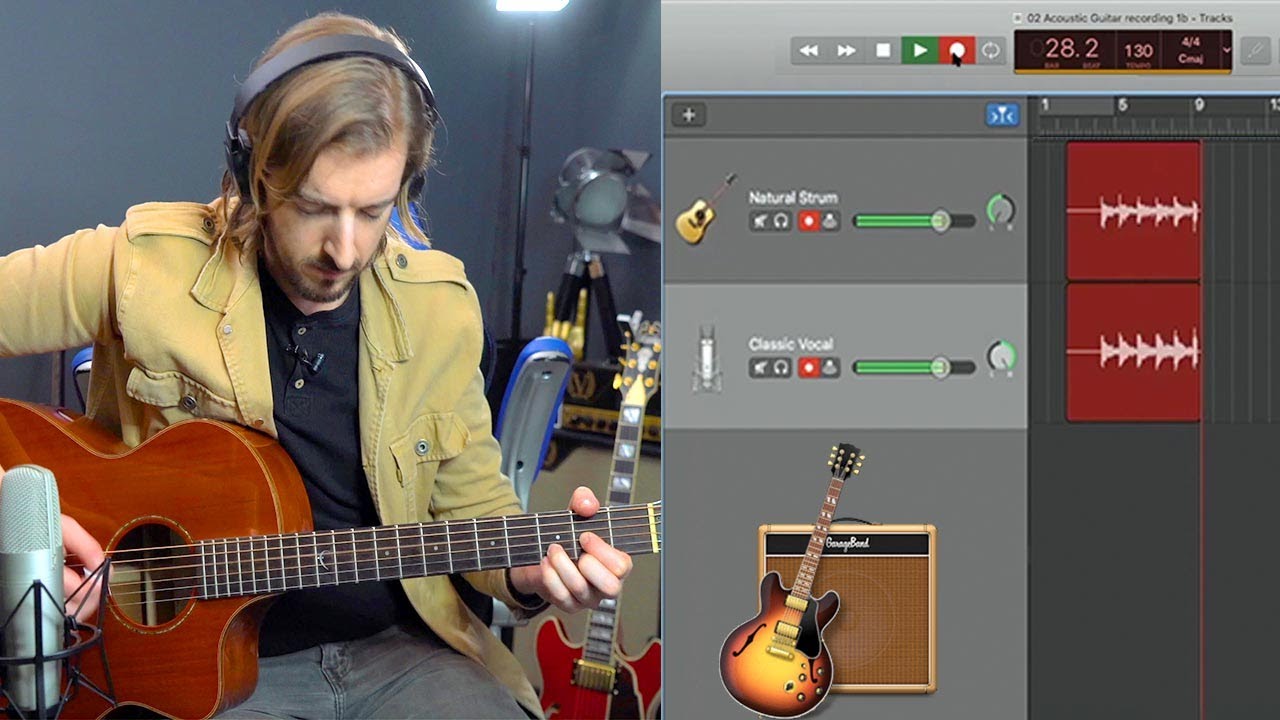
With your digital piano connected and the instrument of your choice selected, it’s time to capture your expressive piano performance in GarageBand. The recording process allows you to preserve your musical ideas, nuances, and emotions, ensuring that every note and phrase is faithfully captured. Here’s how to record your piano performance with finesse:
- Setting Up the Recording Environment: Find a quiet space free from distractions, ensuring that your digital piano is positioned comfortably for optimal performance. Adjust the lighting and seating to create a conducive atmosphere for focused playing and recording.
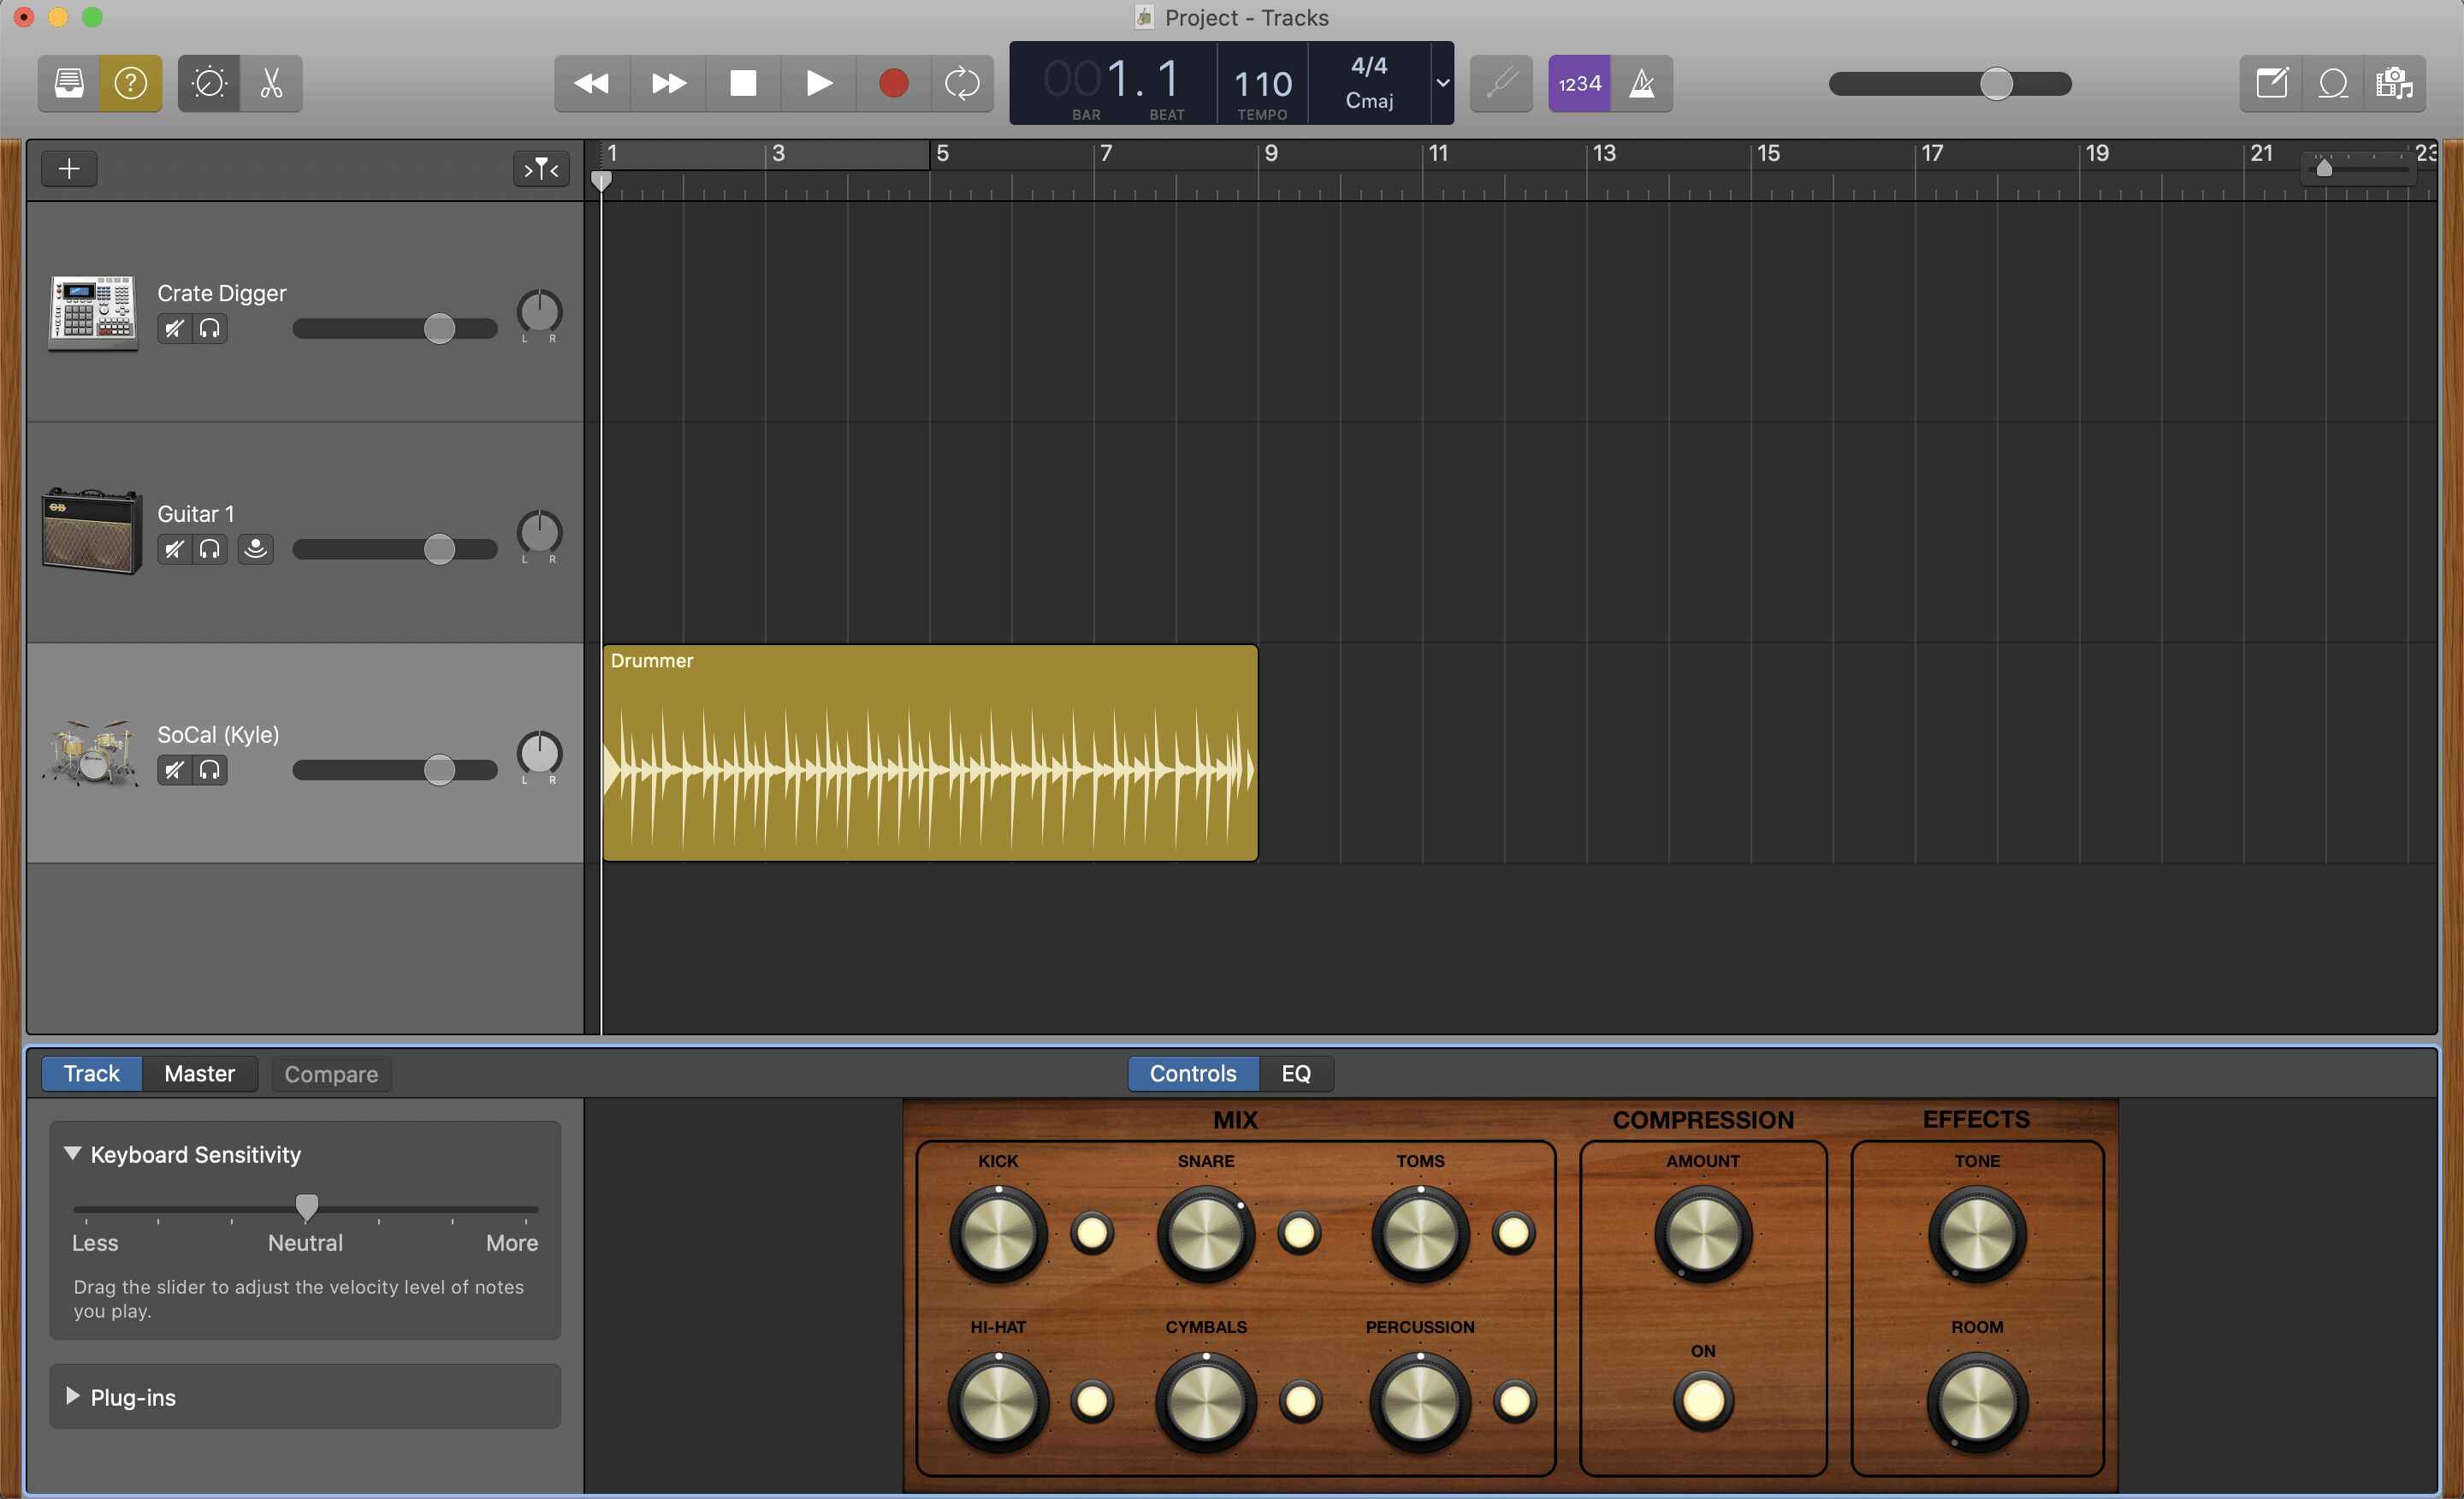
- Creating a New Project: Open GarageBand and create a new project. Select the appropriate tempo, key signature, and time signature to match the musical context of your piano performance.
- Arming the Track for Recording: Create a new software instrument track in GarageBand and ensure that it is armed for recording. Set the input source to your digital piano, allowing GarageBand to receive MIDI data and audio signals from your instrument.
- Recording in Real Time: Press the record button in GarageBand and begin playing your piano performance. As you play, GarageBand captures the MIDI data and translates it into the selected virtual instrument’s sound, enabling you to record expressive performances with nuanced dynamics and articulations.
- Overdubbing and Layering: If your performance requires additional layers or overdubs, GarageBand’s multitrack recording capabilities allow you to layer multiple piano parts, experiment with harmonies, and build rich arrangements seamlessly.
Recording your piano performance in GarageBand empowers you to immortalize your musical expressions with precision and clarity. The software’s intuitive recording features, coupled with the responsiveness of your digital piano, ensure that every subtlety and emotion in your playing is faithfully captured, setting the stage for further refinement and creative exploration.
Editing Your Piano Recording
Once you’ve recorded your piano performance in GarageBand, the software provides a comprehensive suite of editing tools to refine and perfect your musical creations. From fine-tuning note timings to sculpting the dynamics of your performance, the editing process allows you to elevate your piano recordings to new heights of musicality. Here’s how to edit your piano recording with precision and artistry:
- Quantizing and Correcting Timing: GarageBand’s quantization feature enables you to align note timings to a grid, ensuring rhythmic accuracy and tightness in your piano performance. This tool is particularly useful for tightening up loose rhythms and achieving a polished, professional sound.
- Adjusting Note Velocities: Delve into the MIDI editor to adjust the velocities of individual notes, enhancing the dynamic range and expression of your piano recording. By varying the velocities, you can imbue your performance with nuanced dynamics and emotive phrasing.
- Editing Sustain and Pedal Effects: Fine-tune sustain pedal markings and pedal effects within GarageBand’s piano roll editor, allowing you to craft seamless and natural-sounding sustain and release characteristics in your piano recording.
- Arranging and Trimming Sections: Utilize GarageBand’s arrangement tools to trim, split, and rearrange sections of your piano performance. This flexibility enables you to sculpt the structure of your composition and explore different musical ideas effortlessly.
- Applying Articulations and Expression: Experiment with articulation markings and MIDI expression controls to infuse your piano recording with lifelike articulations, such as staccato, legato, and crescendo/decrescendo, adding depth and authenticity to your performance.
By leveraging GarageBand’s editing capabilities, you can refine every aspect of your piano recording, ensuring that it embodies your artistic vision with precision and clarity. The software’s intuitive interface and powerful editing tools empower you to sculpt your piano performances into polished and emotive musical statements, setting the stage for a captivating listening experience.
Adding Effects and Plugins
GarageBand offers a rich assortment of effects and plugins that can enhance the sonic character and ambience of your piano recordings. From reverbs that create lush spatial environments to compressors that shape the dynamics of your performance, these tools allow you to infuse your piano tracks with depth, presence, and sonic finesse. Here’s how to leverage effects and plugins to elevate your piano recordings:
- Reverb and Ambience: Experiment with different reverb types and settings to imbue your piano recordings with a sense of space and depth. Whether you prefer intimate room reverbs or expansive hall ambience, GarageBand’s reverb effects can add a captivating sonic dimension to your performances.
- EQ and Dynamics Processing: Use equalization to sculpt the tonal balance of your piano recordings, emphasizing the richness of the instrument’s timbre. Additionally, apply dynamics processing, such as compression and limiting, to refine the overall dynamics and ensure a balanced, polished sound.
- Modulation and Time-Based Effects: Explore modulation effects, such as chorus and phaser, to add movement and texture to your piano performances. Time-based effects, including delay and echo, can create captivating sonic landscapes and enhance the expressive qualities of your playing.
- Tonal Shaping with Plugins: GarageBand’s extensive collection of audio unit plugins allows you to explore tonal shaping tools, vintage emulations, and creative sound processors. Consider experimenting with plugins to sculpt the sonic character of your piano recordings, adding unique tonal colors and textures.
- Automation and Effect Sends: Utilize automation to dynamically control effect parameters over the course of your piano performance, adding expressive swells, spatial movements, and tonal transformations. Additionally, explore effect sends to create parallel processing chains and blend effects seamlessly within your mix.
By integrating effects and plugins into your piano recordings, you can transform the sonic landscape, imbuing your performances with depth, character, and sonic allure. GarageBand’s versatile array of effects and plugins empowers you to shape and embellish your piano tracks with artistic precision, elevating them to captivating sonic experiences that resonate with listeners.
Mixing and Mastering Your Piano Track
Once you’ve recorded, edited, and enhanced your piano performance, the mixing and mastering stage allows you to sculpt the overall sonic balance, spatial depth, and tonal clarity of your piano track. GarageBand provides a comprehensive set of mixing and mastering tools that enable you to refine the nuances of your performance and ensure that it translates seamlessly across various playback systems. Here’s how to mix and master your piano track with finesse:
- Balancing Levels and Panning: Set the relative levels of individual tracks within your piano recording, ensuring that each element contributes harmoniously to the overall sonic landscape. Experiment with panning to create spatial width and depth, placing the piano within the stereo field with precision.
- Equalization and Frequency Balancing: Use EQ to refine the tonal balance of your piano track, addressing any frequency imbalances and enhancing the instrument’s sonic richness. Pay attention to the low, mid, and high-frequency ranges to ensure a cohesive and transparent tonal spectrum.
- Dynamic Processing and Control: Apply dynamic processing, such as compression and limiting, to shape the dynamics of your piano track, ensuring a consistent and polished sonic character. Tasteful use of dynamic control enhances the expressiveness and impact of your performance.
- Spatial Enhancement with Reverb and Ambience: Integrate reverbs and spatial effects to create a sense of depth and immersive ambience within your piano track. Carefully dial in the spatial characteristics to enhance the perceived acoustics and envelop the listener in a captivating sonic environment.
- Mastering and Output Processing: Utilize GarageBand’s mastering tools to apply final processing to your piano track, ensuring optimal loudness, tonal balance, and dynamic cohesion. Consider using mastering plugins to further enhance the sonic characteristics and prepare your track for distribution.
By embracing the mixing and mastering process, you can refine the sonic qualities of your piano track, ensuring that it resonates with clarity, depth, and expressive richness. GarageBand’s intuitive mixing and mastering tools empower you to craft a polished and professional sonic presentation, allowing your piano performance to shine with fidelity and impact across a wide range of listening environments.
Conclusion
Congratulations on embarking on a musical journey that has the potential to elevate your piano performances to new heights. By integrating your digital piano with GarageBand, you have unlocked a world of creative possibilities, enabling you to compose, record, and produce captivating piano tracks with finesse and artistry.
Throughout this guide, we’ve explored the seamless process of using a digital piano on GarageBand, from setting up your instrument to recording, editing, and refining your piano performances. By following the steps outlined in this guide, you’ve gained the knowledge and tools to harness the full potential of GarageBand’s powerful features and integrate them with the expressive capabilities of your digital piano.
As you continue to explore the myriad of virtual instruments, effects, and mixing tools within GarageBand, remember that your creativity knows no bounds. Whether you’re crafting emotive solo piano compositions, layering intricate arrangements, or experimenting with innovative sonic textures, GarageBand provides the platform for you to realize your musical vision with precision and passion.
Embrace the process of musical creation, allowing your digital piano and GarageBand to serve as your trusted companions on this artistic odyssey. With dedication, experimentation, and a keen ear for sonic detail, you have the potential to craft piano recordings that resonate deeply with listeners, evoking emotions and inspiring imaginations.
So, seize the opportunity to infuse your piano performances with authenticity, emotion, and sonic allure. Let your musical expressions flow freely, guided by the seamless integration of your digital piano with the boundless creative potential of GarageBand. Your journey as a pianist and music producer has just begun, and the possibilities are as limitless as your imagination.