Introduction
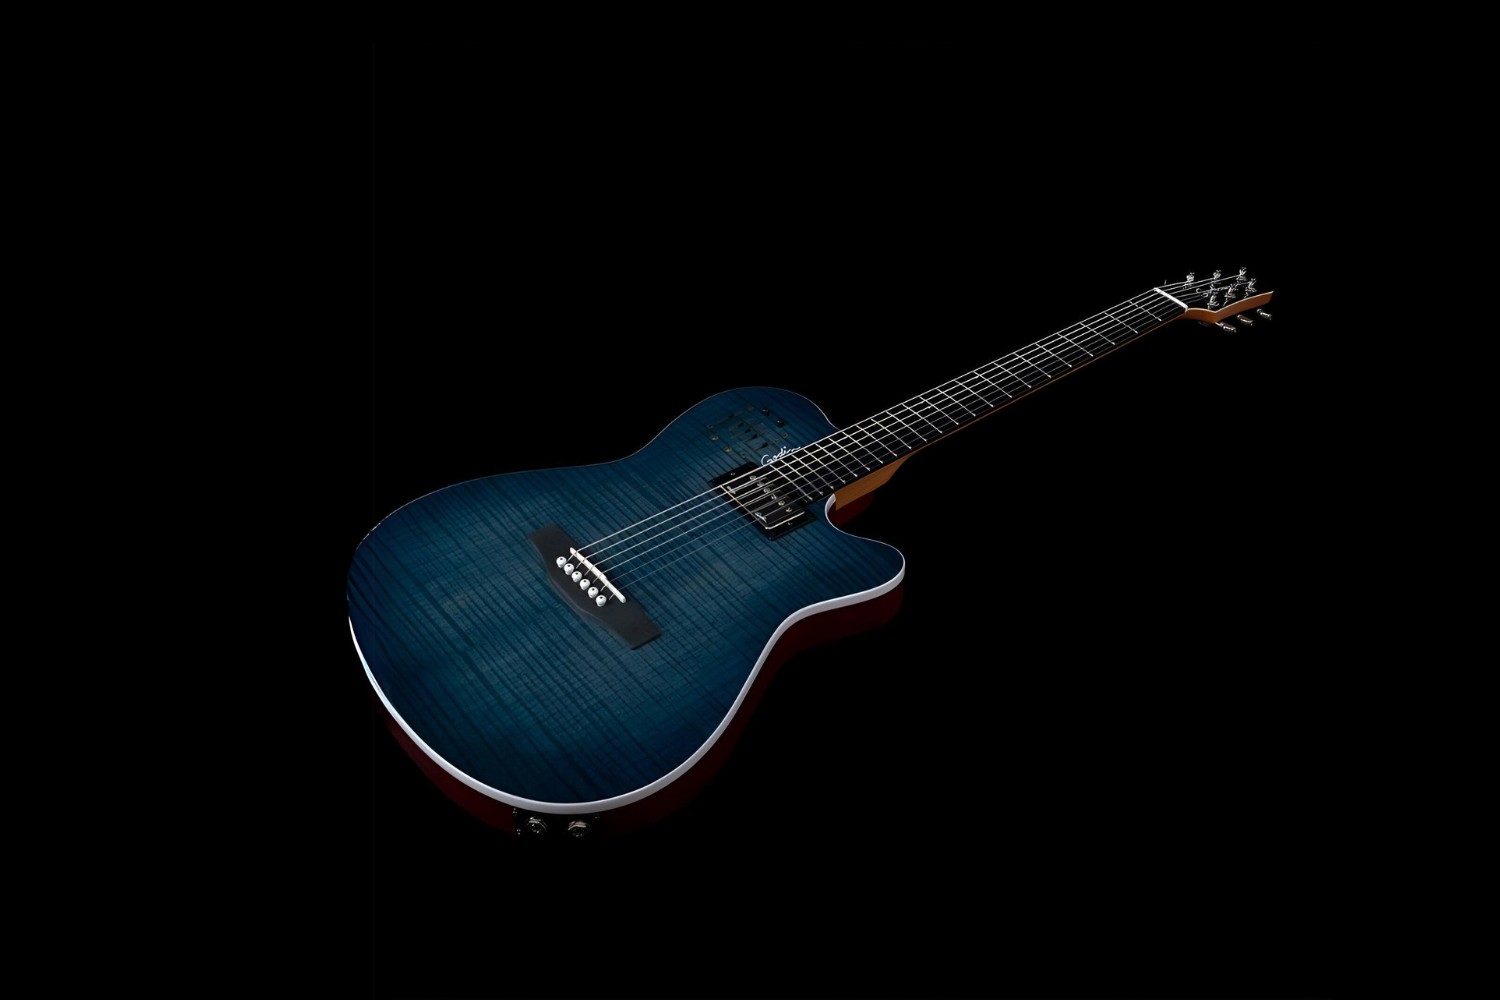
So, you've been playing your acoustic guitar for a while now, and while you love the warm, natural sound it produces, you can't help but wonder what it would be like to rock out with an electric guitar. The good news is that you don't have to invest in a brand new electric guitar to experience that electrifying sound. With a few simple modifications, you can transform your trusty acoustic guitar into an electric one.
Converting an acoustic guitar into an electric guitar is a popular choice for musicians who want to expand their sonic possibilities without breaking the bank. By adding a pickup, preamp, and jack to your acoustic guitar, you can enjoy the best of both worlds – the familiar feel of your acoustic guitar with the versatility and power of an electric guitar.
In this guide, we'll walk you through the step-by-step process of turning your acoustic guitar into an electric one. Whether you're a seasoned guitarist or a DIY enthusiast, this transformation is a rewarding project that allows you to customize your instrument to suit your unique style and sound preferences.
By the end of this guide, you'll have the knowledge and confidence to convert your acoustic guitar into an electric guitar, opening up a whole new world of musical possibilities. So, grab your tools and let's get started on this electrifying journey!
Step 1: Gather the Necessary Materials
Before you begin the process of converting your acoustic guitar into an electric guitar, it’s essential to gather all the necessary materials and tools. Here’s a list of items you’ll need to complete the transformation:
- Acoustic Guitar: Your trusty acoustic guitar will serve as the foundation for this project. Choose a guitar that you’re comfortable modifying, as the process will involve making alterations to its structure.
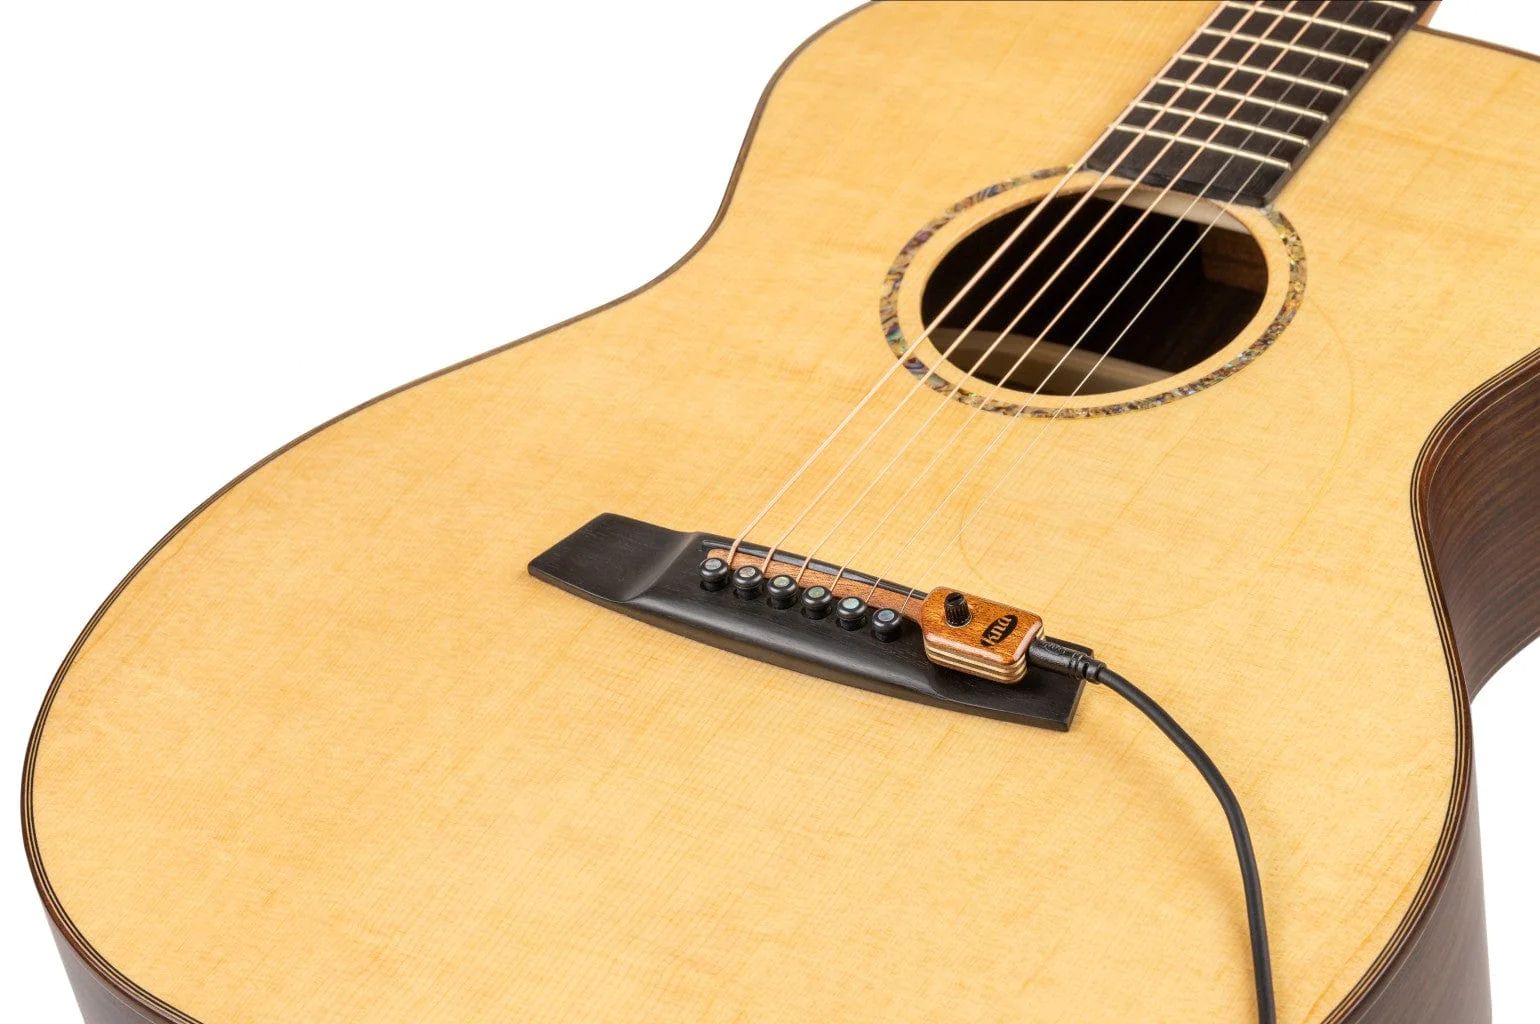
- Pickup: A pickup is a crucial component that captures the vibrations of the guitar strings and converts them into electrical signals. There are various types of pickups, including soundhole pickups, under-saddle pickups, and soundboard transducers. Select a pickup that aligns with your desired tone and playing style.
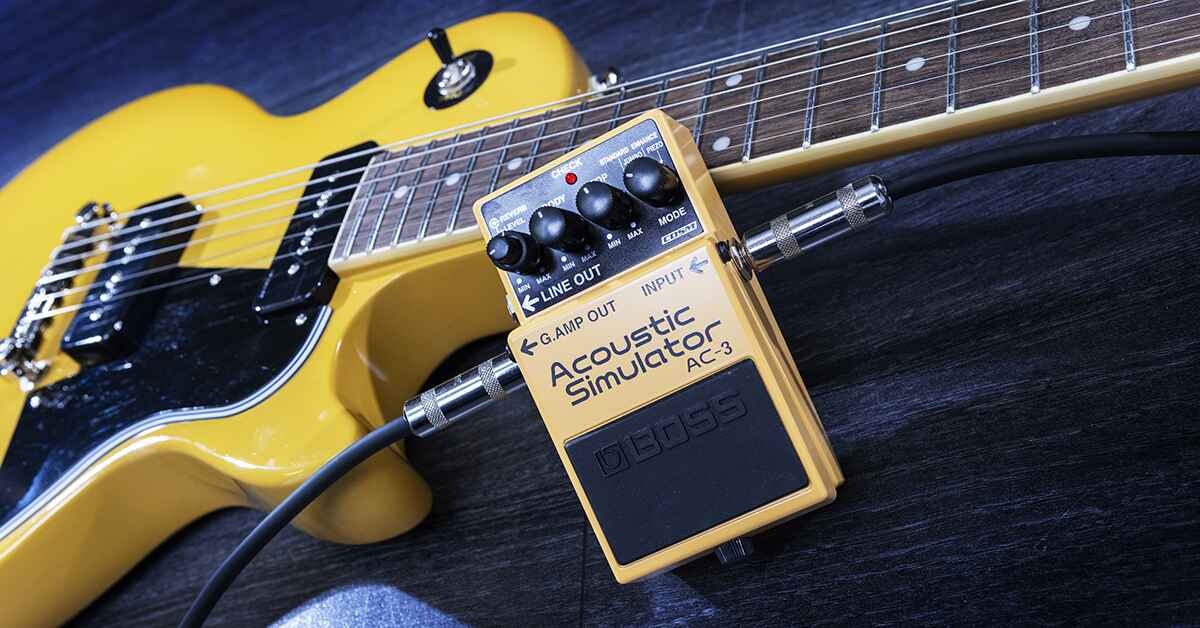
- Preamp: The preamp boosts the electrical signals from the pickup, shaping the tone and providing additional control over the sound. Some pickups come with built-in preamps, while others require an external preamp unit. Consider the tonal options and features offered by different preamps to find one that complements your musical preferences.
- Jack and Output Assembly: To connect your electric guitar to an amplifier or other audio equipment, you’ll need a jack and output assembly. This component serves as the interface for transmitting the guitar’s signal to external devices. Select a high-quality jack to ensure a reliable connection and optimal sound transmission.
- Wire and Soldering Equipment: Wiring the pickup, preamp, and jack together requires the use of insulated wire and soldering equipment. Ensure that you have the necessary wire gauges and soldering tools to make secure and durable connections.
- Tools: Various tools, such as screwdrivers, pliers, wire cutters, and a soldering iron, will be essential for installing the components and making adjustments to your guitar. Having the right tools on hand will streamline the conversion process and help you achieve professional results.
By gathering these materials, you’ll be well-prepared to embark on the journey of transforming your acoustic guitar into an electric powerhouse. With careful selection and attention to detail, you can ensure that the components you choose will enhance the playability and sonic capabilities of your instrument.
Step 2: Install a Pickup
Installing a pickup is a pivotal step in converting your acoustic guitar into an electric one, as it serves as the primary device for capturing the sound of the strings and transforming it into electrical signals. Here’s a detailed guide on how to install a pickup:
Evaluate Pickup Placement: Determine the optimal placement for the pickup based on your playing style and tonal preferences. Common locations include the soundhole, under the saddle, or on the guitar’s soundboard. Carefully consider the tonal characteristics and feedback resistance associated with each placement option.
Prepare the Guitar: Before installing the pickup, ensure that the guitar’s interior and exterior surfaces are clean and free of debris. This will facilitate a secure and stable installation while preventing any unwanted rattling or interference with the guitar’s natural resonance.
Install the Pickup: Follow the manufacturer’s instructions for installing the pickup in your chosen location. This typically involves securing the pickup in place using adhesive or mounting hardware. Take care to align the pickup properly and ensure that it makes full contact with the guitar’s body for optimal signal capture.
Connect the Pickup: Once the pickup is in place, carefully route its lead wire to the edge of the guitar, where it will connect to the preamp. Secure the wire along the guitar’s interior using adhesive-backed clips or other suitable fastening methods, ensuring that it remains taut and free from obstructions.
Test the Pickup: Before proceeding, test the pickup to confirm that it is functioning correctly. Plug the pickup’s lead wire into a suitable amplifier or audio interface and strum the guitar strings. Verify that the pickup accurately captures the sound and produces a clear, balanced signal without any unwanted noise or interference.
By following these steps, you can successfully install a pickup on your acoustic guitar, laying the foundation for its transformation into an electric instrument. The pickup’s placement and installation accuracy are critical factors that influence the guitar’s tonal characteristics and overall performance as an electric guitar.
Step 3: Install a Preamp
After successfully installing the pickup, the next crucial step in converting your acoustic guitar into an electric one is to install a preamp. The preamp plays a vital role in shaping and enhancing the electrical signals generated by the pickup, allowing for greater control over the guitar’s tone and output. Here’s a detailed guide on how to install a preamp:
Select the Preamp Location: Choose a suitable location for mounting the preamp on your guitar, considering factors such as accessibility, ergonomics, and aesthetic preferences. Common placement options include inside the guitar’s body, on the side of the instrument, or integrated into an external control panel.
Prepare for Installation: Ensure that the chosen location for the preamp is free of obstructions and compatible with the preamp’s dimensions. If necessary, create a recessed area or mounting platform to accommodate the preamp, providing a secure and unobtrusive installation.
Mount the Preamp: Secure the preamp in the chosen location using adhesive, mounting hardware, or a custom mounting bracket, following the manufacturer’s recommendations. Take care to align the preamp properly and ensure that it is firmly affixed to the guitar, minimizing the risk of movement or damage during use.
Connect the Pickup and Output: Use insulated wire to connect the output of the pickup to the input of the preamp, following the wiring diagram provided by the preamp manufacturer. Additionally, establish the connection between the preamp and the output jack, ensuring a secure and well-insulated wiring arrangement.
Test the Preamp: After completing the installation, test the preamp to verify that it effectively boosts and shapes the guitar’s electrical signals. Adjust the preamp’s controls to explore different tonal options and ensure that it operates reliably without introducing unwanted noise or distortion.
By following these steps, you can successfully install a preamp on your acoustic guitar, further advancing its transformation into an electric powerhouse. The preamp’s installation precision and tonal versatility are essential elements that contribute to the guitar’s adaptability and sonic expressiveness as an electric instrument.
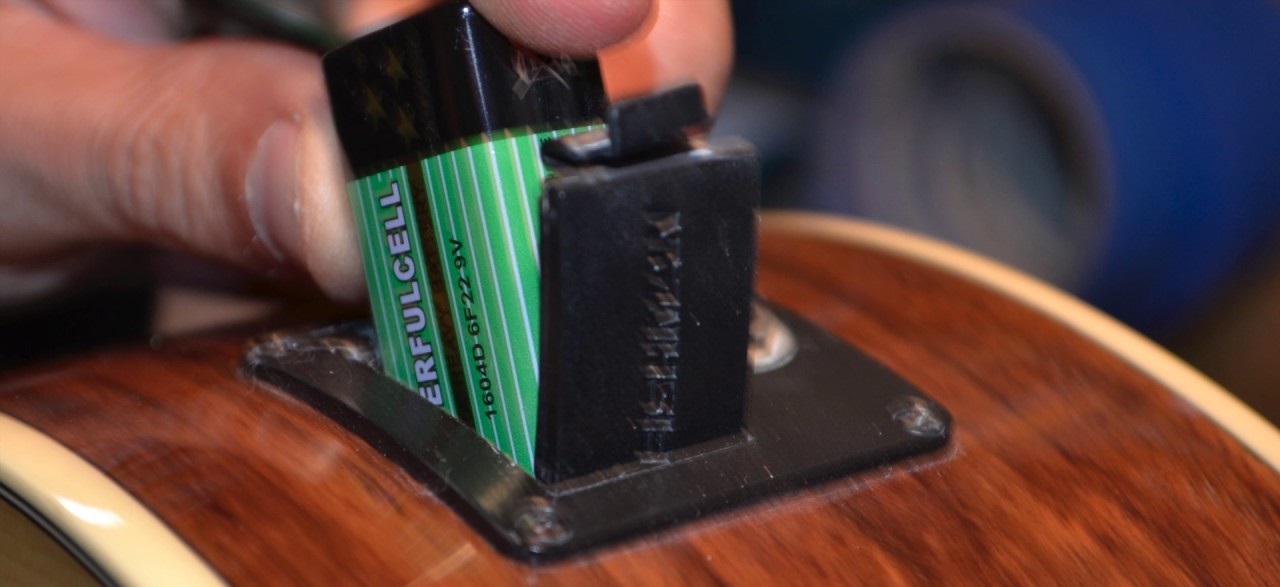
Step 4: Install a Jack
As you continue the process of converting your acoustic guitar into an electric one, installing a jack is a pivotal step that enables you to connect the instrument to amplifiers and audio equipment. The jack serves as the interface for transmitting the guitar’s electrical signals, allowing for seamless integration into a broader sound system. Here’s a detailed guide on how to install a jack:
Choose a Jack Type: Select a suitable jack type based on your preferences and the design of your guitar. Common options include endpin jacks, barrel jacks, and stereo jacks, each offering distinct advantages in terms of durability, space efficiency, and signal integrity.
Prepare the Mounting Location: Determine the optimal location for installing the jack, typically on the lower bout or edge of the guitar. Ensure that the chosen area is structurally sound and provides sufficient clearance for the jack and associated wiring, without compromising the instrument’s integrity or playability.
Drill the Mounting Hole: Carefully drill a hole at the selected location to accommodate the jack’s shaft and securing nut. Use a drill bit that matches the diameter of the jack, taking care to maintain a straight and centered orientation to achieve a professional-looking installation.
Install the Jack: Insert the jack into the mounting hole from the exterior of the guitar, ensuring that it sits flush and secure against the instrument’s surface. Secure the jack in place by tightening the retaining nut from the interior, applying sufficient pressure to create a stable and reliable connection.
Connect the Wiring: Use insulated wire to connect the terminals of the jack to the corresponding terminals on the preamp, following the wiring diagram provided by the jack manufacturer. Ensure that the connections are secure and well-insulated to prevent signal loss or interference during use.
Test the Jack: After completing the installation, test the jack to confirm that it effectively transmits the guitar’s signals to external audio equipment. Plug a suitable cable into the jack and connect it to an amplifier or audio interface, verifying that the connection is stable and that the signal is clear and free from unwanted noise.
By following these steps, you can successfully install a jack on your acoustic guitar, facilitating its integration into an electric guitar setup. The jack’s installation precision and signal reliability are crucial factors that ensure seamless connectivity and optimal performance as an electric instrument.
Step 5: Test the Electric Guitar Conversion
After completing the installation of the pickup, preamp, and jack, it’s essential to thoroughly test the electric guitar conversion to ensure that the instrument performs as intended and delivers the desired sonic characteristics. Here’s a detailed guide on how to test the electric guitar conversion:
Check Signal Integrity: Plug the guitar into an amplifier or audio interface and strum the strings to verify that the electrical signals generated by the pickup are transmitted accurately and without unwanted noise or interference. Test the guitar’s output at various volume levels and tonal settings to assess its signal integrity across different performance scenarios.
Explore Tonality: Use the preamp’s controls to explore a range of tonal options and EQ settings, evaluating the guitar’s sonic versatility and responsiveness to adjustments. Experiment with different pickup configurations and preamp settings to discover the instrument’s tonal capabilities and identify any tonal anomalies or irregularities.
Assess Feedback Resistance: Test the guitar’s resistance to feedback by gradually increasing the amplifier’s volume and monitoring any potential feedback or unwanted resonance. Identify any problematic frequencies or excessive feedback tendencies, and consider implementing acoustic feedback control measures if necessary.
Test Output Jack Stability: Verify the stability and reliability of the output jack by connecting and disconnecting the guitar from amplifiers and audio equipment multiple times. Ensure that the jack maintains a secure connection without experiencing signal dropouts or intermittent connectivity issues.
Perform Playability Assessment: Play the guitar through various musical passages and playing styles to evaluate its overall playability and comfort. Assess the instrument’s ergonomics, string action, and fretboard accessibility to ensure that it meets your performance expectations and facilitates a satisfying playing experience.
Seek Feedback: Solicit feedback from fellow musicians or audio professionals to gather objective assessments of the electric guitar’s performance. Request input on the instrument’s tonal characteristics, signal clarity, and overall suitability for different musical styles and performance contexts.
By conducting comprehensive tests and assessments, you can ensure that the electric guitar conversion meets your quality and performance standards, providing a reliable and versatile instrument for your musical endeavors. Address any identified issues or refinements to optimize the guitar’s functionality and sonic capabilities, ensuring that it aligns with your artistic vision and musical aspirations.
Conclusion
Congratulations! By following the step-by-step process outlined in this guide, you have successfully transformed your acoustic guitar into an electric powerhouse, unlocking a world of sonic possibilities and musical versatility. The conversion process, involving the installation of a pickup, preamp, and jack, has empowered you to enjoy the familiar feel of your acoustic guitar while harnessing the electrifying sound and performance attributes of an electric instrument.
As you embark on this electrifying journey, it’s important to appreciate the craftsmanship and attention to detail that have gone into customizing your instrument to suit your unique style and sonic preferences. The careful selection of components, precise installation techniques, and thorough testing have culminated in the creation of a personalized electric guitar that reflects your musical identity and creative expression.
With your newly converted electric guitar in hand, you now possess a versatile tool for musical exploration and performance, capable of delivering a wide range of tones, textures, and sonic dynamics. Whether you’re delving into the realms of rock, blues, jazz, or beyond, your electric guitar stands ready to accompany you on your musical endeavors, inspiring creativity and fueling your passion for sonic innovation.
Remember to continue exploring the capabilities of your electric guitar, experimenting with different tonal settings, effects, and playing techniques to unlock its full potential. Embrace the opportunity to integrate your electrified acoustic guitar into diverse musical contexts, collaborating with fellow musicians, and captivating audiences with its distinctive sound and expressive capabilities.
As you continue your musical journey with your newly transformed electric guitar, cherish the craftsmanship and ingenuity that have brought your vision to life. Let your instrument be a source of inspiration, creativity, and sonic exploration, empowering you to reach new heights in your musical pursuits and leaving an indelible mark on your artistic journey.