Introduction
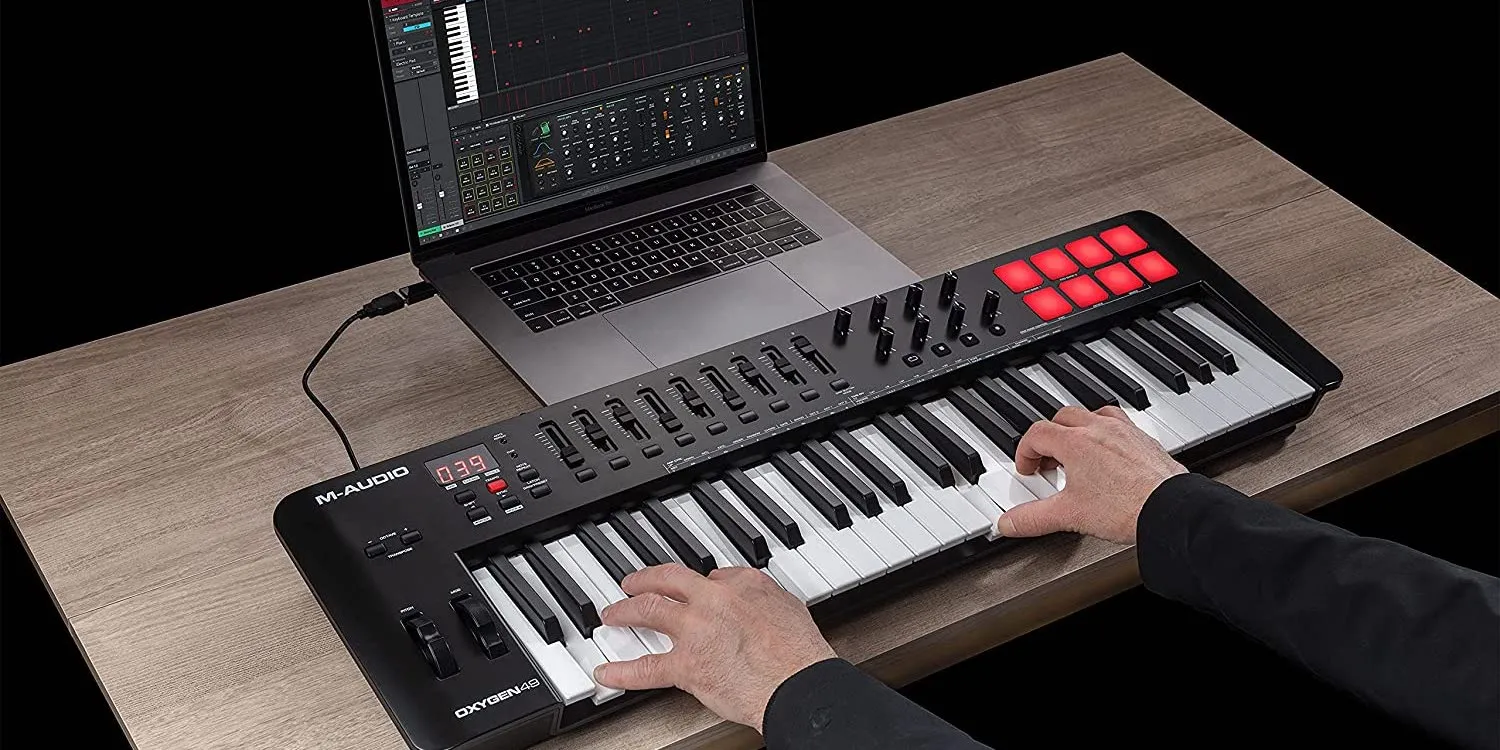
So, you've just purchased an M-Audio MIDI keyboard and you're eager to dive into the world of music production. Congratulations! This versatile piece of equipment is a game-changer, allowing you to unleash your creativity and bring your musical ideas to life. Whether you're a seasoned musician or a novice producer, setting up your M-Audio MIDI keyboard is the crucial first step towards making music.
In this guide, we'll walk you through the process of unboxing, connecting, and configuring your M-Audio MIDI keyboard, as well as troubleshooting common issues that may arise. By the end of this tutorial, you'll be ready to harness the full potential of your MIDI keyboard and embark on an exciting musical journey.
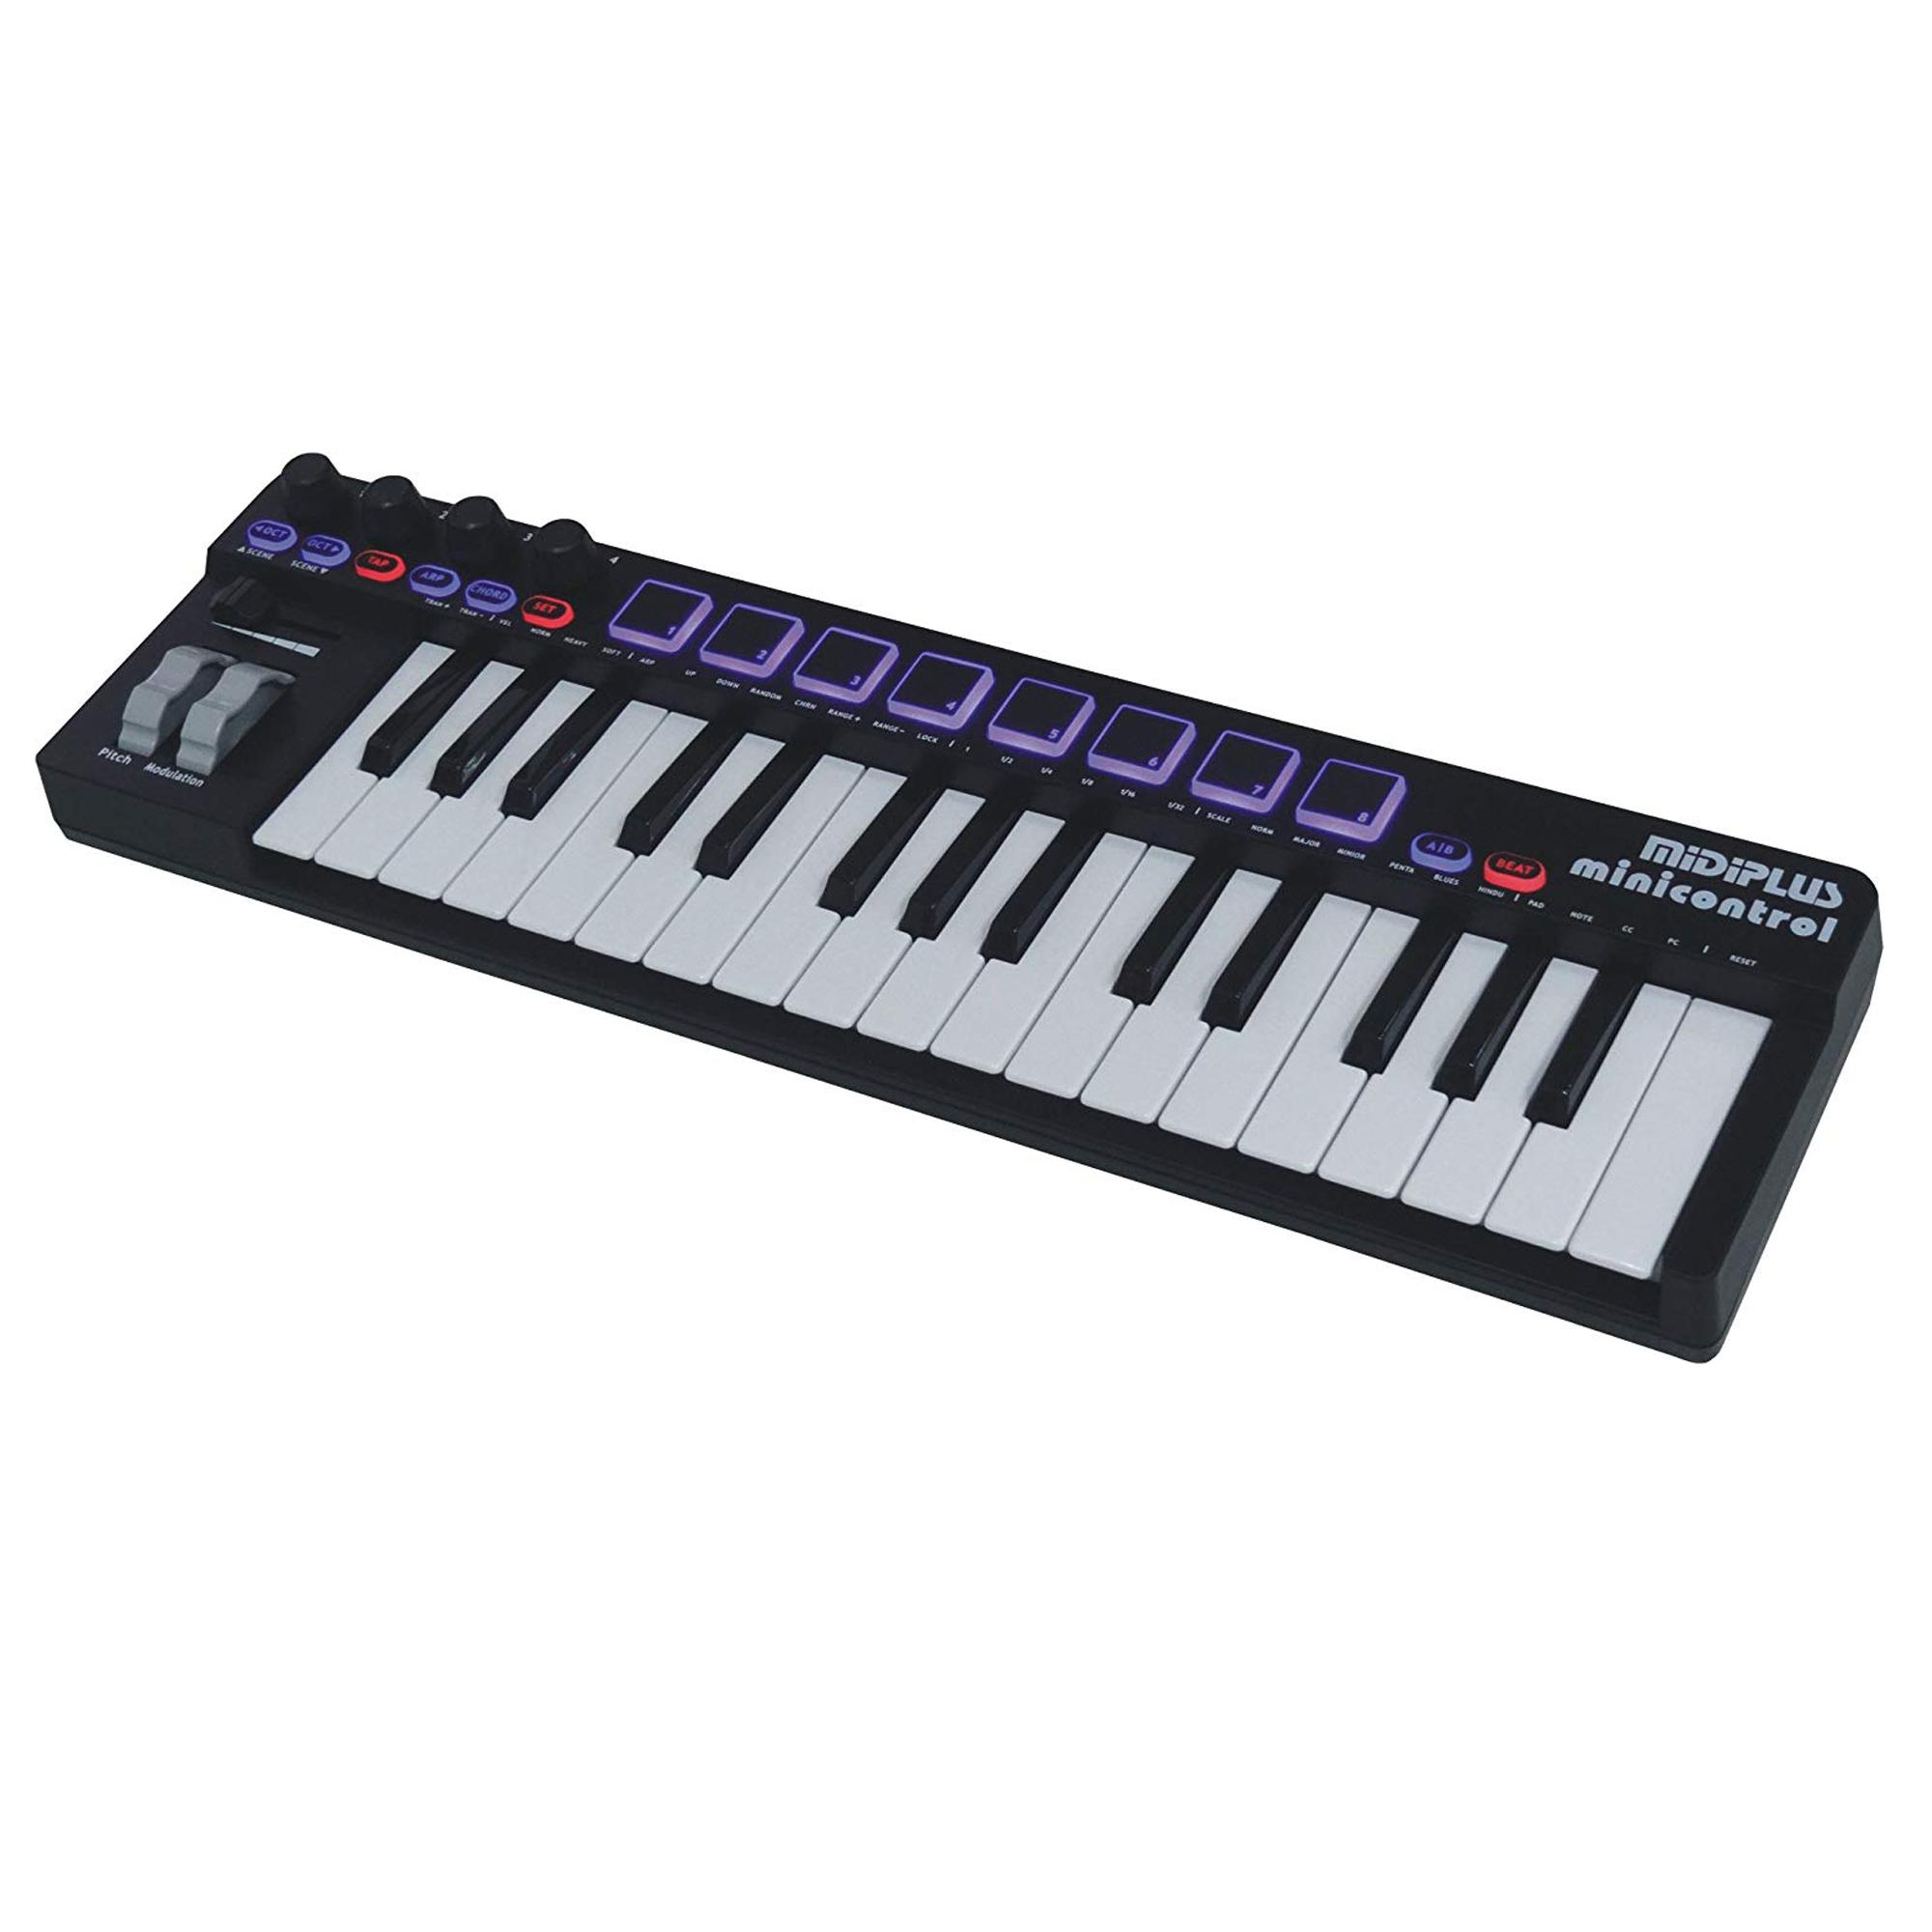
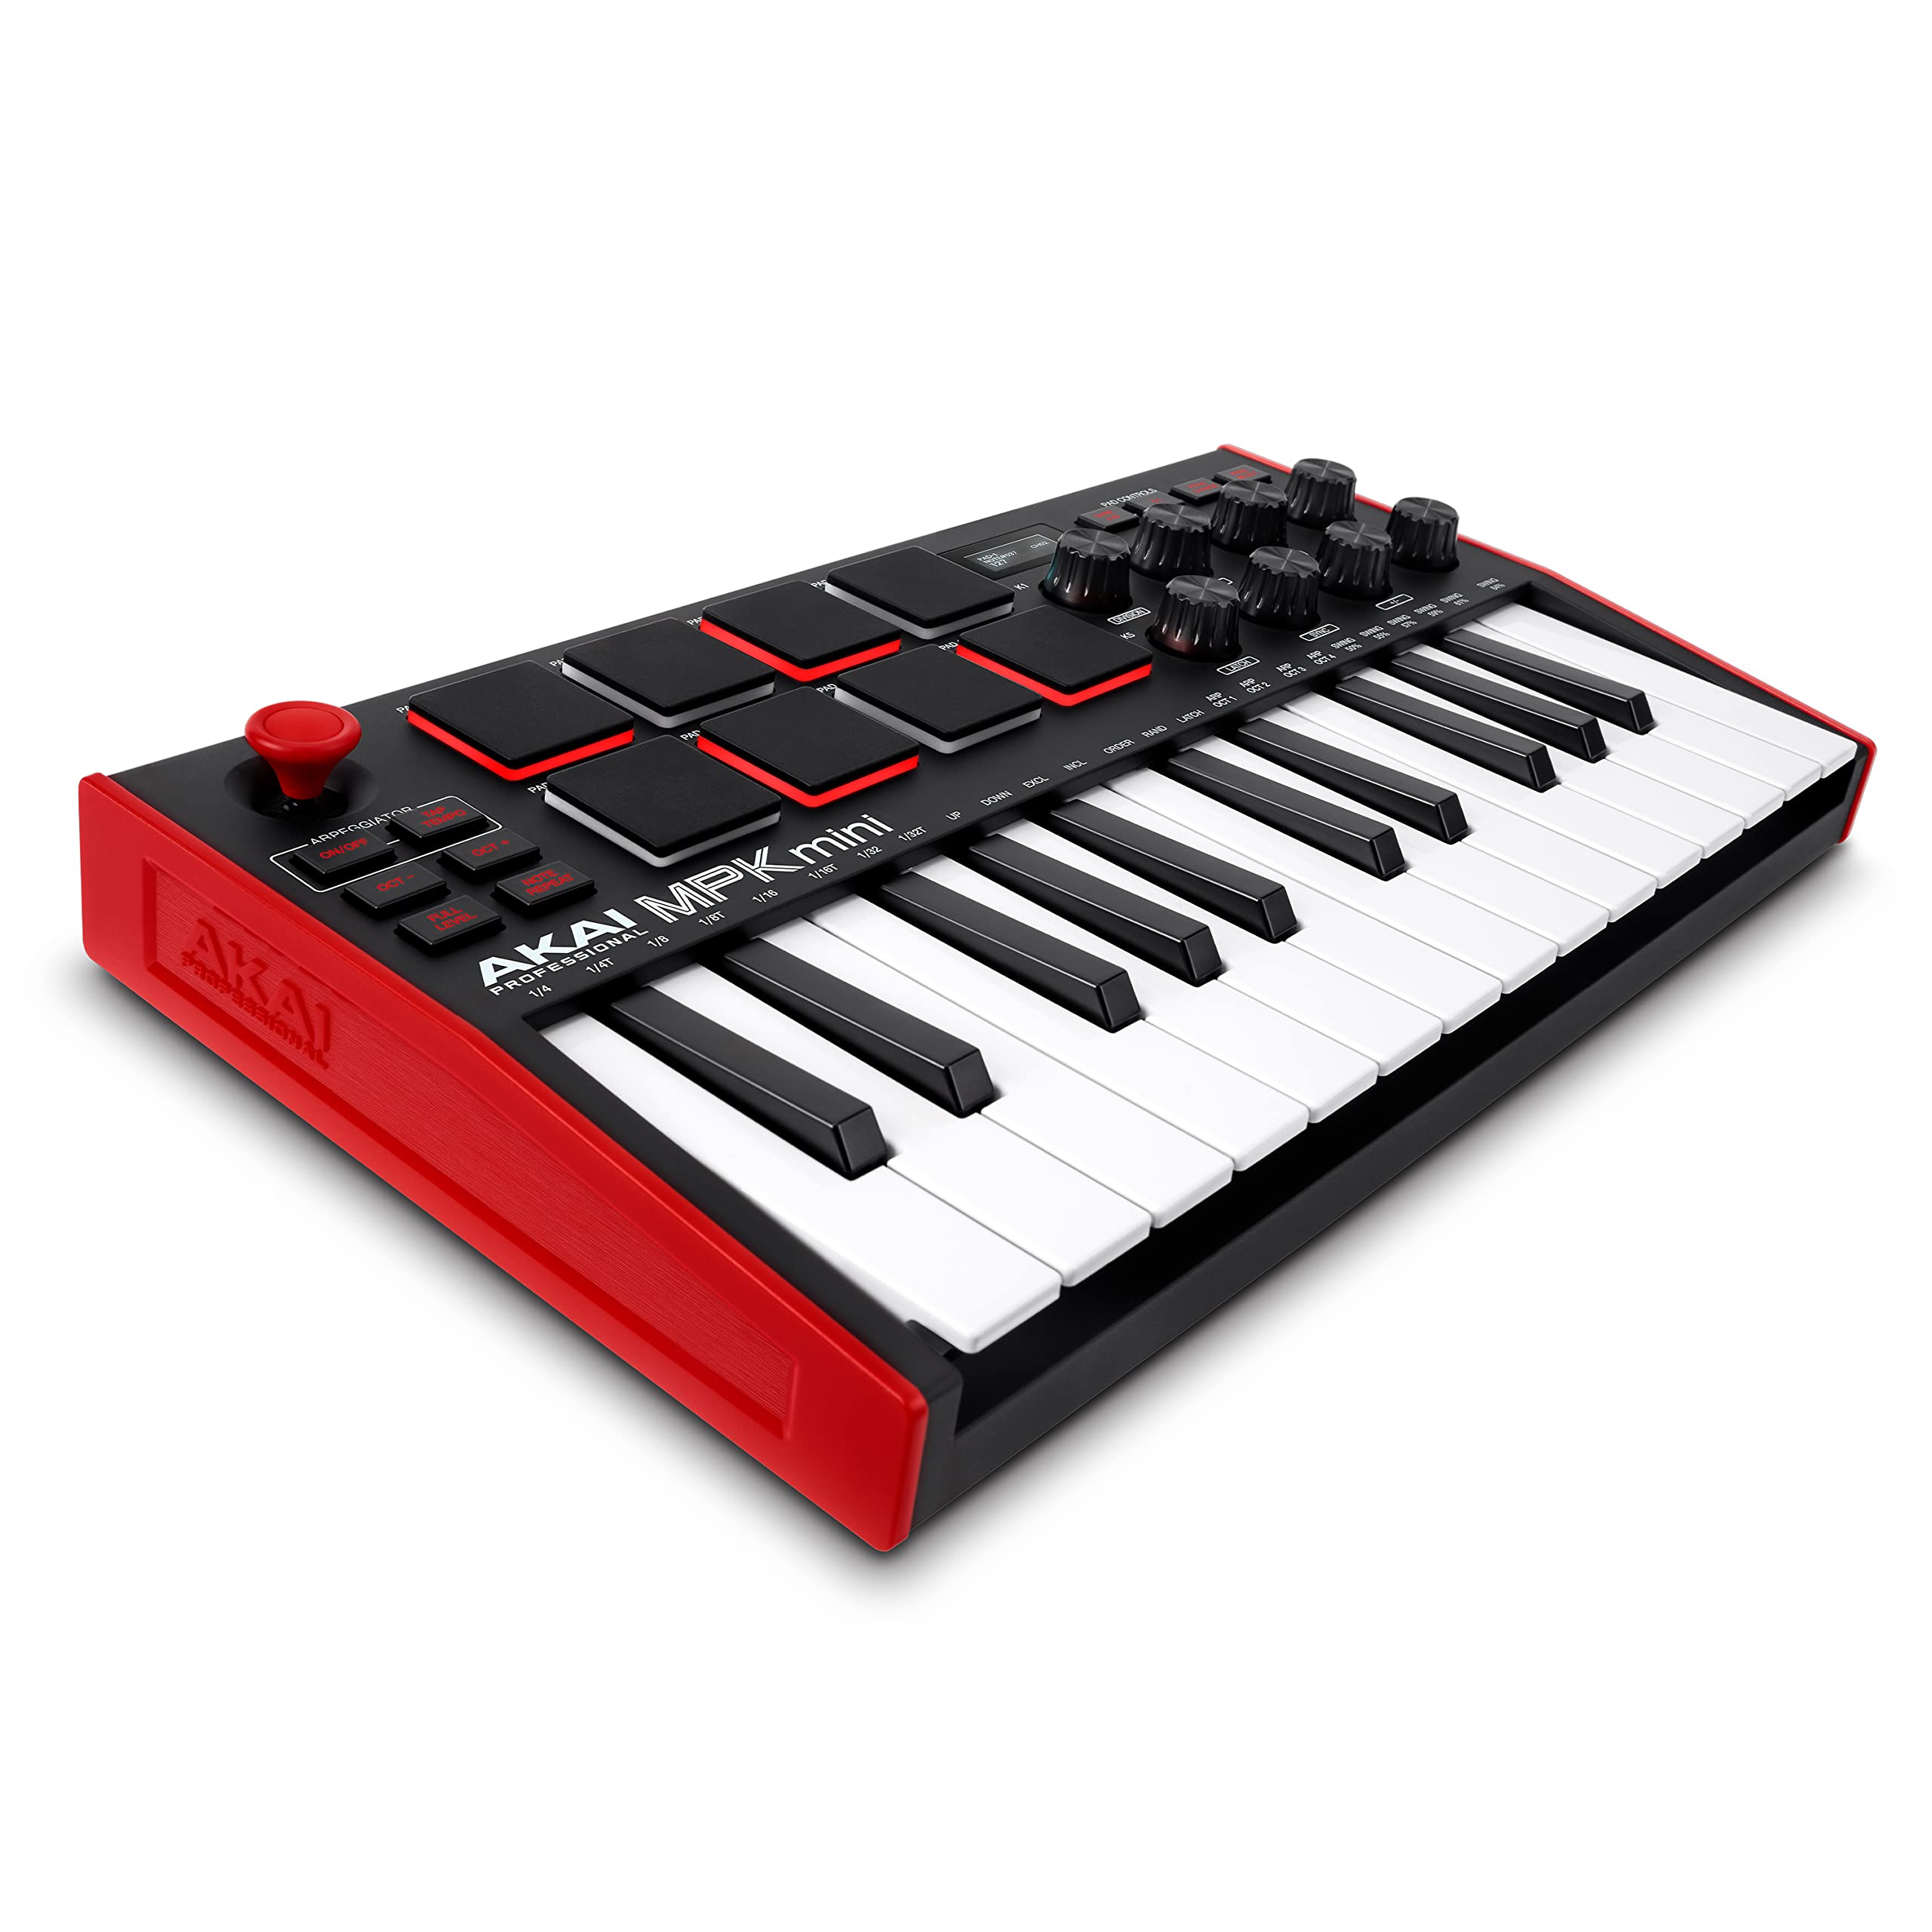
Before we delve into the nitty-gritty details, it's important to understand the fundamental role of a MIDI keyboard in music production. Unlike traditional keyboards, a MIDI keyboard is not a standalone instrument; rather, it serves as a controller that sends MIDI data to your computer or digital audio workstation (DAW). This means that the sounds you produce are generated by software instruments within your DAW, giving you access to an endless array of virtual sounds and effects.
The M-Audio MIDI keyboard, in particular, is renowned for its durability, intuitive design, and seamless integration with popular DAWs such as Ableton Live, Pro Tools, and Logic Pro. Whether you're composing melodies, triggering samples, or manipulating virtual instruments, the M-Audio MIDI keyboard empowers you to express your musical vision with precision and fluidity.
As we embark on this journey, keep in mind that setting up your MIDI keyboard is just the beginning. It's a gateway to a world of sonic possibilities, where your creativity knows no bounds. So, without further ado, let's roll up our sleeves and get your M-Audio MIDI keyboard up and running!
Step 1: Unboxing and Connecting the M-Audio MIDI Keyboard
Before you can start creating music with your M-Audio MIDI keyboard, you need to unbox it and establish the necessary connections. Here’s a step-by-step guide to help you through this process:
- Unboxing: Carefully unbox your M-Audio MIDI keyboard, ensuring that all the components are present and undamaged. Typically, the package includes the MIDI keyboard itself, a USB cable for connectivity, and any additional accessories or documentation.
- Choosing a Location: Select a suitable location for your MIDI keyboard. Ideally, it should be placed on a stable surface within reach of your computer or music production setup. Ensure that there is ample space for you to comfortably play the keyboard without any obstructions.
- Connecting the USB Cable: Locate the USB port on your M-Audio MIDI keyboard and connect one end of the USB cable to it. The other end of the cable should be plugged into an available USB port on your computer. This connection will facilitate communication between the MIDI keyboard and your computer.
- Powering On: Once the USB cable is securely connected, power on your MIDI keyboard. Many M-Audio models are bus-powered, meaning they draw power from the USB connection. However, if your keyboard requires external power, ensure that it is properly connected and turned on.
- Driver Installation (if required): In some cases, your computer may prompt you to install device drivers for the MIDI keyboard. Follow the on-screen instructions to complete this process. M-Audio provides driver downloads on their official website, ensuring compatibility with various operating systems.
By following these steps, you’ll have successfully unboxed your M-Audio MIDI keyboard and established the essential connections to begin integrating it into your music production setup. With the physical setup complete, you’re now ready to move on to the next phase of the installation process.
Step 2: Installing the Necessary Software
Once your M-Audio MIDI keyboard is physically connected to your computer, the next crucial step is to ensure that the required software is installed and configured. Here’s a detailed guide to help you through this process:
- Downloading the Drivers: Visit the official M-Audio website to download the latest drivers for your MIDI keyboard. These drivers are essential for enabling seamless communication between the keyboard and your computer, ensuring that it is recognized by your digital audio workstation (DAW) and other music software.
- Driver Installation: After downloading the drivers, follow the provided instructions to install them on your computer. This typically involves running the installer and allowing the necessary files to be copied to your system. Once the installation is complete, restart your computer to finalize the driver setup.
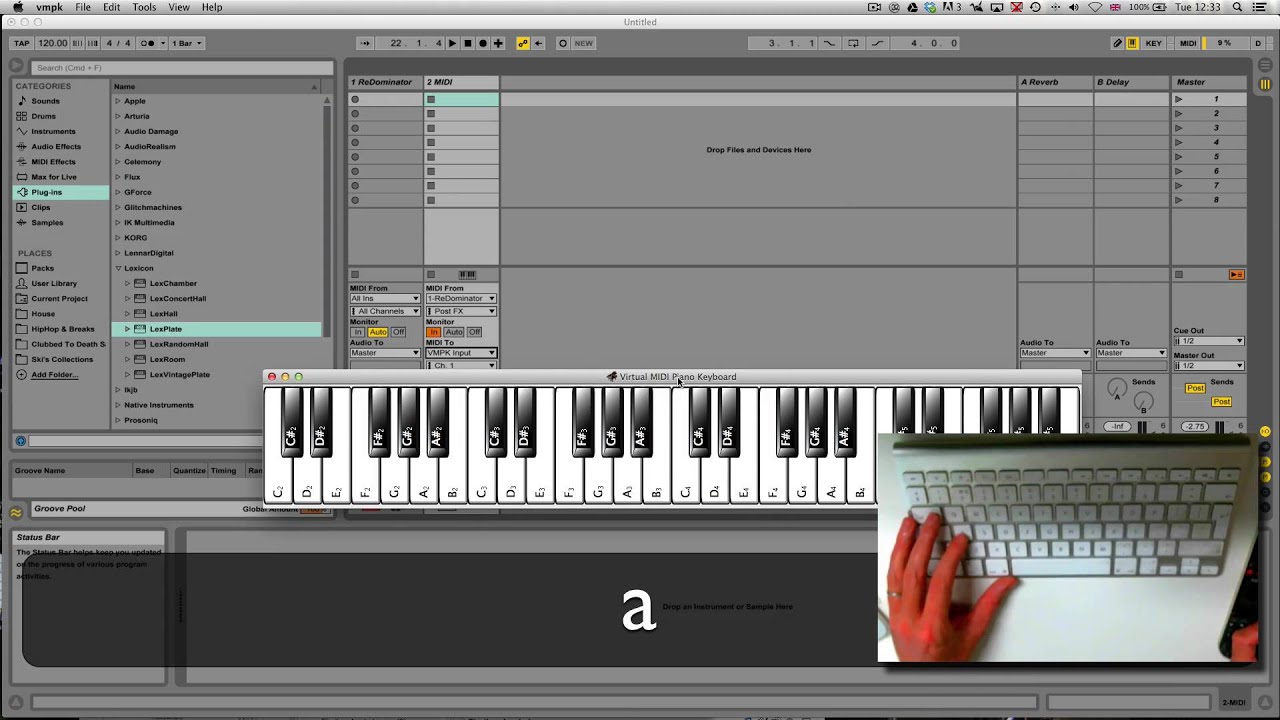
- Configuring the DAW: If you haven’t already done so, install and configure your preferred digital audio workstation (DAW) on your computer. M-Audio MIDI keyboards are compatible with a wide range of DAWs, including Ableton Live, Pro Tools, Logic Pro, and more. Ensure that your DAW recognizes the MIDI keyboard as a controller device.
- Mapping MIDI Controls: Within your DAW, you may need to map the MIDI controls on your M-Audio keyboard to specific functions and parameters. This process allows you to assign the keyboard’s knobs, faders, and buttons to various functions within your music software, providing tactile control over your virtual instruments and effects.
- Testing the Connection: After installing the necessary software and configuring your DAW, test the connection between your M-Audio MIDI keyboard and the music software. Play a few notes on the keyboard to ensure that the MIDI data is being transmitted accurately and that the software instruments within your DAW are responding as expected.
By following these steps, you’ll have successfully installed the required software for your M-Audio MIDI keyboard, allowing it to seamlessly integrate with your digital audio workstation. With the software setup complete, you’re now ready to move on to the next phase of the installation process.
Step 3: Configuring the MIDI Keyboard in your DAW
Now that your M-Audio MIDI keyboard is physically connected and the necessary software is installed, it’s time to configure the keyboard within your digital audio workstation (DAW). This step is crucial for ensuring that your MIDI keyboard functions seamlessly with your music production software. Here’s a comprehensive guide to help you through this process:
- DAW Setup: Launch your DAW and navigate to the preferences or settings menu. Look for the section related to MIDI devices or controllers. Here, you’ll be able to select your M-Audio MIDI keyboard as a recognized input device within the DAW.
- MIDI Input Configuration: Once your MIDI keyboard is recognized by the DAW, you may need to specify the MIDI input settings. This includes selecting the MIDI input port to which your keyboard is connected, as well as any additional configuration options provided by your DAW.
- Assigning MIDI Channels: If your MIDI keyboard supports multiple MIDI channels, you can assign specific channels to different tracks or instruments within your DAW. This allows you to control and play multiple virtual instruments simultaneously, each responding to a distinct MIDI channel from your keyboard.
- Calibrating MIDI Controls: Many M-Audio MIDI keyboards feature assignable knobs, faders, and pads that can be customized to control various parameters within your DAW. Take the time to calibrate these controls within your DAW, assigning them to parameters such as volume, pan, effects, and instrument parameters.
- Testing MIDI Input: To ensure that your MIDI keyboard is configured correctly, test the MIDI input by playing notes, triggering samples, and manipulating virtual instruments within your DAW. Verify that the MIDI data is being transmitted accurately and that your keyboard’s controls are interacting with the software as intended.
By following these steps, you’ll have successfully configured your M-Audio MIDI keyboard within your digital audio workstation, allowing for seamless integration and control over your music software. With the MIDI keyboard configured in your DAW, you’re now ready to move on to the next phase of the installation process.
Step 4: Testing and Troubleshooting
After completing the initial setup and configuration of your M-Audio MIDI keyboard, it’s essential to conduct thorough testing to ensure that everything is functioning as expected. Additionally, being prepared to troubleshoot common issues can save you time and frustration. Here’s a comprehensive guide to help you through this process:
- Testing MIDI Input: Begin by testing the MIDI input from your M-Audio MIDI keyboard within your DAW. Play a variety of notes, chords, and melodies to verify that the keyboard is accurately transmitting MIDI data to your music software. Ensure that the velocity sensitivity, aftertouch, and other performance features are functioning as intended.
- Exploring MIDI Functions: Experiment with the various MIDI functions and controls on your keyboard, such as pitch bend, modulation, and assignable knobs. Verify that these controls are responsive and that they interact with your DAW’s virtual instruments and effects in a predictable manner.
- Mapping Custom Controls: If your MIDI keyboard allows for custom control mapping, take the time to assign specific functions to the keyboard’s knobs, faders, and pads. Test these custom mappings within your DAW to ensure that they enhance your workflow and creative capabilities.
- Troubleshooting Connectivity: If you encounter any issues with MIDI connectivity or communication between your keyboard and DAW, double-check the USB connection, driver installation, and MIDI settings within your DAW. Ensure that the keyboard is receiving power and that it is recognized by your computer.
- Addressing Latency: Latency, or the delay between pressing a key on your MIDI keyboard and hearing the sound from your DAW, can be a common concern. Adjust the audio buffer settings within your DAW to minimize latency and achieve a more responsive playing experience.
By thoroughly testing your M-Audio MIDI keyboard and being prepared to troubleshoot common issues, you can ensure a smooth and productive music production experience. With these steps completed, you’ll be well-equipped to harness the full potential of your MIDI keyboard and unleash your creativity in the world of digital music production.
Conclusion
Congratulations! You’ve successfully navigated the process of setting up your M-Audio MIDI keyboard, from unboxing and connecting the hardware to configuring it within your digital audio workstation (DAW). By following the steps outlined in this guide, you’ve laid the foundation for a seamless and productive music production experience.
As you embark on your musical journey with your M-Audio MIDI keyboard, remember that this versatile tool is not just a controller—it’s a gateway to a world of sonic possibilities. Whether you’re crafting melodies, shaping sounds, or performing live, your MIDI keyboard empowers you to express your creativity with precision and flair.
With the physical setup and software configuration complete, take the time to explore the full range of features and capabilities offered by your M-Audio MIDI keyboard. Experiment with different playing techniques, customize control mappings, and integrate the keyboard seamlessly into your music production workflow.
Should you encounter any challenges along the way, whether it’s troubleshooting connectivity issues, optimizing performance, or delving into advanced MIDI functionality, remember that the journey of mastering your MIDI keyboard is an ongoing process. Resources such as user manuals, online forums, and tutorial videos can provide valuable insights and solutions to enhance your experience.
Ultimately, your M-Audio MIDI keyboard is a versatile companion on your creative odyssey, adapting to your musical vision and enhancing your ability to bring your ideas to life. Embrace the endless possibilities that this powerful tool offers, and let your imagination soar as you compose, perform, and produce music with confidence and finesse.
As you continue to explore the boundless realm of music production, your M-Audio MIDI keyboard will remain a steadfast ally, faithfully translating your musical expressions into the digital domain. So, with your MIDI keyboard at the ready, let the music flow and the creativity flourish as you embark on this exhilarating adventure in sound.