Introduction
Are you an aspiring musician or a seasoned music producer looking to enhance your creativity and productivity? The combination of a MIDI keyboard and an AudioBox USB interface can significantly elevate your music production experience. By integrating these two powerful tools, you can seamlessly control virtual instruments, record MIDI data, and unlock a world of sonic possibilities within your digital audio workstation (DAW).
In this comprehensive guide, we will walk you through the process of harnessing the potential of your MIDI keyboard in conjunction with the AudioBox USB. Whether you're a novice seeking to explore the realms of music production or a proficient user aiming to optimize your setup, this tutorial will equip you with the knowledge and skills to leverage these tools effectively.
Together, we will delve into the fundamental steps of setting up the AudioBox USB, connecting your MIDI keyboard, configuring it within your DAW, and utilizing it to control virtual instruments. Additionally, we will explore the seamless process of recording MIDI data with the AudioBox USB, empowering you to capture your musical ideas with precision and finesse.
By the end of this guide, you will be poised to harness the full potential of your MIDI keyboard in tandem with the AudioBox USB, enabling you to elevate your music production endeavors to new heights. So, let's embark on this enlightening journey and unravel the myriad possibilities that await you in the realm of music creation and production.
Setting up the AudioBox USB
Before delving into the integration of your MIDI keyboard, it’s imperative to ensure that the AudioBox USB is properly set up to serve as the cornerstone of your music production setup. This compact yet powerful audio interface serves as the bridge between your instruments and your computer, facilitating seamless audio and MIDI communication. Follow these essential steps to set up your AudioBox USB:
- Install the Drivers: Begin by installing the necessary drivers for the AudioBox USB on your computer. These drivers enable your operating system to recognize and communicate with the interface effectively. Visit the official website of the manufacturer to download the latest drivers compatible with your system.
- Connect the AudioBox USB: Once the drivers are installed, connect the AudioBox USB to your computer using a high-quality USB cable. Ensure that the interface is placed on a stable surface and is easily accessible for making connections to other devices.
- Power On the Interface: Power up the AudioBox USB by connecting it to a reliable power source or via USB bus power, depending on the model. The interface should illuminate, indicating that it is receiving power and is ready for operation.
- Configure Audio Settings: Access the audio settings on your computer and set the AudioBox USB as the default input and output device. This ensures that your DAW and other audio applications will utilize the interface for recording and playback.
- Test the Connection: Verify the successful connection of the AudioBox USB by playing audio through it and monitoring the input levels. Additionally, check for any latency issues and make necessary adjustments in the audio settings to optimize performance.
By meticulously following these steps, you can establish a robust and reliable foundation for integrating your MIDI keyboard with the AudioBox USB. With the interface seamlessly integrated into your setup, you are now ready to proceed with connecting and configuring your MIDI keyboard for a cohesive music production experience.
Connecting the MIDI Keyboard
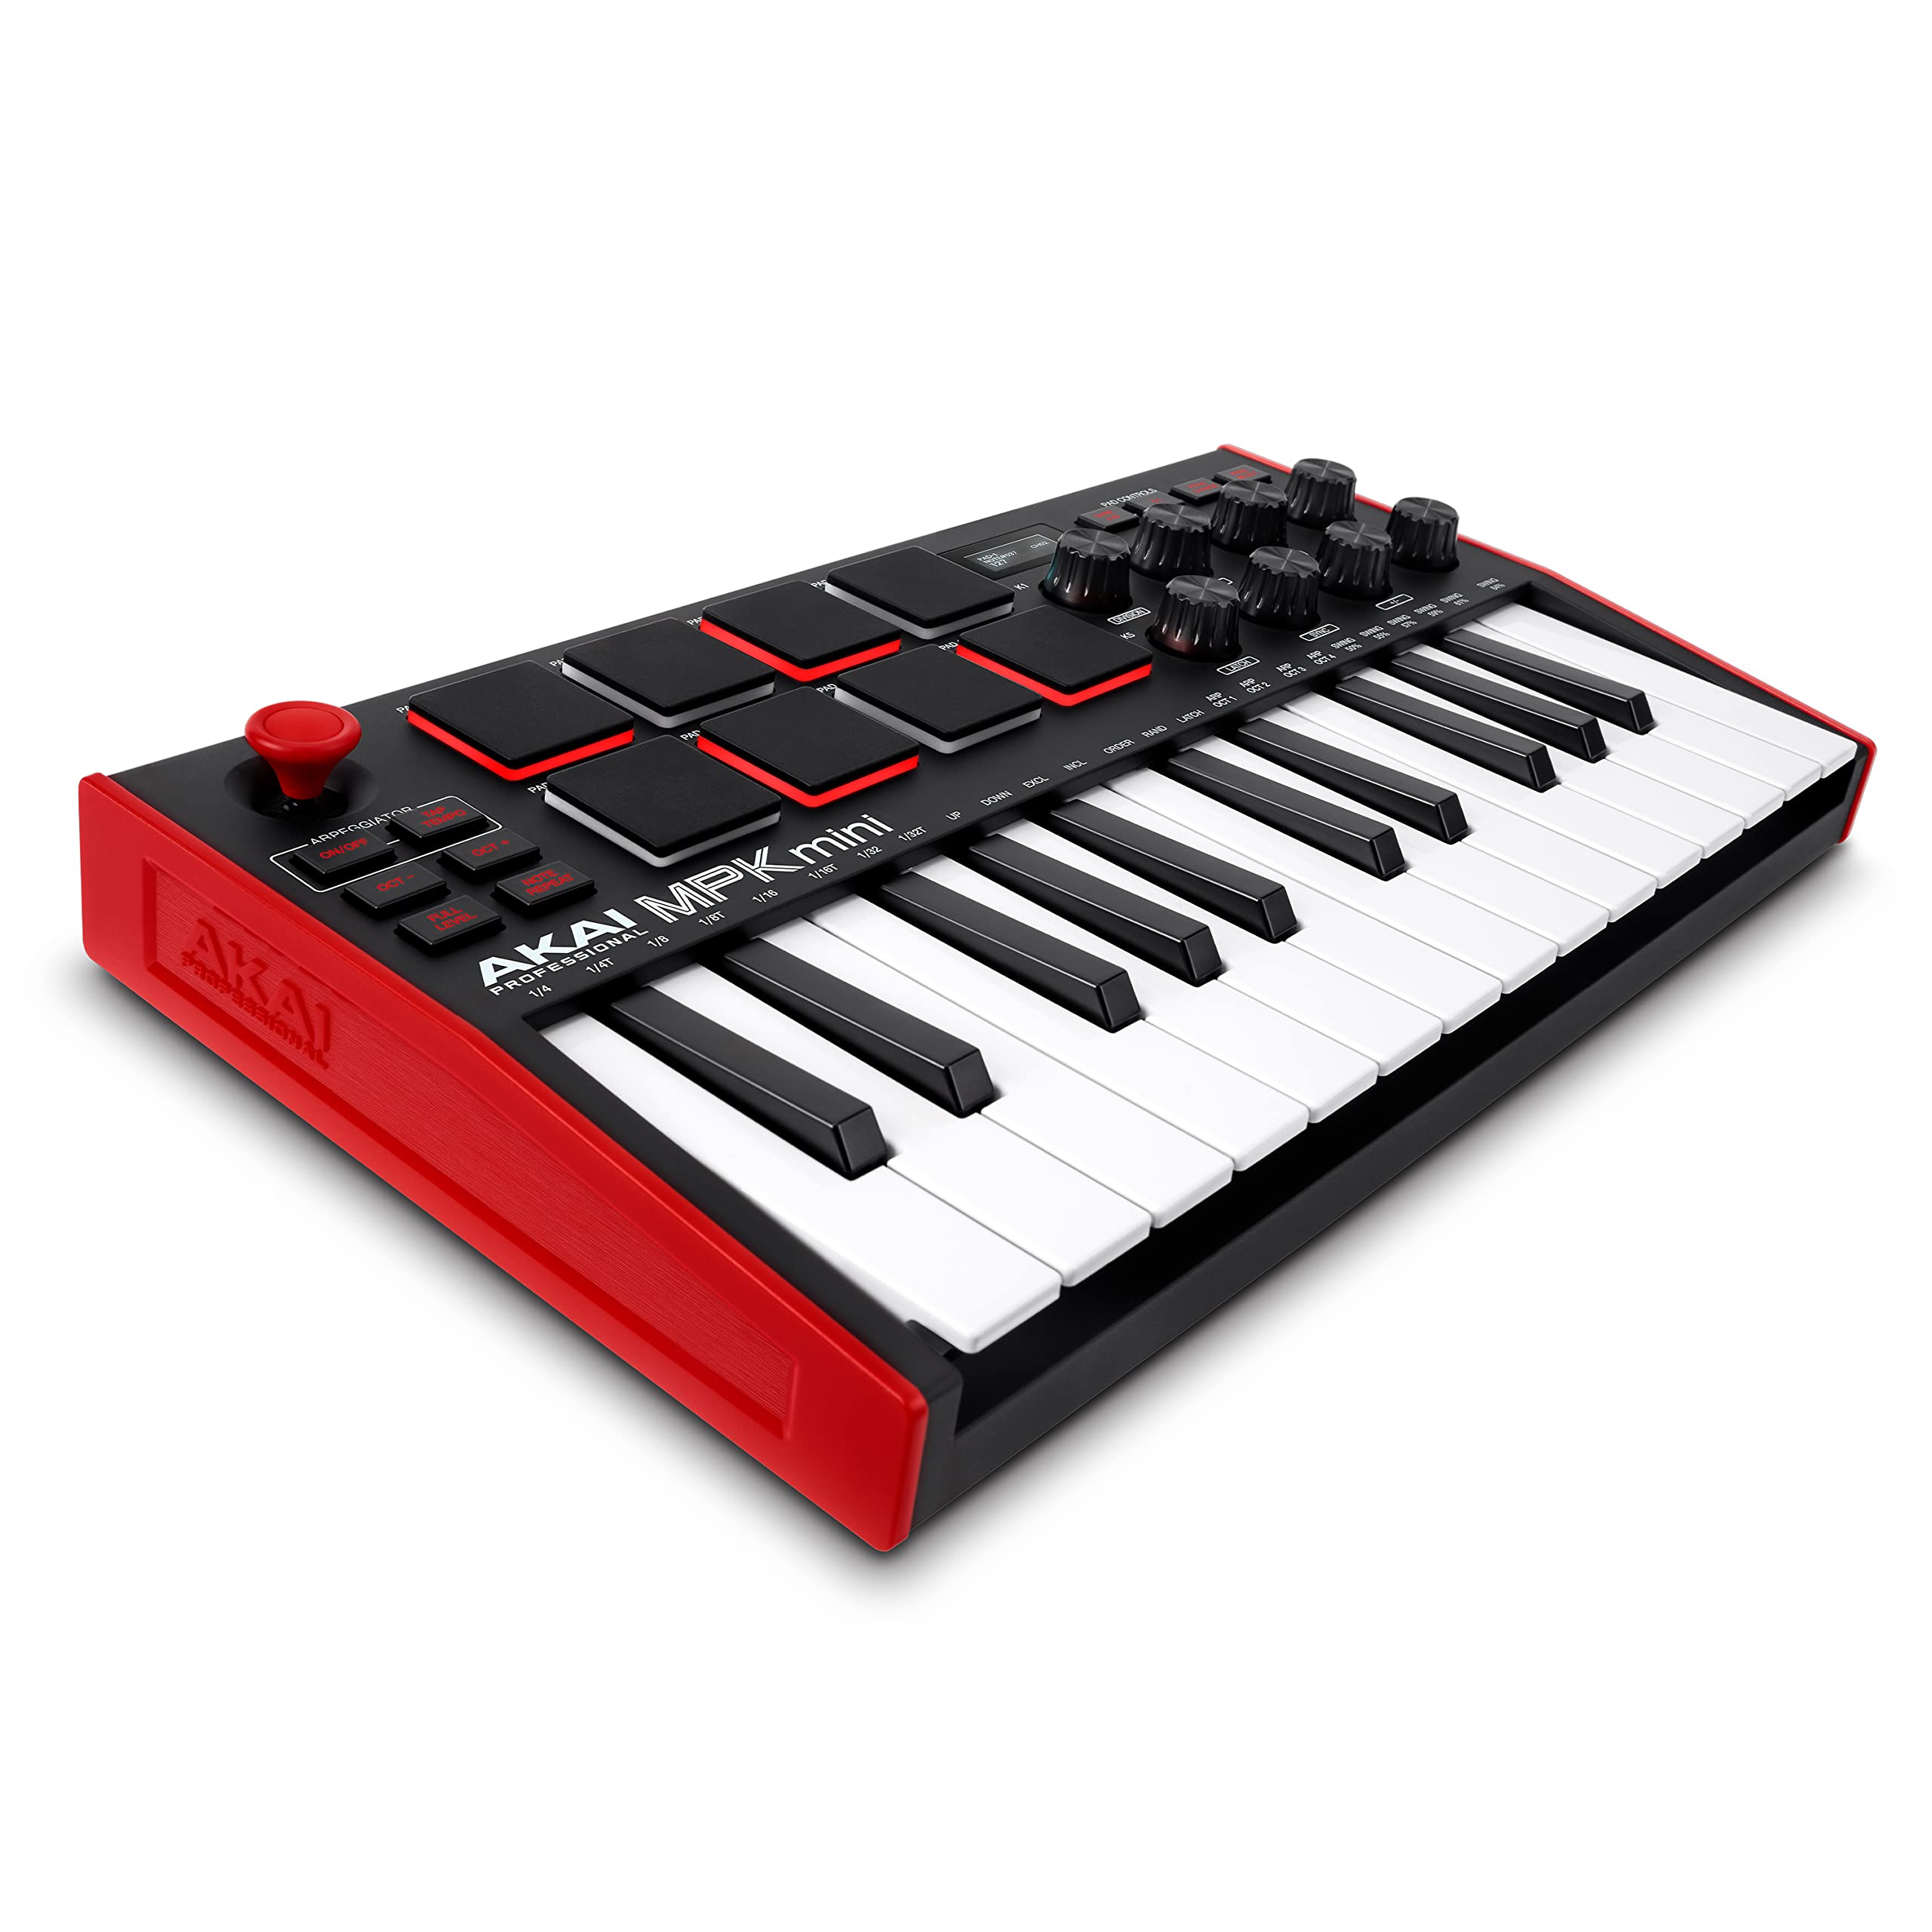
Now that the AudioBox USB is primed and ready, it’s time to integrate your MIDI keyboard into the setup. The MIDI keyboard serves as a versatile controller, allowing you to trigger virtual instruments, manipulate parameters, and infuse your compositions with expressive nuances. Follow these steps to seamlessly connect your MIDI keyboard to the AudioBox USB:
- Locate the MIDI Ports: Identify the MIDI ports on both the MIDI keyboard and the AudioBox USB interface. Most MIDI keyboards feature MIDI Out and MIDI In ports, while the AudioBox USB typically includes a MIDI In and MIDI Out port as well.
- Connect the MIDI Cables: Using standard MIDI cables, connect the MIDI Out port of your MIDI keyboard to the MIDI In port of the AudioBox USB. Similarly, connect the MIDI In port of your MIDI keyboard to the MIDI Out port of the interface. Ensure that the connections are secure and the cables are free from any damage.
- Power On the MIDI Keyboard: Power up your MIDI keyboard and ensure that it is receiving power. Some MIDI keyboards may draw power from the USB connection, while others might require a dedicated power source or batteries. Refer to the user manual for specific instructions regarding power requirements.
- Verify MIDI Signal: Once the connections are established, verify the MIDI signal flow by pressing keys on the MIDI keyboard. The MIDI activity indicator on the AudioBox USB should illuminate, indicating that MIDI data is being transmitted between the keyboard and the interface.
By following these simple yet crucial steps, you can seamlessly integrate your MIDI keyboard into the music production setup, establishing a direct line of communication between the keyboard and the AudioBox USB. With the physical connections in place, you are now ready to configure the MIDI keyboard within your DAW, unlocking its full potential as a powerful controller for virtual instruments and MIDI-enabled software.
Configuring the MIDI Keyboard in your DAW
With the physical connection between your MIDI keyboard and the AudioBox USB established, the next crucial step involves configuring the keyboard within your digital audio workstation (DAW). This process enables your DAW to recognize the MIDI keyboard as a controller, allowing you to harness its full potential for creating and manipulating musical elements. Follow these essential steps to configure your MIDI keyboard in your DAW:
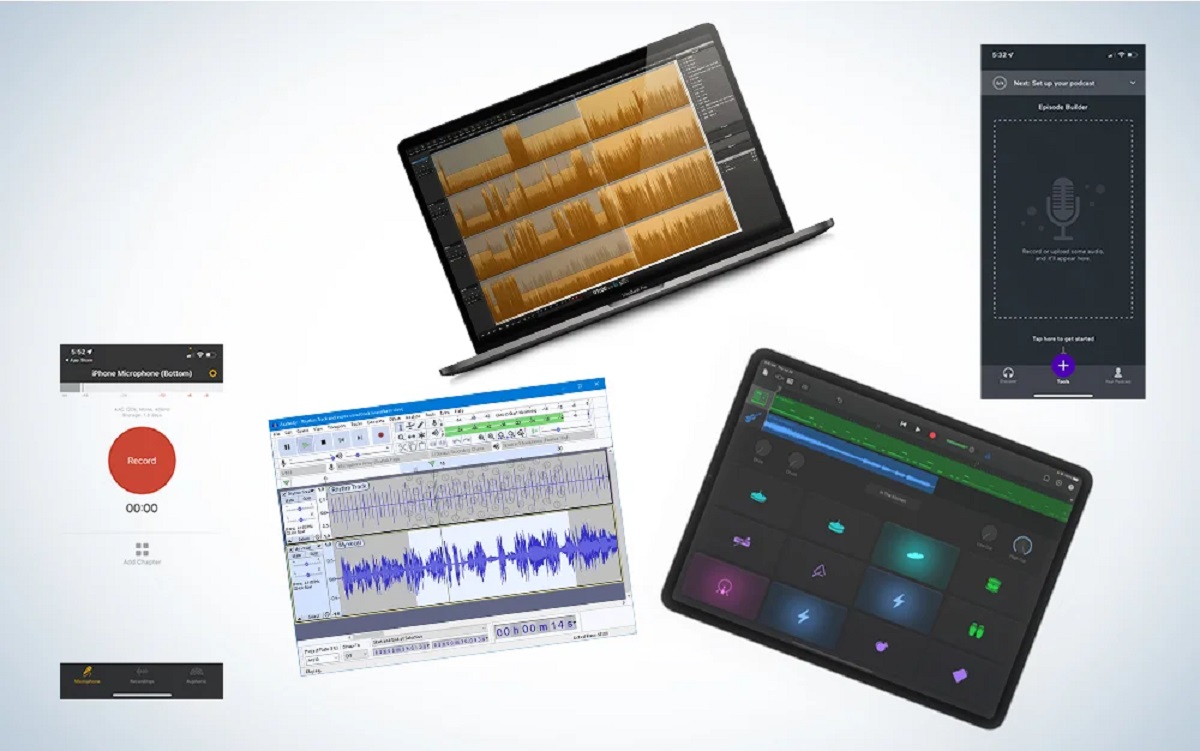
- Launch your DAW: Open your preferred digital audio workstation on your computer. Whether you’re using industry-standard software like Ableton Live, Logic Pro, Pro Tools, or any other DAW, the process of configuring a MIDI keyboard remains relatively consistent across different platforms.
- Access MIDI Settings: Navigate to the MIDI settings or preferences within your DAW. Look for the option to add a new MIDI device or controller, often found in the preferences or settings menu under the MIDI or Devices section.
- Add the MIDI Keyboard: Select the option to add a new MIDI device or controller, and choose the MIDI keyboard model from the list of available devices. If your keyboard is not automatically detected, consult the user manual or the manufacturer’s website for specific instructions on adding it to your DAW.
- Assign MIDI Channels: Once the MIDI keyboard is added as a controller, you may need to assign MIDI input and output channels to ensure seamless communication between the keyboard and your DAW. This step is crucial for enabling the transmission of MIDI data to and from the virtual instruments and software instruments within your DAW.
- Test MIDI Input: Verify the successful configuration by playing the MIDI keyboard and observing the MIDI input activity within your DAW. As you play notes or trigger controls on the keyboard, you should see corresponding MIDI data being received by the DAW, indicating that the configuration is functioning as intended.
By meticulously following these steps, you can seamlessly configure your MIDI keyboard within your DAW, paving the way for a seamless and intuitive interaction between the keyboard and your music production software. With the MIDI keyboard now recognized and integrated into your DAW environment, you are poised to explore its myriad capabilities for controlling virtual instruments, recording MIDI data, and shaping your musical compositions with unparalleled creativity and finesse.
Using the MIDI Keyboard to Control Virtual Instruments
With your MIDI keyboard seamlessly integrated into your digital audio workstation (DAW), you now have the power to harness its expressive capabilities for controlling virtual instruments. Whether you’re sculpting lush synth melodies, triggering dynamic drum patterns, or playing expressive piano passages, the MIDI keyboard serves as a versatile interface for infusing your music with human-like nuances and performances. Here’s how you can effectively utilize your MIDI keyboard to control virtual instruments within your DAW:
- Selecting Virtual Instruments: Within your DAW, choose the virtual instrument or software synthesizer you wish to play using your MIDI keyboard. This could be a versatile multi-sampled instrument, a classic analog emulation, or a cutting-edge software synthesizer with a myriad of sonic possibilities.
- Routing MIDI Input: Ensure that the MIDI input from your keyboard is routed to the selected virtual instrument within your DAW. This typically involves selecting the MIDI keyboard as the input device for the chosen virtual instrument track, allowing the notes and controller data from the keyboard to trigger and modulate the sounds of the virtual instrument.
- Exploring Performance Controls: Embrace the tactile nature of the MIDI keyboard by utilizing its performance controls, such as mod wheels, pitch bend wheels, and assignable knobs and faders, to shape the dynamics and expressiveness of the virtual instrument. These controls enable you to infuse your performances with subtle nuances and articulations, enhancing the musicality of the virtual instrument’s sound.
- Layering and Splitting Sounds: Leverage the MIDI keyboard’s ability to trigger multiple sounds simultaneously by layering different virtual instruments or splitting the keyboard to play different sounds in different regions. This versatility allows you to create rich, layered textures and orchestral arrangements with ease.
- Recording Expressive Performances: Capture your musical ideas and performances in real-time by recording MIDI data from the keyboard into your DAW. Whether it’s a delicate piano melody, an intricate synth sequence, or a rhythmic drum pattern, the MIDI keyboard empowers you to translate your musical inspirations into tangible MIDI recordings with precision and emotion.
By embracing these creative possibilities, you can leverage your MIDI keyboard as a powerful and intuitive controller for a diverse range of virtual instruments, adding a human touch and expressive depth to your musical compositions. Whether you’re crafting intricate soundscapes, emotive melodies, or rhythmically complex arrangements, the MIDI keyboard serves as your gateway to a world of sonic exploration and artistic expression within the digital realm.
Recording MIDI Data with the AudioBox USB
As a pivotal component of your music production setup, the AudioBox USB not only facilitates audio recording and playback but also serves as a conduit for capturing MIDI data from your connected MIDI keyboard. Whether you’re composing intricate melodies, crafting complex arrangements, or experimenting with rhythmic patterns, the AudioBox USB empowers you to seamlessly record MIDI data within your digital audio workstation (DAW). Here’s how you can effectively capture MIDI data with the AudioBox USB:
- Selecting a MIDI Track: Within your DAW, create a new MIDI track or select an existing one where you intend to record MIDI data. This track will serve as the destination for capturing the musical information transmitted from your MIDI keyboard through the AudioBox USB.
- Arming the MIDI Track: Arm the MIDI track for recording, ensuring that it is ready to receive MIDI input from your connected MIDI keyboard via the AudioBox USB. This step prepares the track to capture the incoming MIDI data as you play and perform on the keyboard.
- Monitoring MIDI Input: Activate the MIDI input monitoring on the track to hear the sound of the virtual instrument as you play the MIDI keyboard. This real-time feedback allows you to monitor and adjust your performance while ensuring that the MIDI data is being accurately captured by the DAW.
- Recording MIDI Performances: Initiate the recording process within your DAW and start playing your MIDI keyboard to perform and capture your musical ideas. Whether it’s a series of expressive chords, a captivating melody, or intricate rhythmic patterns, the AudioBox USB seamlessly captures the nuances and dynamics of your performance as MIDI data.
- Editing and Arranging MIDI Data: After recording MIDI data with the AudioBox USB, you can delve into the realm of MIDI editing within your DAW. This includes quantizing notes for rhythmic precision, adjusting velocities for dynamic control, and arranging the captured MIDI data to shape your musical compositions with precision and creativity.
By embracing these fundamental steps, you can harness the capabilities of the AudioBox USB to seamlessly record MIDI data from your MIDI keyboard within your DAW. Whether you’re capturing emotive performances, crafting intricate musical arrangements, or experimenting with experimental soundscapes, the AudioBox USB stands as your steadfast ally in translating your musical inspirations into tangible MIDI recordings with finesse and precision.
Conclusion
Embarking on the journey of integrating a MIDI keyboard with the AudioBox USB has unveiled a realm of creative possibilities and seamless functionality within your music production ecosystem. By meticulously setting up the AudioBox USB, establishing the connection with your MIDI keyboard, configuring it within your DAW, and leveraging its capabilities to control virtual instruments and record MIDI data, you have fortified your music production arsenal with a powerful and versatile combination of tools.
As you navigate the intricacies of music production, the symbiotic relationship between your MIDI keyboard and the AudioBox USB serves as a conduit for translating your musical visions into tangible sonic expressions. The tactile nature of the MIDI keyboard, coupled with the robust audio and MIDI capabilities of the AudioBox USB, empowers you to infuse your compositions with emotive performances, expressive nuances, and boundless creativity.
With the MIDI keyboard seamlessly integrated into your workflow, you have unlocked the potential to sculpt evocative melodies, trigger dynamic rhythms, and shape the sonic landscape with finesse. Whether you’re a composer, producer, or performer, the synergy between the MIDI keyboard and the AudioBox USB amplifies your ability to articulate your musical ideas with unparalleled depth and authenticity.
As you continue to explore the vast horizons of music production, remember that the journey is an ever-evolving odyssey of discovery and innovation. The integration of the MIDI keyboard with the AudioBox USB represents a milestone in your quest for sonic excellence, providing you with a dynamic platform to unleash your creativity and elevate your musical endeavors to new heights.
So, as you embark on your next musical venture, armed with the knowledge and proficiency gained from this guide, may the harmonious synergy of the MIDI keyboard and the AudioBox USB inspire you to create, innovate, and immerse yourself in the boundless realm of music production with unwavering passion and ingenuity.