Introduction
Welcome to our guide on how to set up a USB microphone in place of Kinect. If you’re looking to improve your audio quality for video conferencing, podcasting, or gaming, using a USB microphone can be a great option. By following the steps outlined in this guide, you’ll be able to seamlessly switch from using the Kinect microphone to a USB microphone for an enhanced audio experience.
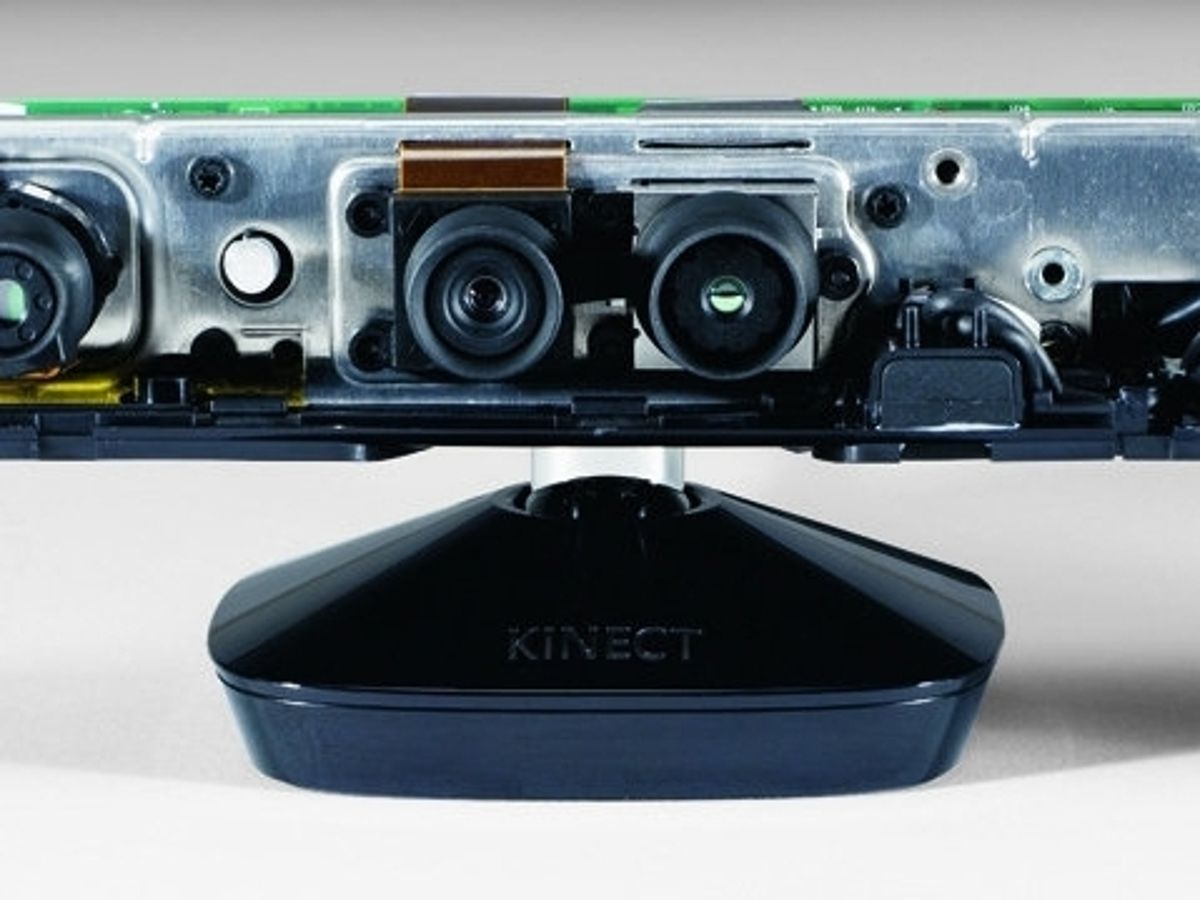
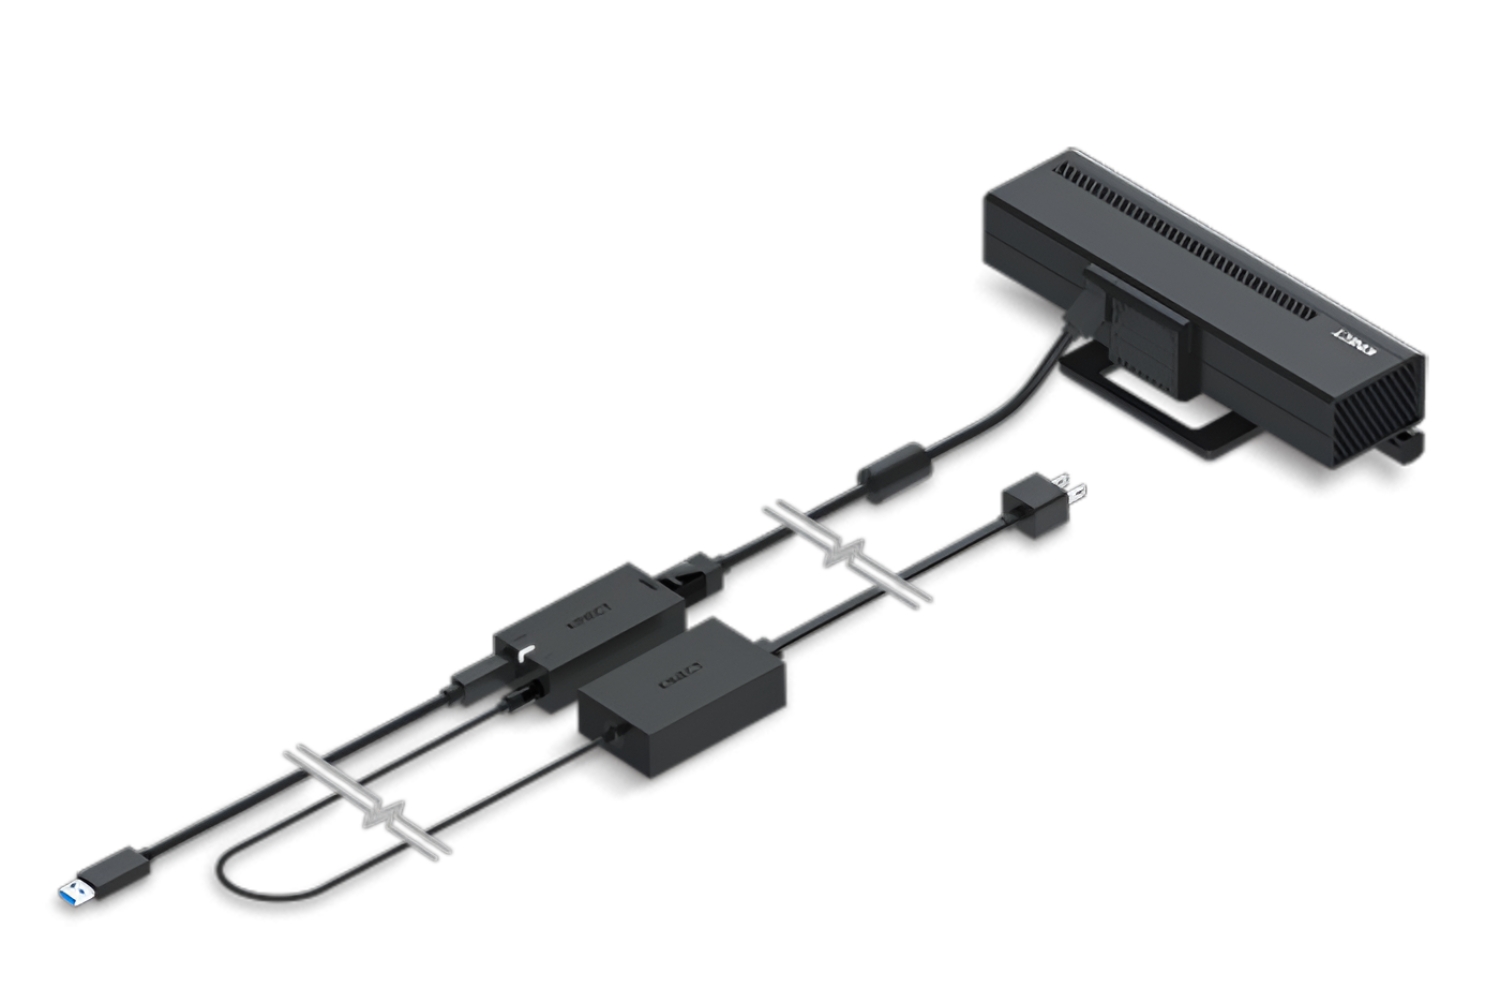
The Kinect, originally designed for motion sensing in gaming consoles, does come with a built-in microphone. However, its audio quality may not meet your specific needs, especially if you desire professional-grade sound or are particular about noise reduction. By using a USB microphone, you have more control over the audio signal and can achieve better clarity and overall sound quality.
In this guide, we will take you through the necessary steps to successfully set up a USB microphone in place of Kinect. This includes choosing a suitable USB microphone, installing any required drivers, connecting the microphone to your PC, configuring audio settings, and testing the microphone to ensure it’s working as expected. Additionally, we’ll provide tips on adjusting the microphone settings for optimal performance.
Whether you’re a content creator, a gamer, or someone who frequently participates in video conferences, the ability to upgrade your audio setup can greatly enhance your overall experience. By following this guide and making the switch to a USB microphone, you’ll notice a significant improvement in audio quality, leading to clearer, crisper sound when communicating or recording.
Now, let’s dive into the step-by-step process of setting up a USB microphone to replace the Kinect and take your audio to the next level!
Step 1: Choosing a USB Microphone
Before setting up a USB microphone in place of Kinect, it’s important to choose the right microphone that suits your specific needs. There are various factors to consider when selecting a USB microphone, including your intended use, budget, and desired audio quality.
First, think about how you plan to use the USB microphone. Are you primarily using it for gaming, podcasting, voiceovers, or video conferencing? Different microphones are designed with specific purposes in mind, so it’s essential to choose one that aligns with your intended use.
Next, consider your budget. USB microphones come in a wide range of prices, from budget-friendly options to more high-end models. Set a budget that you’re comfortable with and look for microphones within that price range.
When it comes to audio quality, pay attention to the microphone’s frequency response and sensitivity. A wider frequency response range allows the microphone to capture a broader spectrum of sound, resulting in more accurate and detailed audio. Additionally, a higher sensitivity microphone can pick up softer sounds more effectively.
Another factor to consider is the microphone’s polar pattern. This refers to the microphone’s sensitivity to sound from different directions. Common polar patterns include cardioid, omnidirectional, and bidirectional. If you’re using the microphone in a controlled environment, a cardioid pattern may suffice. However, if you plan to record multiple voices or capture sound from all directions, an omnidirectional pattern might be more suitable.
Additionally, take into account the microphone’s build quality and durability. USB microphones come in different shapes, sizes, and materials. Look for a microphone that is sturdy, well-built, and designed to withstand regular use.
Lastly, read reviews and seek recommendations from other users or professionals in the field. This can provide valuable insights into the microphone’s performance, reliability, and overall value for money.
Once you have considered these factors, you’ll be better equipped to make an informed decision and choose a USB microphone that meets your specific requirements. Remember, the right microphone can make a substantial difference in the quality of your audio recordings or communications.
Step 2: Installing the Required Drivers
After choosing the USB microphone that best suits your needs, the next step is to install any required drivers for proper functionality. While many USB microphones are plug-and-play and do not require additional drivers, some models may need specific software or drivers to work correctly on your computer.
Before connecting the USB microphone to your PC, it’s a good idea to check the manufacturer’s website or the documentation that comes with the microphone for any driver downloads or installation instructions. Look for the appropriate drivers that are compatible with your operating system.
Once you have downloaded the necessary drivers, locate the installation file and follow the on-screen instructions to install them. Make sure to close any open applications or programs during the installation process to avoid any conflicts.
If the USB microphone requires a firmware update, it’s essential to follow the provided instructions carefully to ensure a smooth installation. Firmware updates can improve performance, fix bugs, and provide added features to your USB microphone.
After the installation is complete, restart your computer to ensure that the drivers are properly initialized. This step will also help in reducing any potential issues that may occur during the setup process.
It’s worth mentioning that some USB microphones do not require separate drivers and will work immediately upon connection to your PC. In such cases, you can skip the driver installation step and proceed with connecting the microphone to your computer.
Installing the required drivers for your USB microphone is crucial to ensure compatibility and optimal performance. By following the manufacturer’s instructions and keeping your drivers up to date, you can ensure that your USB microphone functions smoothly and reliably.
Step 3: Connecting the USB Microphone to Your PC
Now that you have installed the necessary drivers for your USB microphone, it’s time to connect it to your PC. Follow these steps to ensure a proper and secure connection:
1. Locate an available USB port on your computer. USB ports are typically found on the front or back of the CPU tower or on the sides of a laptop.
2. Insert the USB connector of the microphone into the USB port. Ensure that it fits snugly and make sure not to force the connection.
3. Once connected, your computer should recognize the USB microphone and automatically configure it as the default audio input device. However, if this does not happen, you may need to manually select the USB microphone as your input device in your computer’s audio settings.
4. To access the audio settings on Windows, right-click on the speaker icon in the system tray and select “Open Sound settings” or “Recording devices.” On Mac, open the “System Preferences” menu, then select “Sound” and navigate to the “Input” tab.
5. In the audio settings, you should see the USB microphone listed as one of the available input devices. Select it as the default input device and adjust the input volume if necessary.
6. Once you’ve made the necessary adjustments, test the microphone by speaking into it or making a sound. You should see the input levels on your computer’s audio settings panel fluctuate, indicating that the USB microphone is working correctly.
7. If the USB microphone is working properly, you can proceed to use it in your preferred applications such as video conferencing software, recording programs, or voice chat clients.
It’s important to note that some USB microphones may have additional features or settings that can be accessed through dedicated software or control panels provided by the manufacturer. If this is the case, refer to the microphone’s documentation or the manufacturer’s website for instructions on how to customize and adjust these settings.
By following these steps, you can easily connect your USB microphone to your PC and ensure that it is recognized as the default audio input device.
Step 4: Configuring the Audio Settings
Once your USB microphone is connected to your PC, it’s important to configure the audio settings to optimize its performance. Follow these steps to ensure that your microphone is set up correctly:
1. Open your audio settings. On Windows, right-click on the speaker icon in the system tray and select “Open Sound settings” or “Recording devices”. On Mac, open the “System Preferences” menu, then select “Sound” and navigate to the “Input” tab.
2. Locate the USB microphone in the list of available input devices. It should be labeled with the microphone’s name or model.
3. Select the USB microphone as the default input device. This will ensure that any applications or programs you use will recognize and utilize the microphone as the primary audio source.
4. Adjust the volume level of the USB microphone. Move the volume slider or use the volume buttons on the microphone itself to set an appropriate level. Make sure the level is not too low, resulting in barely audible sound, or too high, causing distortion or clipping.
5. If your USB microphone has additional settings or features, such as gain control or a mute button, you can adjust them in the microphone’s control panel or dedicated software. Refer to the manufacturer’s documentation or website for instructions on accessing and customizing these settings.
6. Test the microphone by speaking into it or making a sound. Observe the input levels on your computer’s audio settings panel. They should fluctuate as you speak or make sound, indicating that the microphone is receiving and transmitting audio properly.
7. Additionally, consider any background noise or echoes that may be picked up by the microphone. If necessary, adjust the microphone’s placement or consider using a pop filter or a noise-canceling feature to minimize unwanted sounds.
8. It’s also a good practice to test the microphone in your preferred applications, such as video conferencing software or recording programs, to ensure that it is functioning correctly. Adjust the input volume within those applications if necessary.
By following these steps and configuring the audio settings, you can ensure that your USB microphone is properly set up and ready to deliver optimal performance in your audio recordings, voice chats, or video conferences.
Step 5: Testing the USB Microphone
After configuring the audio settings for your USB microphone, it’s crucial to test it to ensure that it is functioning correctly. Follow these steps to conduct a thorough test:
1. Open an audio recording or voice chat application on your computer. This can be a built-in recording software, video conferencing platform, or any application that allows you to use an external microphone.
2. Set the USB microphone as the input device within the application’s settings. Ensure that it is selected as the default recording device.
3. Start a test recording or engage in a voice chat with a friend or colleague to check the audio quality and performance of the USB microphone.
4. Pay attention to the clarity, volume, and overall sound quality of the recorded or transmitted audio. Ensure that your voice or any other sound captured by the microphone is clear, without any distortions, echoes, or background noise.
5. If you notice any issues with the audio quality, revisit the audio settings on your computer and within the application. Make adjustments to the volume levels and microphone settings as necessary.
6. Speak or make sound at different distances and angles from the microphone to test its sensitivity and directionality. Confirm that it captures sound consistently and accurately, regardless of your position relative to the microphone.
7. Test different settings or features of the USB microphone, such as gain control or mute buttons, to ensure they function as expected.
8. If you have access to headphones or speakers, listen to the playback of your test recordings or the audio from your voice chat to evaluate the sound quality from the recipient’s perspective. This will help you identify any issues or areas for improvement.
By conducting a thorough test of your USB microphone, you can verify its functionality, adjust any necessary settings, and ensure that it meets your audio quality requirements. This will set you up for a successful recording, communication, or streaming experience with your USB microphone.
Step 6: Adjusting Settings for Optimal Performance
After testing your USB microphone, you may want to fine-tune the settings to achieve the best possible performance. Here are some adjustments you can make to optimize your microphone’s performance:
1. Experiment with the microphone’s distance and positioning. Moving the microphone closer or farther from your mouth can affect the volume and clarity of your voice. Find the optimal distance that works for your particular microphone and voice.
2. Adjust the gain or input volume level. Increasing the gain can make your voice louder, but be cautious as this can also introduce more background noise. Decreasing the gain can reduce the sensitivity, minimizing background noise but potentially making your voice softer. Balance these settings to achieve a clear and audible sound.
3. Utilize any polar pattern settings if your microphone offers them. For example, if you are recording a single-person podcast or streaming, choosing a cardioid pattern will focus the microphone’s sensitivity on your voice, reducing background noise from the sides and back.
4. Consider using a pop filter or windscreen to reduce plosive sounds and minimize wind noise. These accessories can greatly enhance the clarity and quality of your recordings, especially when speaking close to the microphone.
5. If you are experiencing background noise or echoes, try adjusting the microphone’s position or consider using noise reduction features available in software applications. These features can help eliminate or minimize unwanted sounds, providing a cleaner and more professional audio output.
6. Regularly update your microphone’s firmware and drivers. Manufacturers often release updates that can improve performance, fix bugs, and introduce new features. Check the manufacturer’s website or support page for the latest updates.
7. If you are using the USB microphone in a noisy environment, such as a busy office or a room with loud air conditioning, consider using a dedicated soundproofing setup. This can help reduce unwanted background noise and improve the overall sound quality.
Remember to test your microphone settings with various applications and scenarios to ensure consistent and optimal performance. Adjustments may be needed depending on the specific use case, environment, and personal preferences.
By fine-tuning and adjusting the settings for your USB microphone, you can maximize its performance and achieve the best possible audio quality for your recordings, live streams, podcasts, or any other applications that depend on clear and crisp sound.
Conclusion
Congratulations! You have successfully learned how to set up a USB microphone in place of Kinect. By following our step-by-step guide, you now have the knowledge and skills to upgrade your audio setup and enjoy enhanced audio quality for gaming, podcasting, video conferencing, and more.
Choosing the right USB microphone that aligns with your needs, installing the required drivers, connecting the microphone to your computer, configuring the audio settings, testing the microphone, and making adjustments for optimal performance are all essential steps in this process.
With a USB microphone, you have greater control over your audio, allowing for clearer, crisper sound, and reducing background noise. This upgrade can greatly improve your overall experience, whether you’re streaming your gameplay, recording a podcast, or interacting with others in a video conference.
Remember to regularly update your microphone’s firmware and drivers to benefit from any enhancements or bug fixes provided by the manufacturer. Additionally, consider using accessories like pop filters or windshields to further enhance the sound quality of your recordings.
By paying attention to these details and fine-tuning your microphone settings, you can achieve professional-level audio quality and make a lasting impression on your audience or conversation partners.
Now it’s time to put your new knowledge into action. Connect your USB microphone, adjust the settings, and start enjoying the improved audio experience. Whether you’re creating content, collaborating with others, or simply engaging in online conversations, your USB microphone will help you stand out with crystal-clear sound.
Thank you for following along with our guide on how to set up a USB microphone in place of Kinect. We hope that you find success and satisfaction in your audio endeavors!


