Introduction
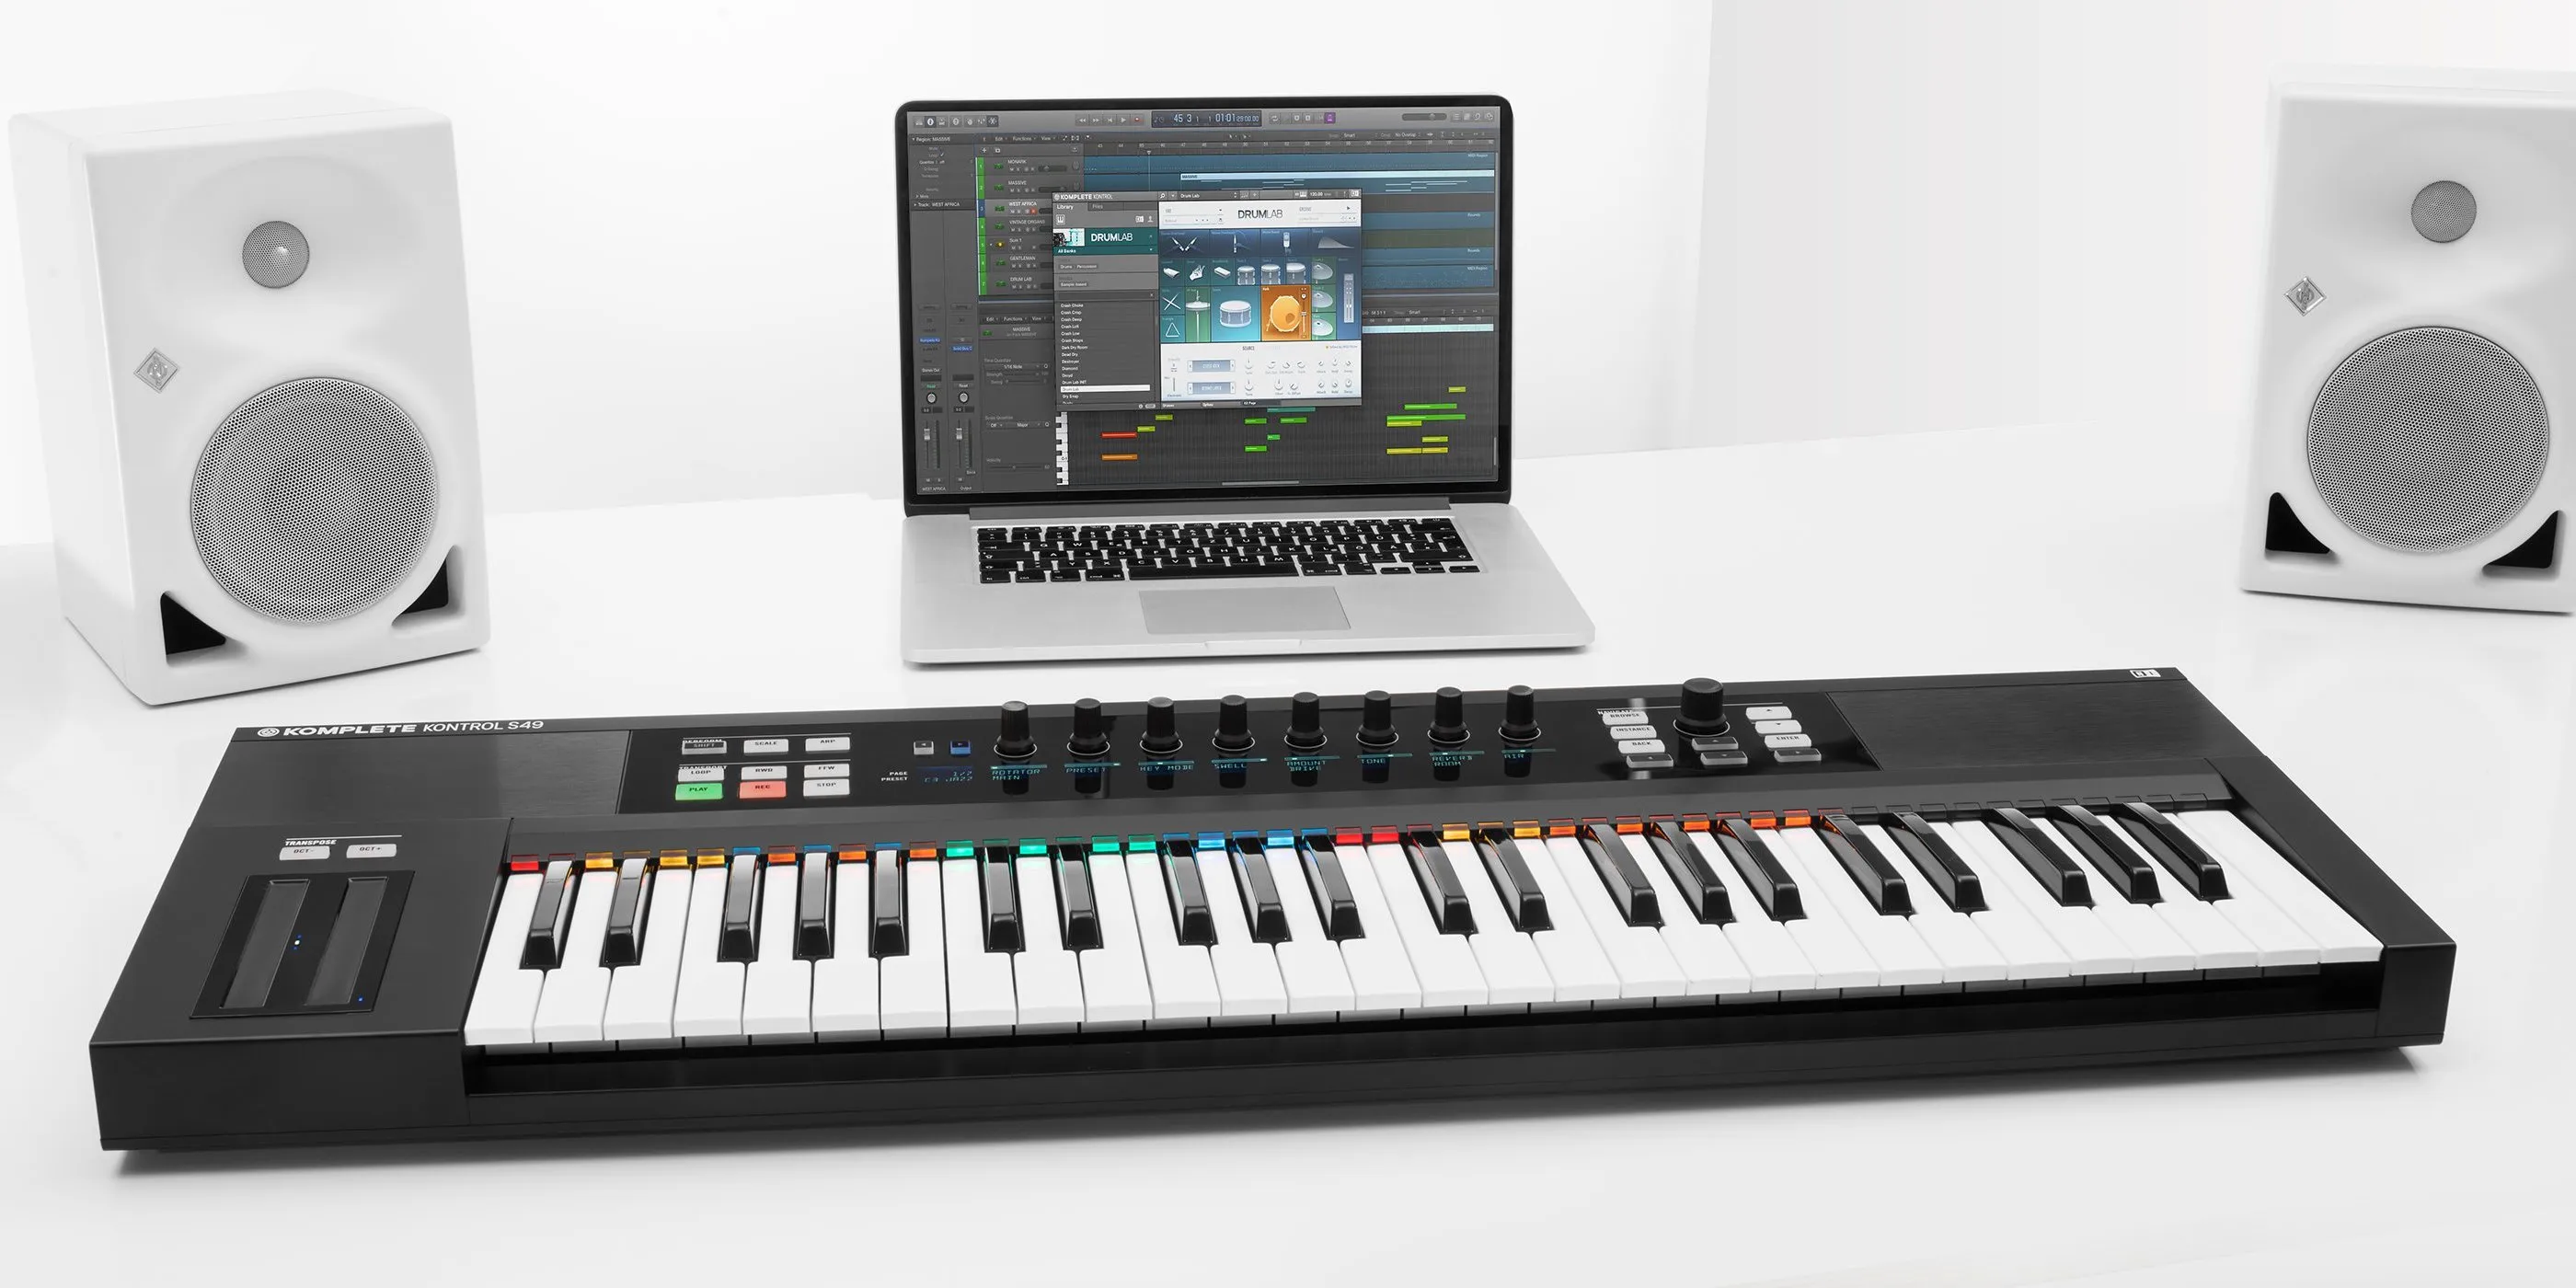
Logic Pro X is a powerful digital audio workstation that opens up a world of creative possibilities for music producers and composers. One of the key components of music production is the ability to use MIDI keyboards to control and input musical data into the software. Setting up a MIDI keyboard in Logic Pro X is a fundamental step that allows musicians to harness the full potential of the software and express their musical ideas seamlessly.
In this guide, we will walk through the essential steps to set up a MIDI keyboard in Logic Pro X, from connecting the keyboard to your computer to configuring it within the software. Whether you are a seasoned producer or just starting out, understanding how to integrate a MIDI keyboard with Logic Pro X will undoubtedly enhance your music production workflow and elevate your creative output.
By following this comprehensive tutorial, you will gain the knowledge and confidence to seamlessly integrate your MIDI keyboard with Logic Pro X, empowering you to bring your musical visions to life with precision and fluidity.
Step 1: Connecting Your MIDI Keyboard to Your Computer
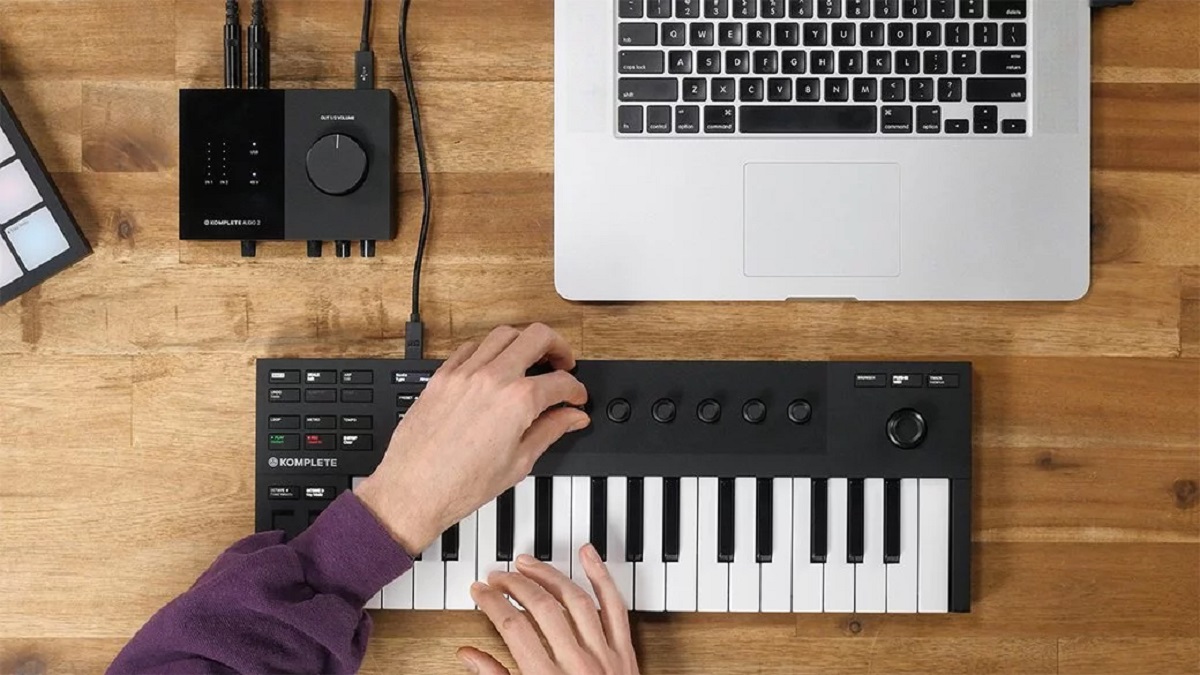
Before delving into the intricacies of Logic Pro X, the first step is to establish a physical connection between your MIDI keyboard and your computer. This connection allows the MIDI keyboard to communicate with the software, enabling you to control virtual instruments and record MIDI data seamlessly.
Begin by locating the USB port on your MIDI keyboard. Most modern MIDI keyboards feature a USB connection, which simplifies the setup process by allowing for a direct connection to your computer. Plug one end of the USB cable into the USB port on your MIDI keyboard and the other end into an available USB port on your computer. Once connected, your computer should recognize the MIDI keyboard as a new device.
If your MIDI keyboard does not have a USB connection, you may need to use a MIDI interface to connect it to your computer. A MIDI interface serves as a bridge between the MIDI keyboard and your computer, typically connecting to your computer via USB. Connect the MIDI OUT port on your keyboard to the MIDI IN port on the interface using a standard MIDI cable. Then, connect the MIDI interface to your computer using a USB cable. This setup allows for seamless communication between your MIDI keyboard and Logic Pro X.
Once the physical connection is established, ensure that your MIDI keyboard is powered on. Some MIDI keyboards may require an external power source, while others can be powered via the USB connection. Refer to your keyboard’s manual for specific power requirements.
With the physical connection in place and your MIDI keyboard powered on, you have successfully completed the first step in setting up your MIDI keyboard in Logic Pro X. The next steps will focus on configuring the keyboard within the software to enable seamless integration and control.
Step 2: Configuring Your MIDI Keyboard in Logic Pro X
Once your MIDI keyboard is physically connected to your computer, the next crucial step is to configure it within Logic Pro X. This process involves ensuring that Logic Pro X recognizes your MIDI keyboard as a controller and input device, allowing you to play and record virtual instruments with ease.
Launch Logic Pro X and navigate to the Preferences menu. From the Preferences menu, select the “MIDI” tab. Here, you will find a list of MIDI devices connected to your computer. Locate your MIDI keyboard in the list and ensure that it is recognized by Logic Pro X. If your keyboard is not listed, double-check the physical connection and power status, then click the “Refresh MIDI” or “Rescan MIDI” button to prompt Logic Pro X to detect the device.
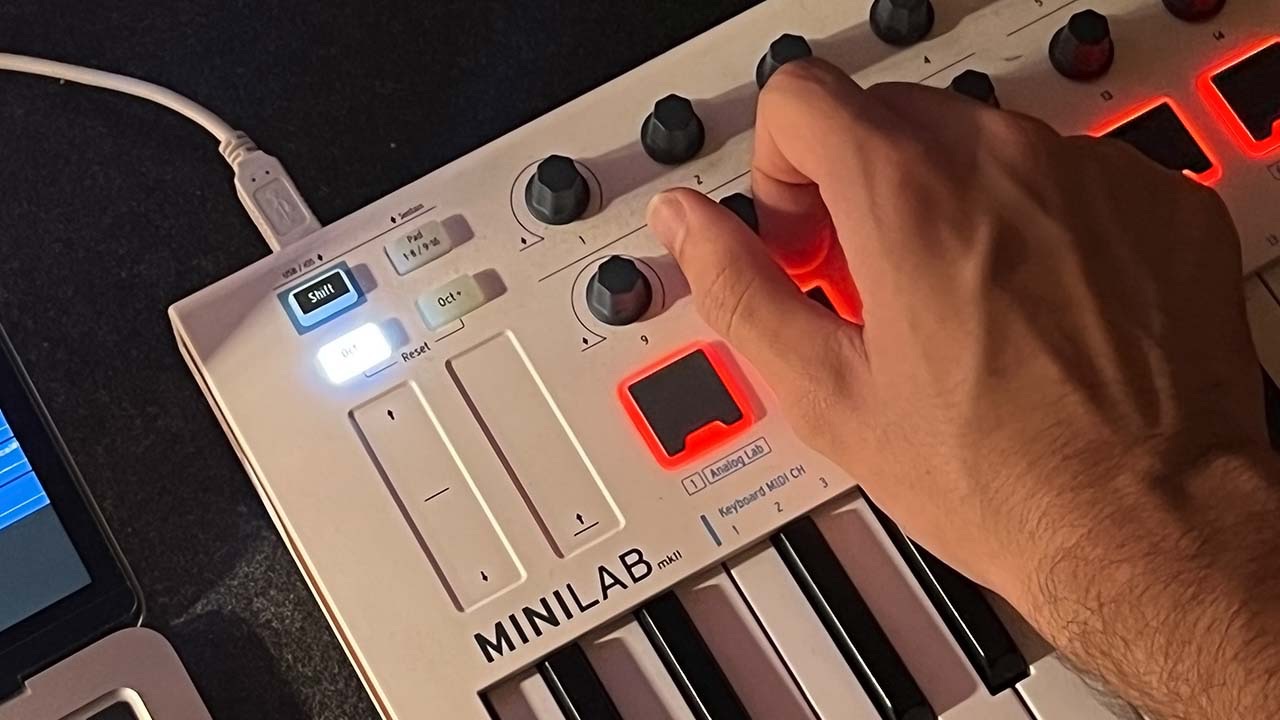
After confirming that your MIDI keyboard is recognized by Logic Pro X, proceed to the Control Surfaces menu within the Preferences. Here, you can set up your MIDI keyboard as a control surface, enabling it to manipulate various parameters within the software. Select your MIDI keyboard from the list of control surfaces and ensure that it is enabled for both input and output. This step is crucial for leveraging the full functionality of your MIDI keyboard within Logic Pro X.
Additionally, you may want to customize the MIDI keyboard’s behavior within Logic Pro X. This can include assigning specific MIDI channels, adjusting velocity curves, and configuring other performance parameters. These customizations allow you to tailor the keyboard’s response to your playing style and preferences, enhancing the overall musical experience.
With your MIDI keyboard successfully configured within Logic Pro X, you are now ready to harness its full potential as a versatile musical tool. The next steps will focus on assigning MIDI controls to software instruments and recording MIDI data with your keyboard, further expanding your creative capabilities within the software.
Step 3: Assigning MIDI Controls to Software Instruments
With your MIDI keyboard physically connected and configured within Logic Pro X, the next step is to assign MIDI controls to software instruments, allowing you to manipulate and play virtual instruments using your keyboard. This process empowers you to seamlessly integrate your MIDI keyboard with Logic Pro X’s extensive library of software instruments, unlocking a world of creative possibilities.
Begin by selecting a software instrument track within Logic Pro X. This can be achieved by creating a new software instrument track or opening an existing one. Once the track is selected, navigate to the track’s settings and ensure that the input is set to your MIDI keyboard. This step establishes the connection between your keyboard and the software instrument, enabling real-time control and input.
After configuring the input settings, you can assign specific MIDI controls to various parameters of the software instrument. This includes mapping keys on your MIDI keyboard to trigger specific notes or sounds, adjusting modulation and pitch bend wheels, and assigning knobs or sliders to control instrument parameters such as filter cutoff, resonance, and envelope settings.
Logic Pro X provides a user-friendly interface for mapping MIDI controls to software instruments. Utilize the “Learn” function within Logic Pro X to easily assign MIDI controls to desired parameters. This intuitive process allows you to map MIDI inputs to software instrument parameters with precision, giving you tactile control over virtual instruments and effects.
Furthermore, you can explore the extensive MIDI mapping capabilities within Logic Pro X to create dynamic and expressive performance setups. This may involve creating custom MIDI maps for specific instruments or utilizing MIDI plugins to enhance the functionality of your MIDI keyboard, providing a tailored and immersive musical experience.
By assigning MIDI controls to software instruments, you can leverage the full potential of your MIDI keyboard as a versatile and expressive controller within Logic Pro X. This seamless integration enhances your ability to craft musical arrangements and performances with unparalleled fluidity and creativity.
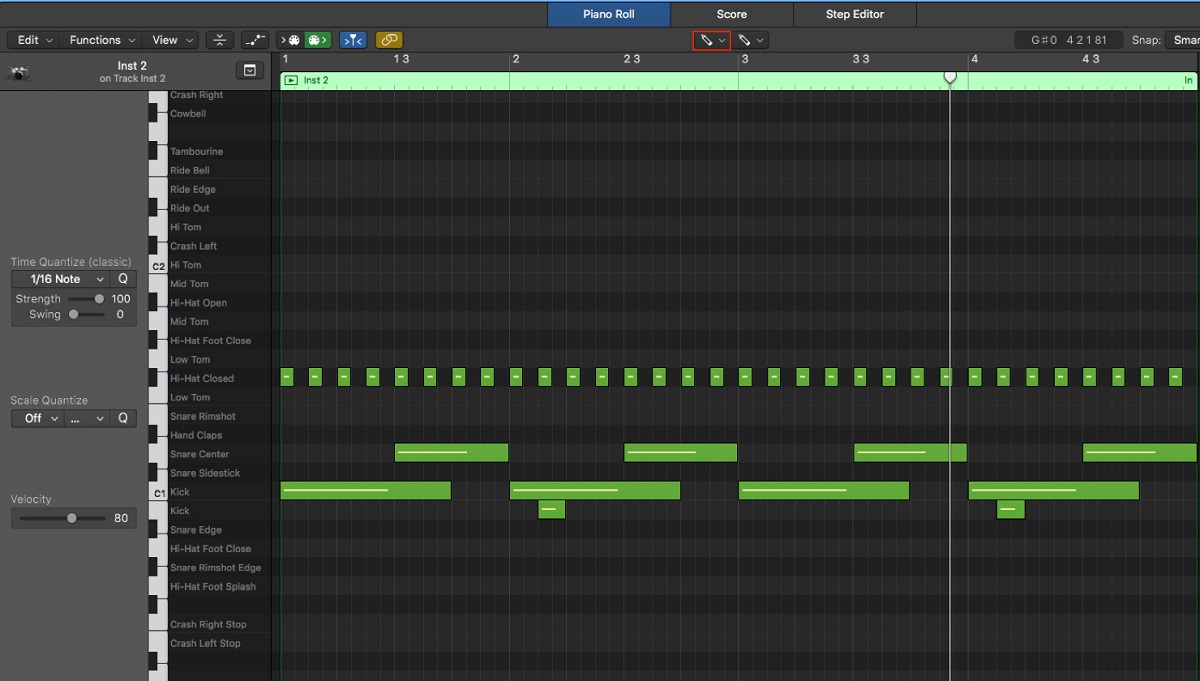
Step 4: Recording MIDI with Your Keyboard
Recording MIDI with your keyboard in Logic Pro X is a fundamental aspect of music production, allowing you to capture expressive performances and intricate musical ideas with precision. Whether you are composing melodies, crafting intricate chord progressions, or adding dynamic layers to your productions, the ability to record MIDI data seamlessly with your keyboard is essential for realizing your creative vision.
To initiate MIDI recording, start by creating a new MIDI track within Logic Pro X. Select the MIDI keyboard as the input source for the track, ensuring that it is ready to receive MIDI data from your keyboard. Once the track is armed for recording, you can begin capturing your performance in real time.
As you play your MIDI keyboard, Logic Pro X will record the MIDI data, including note events, velocity, modulation, and other performance nuances. This intuitive recording process allows you to preserve the dynamics and intricacies of your performance, providing a natural and expressive representation of your musical ideas.
Furthermore, Logic Pro X offers a range of MIDI editing tools that enable you to refine and manipulate recorded MIDI data with precision. This includes quantizing note timings, adjusting velocity levels, and editing individual note events to fine-tune your performances. These editing capabilities empower you to polish your recorded MIDI data while preserving the essence of your original performance.
Additionally, Logic Pro X supports the recording of MIDI continuous controller data, allowing you to capture real-time modulation, pitch bend, and other controller movements generated by your MIDI keyboard. This dynamic recording capability enhances the expressive potential of your performances, enabling you to infuse your music with nuanced articulations and emotive gestures.
By recording MIDI with your keyboard in Logic Pro X, you can seamlessly capture your musical expressions and ideas, paving the way for immersive and captivating compositions. This intuitive recording process, coupled with comprehensive editing tools, empowers you to bring your musical visions to life with unparalleled depth and creativity.
Conclusion
Mastering the setup and integration of a MIDI keyboard in Logic Pro X is a pivotal achievement for any music producer or composer. By following the comprehensive steps outlined in this guide, you have gained the knowledge and proficiency to seamlessly connect, configure, and utilize your MIDI keyboard within Logic Pro X, unlocking a world of creative possibilities and streamlining your music production workflow.
From the initial process of connecting your MIDI keyboard to your computer to the intricacies of configuring MIDI controls and recording expressive performances, each step contributes to a cohesive and immersive music production experience. The seamless integration of your MIDI keyboard with Logic Pro X empowers you to harness the full potential of virtual instruments and elevate your musical compositions with precision and fluidity.
As you continue to explore the dynamic capabilities of Logic Pro X, remember that your MIDI keyboard serves as a versatile and expressive tool for translating your musical ideas into tangible arrangements and compositions. Whether you are crafting intricate melodies, layering dynamic textures, or capturing emotive performances, the integration of your MIDI keyboard amplifies your creative prowess and enhances your ability to articulate musical expressions with depth and nuance.
With a solid foundation in setting up and utilizing your MIDI keyboard in Logic Pro X, you are well-equipped to embark on a journey of musical exploration and innovation. Embrace the seamless synergy between your MIDI keyboard and Logic Pro X, and let your creative instincts guide you as you compose, produce, and shape the sonic landscapes of your musical endeavors.
As you navigate the boundless realm of music production, may the integration of your MIDI keyboard with Logic Pro X serve as a conduit for your artistic vision, empowering you to craft captivating compositions and immersive sonic experiences that resonate with depth and emotion.