Introduction
Are you a music enthusiast looking to elevate your music production game? Connecting a MIDI keyboard to Logic Pro X on YouTube can unlock a world of creative possibilities. Logic Pro X is a powerful digital audio workstation (DAW) that allows you to compose, record, edit, and mix music with precision and ease. By integrating a MIDI keyboard into your setup, you can harness the expressive capabilities of a physical instrument while leveraging the advanced features of Logic Pro X.
In this comprehensive guide, we will walk you through the process of setting up your MIDI keyboard, establishing a seamless connection to your computer, configuring Logic Pro X, and testing the connection to ensure everything is functioning smoothly. Whether you’re a seasoned music producer or a newcomer to the world of music production, this tutorial will equip you with the knowledge and skills to seamlessly integrate your MIDI keyboard with Logic Pro X, enabling you to unleash your creativity and bring your musical ideas to life.
So, grab your MIDI keyboard, fire up Logic Pro X, and let’s dive into the exciting journey of connecting your MIDI keyboard to Logic Pro X on YouTube. Whether you’re aiming to lay down captivating melodies, craft intricate harmonies, or experiment with dynamic soundscapes, this guide will empower you to make the most of your MIDI keyboard within the immersive environment of Logic Pro X. Let’s embark on this musical adventure together!
Step 1: Setting up your MIDI keyboard
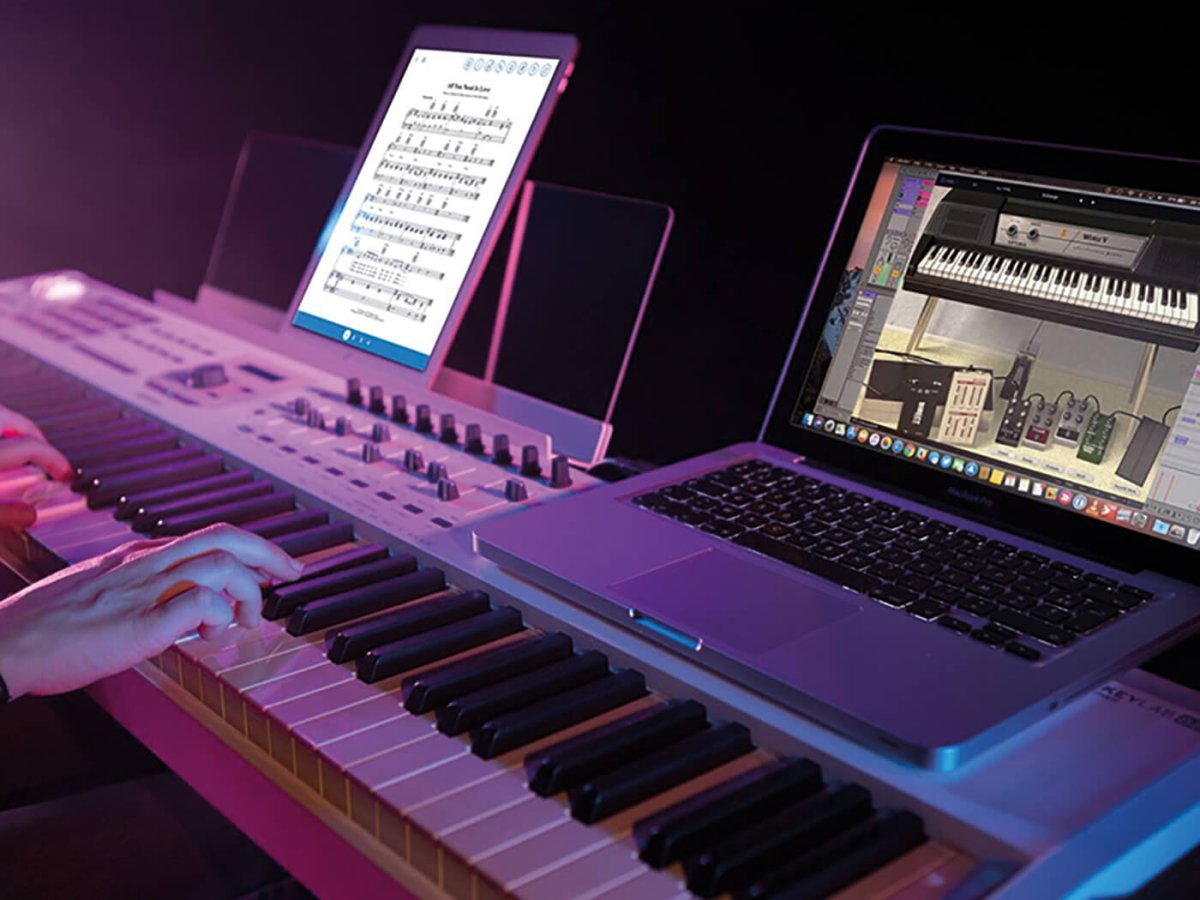
Before delving into the technical intricacies of connecting your MIDI keyboard to Logic Pro X on YouTube, it’s essential to ensure that your MIDI keyboard is set up and ready for integration. Here are the fundamental steps to prepare your MIDI keyboard for seamless connectivity:
- Power On and Positioning: Begin by powering on your MIDI keyboard and positioning it within comfortable reach of your computer. Ensure that the keyboard is placed on a stable surface, allowing for unrestricted access to the keys, knobs, sliders, and other control elements.
- Check Connections: Inspect the power cable and any additional connectivity cables to ensure that they are securely plugged into the MIDI keyboard. Verify that the power indicator light, if present, illuminates to indicate that the keyboard is receiving power.
- Adjust Keyboard Stand (If Applicable): If your MIDI keyboard is part of a stand-alone unit or integrated into a keyboard stand, adjust the height and angle to suit your playing preferences. This step is crucial for optimizing comfort and ergonomics during extended music production sessions.
- Customize Keyboard Settings: Familiarize yourself with the customization options available on your MIDI keyboard, such as velocity sensitivity, key response curves, and assignable controls. Tailoring these settings to your playing style and workflow can significantly enhance your overall music production experience.
By meticulously preparing your MIDI keyboard for integration with Logic Pro X, you can lay a solid foundation for a smooth and efficient connection process. Once your MIDI keyboard is primed and ready, you’ll be poised to seamlessly bridge the gap between tactile music creation and the boundless capabilities of Logic Pro X.
Step 2: Connecting the MIDI keyboard to your computer
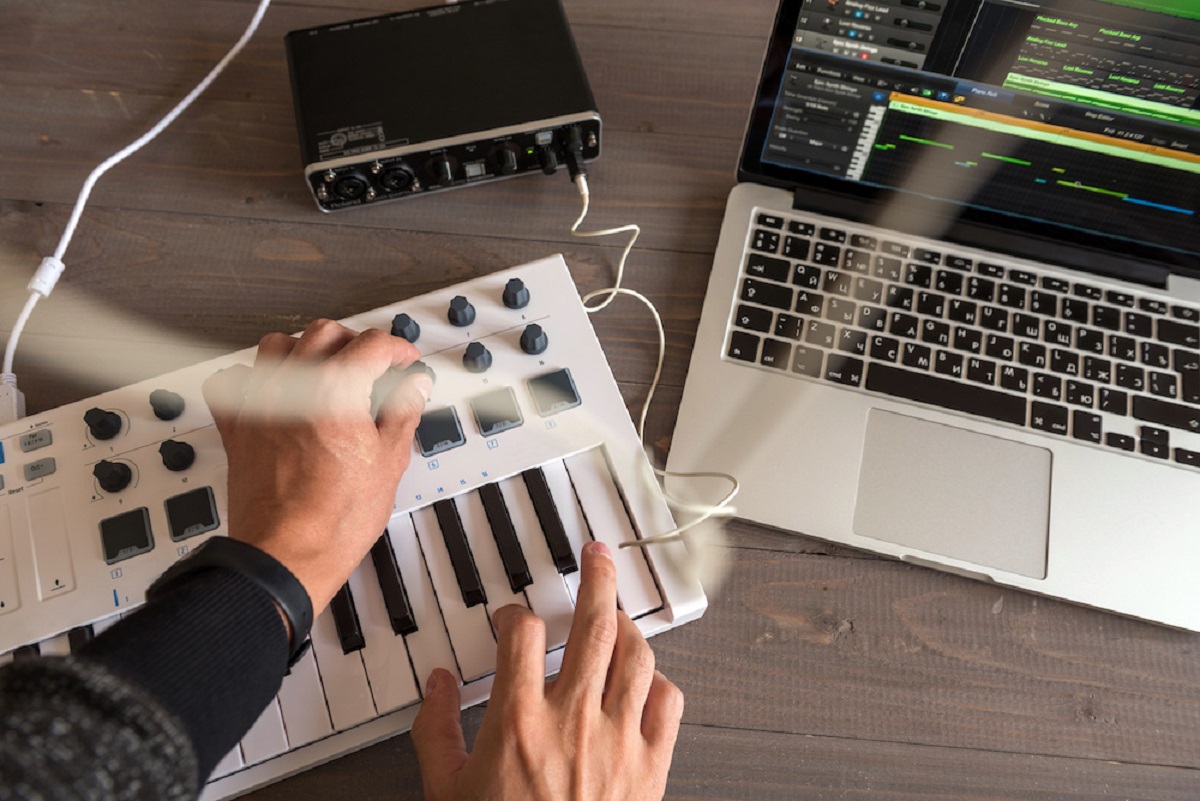
With your MIDI keyboard prepared for integration, the next crucial step is to establish a robust physical connection between the keyboard and your computer. This pivotal link serves as the conduit through which your musical expressions will flow into the digital realm of Logic Pro X. Follow these essential guidelines to seamlessly connect your MIDI keyboard to your computer:
- Identify Available Ports: Examine your MIDI keyboard to identify the available ports for connectivity. Most MIDI keyboards feature MIDI OUT, MIDI IN, and USB ports. Depending on your computer’s available input options, you can choose the most suitable connection method for your setup.
- USB Connection: If your MIDI keyboard is equipped with a USB port, connect it directly to a USB port on your computer using a standard USB cable. This method offers a convenient plug-and-play solution, allowing for swift recognition of the MIDI keyboard by your computer’s operating system.
- MIDI Connection: In scenarios where a USB connection is not available or preferred, you can utilize MIDI cables to establish a connection between the MIDI OUT port on your keyboard and the MIDI IN port on an external audio interface or MIDI interface connected to your computer.
- Driver Installation (If Required): In the case of a USB connection, some MIDI keyboards may necessitate the installation of specific drivers to ensure seamless communication with your computer. Visit the manufacturer’s website to download and install the appropriate drivers, if needed, to enable full functionality.
- Verify Connection Status: Once the physical connection is established, verify that your computer recognizes the MIDI keyboard. Check the device manager or system preferences to ensure that the MIDI keyboard is detected and listed as an available input device.
By meticulously establishing a reliable physical connection between your MIDI keyboard and computer, you are laying the groundwork for a harmonious integration process. This pivotal link forms the bridge through which your musical ideas will traverse into the digital domain of Logic Pro X, empowering you to unleash your creative potential with precision and fluidity.
Step 3: Configuring Logic Pro X
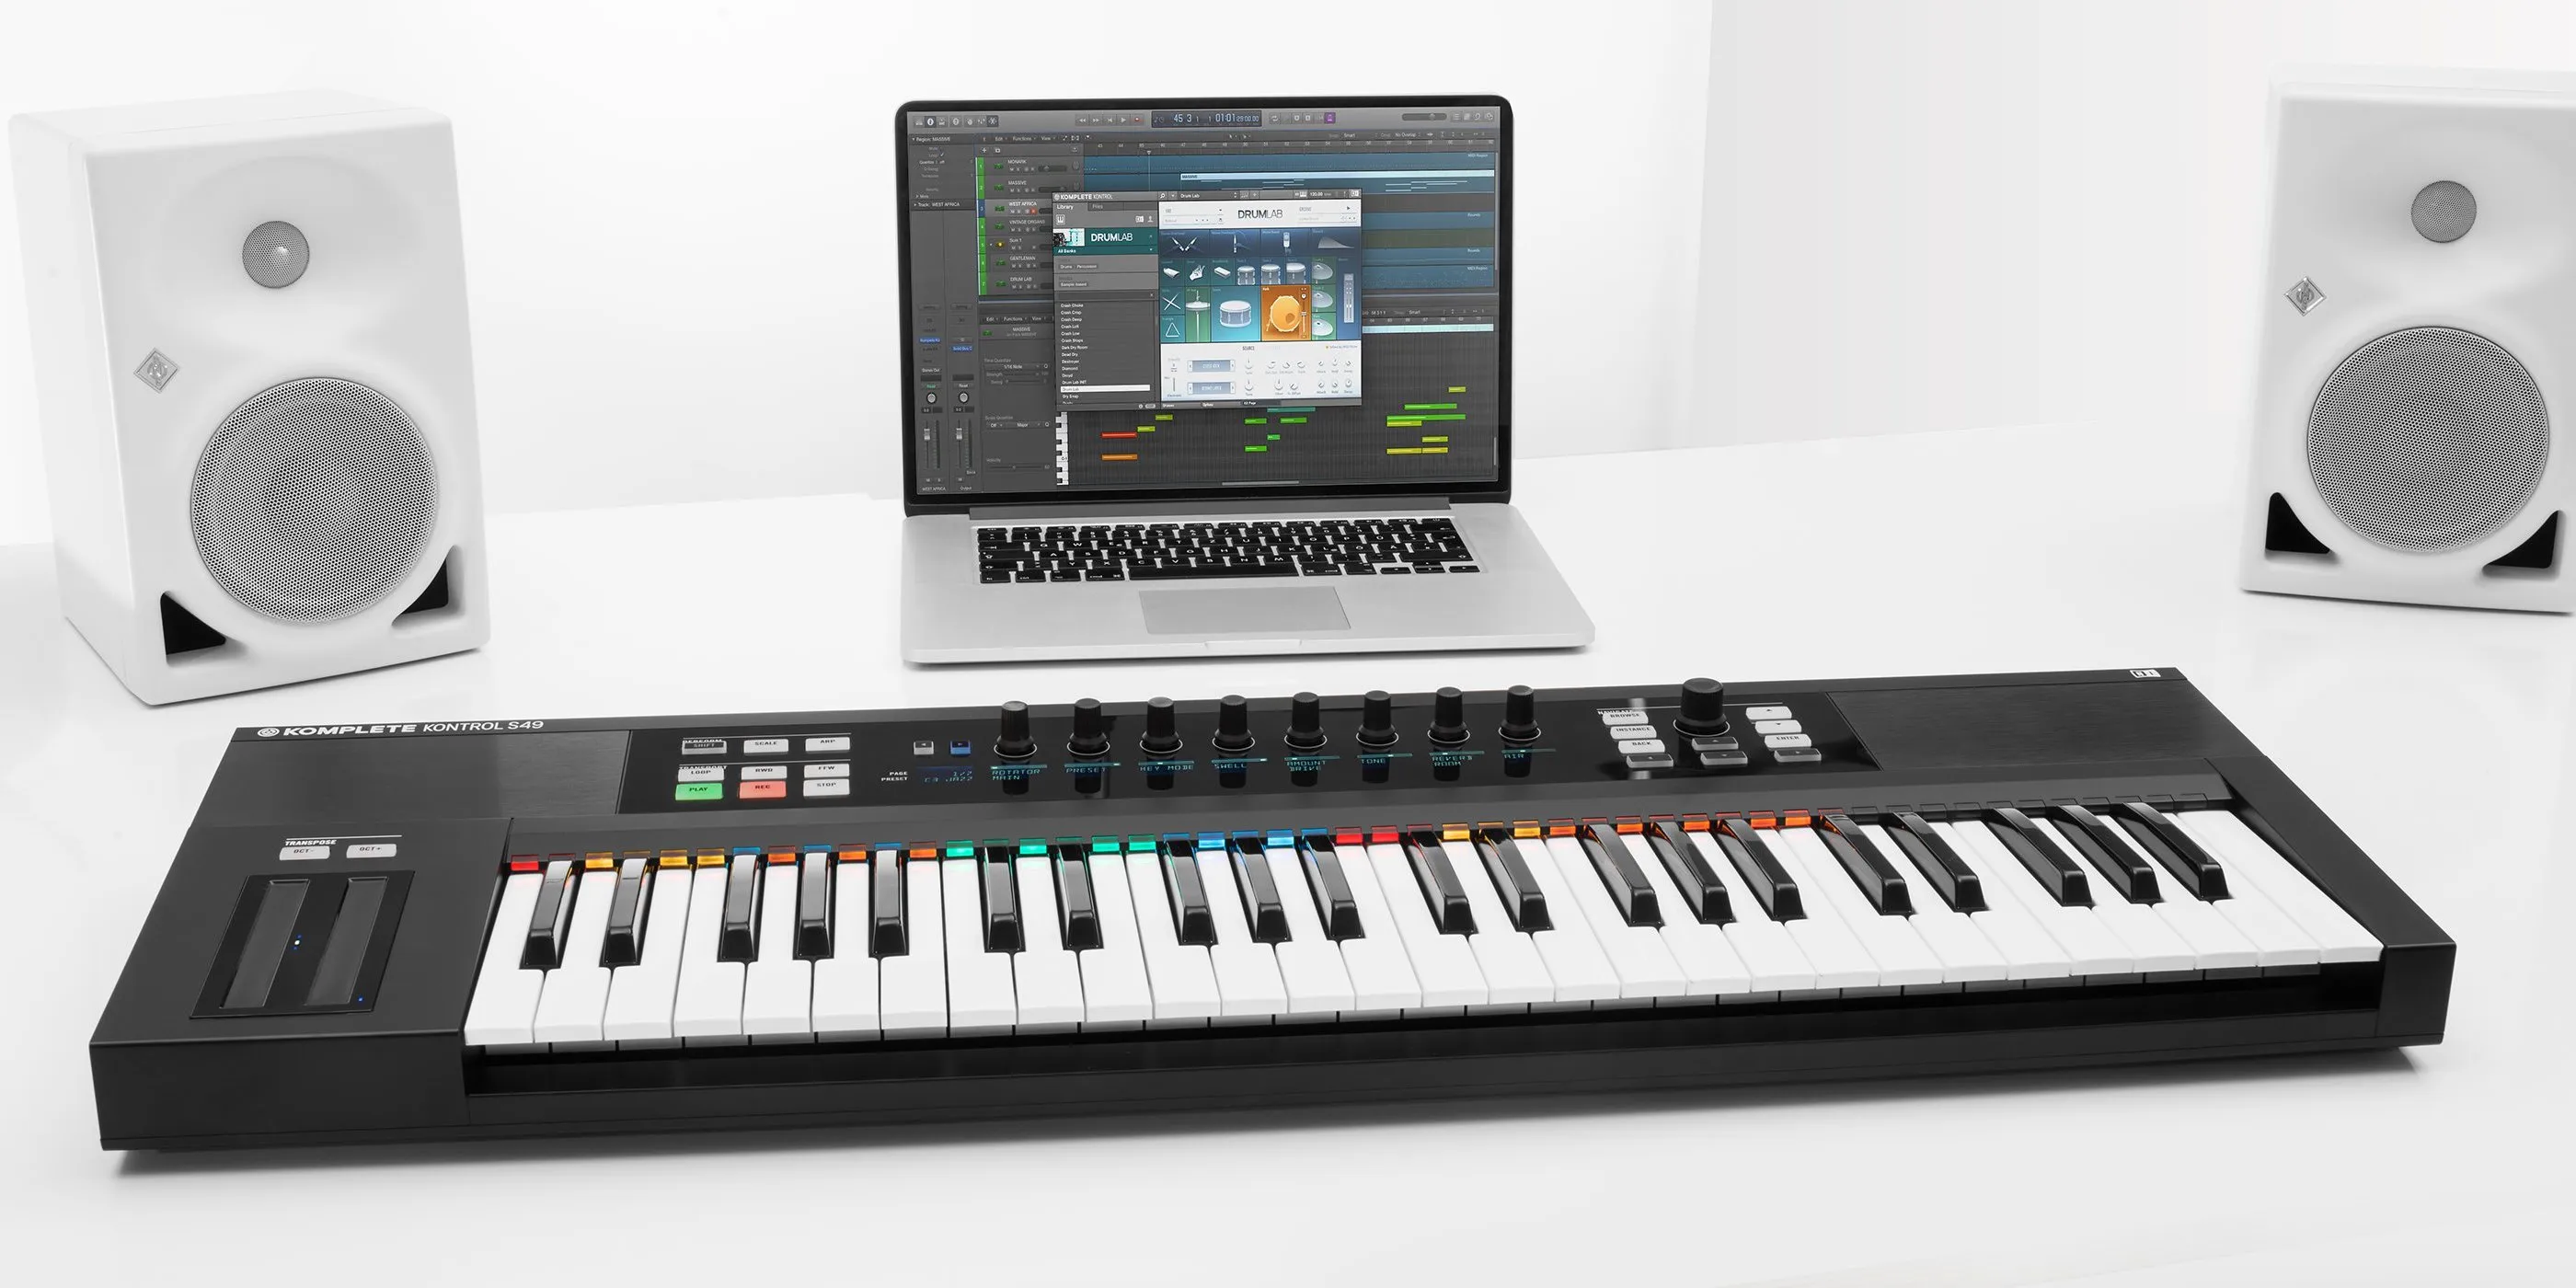
With your MIDI keyboard seamlessly connected to your computer, the next pivotal phase involves configuring Logic Pro X to recognize and effectively communicate with the newly integrated MIDI input device. This crucial step ensures that your MIDI keyboard becomes an intuitive extension of Logic Pro X, enabling you to harness its full potential for music creation and production. Here’s how you can configure Logic Pro X to seamlessly integrate your MIDI keyboard:
- Open Logic Pro X: Launch Logic Pro X on your computer to initiate the configuration process. Once the software is running, navigate to the preferences or settings menu to access the MIDI configuration options.
- Access MIDI Settings: Within the preferences or settings menu, locate the MIDI settings or device setup section. Here, you will be able to view and manage the MIDI input devices recognized by Logic Pro X.
- Select MIDI Keyboard: If your MIDI keyboard is successfully connected and recognized by your computer, it should appear as an available MIDI input device within Logic Pro X. Select the MIDI keyboard from the list of detected devices to establish it as the primary input for MIDI data within the software.
- Assign MIDI Channels (If Applicable): Depending on the capabilities of your MIDI keyboard and the complexity of your music production setup, you may need to assign specific MIDI channels to different keyboard zones or instrument controls. This step allows for nuanced control over various virtual instruments and parameters within Logic Pro X.
- Test MIDI Input: To ensure that the MIDI keyboard is effectively configured within Logic Pro X, play a few notes or trigger various controls on the keyboard to verify that the software accurately receives and responds to the MIDI input. This real-time testing allows you to confirm the seamless integration of your MIDI keyboard with Logic Pro X.
By meticulously configuring Logic Pro X to recognize and harmonize with your MIDI keyboard, you are establishing a cohesive synergy between the physical instrument and the digital workspace. This seamless integration empowers you to unleash your creativity with unparalleled expressive control, enabling you to craft captivating musical compositions with precision and fluidity.
Step 4: Testing the connection
After setting up and configuring your MIDI keyboard with Logic Pro X, it’s crucial to conduct comprehensive testing to ensure that the connection is robust and the integration is seamless. Thorough testing allows you to validate the functionality of the MIDI keyboard within Logic Pro X, ensuring that it accurately translates your musical input into the digital realm. Here’s how you can conduct effective testing to affirm the reliability of the MIDI keyboard connection:
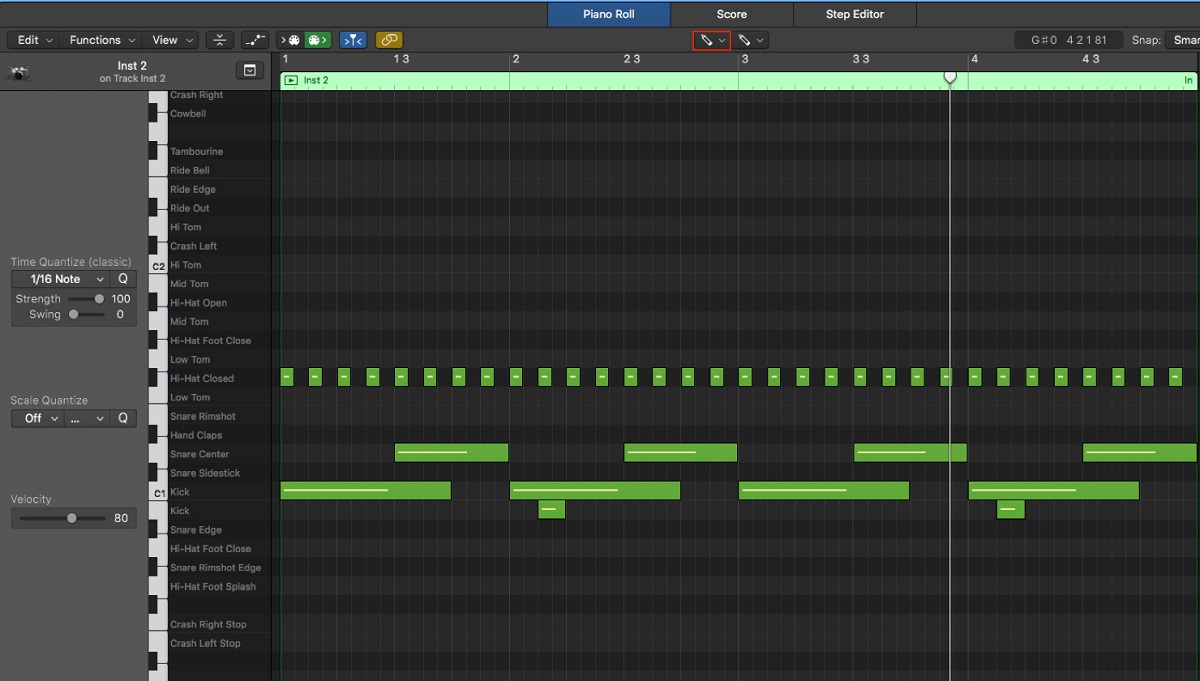
- Play Virtual Instruments: Access the virtual instruments within Logic Pro X and use your MIDI keyboard to play notes, chords, and melodies. Verify that the software accurately captures and reproduces your playing, reflecting the nuances of velocity, dynamics, and articulation.
- Control Parameters: Experiment with controlling various parameters and effects within Logic Pro X using the knobs, sliders, and modulation wheels on your MIDI keyboard. Test the responsiveness and precision of these controls to ensure seamless interaction with the software.
- Record and Playback: Record a short musical passage using your MIDI keyboard and then play it back within Logic Pro X. Verify that the recorded performance accurately reflects your playing, capturing the subtleties and nuances of your musical expression.
- Real-Time Performance: Engage in a real-time performance using your MIDI keyboard, exploring different musical styles, techniques, and genres. Evaluate the responsiveness, latency, and overall performance of the MIDI keyboard within the dynamic context of live music creation.
- Multi-Device Integration: If you have multiple MIDI devices or controllers, test the seamless integration of these devices within Logic Pro X. Verify that all connected MIDI devices cohesively interact with the software, allowing for versatile and intuitive music production workflows.
Thoroughly testing the connection between your MIDI keyboard and Logic Pro X is essential for validating the reliability and functionality of the integrated setup. By immersing yourself in comprehensive testing scenarios, you can confidently ascertain that your MIDI keyboard serves as a seamless extension of Logic Pro X, empowering you to unleash your creativity with precision, expressiveness, and unwavering reliability.
Conclusion
Congratulations! By following this comprehensive guide, you have successfully navigated the process of connecting your MIDI keyboard to Logic Pro X on YouTube, unlocking a world of creative possibilities within the realm of music production. From setting up your MIDI keyboard and establishing a robust connection to configuring Logic Pro X and conducting thorough testing, you have embarked on a transformative journey that seamlessly integrates tactile music creation with the boundless capabilities of digital audio workstations.
As you immerse yourself in the captivating landscape of music production, the integration of your MIDI keyboard with Logic Pro X empowers you to craft captivating melodies, sculpt intricate harmonies, and explore dynamic soundscapes with unparalleled expressiveness and precision. The seamless synergy between your physical instrument and the immersive environment of Logic Pro X enables you to unleash your creative potential, bringing your musical ideas to life with unwavering reliability and fluidity.
With your MIDI keyboard seamlessly integrated into the fabric of Logic Pro X, you are poised to embark on a musical odyssey filled with boundless creativity, sonic innovation, and expressive artistry. Whether you’re composing evocative film scores, producing infectious pop anthems, or delving into experimental sonic landscapes, the fusion of your MIDI keyboard and Logic Pro X sets the stage for a transformative music production experience.
So, embrace the limitless possibilities that await you within the realm of music creation and production. Let your MIDI keyboard be the conduit through which your musical visions flow, harmonizing effortlessly with the powerful tools and features of Logic Pro X. As you embark on this exhilarating journey, may your music resonate with emotion, creativity, and the unmistakable imprint of your artistic identity.