Introduction
Are you ready to take your music production to the next level? Connecting a MIDI keyboard to Logic Pro X can open up a world of creative possibilities, allowing you to harness the power of virtual instruments and take full control of your music-making process. Whether you're a seasoned musician or just starting out, integrating a MIDI keyboard with Logic Pro X can greatly enhance your workflow and unleash your musical potential.
In this guide, we'll walk you through the process of connecting your MIDI keyboard to Logic Pro X, step by step. You'll learn how to set up your MIDI keyboard, establish a seamless connection to your computer, configure Logic Pro X to recognize your MIDI device, and finally, test your setup to ensure everything is working perfectly.
By the end of this tutorial, you'll be well-equipped to harness the full potential of your MIDI keyboard within Logic Pro X, empowering you to create, compose, and produce music with unparalleled flexibility and control. So, grab your MIDI keyboard, fire up Logic Pro X, and let's dive into the exciting world of MIDI music production!
Step 1: Setting up your MIDI keyboard
Before diving into the technical aspects of connecting your MIDI keyboard to Logic Pro X, it’s crucial to ensure that your MIDI keyboard is set up and ready to be integrated into your music production environment.
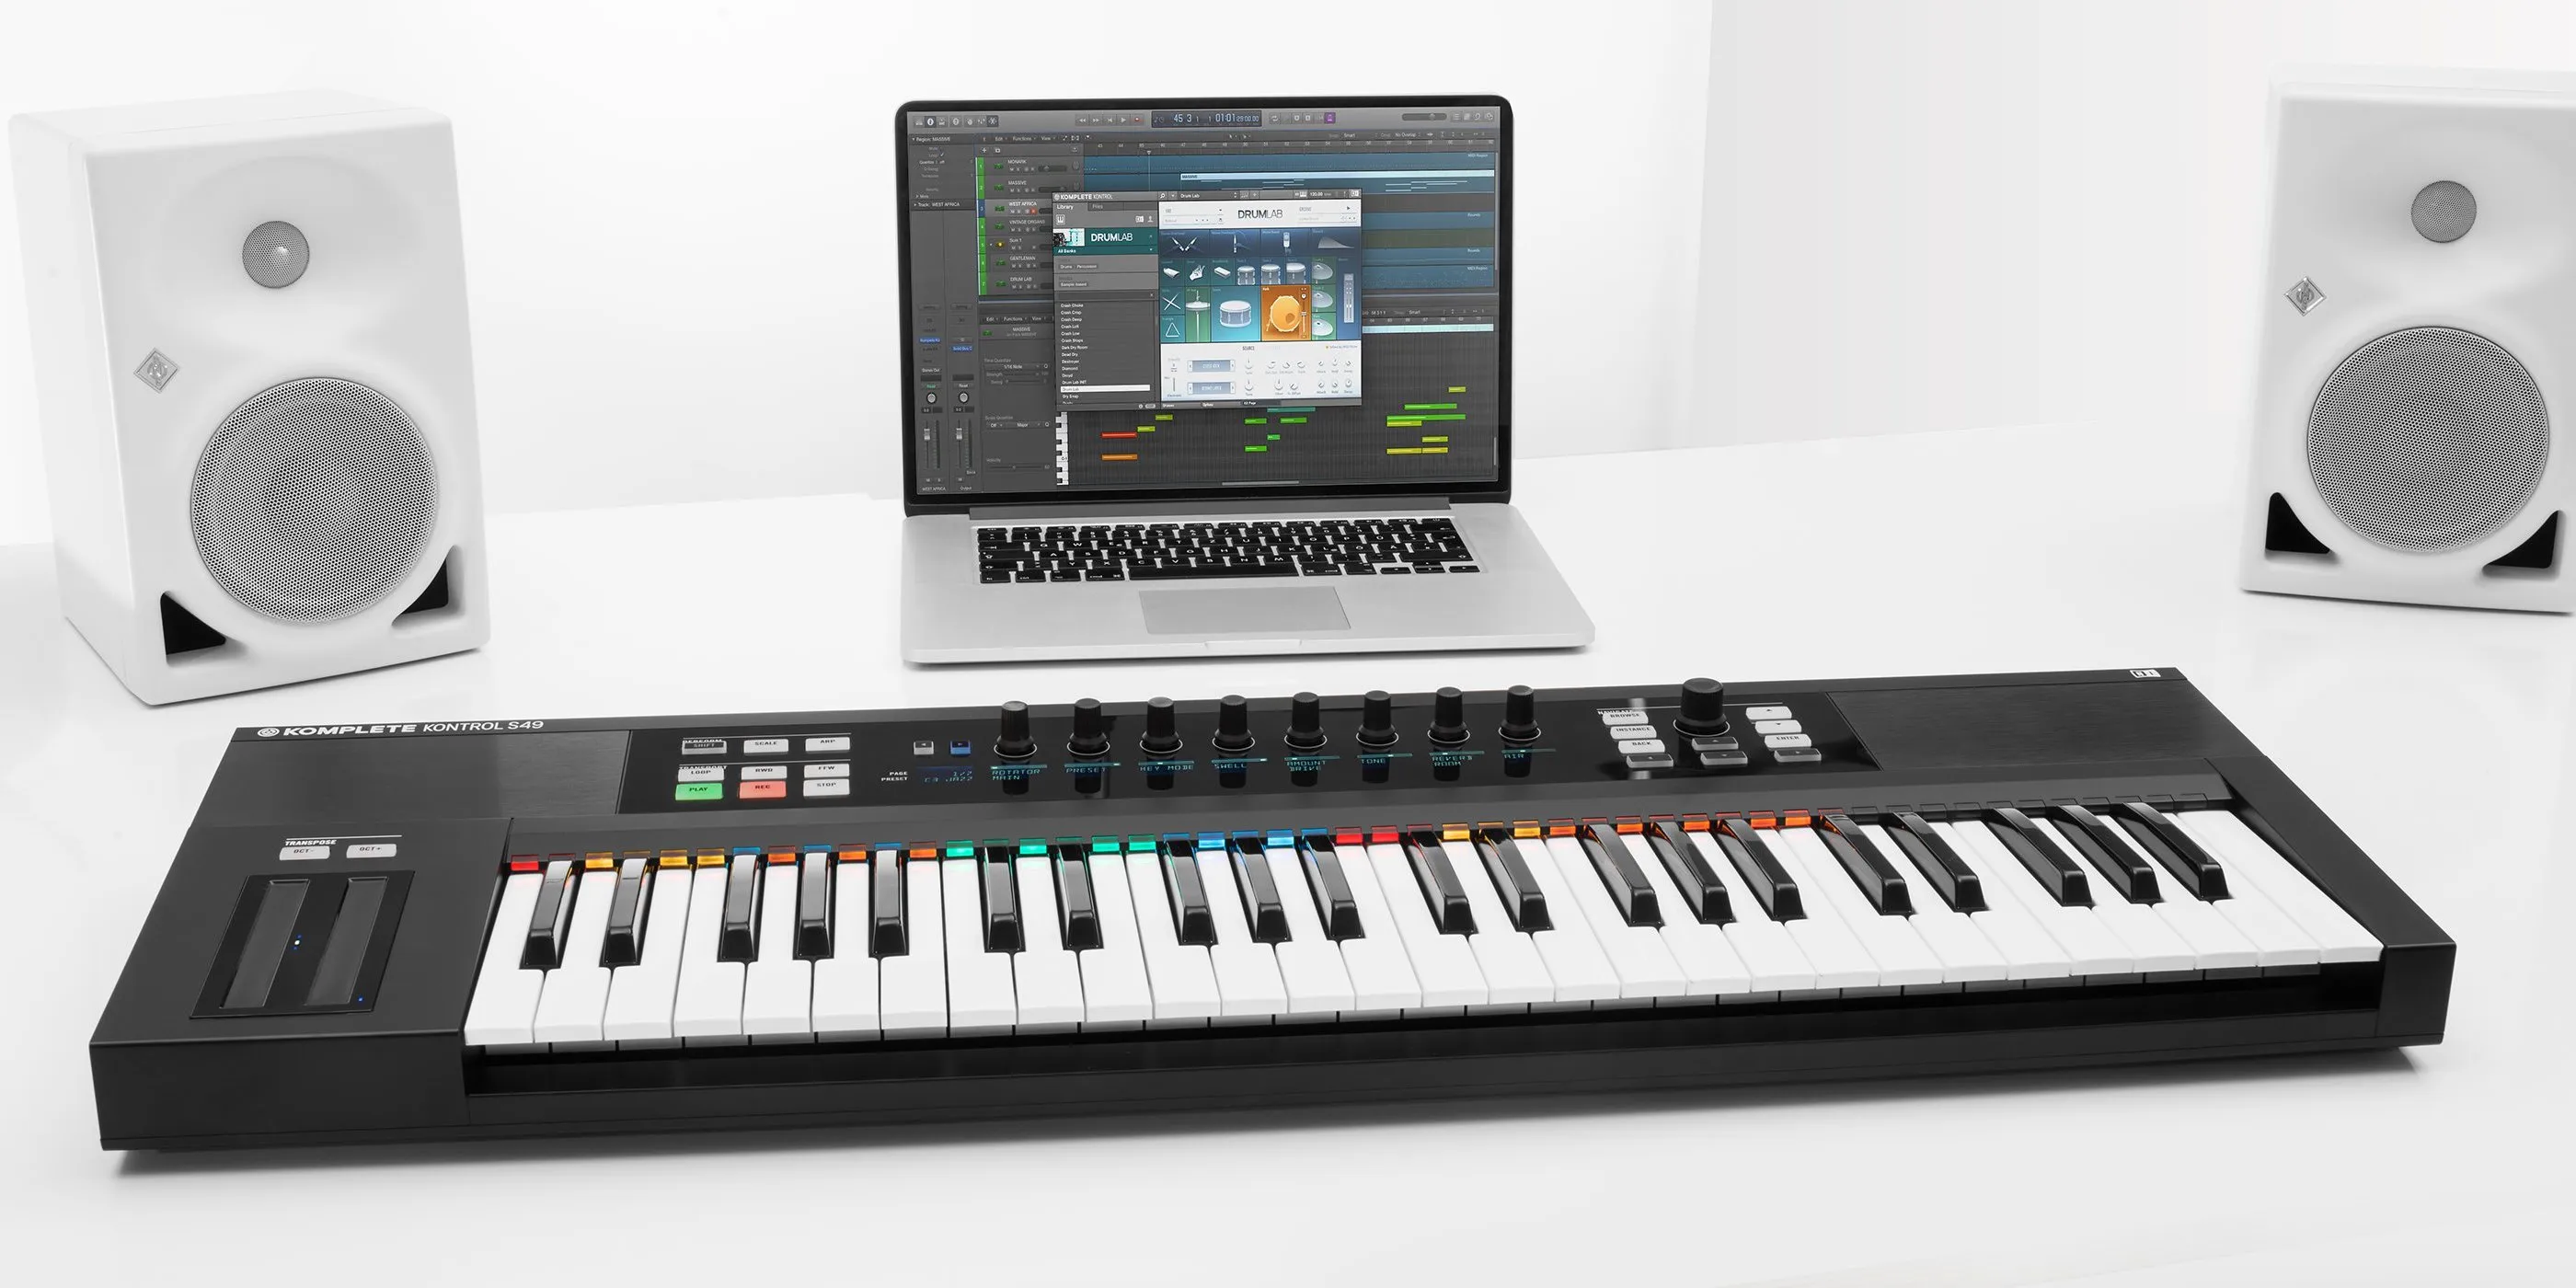
First, locate a stable and well-lit area where you can comfortably set up your MIDI keyboard and have easy access to your computer. Ensure that the keyboard is placed on a flat surface, and if it’s a larger model, you may need a sturdy stand to support it at a comfortable playing height.
Next, connect the power supply to your MIDI keyboard if it requires external power. Some MIDI keyboards can be powered via USB, while others may need an AC adapter. Once the power is connected, turn on the MIDI keyboard and make any necessary adjustments to the keyboard’s settings, such as selecting the desired MIDI channel or adjusting velocity sensitivity.
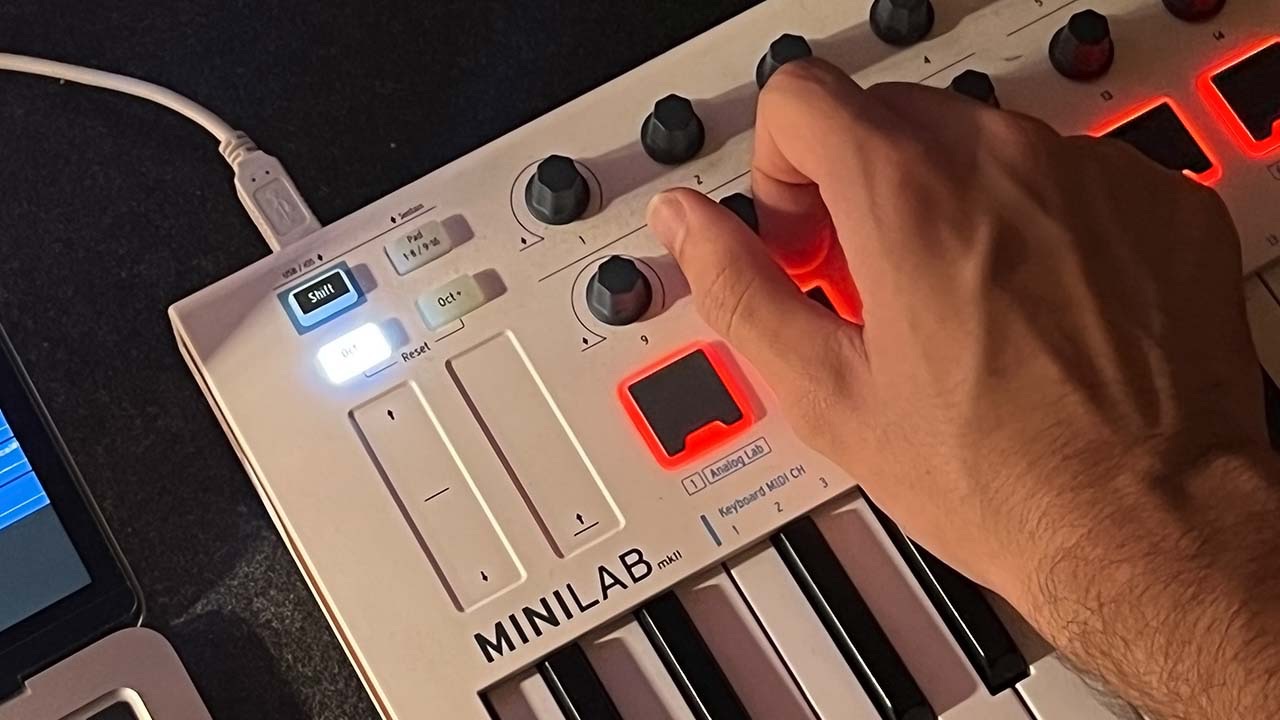
If your MIDI keyboard has programmable controls, such as knobs, sliders, or pads, take some time to familiarize yourself with their functions and how to assign them to parameters within Logic Pro X. Understanding your MIDI keyboard’s capabilities will allow you to make the most of its integration with Logic Pro X and streamline your music production workflow.
Lastly, ensure that the MIDI keyboard is connected to your computer via USB or MIDI cables, depending on the available connectivity options. Once the physical setup is complete, you’re ready to move on to the next step: connecting your MIDI keyboard to your computer and configuring it within Logic Pro X.
Step 2: Connecting your MIDI keyboard to your computer
Now that your MIDI keyboard is set up and ready to go, it’s time to establish a solid connection between your MIDI keyboard and your computer. Depending on the type of MIDI keyboard you have, there are a few different methods for establishing this connection.
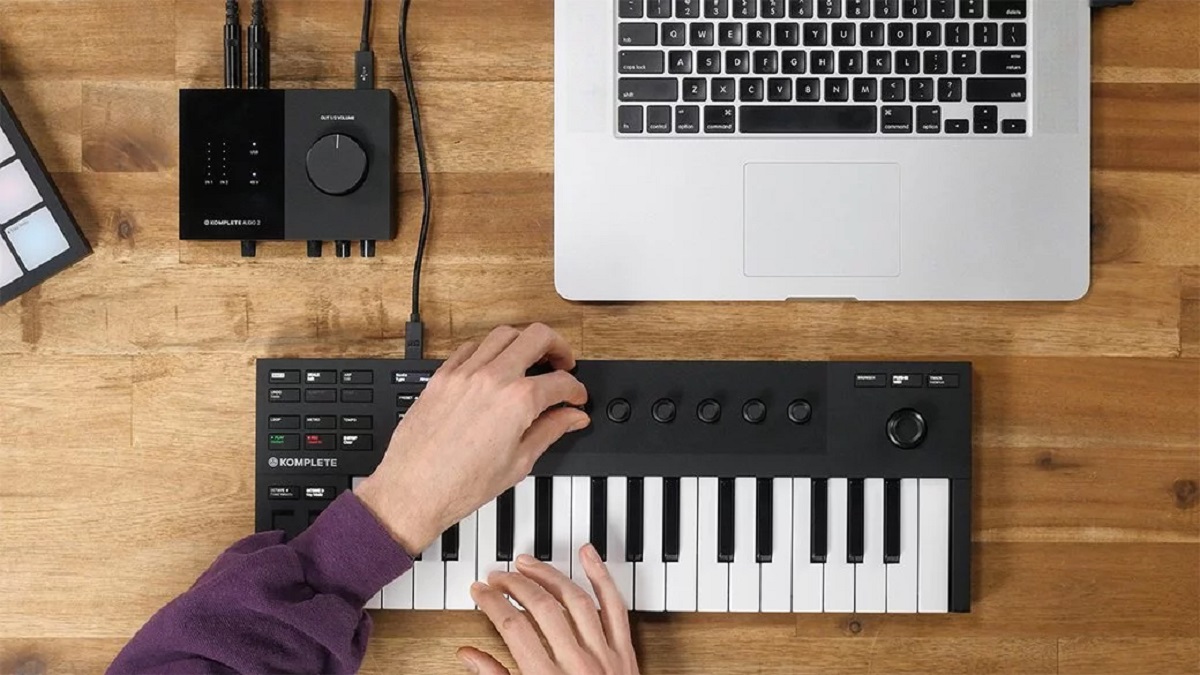
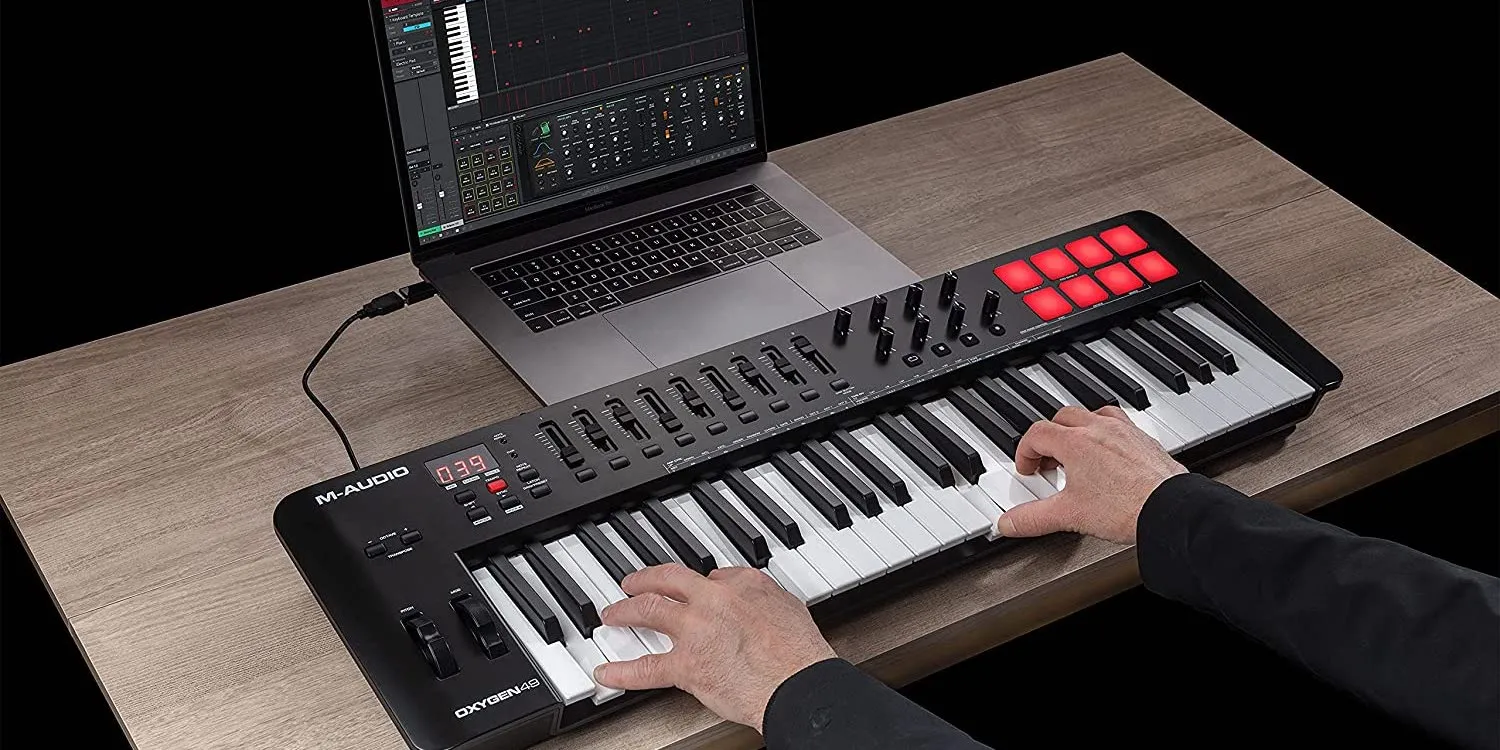
If your MIDI keyboard utilizes a USB connection, simply plug one end of the USB cable into the MIDI keyboard and the other end into an available USB port on your computer. Most modern MIDI keyboards use USB connectivity, providing a convenient plug-and-play solution that eliminates the need for additional MIDI interfaces or cables.
For MIDI keyboards that rely on traditional 5-pin MIDI connections, you’ll need a MIDI interface to bridge the connection between the keyboard and your computer. Connect the MIDI OUT port on your keyboard to the MIDI IN port on the interface using a standard MIDI cable. Then, connect the MIDI interface to an available USB port on your computer using a USB cable. This setup allows for seamless communication between your MIDI keyboard and your computer, enabling you to transmit MIDI data to and from Logic Pro X.
Once the physical connection is established, your computer should recognize the MIDI keyboard as a MIDI input device. If you’re using a Mac, you can verify this by navigating to “Audio MIDI Setup” in the Utilities folder and checking the MIDI Studio window. Here, you should see your MIDI keyboard listed as an available MIDI device.
With the MIDI keyboard successfully connected to your computer, you’re one step closer to integrating it with Logic Pro X. The next phase involves configuring Logic Pro X to recognize and communicate with your MIDI keyboard, allowing you to harness its full potential as a versatile music production tool.
Step 3: Configuring Logic Pro X
With your MIDI keyboard physically connected to your computer, the next crucial step is to configure Logic Pro X to recognize and communicate with your MIDI device. This process involves setting up the necessary preferences and ensuring that Logic Pro X is ready to receive MIDI input from your keyboard.
Launch Logic Pro X and navigate to the Preferences menu. Under the MIDI section, you’ll find a range of options related to MIDI input and output. Here, you can specify the MIDI input sources that Logic Pro X should recognize. Ensure that your MIDI keyboard is selected as an active input device to enable communication between the keyboard and Logic Pro X.
Additionally, you may want to configure the MIDI input channel settings to align with the MIDI channel used by your keyboard. This ensures that Logic Pro X receives MIDI data from the correct channel on your MIDI keyboard, allowing you to control specific instruments or parameters within the software.
Once the MIDI preferences are configured, create a new project or open an existing one in Logic Pro X. Within the project, access the Preferences menu and navigate to the MIDI tab. Here, you can further refine the MIDI settings, including options for MIDI synchronization, control surfaces, and input filtering. Adjust these settings as needed to optimize the communication between your MIDI keyboard and Logic Pro X.
As you configure Logic Pro X to accommodate your MIDI keyboard, take the time to explore the software’s MIDI mapping capabilities. Logic Pro X offers robust MIDI mapping features that allow you to assign MIDI controls from your keyboard to various parameters within the software, such as virtual instrument parameters, mixer controls, and effect parameters. By customizing these mappings, you can tailor the behavior of your MIDI keyboard to suit your specific music production workflow.
Once Logic Pro X is properly configured to recognize and interface with your MIDI keyboard, you’re ready to move on to the exciting phase of testing your MIDI keyboard within Logic Pro X and ensuring that everything is functioning as intended.
Step 4: Testing your MIDI keyboard in Logic
Now that your MIDI keyboard is set up, connected to your computer, and configured within Logic Pro X, it’s time to put it to the test. Testing your MIDI keyboard in Logic Pro X allows you to verify that the communication between the two is seamless and that you can effectively control virtual instruments, record MIDI data, and manipulate parameters within the software.
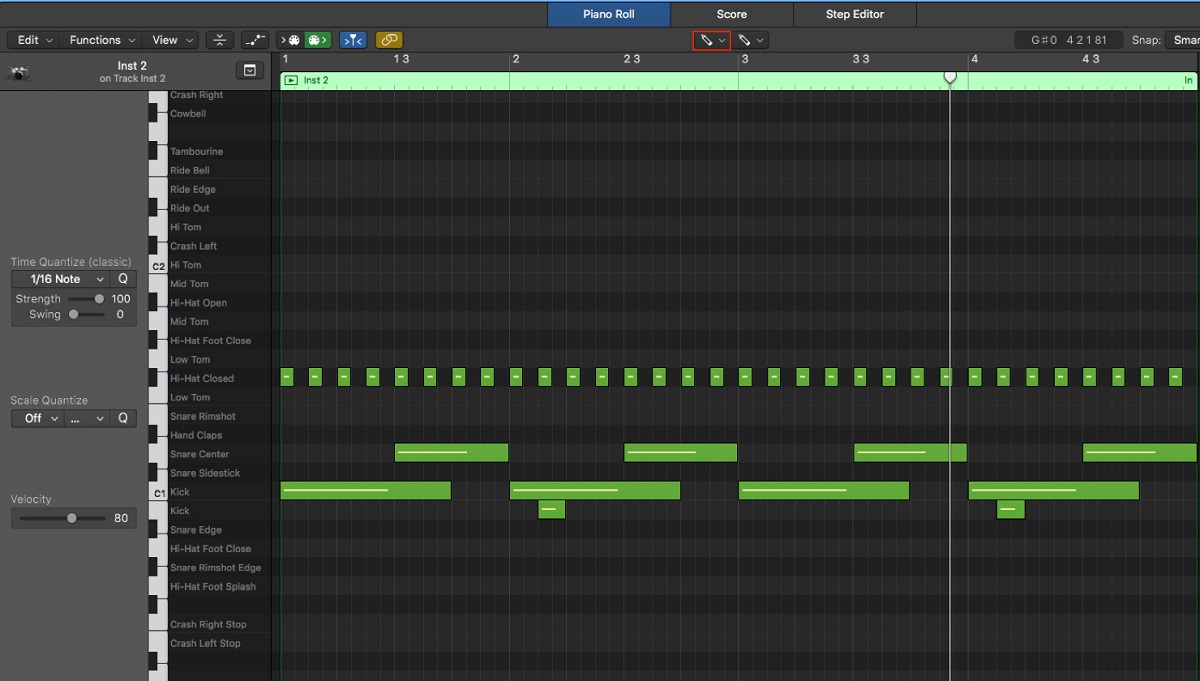
To begin testing, create a new software instrument track in Logic Pro X. Select a virtual instrument from the library and assign it to the newly created track. With the instrument loaded, play the keys on your MIDI keyboard to ensure that the MIDI data is being received by Logic Pro X. You should hear the sound of the virtual instrument in response to your keystrokes, indicating that the MIDI input from your keyboard is successfully triggering the software instrument.
Next, explore the expressive capabilities of your MIDI keyboard within Logic Pro X. Experiment with velocity-sensitive playing, modulation controls, pitch bend, and any other performance parameters that your MIDI keyboard supports. As you interact with the virtual instrument, pay attention to how your keyboard’s controls influence the sound and behavior of the instrument, providing you with a hands-on, dynamic music-making experience.
Recording MIDI data from your keyboard is another essential aspect of testing. Arm a MIDI track for recording in Logic Pro X, then play a musical passage on your MIDI keyboard. The recorded MIDI data should accurately capture the timing, velocity, and nuances of your performance, allowing you to review and edit the recorded MIDI notes within the software.
Furthermore, if your MIDI keyboard features assignable controls such as knobs, sliders, or pads, test their functionality by mapping them to various parameters within Logic Pro X. This could involve adjusting synth parameters, mixing controls, or effect parameters in real time using the physical controls on your MIDI keyboard, adding a tactile and intuitive dimension to your music production process.
By thoroughly testing your MIDI keyboard within Logic Pro X, you can ensure that it seamlessly integrates into your music production workflow, empowering you to create and perform with precision and creativity. Any issues or limitations encountered during testing can be addressed through further configuration or customization, ultimately refining the synergy between your MIDI keyboard and Logic Pro X.
Conclusion
Congratulations! You’ve successfully navigated the process of connecting your MIDI keyboard to Logic Pro X, unlocking a world of creative possibilities and seamless integration between your hardware and software. By following the steps outlined in this guide, you’ve laid the foundation for a productive and inspiring music production environment that harnesses the full potential of your MIDI keyboard.
With your MIDI keyboard set up, connected, and configured within Logic Pro X, you’re now equipped to explore a myriad of musical avenues. Whether you’re composing intricate melodies, sculpting dynamic soundscapes, or performing expressive passages, your MIDI keyboard serves as a versatile tool for translating your musical ideas into the digital realm with precision and finesse.
As you continue to refine your skills and delve deeper into the capabilities of Logic Pro X and your MIDI keyboard, consider exploring advanced techniques such as MIDI mapping, custom control assignments, and integrating your MIDI keyboard into complex production workflows. Embrace the flexibility and expressiveness that your MIDI keyboard offers, and let it inspire new creative directions in your music.
Remember, the relationship between your MIDI keyboard and Logic Pro X is a dynamic synergy that evolves as you explore new musical territories. Regular experimentation, practice, and exploration of your MIDI keyboard’s features will yield a deeper understanding of its potential as a creative instrument within the context of Logic Pro X.
By integrating your MIDI keyboard with Logic Pro X, you’ve taken a significant step toward realizing your musical vision and elevating your music production capabilities. Embrace the journey ahead, and let your MIDI keyboard be a conduit for your artistic expression within the boundless realm of music creation.