Introduction
Restringing an acoustic guitar is an essential skill for any guitarist. Whether you’re a seasoned musician or a beginner, knowing how to replace your guitar strings is a valuable ability that can enhance the sound and playability of your instrument. Over time, guitar strings lose their tone and elasticity, affecting the overall sound quality and tuning stability. By restringing your acoustic guitar regularly, you can maintain its optimal performance and ensure a crisp, vibrant sound.
While the task may seem daunting at first, with the right tools and a clear understanding of the process, restringing an acoustic guitar can be a straightforward and rewarding experience. In this guide, we’ll walk you through the step-by-step process of restringing your acoustic guitar, from gathering the necessary tools to tuning the new strings. By following these instructions, you’ll be able to breathe new life into your instrument and enjoy the rich, resonant tones of a freshly restrung acoustic guitar.
Step 1: Gather the Necessary Tools
Before you begin the restringing process, it’s essential to gather all the necessary tools to ensure a smooth and efficient experience. Here’s a list of items you’ll need:
- New Guitar Strings: Select the appropriate gauge and material for your acoustic guitar. Whether you prefer the bright tones of bronze or the warmth of phosphor bronze, choosing the right strings is crucial for achieving your desired sound.
- Wire Cutters: A pair of quality wire cutters will make trimming the excess string length a breeze.
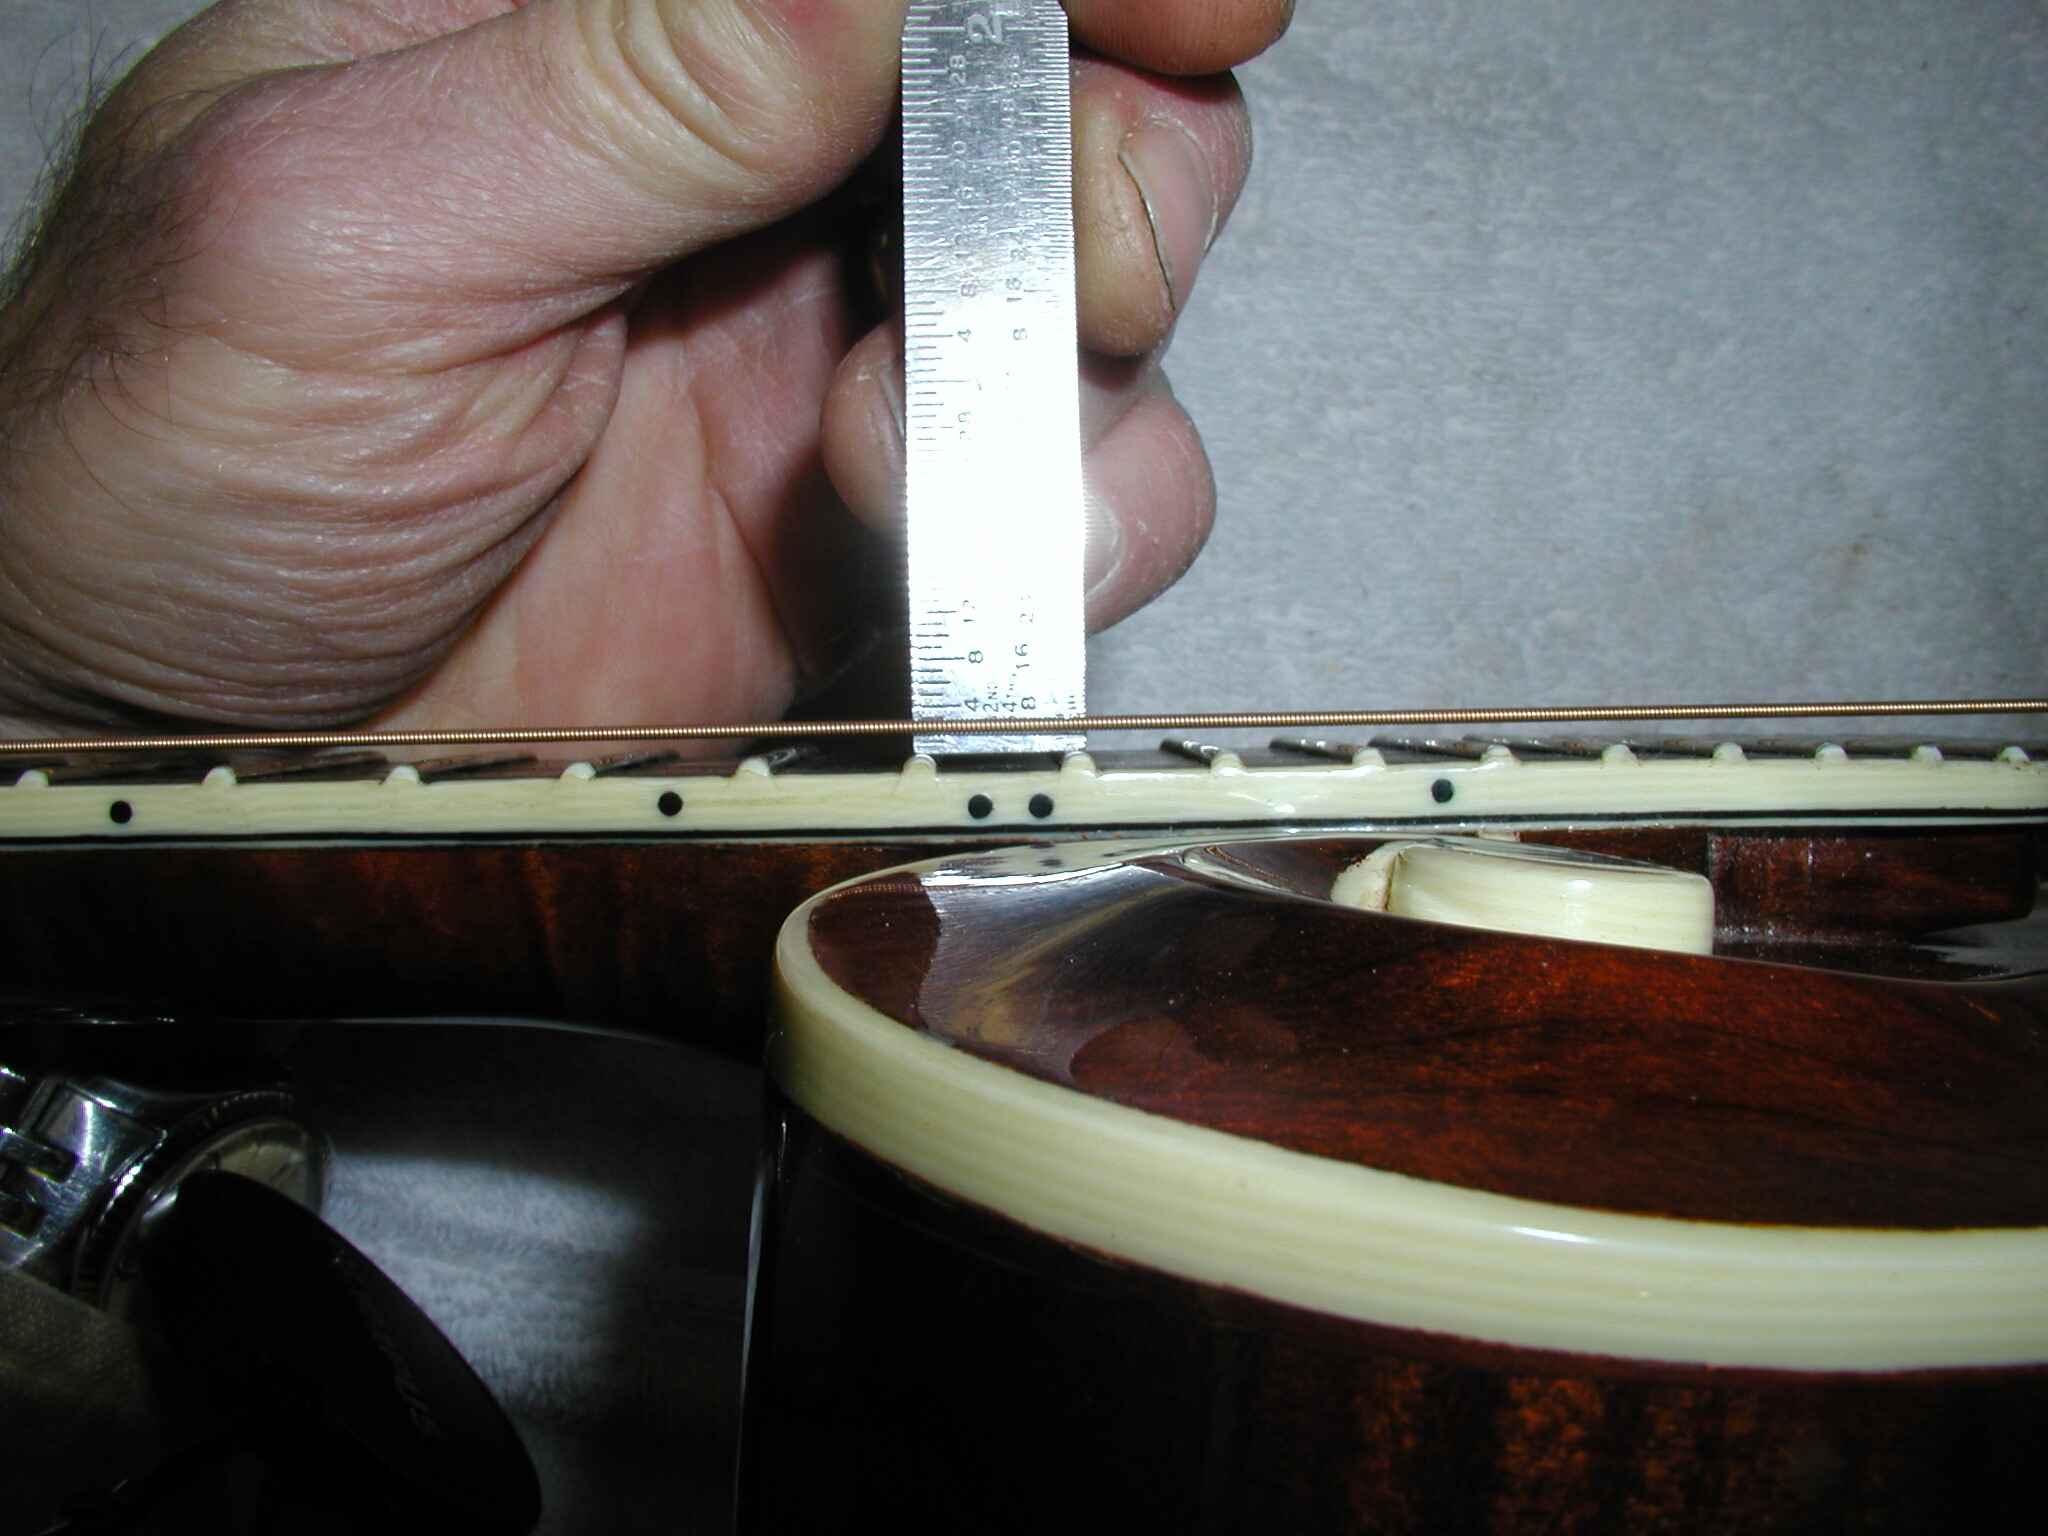
- Tuner: Having a reliable tuner on hand will allow you to accurately tune the new strings once they’re installed.
- String Winder: While not mandatory, a string winder can expedite the restringing process by swiftly winding the new strings onto the tuning pegs.
- Clean Cloth: Keeping a clean cloth nearby will enable you to wipe down your guitar after removing the old strings, preserving its finish and preventing any buildup of dirt and grime.
- Lemon Oil (for fretboard maintenance): If your acoustic guitar has a rosewood or ebony fretboard, having lemon oil on hand can help condition and clean the fretboard, keeping it in optimal condition.
By ensuring you have all the necessary tools before you begin, you’ll streamline the restringing process and minimize any potential interruptions. With these items at your disposal, you’ll be well-prepared to tackle the task of restringing your acoustic guitar with confidence and ease.
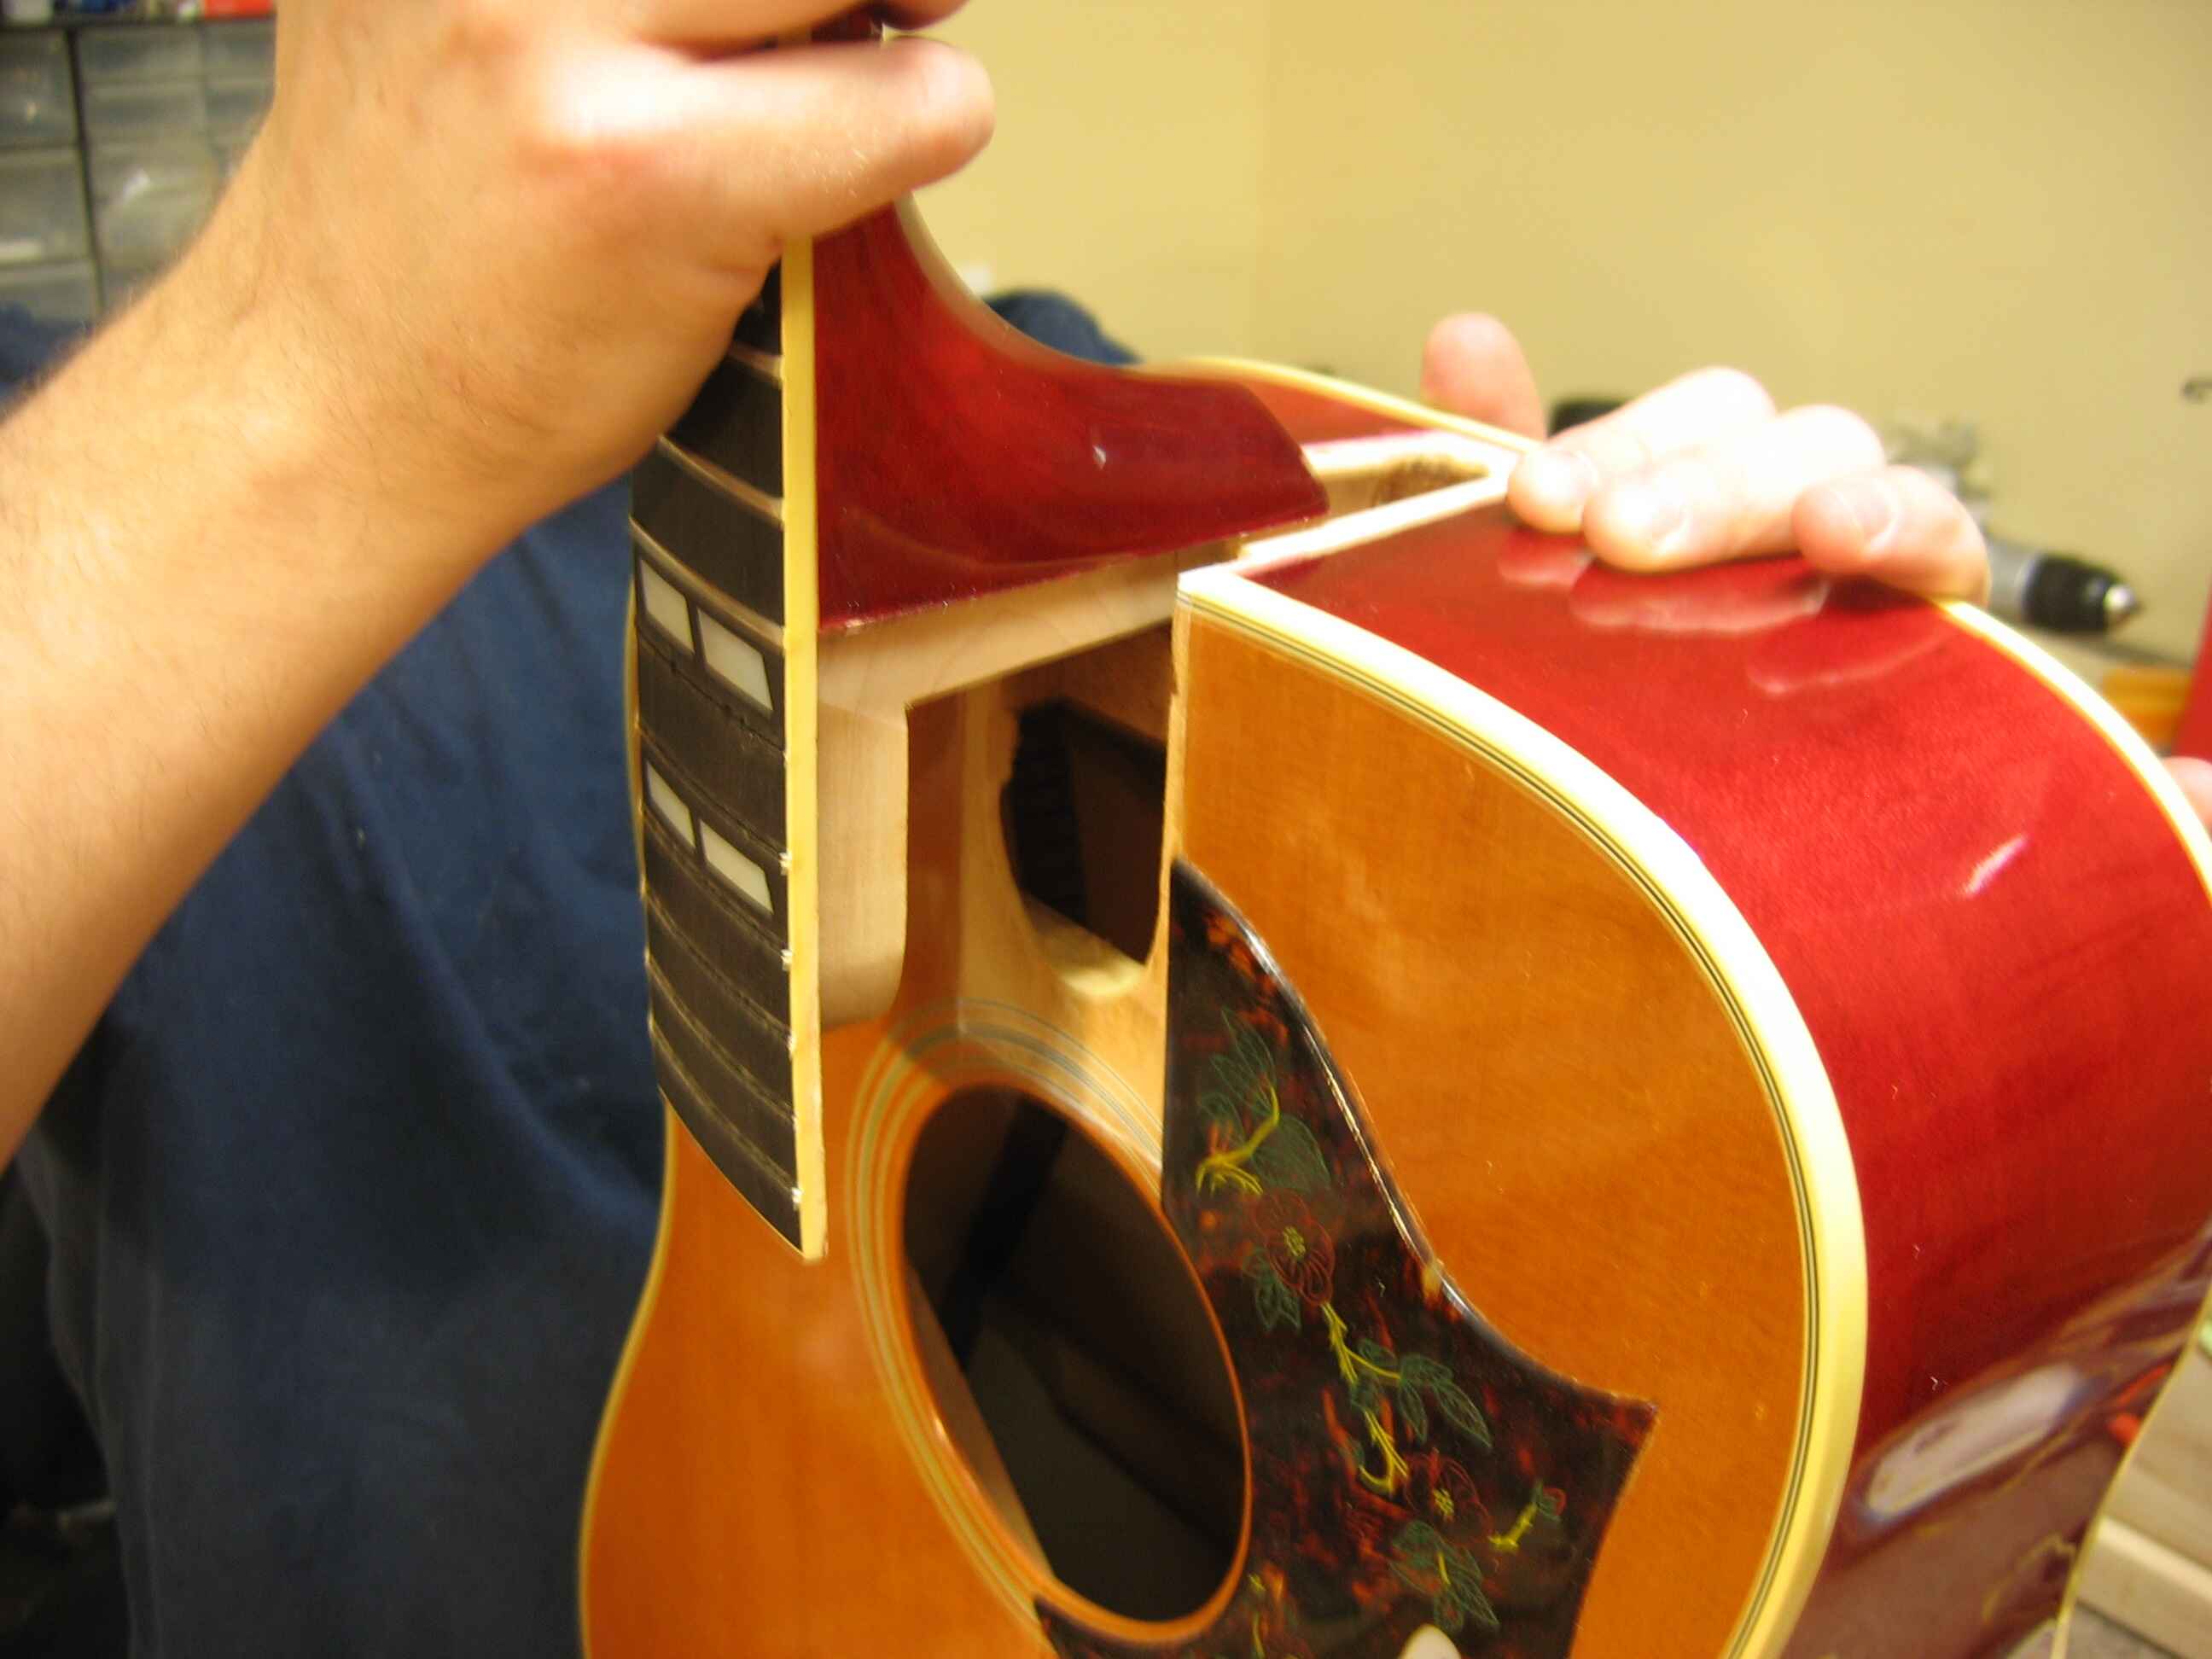
Step 2: Remove the Old Strings
Removing the old strings from your acoustic guitar is the first step in the restringing process. Follow these steps to safely and effectively remove the old strings:
- Loosen the Tuning Pegs: Begin by turning the tuning pegs to loosen the tension of the strings. You can use a string winder to expedite this process, making it quicker and more convenient.
- Trim the Strings: Using wire cutters, carefully trim the strings near the soundhole of the guitar. This will make it easier to remove the strings and prevent any potential injury from protruding wire ends.
- Unwind and Remove the Strings: Unwind the remaining string coils from the tuning pegs and carefully remove the strings from the bridge of the guitar. Be cautious when handling the loose strings to avoid any accidental scratches or damage to the guitar’s body.
- Clean the Guitar: With the old strings removed, take the opportunity to clean the fretboard and the body of the guitar. Use a clean cloth to wipe away any accumulated dust and residue, ensuring that your guitar remains in top condition.
By methodically following these steps, you can safely and efficiently remove the old strings from your acoustic guitar, preparing it for the installation of fresh, vibrant strings. With the old strings out of the way, you’re one step closer to revitalizing the sound and playability of your instrument.
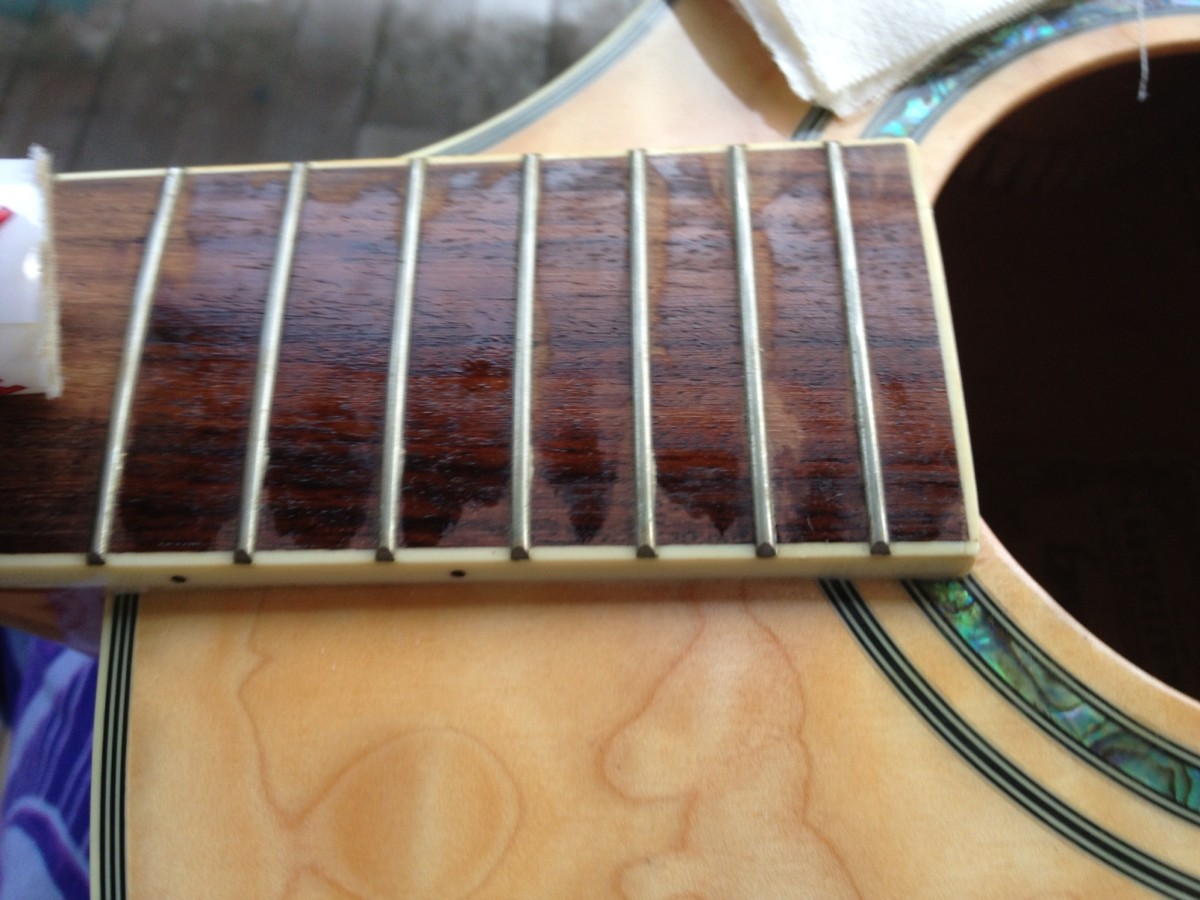
Step 3: Clean the Guitar
Once the old strings have been removed, it’s the perfect opportunity to give your acoustic guitar a thorough cleaning. Follow these steps to ensure your instrument remains in pristine condition:
- Fretboard Cleaning: If your guitar has a rosewood or ebony fretboard, consider using a small amount of lemon oil on a clean cloth to gently clean and condition the wood. This will help maintain the fretboard’s integrity and prevent it from drying out.
- Body and Neck Cleaning: Using a separate clean cloth, wipe down the body and neck of the guitar to remove any accumulated dust, fingerprints, or smudges. Pay special attention to areas around the soundhole and the headstock, ensuring that the entire instrument is free from dirt and grime.
- Polishing (Optional): If desired, you can apply a small amount of guitar polish to a clean cloth and gently buff the body of the guitar to restore its luster. Be sure to use a polish specifically designed for acoustic guitars to avoid damaging the finish.
By taking the time to clean your acoustic guitar during the restringing process, you not only maintain its aesthetic appeal but also contribute to its longevity and performance. A well-maintained instrument not only looks impressive but also resonates with clarity and richness, enhancing your playing experience and the overall sound quality of your music.
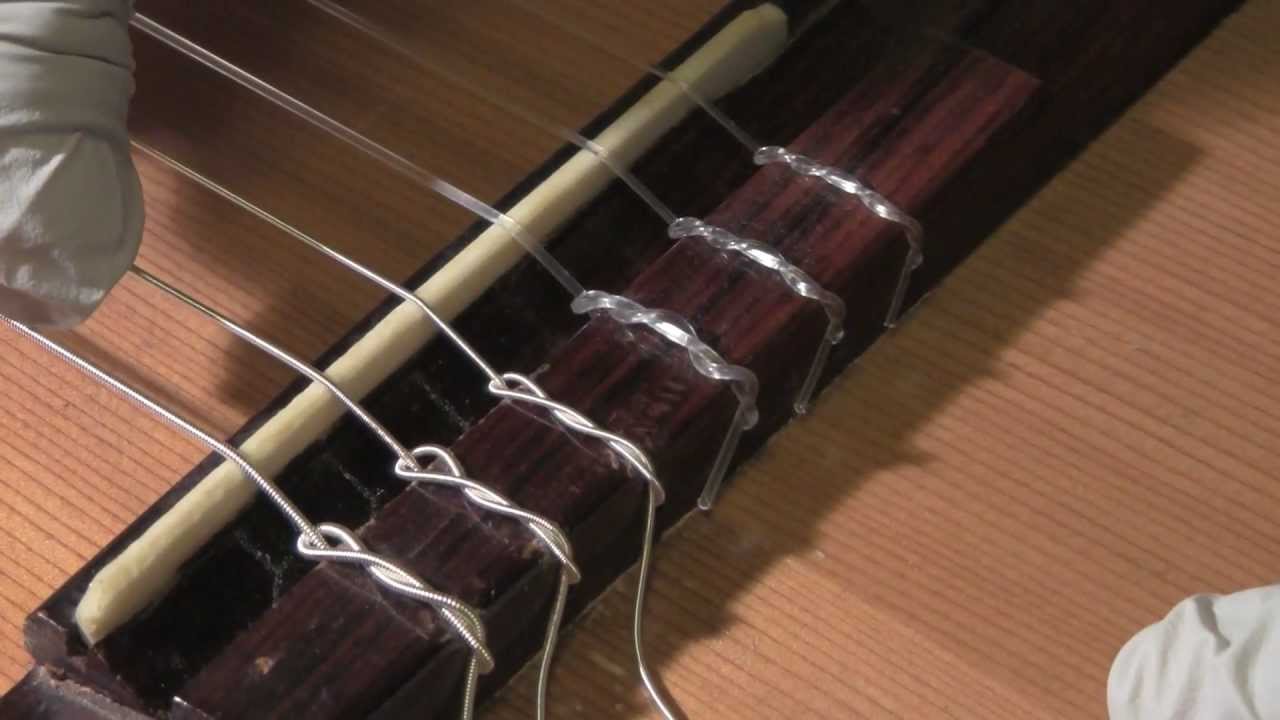
Step 4: Install the New Strings
Installing new strings on your acoustic guitar is a pivotal step in the restringing process. Follow these guidelines to ensure a successful string installation:
- Thread the Strings: Begin by threading the end of the string through the corresponding bridge hole, ensuring that it’s secure and properly positioned.
- Wind the Strings: Carefully wind the opposite end of the string around the corresponding tuning peg, leaving enough slack to accommodate several winds around the peg. This will help maintain tuning stability and prevent slippage.
- Secure the Strings: Once the strings are in place, gently tug on each string to remove any excess slack, ensuring a snug fit at the bridge and the tuning pegs.
- Trim Excess String: Using wire cutters, trim the excess string length near the tuning pegs, ensuring that there’s enough remaining to facilitate tuning adjustments.
By methodically following these steps, you can successfully install the new strings on your acoustic guitar, setting the stage for optimal tone, resonance, and playability. With the new strings securely in place, your instrument will be ready to produce the vibrant, expressive sounds that resonate with clarity and depth.
Step 5: Tune the Guitar
Tuning your acoustic guitar after restringing is a crucial final step to ensure that it produces the desired tones and maintains proper pitch. Follow these steps to tune your guitar accurately:
- Use a Tuner: Utilize a reliable tuner to assist you in achieving precise tuning for each string. Clip-on tuners or smartphone apps are convenient options for accurate tuning.
- Begin with the Low E String: Starting with the low E string, pluck the string and adjust the tuning peg until the tuner indicates that the string is tuned to the correct pitch.
- Proceed to the A, D, G, B, and High E Strings: Tune each string in sequence, ensuring that they are accurately tuned to their respective pitches as indicated by the tuner.
- Check for Intonation: Once all strings are tuned, play a few chords and check for any signs of poor intonation. Adjust the tuning as needed to ensure that the guitar sounds harmonious and in tune across the fretboard.
By meticulously tuning each string and verifying the overall intonation, you can ensure that your acoustic guitar produces clear, resonant tones and maintains consistent pitch across the fretboard. A well-tuned guitar not only enhances the quality of your playing but also contributes to the overall enjoyment and satisfaction of creating music.
Conclusion
Restringing an acoustic guitar is a fundamental aspect of guitar maintenance and an opportunity to revitalize the instrument’s sound and playability. By following the step-by-step process outlined in this guide, you can confidently restring your acoustic guitar, ensuring that it delivers the rich, vibrant tones you desire.
From gathering the necessary tools to removing the old strings, cleaning the guitar, installing the new strings, and tuning the instrument, each step plays a crucial role in the overall restringing process. By paying attention to detail and approaching each task with care, you can maintain the optimal performance and longevity of your acoustic guitar.
With freshly installed strings and precise tuning, your acoustic guitar is now ready to resonate with clarity and depth, allowing you to explore new musical horizons and express your creativity with confidence. Regularly restringing your guitar not only enhances its sound quality but also ensures that it remains a reliable and inspiring companion on your musical journey.
Embrace the restringing process as an opportunity to connect with your instrument, nurture its potential, and unleash the captivating melodies that await your fingertips. By mastering the art of restringing, you empower yourself to unlock the full sonic spectrum of your acoustic guitar and embark on a harmonious musical voyage.