Introduction
Creating your own sampling drum machine can be an exhilarating and rewarding experience for music enthusiasts and tech-savvy individuals alike. This innovative instrument allows you to capture and manipulate sounds, unleashing your creativity in producing unique beats and rhythms. Whether you're a seasoned musician or a novice with a passion for music production, building a sampling drum machine can open up a world of possibilities for crafting original compositions and experimenting with diverse sonic textures.
In this comprehensive guide, we will delve into the intricacies of constructing a sampling drum machine from scratch. From understanding the fundamental components to programming and utilizing the machine effectively, you'll gain valuable insights into every step of the process. By the end of this journey, you'll be equipped with the knowledge and skills to bring your musical visions to life through the art of sampling and drum machine technology.
Embark on this creative endeavor with an open mind and a willingness to explore the intersection of music and technology. Let's dive into the fascinating realm of sampling drum machines and uncover the magic of crafting your very own instrument. Whether you're driven by a love for music production, a thirst for technical innovation, or a combination of both, this guide will empower you to embark on an enriching and fulfilling DIY project that merges artistry with engineering. Get ready to embark on a captivating journey into the heart of music creation and technological ingenuity.
What is a Sampling Drum Machine?
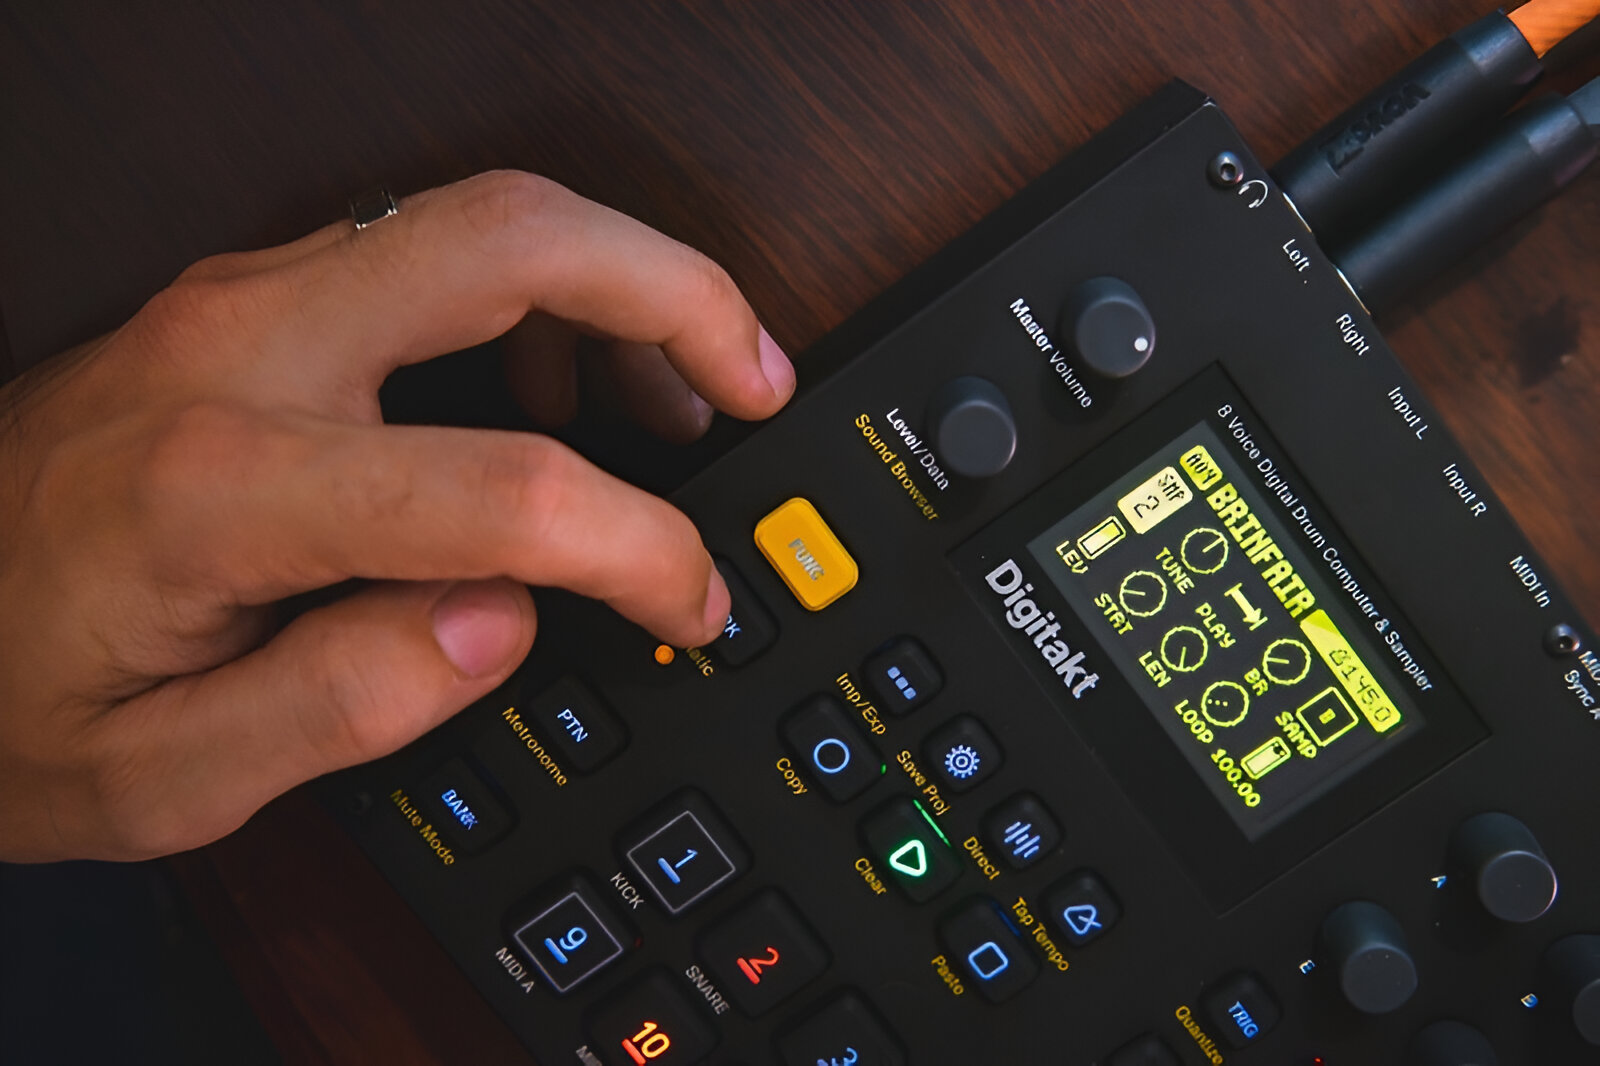
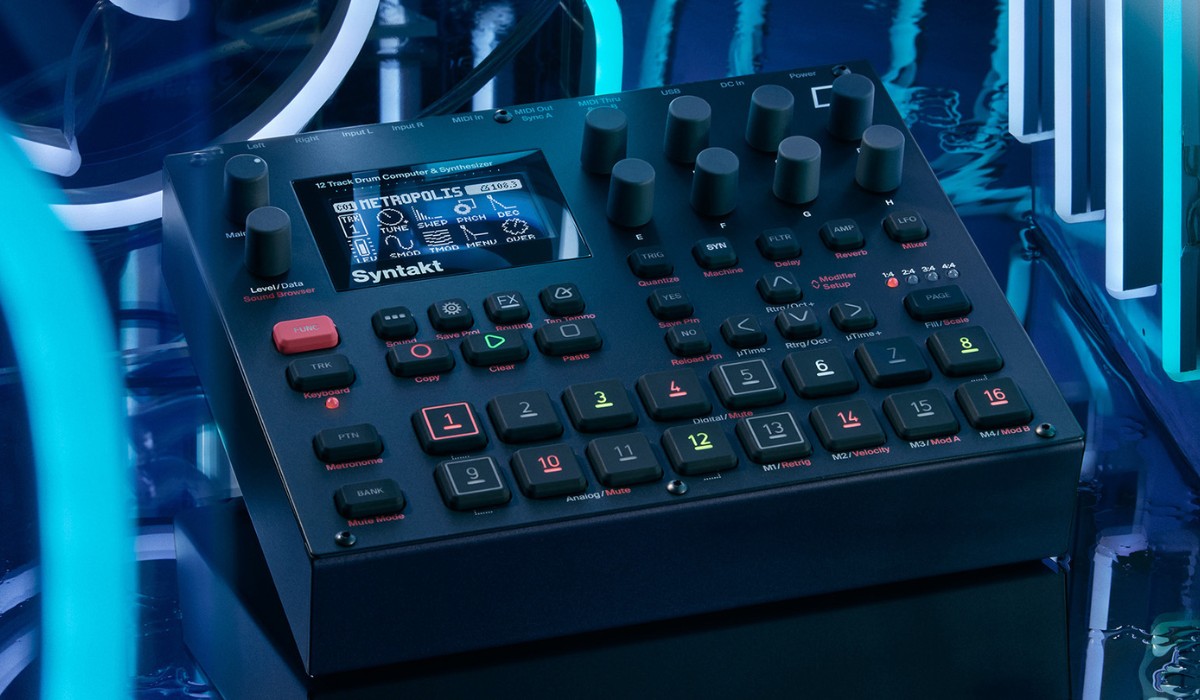
A sampling drum machine is a versatile electronic instrument that enables users to record, manipulate, and play back audio samples to create rhythmic patterns and beats. This innovative device serves as a powerful tool for music production, allowing artists to integrate a diverse range of sounds into their compositions, from traditional drum kit samples to unconventional noises and textures.
At its core, a sampling drum machine functions by storing and triggering digital audio samples, offering musicians and producers the freedom to experiment with different sounds and rhythms. By capturing snippets of audio from various sources and arranging them into cohesive patterns, users can craft dynamic and original musical arrangements that transcend the limitations of traditional acoustic instruments.
One of the defining features of a sampling drum machine is its ability to assign different samples to individual pads or triggers, giving users precise control over the playback of each sound. This level of customization empowers musicians to create complex and layered compositions, infusing their music with a rich tapestry of sonic elements.
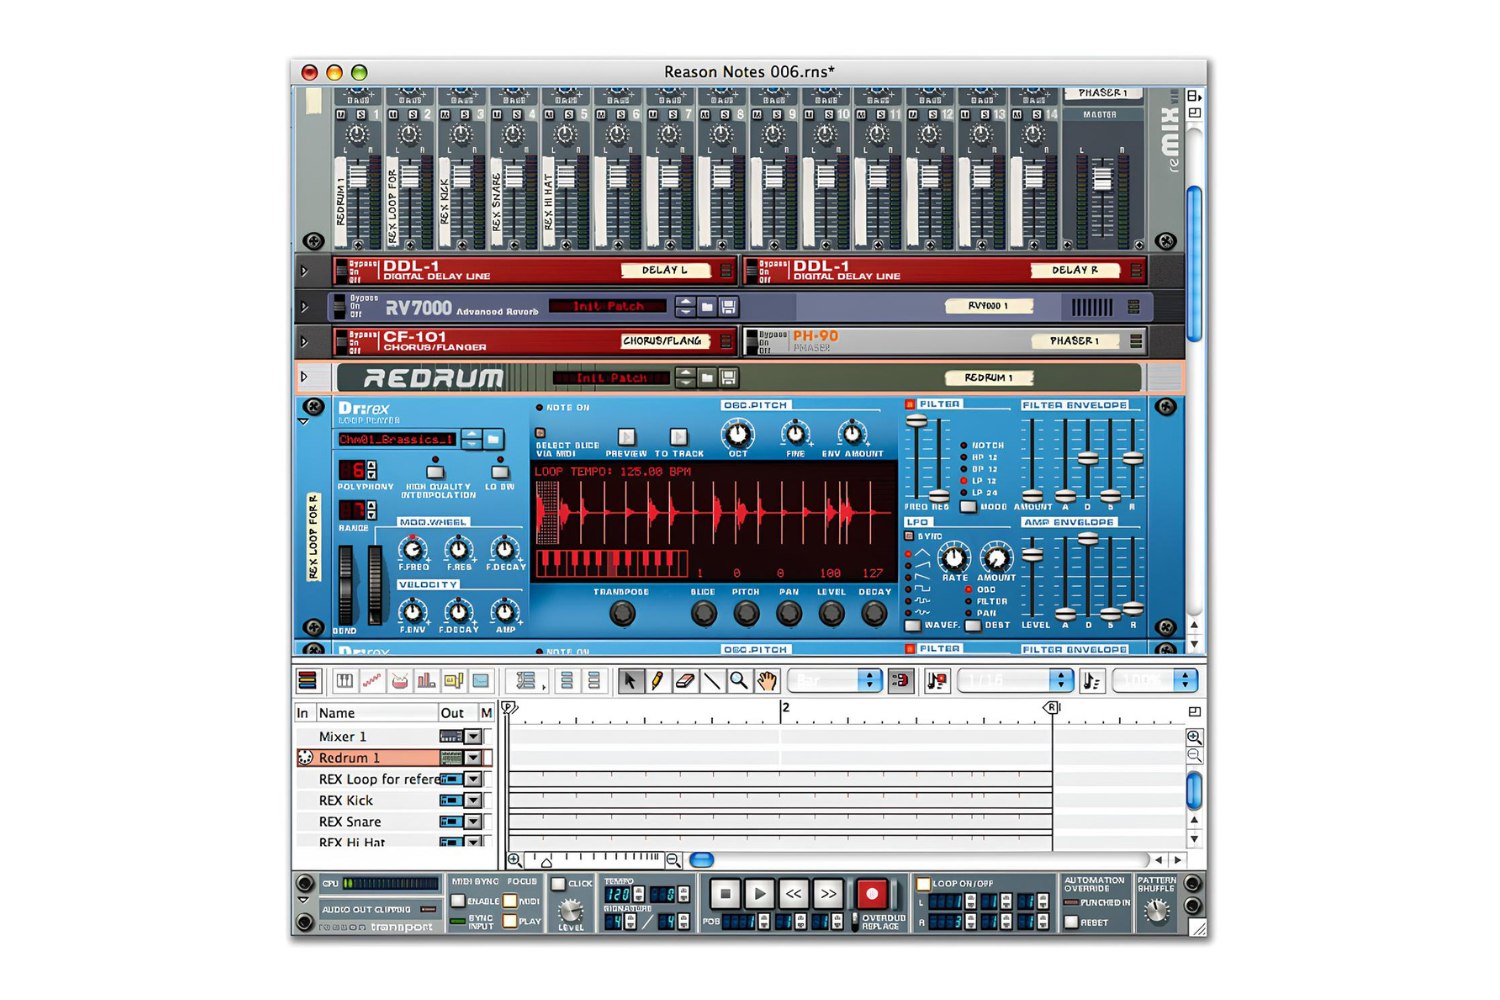
Furthermore, modern sampling drum machines often integrate advanced features such as sequencers, effects processing, and parameter automation, offering a comprehensive suite of tools for shaping and refining audio samples. These capabilities enable users to sculpt sounds with precision, adding depth and character to their musical creations.
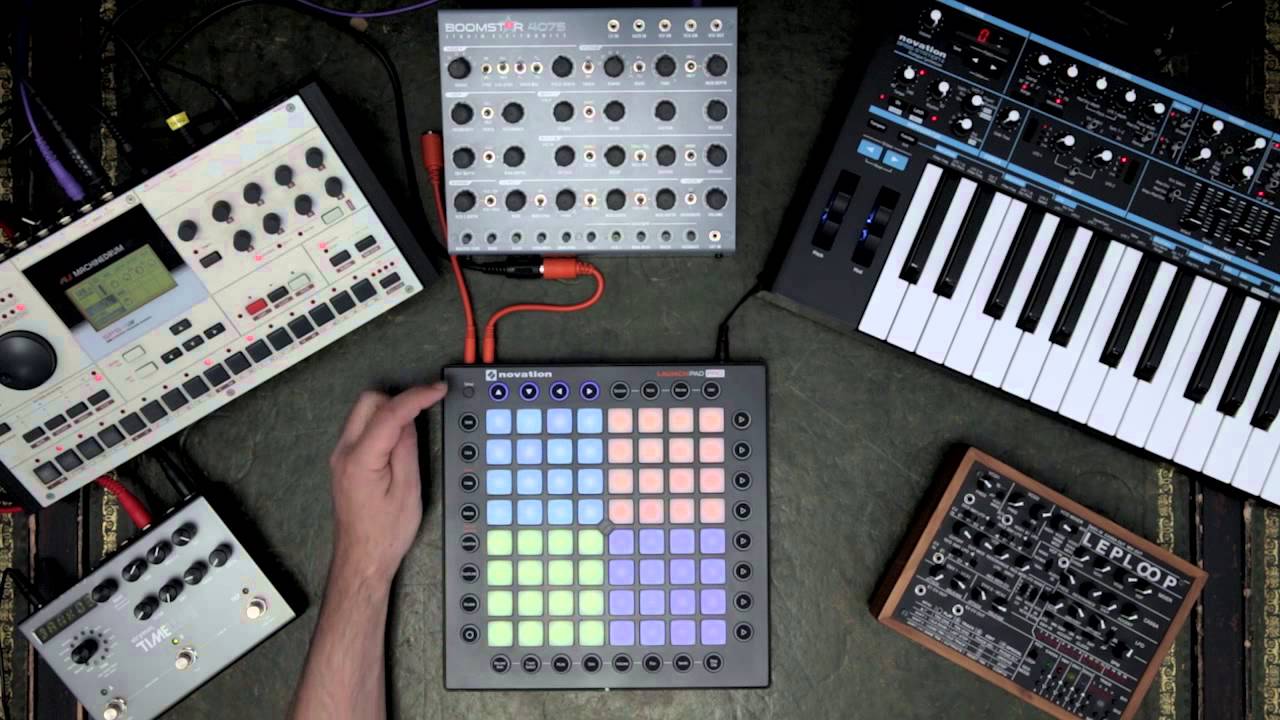
Whether utilized in live performances or studio recordings, sampling drum machines have become indispensable instruments in the realm of electronic music production. Their versatility, portability, and boundless creative potential make them a staple in the arsenals of musicians, beatmakers, and producers across diverse genres.
As we embark on the journey of building our own sampling drum machine, it’s essential to grasp the essence of this remarkable instrument and the myriad possibilities it presents for musical expression and innovation. With a firm understanding of what a sampling drum machine encompasses, we can proceed to explore the components required to bring this instrument to life.
Components Needed
Before diving into the construction of a sampling drum machine, it’s crucial to gather the essential components that will form the backbone of this innovative instrument. Each component plays a pivotal role in the functionality and performance of the sampling drum machine, and careful consideration must be given to their selection and integration.
Here are the key components needed to embark on the journey of building a sampling drum machine:
- Microcontroller: At the heart of the sampling drum machine lies the microcontroller, which serves as the central processing unit responsible for handling the input, output, and manipulation of audio samples. Popular choices for microcontrollers include Arduino and Raspberry Pi, offering a robust platform for interfacing with sensors, buttons, and audio modules.
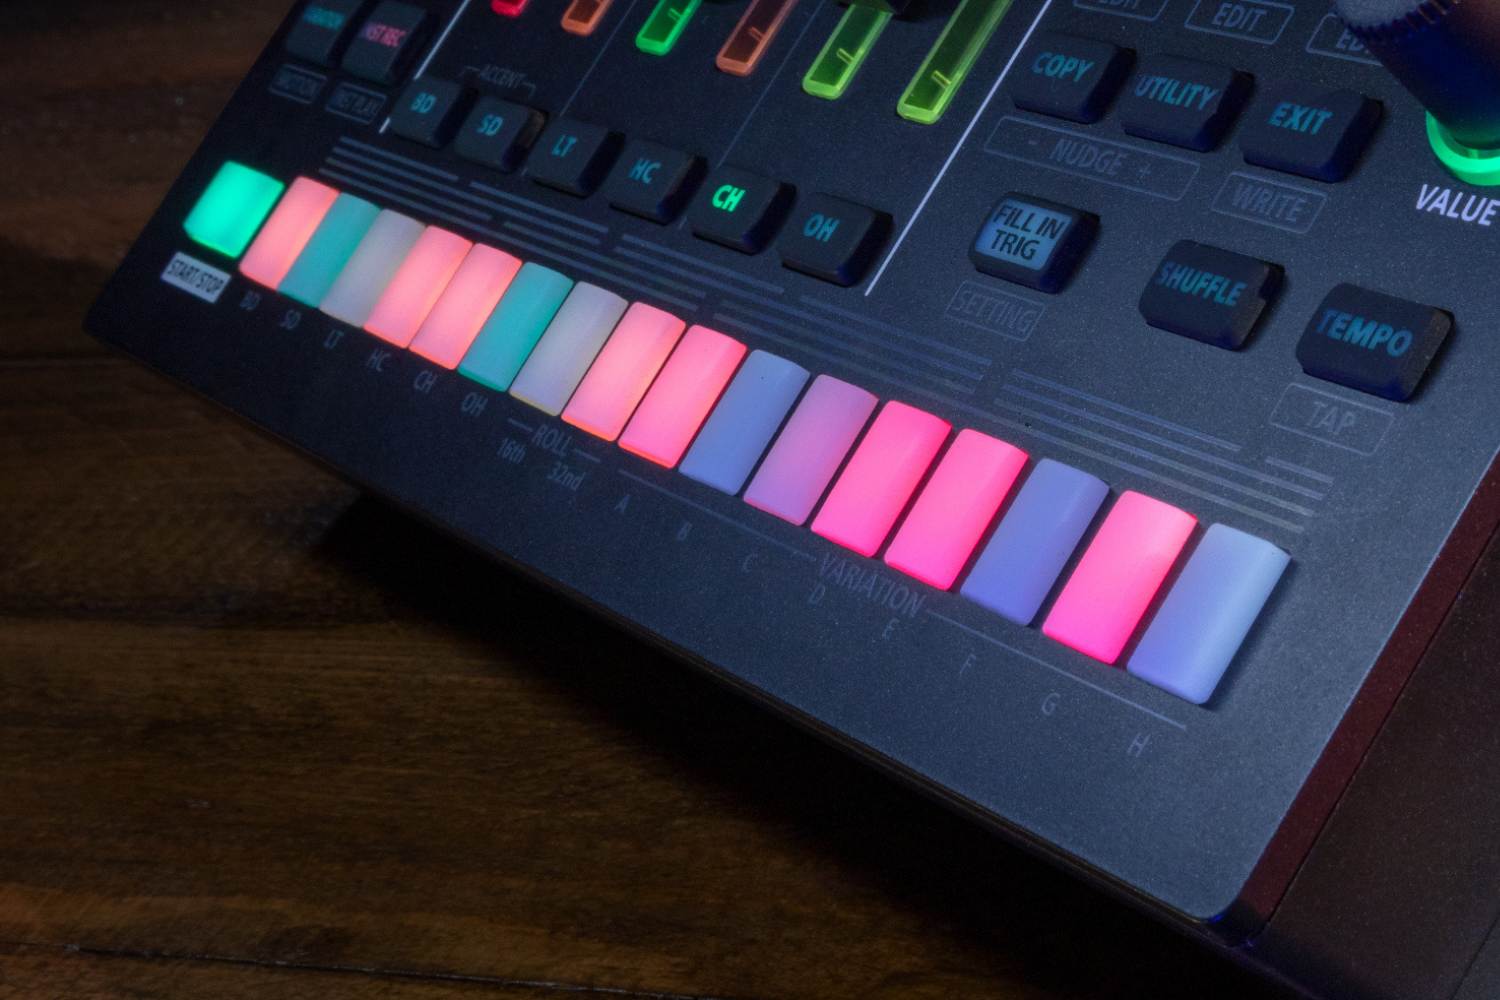
- Trigger Pads or Buttons: These tactile interfaces provide the means to trigger and play back audio samples. Whether opting for traditional drum pad triggers or tactile buttons, the choice of interface design can significantly impact the user experience and playability of the sampling drum machine.
- Audio Input/Output Interface: To capture and output audio signals, an audio interface is essential. This component facilitates the connection of microphones, instruments, and external audio sources, ensuring seamless integration with the sampling drum machine.
- Storage Medium: A reliable storage medium, such as an SD card or USB flash drive, is necessary for storing and accessing audio samples. The capacity and speed of the storage medium are critical considerations, especially when working with large libraries of audio samples.
- Display Interface: Incorporating a display interface, such as an LCD screen or LED display, enhances the user interface of the sampling drum machine, providing visual feedback and control over parameters and settings.
- Power Supply: A stable and reliable power supply is essential to ensure the proper functioning of the sampling drum machine. Whether utilizing batteries or a dedicated power adapter, the power supply must meet the voltage and current requirements of the components.
By assembling these fundamental components, we lay the groundwork for constructing a sampling drum machine that embodies versatility, functionality, and creative potential. With the components in hand, we can proceed to the exciting phase of building and assembling our very own sampling drum machine, setting the stage for a captivating exploration of music technology and innovation.
Building the Sampling Drum Machine
Embarking on the construction of a sampling drum machine is a thrilling endeavor that combines elements of electronics, programming, and musical creativity. As we delve into the process of building this innovative instrument, meticulous attention to detail and a passion for experimentation will pave the way for a rewarding and enriching experience.
The following steps outline the foundational process of building a sampling drum machine:
- Assemble the Hardware: Begin by assembling the physical components of the sampling drum machine, including the microcontroller, trigger pads or buttons, audio input/output interface, storage medium, display interface, and power supply. Carefully follow the manufacturer’s instructions and guidelines for each component to ensure proper integration and functionality.
- Connect and Interface Components: Establish the necessary connections between the components, ensuring that the microcontroller serves as the central hub for interfacing with the trigger pads, audio interface, storage medium, and display interface. Pay close attention to the wiring and compatibility of the components to avoid any potential issues during operation.
- Program the Microcontroller: Utilize programming languages such as C/C++ or Python to program the microcontroller, enabling it to handle the recording, playback, and manipulation of audio samples. Implement user interface controls, audio processing algorithms, and storage management functionalities to create a cohesive and responsive system.
- Integrate Audio Samples: Populate the storage medium with a diverse array of audio samples, ranging from drum hits and percussive sounds to melodic elements and atmospheric textures. Organize the samples into logical categories and formats that align with the intended musical applications of the sampling drum machine.
- Calibrate and Test: Conduct thorough testing and calibration procedures to ensure that the sampling drum machine functions as intended. Verify the responsiveness of the trigger pads, the fidelity of audio playback, and the overall user experience. Address any discrepancies or performance issues through iterative refinement and adjustment.
By meticulously following these steps and embracing a hands-on approach to building the sampling drum machine, you’ll gain invaluable insights into the intricate synergy between hardware, software, and musical expression. This immersive process lays the groundwork for a deeper understanding of music technology and electronic instrument design, empowering you to unleash your creative potential through the art of sampling and rhythm creation.
Programming and Using the Sampling Drum Machine
Once the physical construction of the sampling drum machine is complete, the next phase involves programming the microcontroller and exploring the practical aspects of using this innovative instrument. The intersection of software development and musical creativity becomes the focal point as we delve into the programming and utilization of the sampling drum machine.
The following steps outline the programming and operational facets of the sampling drum machine:
- Microcontroller Programming: Leverage the capabilities of the chosen microcontroller, whether it’s an Arduino or Raspberry Pi, to implement the necessary software logic for recording, triggering, and processing audio samples. Utilize integrated development environments (IDEs) and programming libraries to streamline the coding process and maximize the functionality of the sampling drum machine.
- User Interface Design: Design an intuitive and visually engaging user interface that provides clear feedback and control over the playback and manipulation of audio samples. Incorporate interactive elements such as menu systems, parameter adjustments, and visual indicators to enhance the user experience and streamline the creative workflow.
- Audio Processing Algorithms: Implement audio processing algorithms to manipulate and enhance the playback of audio samples. This may include real-time effects processing, sample slicing and retriggering, dynamic modulation, and spatial processing to imbue the samples with depth and character.
- Storage Management: Develop efficient storage management mechanisms to organize and access the extensive library of audio samples. Implement file management protocols, sample mapping techniques, and data retrieval algorithms to optimize the storage and retrieval of audio samples during performance and composition.
- Performance Techniques: Explore performance techniques and expressive capabilities that the sampling drum machine offers. Experiment with dynamic playing styles, polyphonic triggering, and real-time parameter modulation to infuse your performances with nuance and creativity.
As you immerse yourself in the programming and utilization of the sampling drum machine, you’ll unlock a realm of possibilities for musical expression and sonic innovation. The seamless integration of software and hardware empowers you to craft dynamic and original compositions, blending the artistry of music creation with the technical prowess of electronic instrument design.
With a deep understanding of the programming intricacies and operational dynamics of the sampling drum machine, you’re poised to embark on a musical journey that transcends conventional boundaries, paving the way for captivating performances and groundbreaking sonic explorations.
Conclusion
Embarking on the journey of creating a sampling drum machine is a testament to the fusion of art, technology, and innovation. Throughout this comprehensive guide, we’ve delved into the intricacies of constructing, programming, and utilizing this remarkable instrument, uncovering the boundless creative potential it offers to musicians, producers, and enthusiasts of music technology.
By understanding the fundamental components and the process of building the sampling drum machine, you’ve gained valuable insights into the intricate synergy between hardware integration, software development, and musical expression. The meticulous assembly of the physical components, coupled with the programming of the microcontroller, has equipped you with the skills to bring your musical visions to life through the art of sampling and rhythm creation.
Furthermore, the exploration of performance techniques and audio processing algorithms has illuminated the diverse array of creative avenues that the sampling drum machine presents. From dynamic triggering and expressive playing styles to real-time effects processing and sample manipulation, this instrument serves as a catalyst for pushing the boundaries of sonic exploration and musical innovation.
As you venture into the realm of using the sampling drum machine, whether in live performances, studio recordings, or experimental sonic landscapes, you’ll find yourself at the nexus of artistic expression and technological ingenuity. The seamless integration of hardware and software empowers you to craft dynamic and original compositions, infusing your music with a rich tapestry of sonic elements and rhythmic textures.
Ultimately, the journey of creating and utilizing a sampling drum machine transcends the realm of traditional music production, offering a gateway to boundless creativity and sonic experimentation. Embrace this journey with an open mind and a passion for exploration, and let the rhythmic pulse of the sampling drum machine propel your musical endeavors to new heights.
With the knowledge and skills acquired from this guide, you’re poised to embark on an enriching and fulfilling journey into the heart of music creation and technological innovation. The sampling drum machine stands as a testament to the endless possibilities that emerge when artistry and engineering converge, inviting you to embark on a captivating exploration of music technology and creativity.


