Introduction
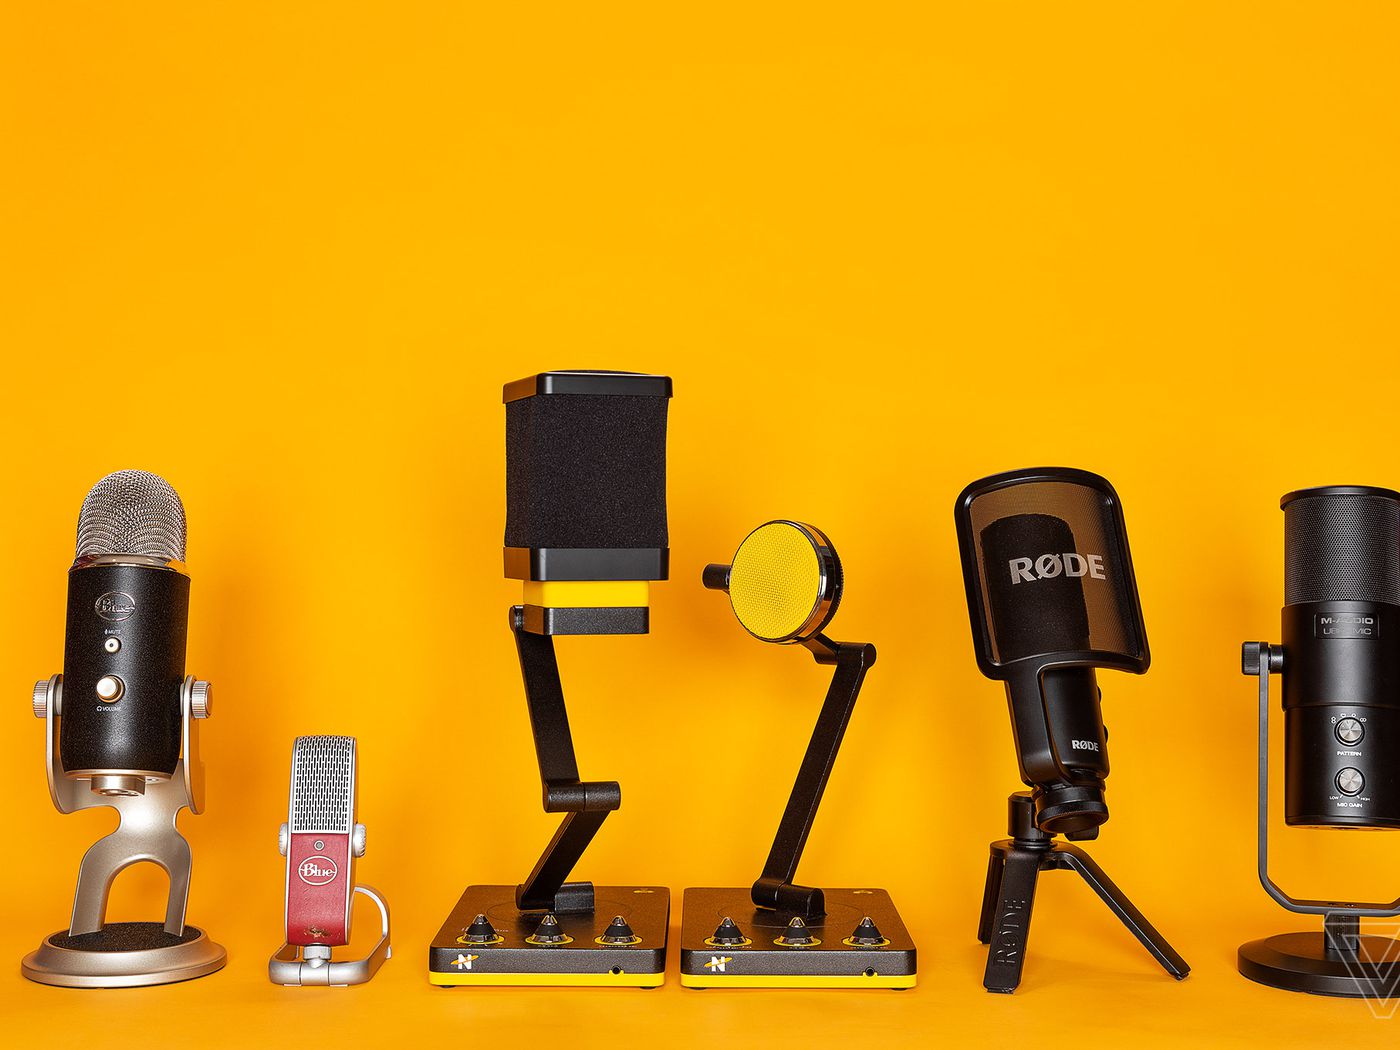
Welcome to our guide on how to install the Floureon USB Microphone! Whether you are a podcaster, gamer, or content creator, having a high-quality microphone can greatly improve the sound quality of your recordings. The Floureon USB Microphone is a popular choice among professionals and enthusiasts for its exceptional audio clarity and ease of use.
In this article, we will walk you through the step-by-step process of setting up and installing the Floureon USB Microphone on your computer. We will cover everything from unboxing the microphone to adjusting its settings and testing the audio quality. By the end of this guide, you will have your Floureon USB Microphone up and running, ready to capture crystal-clear sound for your projects.
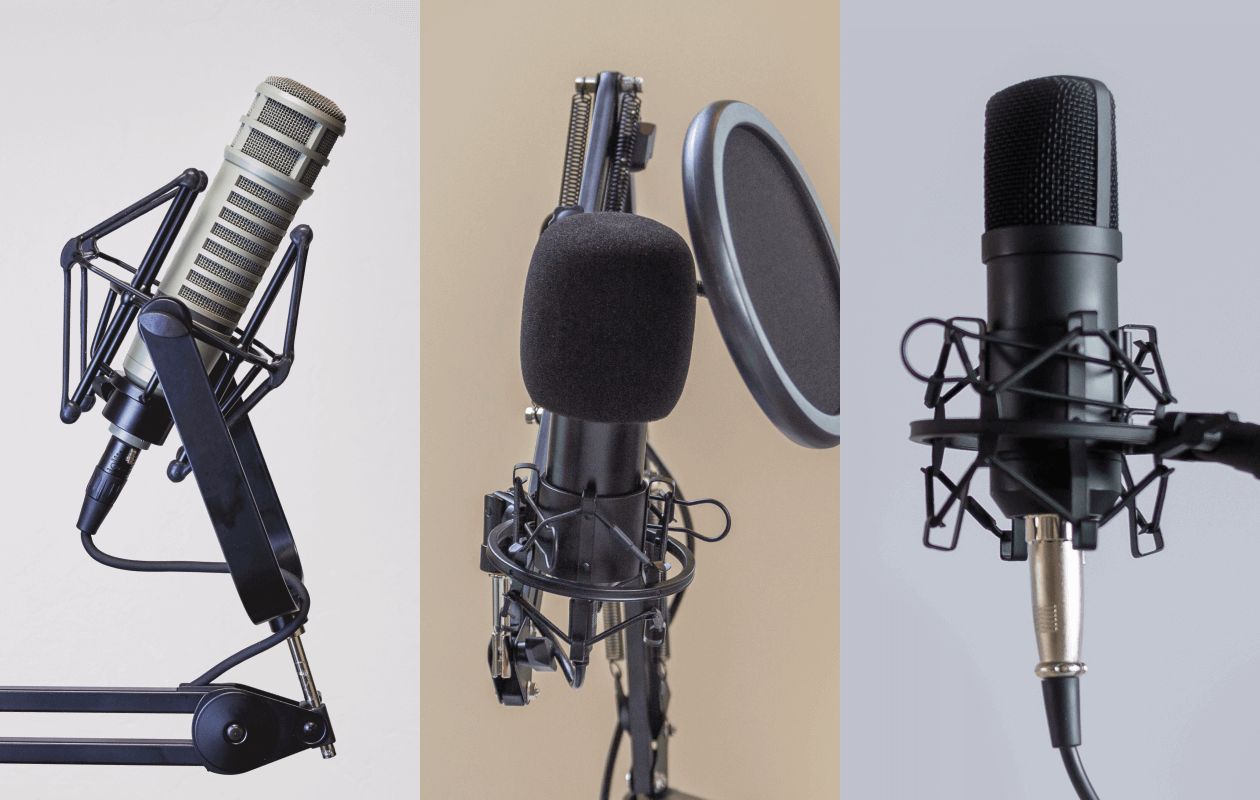
Before we dive into the installation process, let’s quickly go over some of the features of the Floureon USB Microphone. This microphone is designed with a built-in audio chipset, eliminating the need for additional sound cards or drivers. It offers a plug-and-play functionality, making it effortless to set up and use. With its cardioid polar pattern, the Floureon USB Microphone picks up sound effectively from the front while minimizing background noise, ensuring professional-grade audio recordings.
Now that we have a brief introduction to the Floureon USB Microphone, let’s move on to the first step: unboxing the microphone and checking its contents. By following this guide, you will be able to make the most out of your Floureon USB Microphone and enhance your audio production capabilities.
Step 1: Unboxing the Floureon USB Microphone
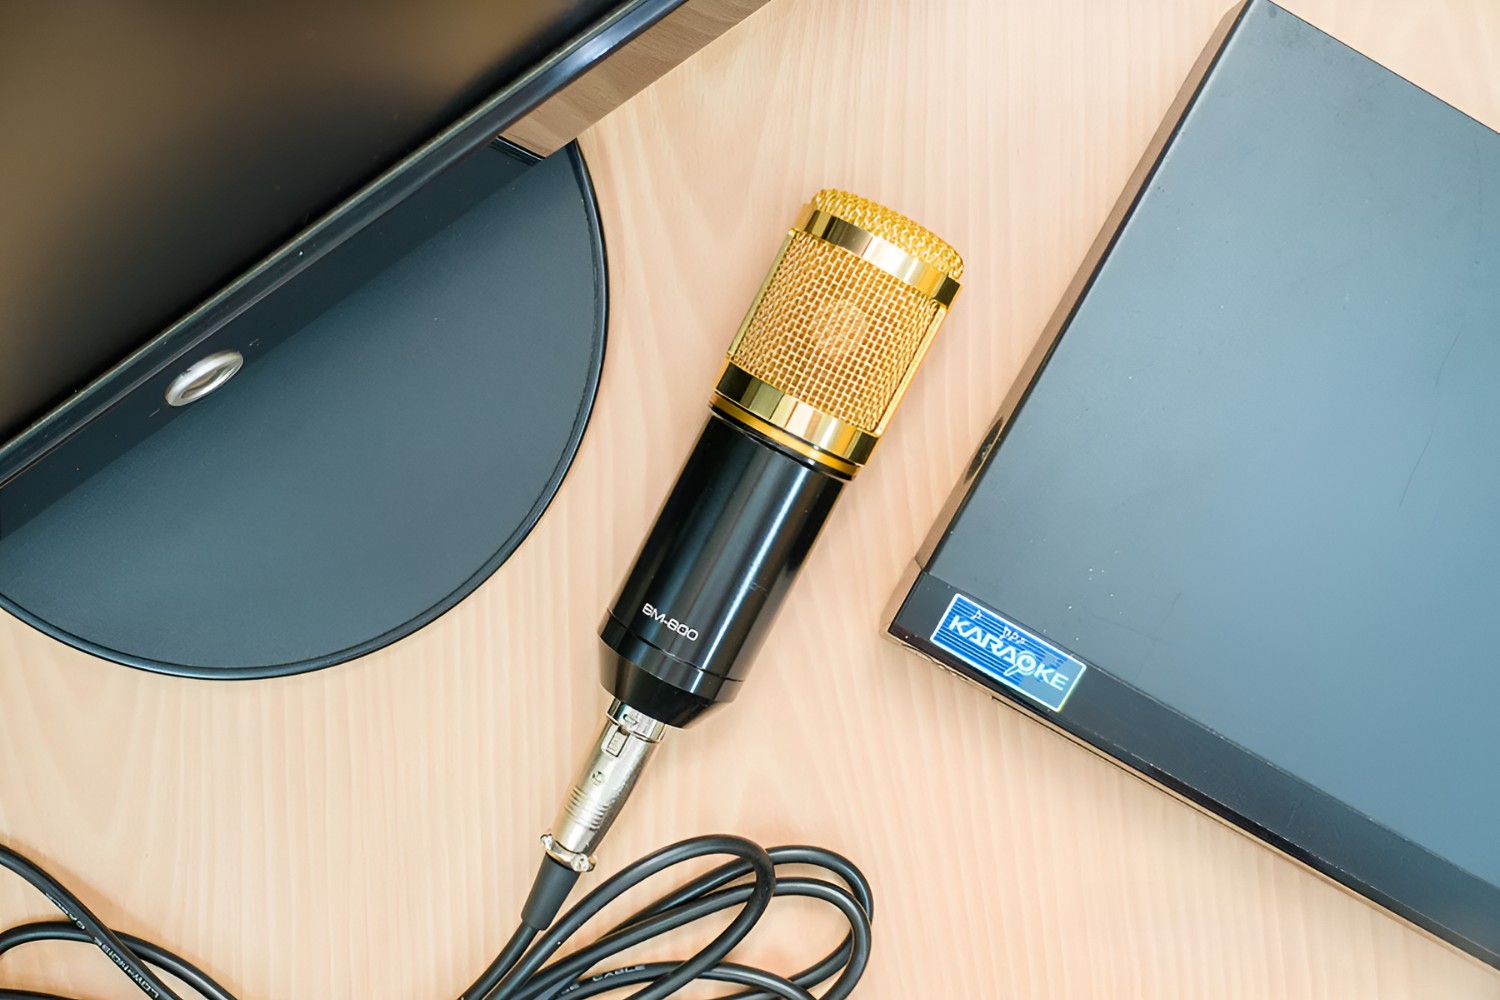
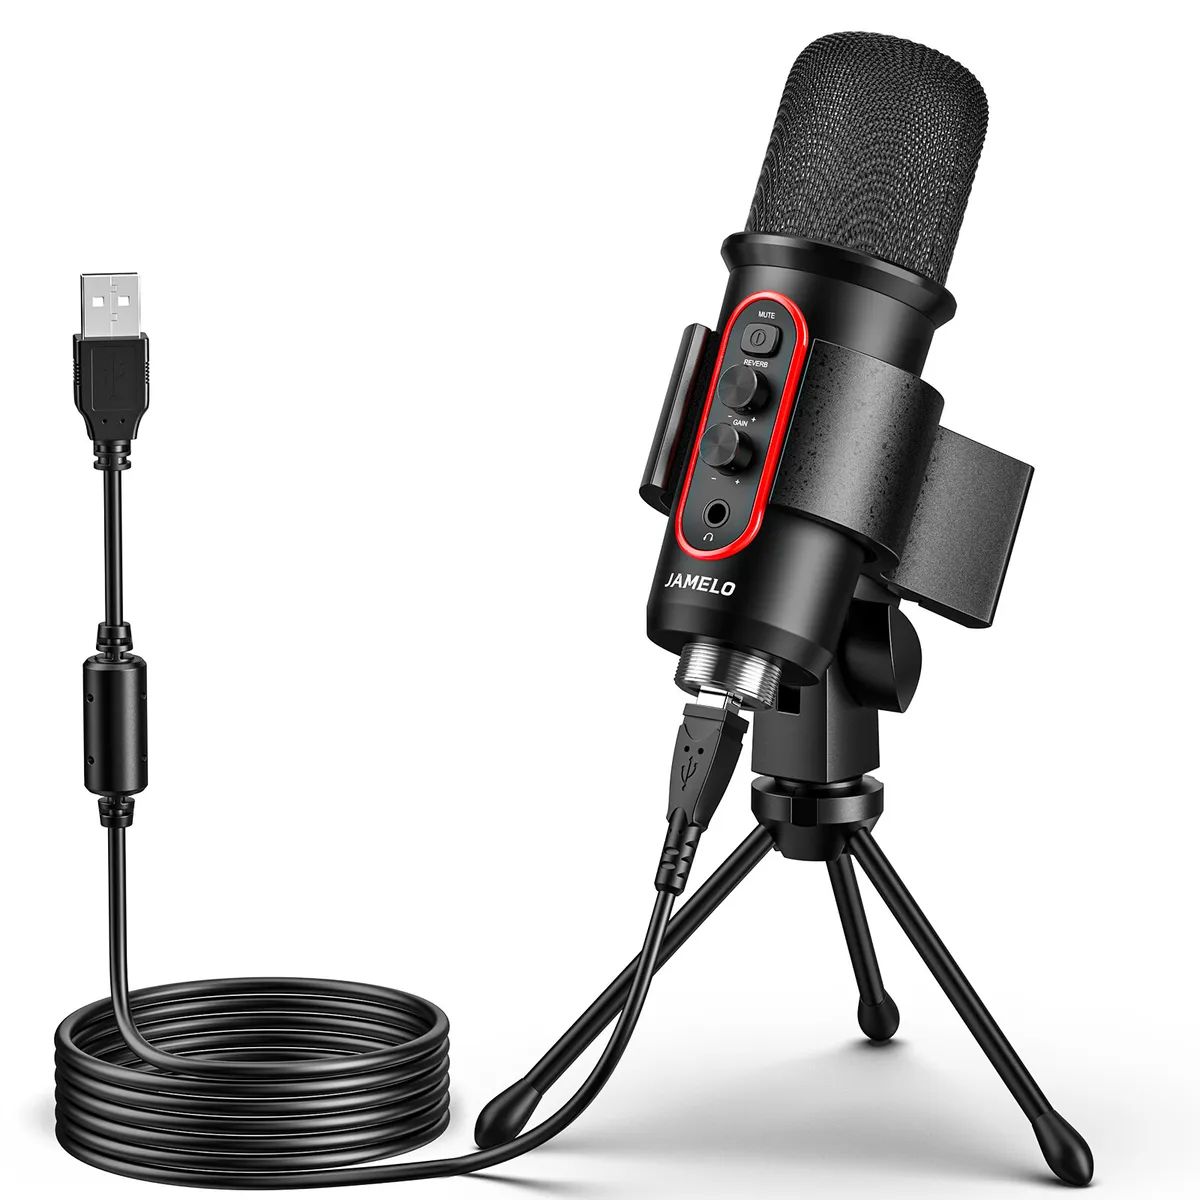
The first step in installing your Floureon USB Microphone is unboxing it and familiarizing yourself with its contents. The Floureon USB Microphone package should include:
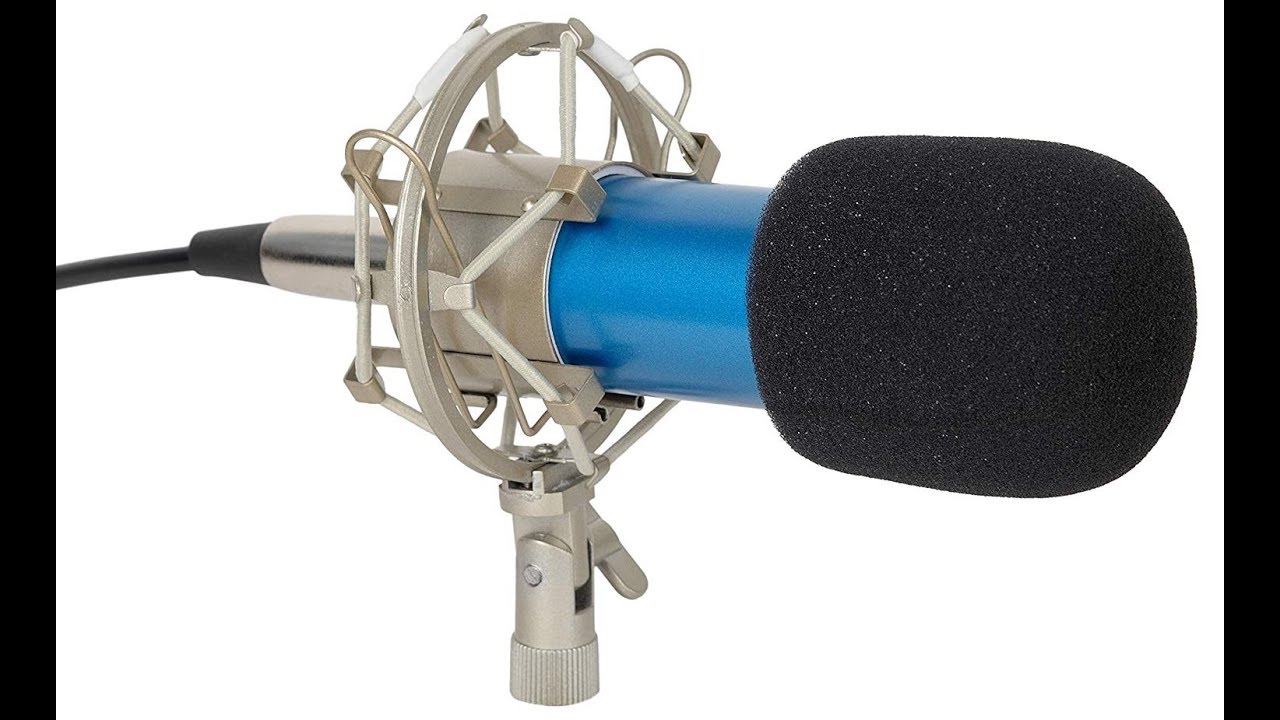
- The Floureon USB Microphone
- A tripod stand or microphone arm
- A foam windscreen
- A USB cable
- An instruction manual
Once you have all the components, start by carefully removing the microphone and the accessories from the packaging. Take a moment to examine the microphone itself. Notice the solid build quality and the sleek design that sets it apart.
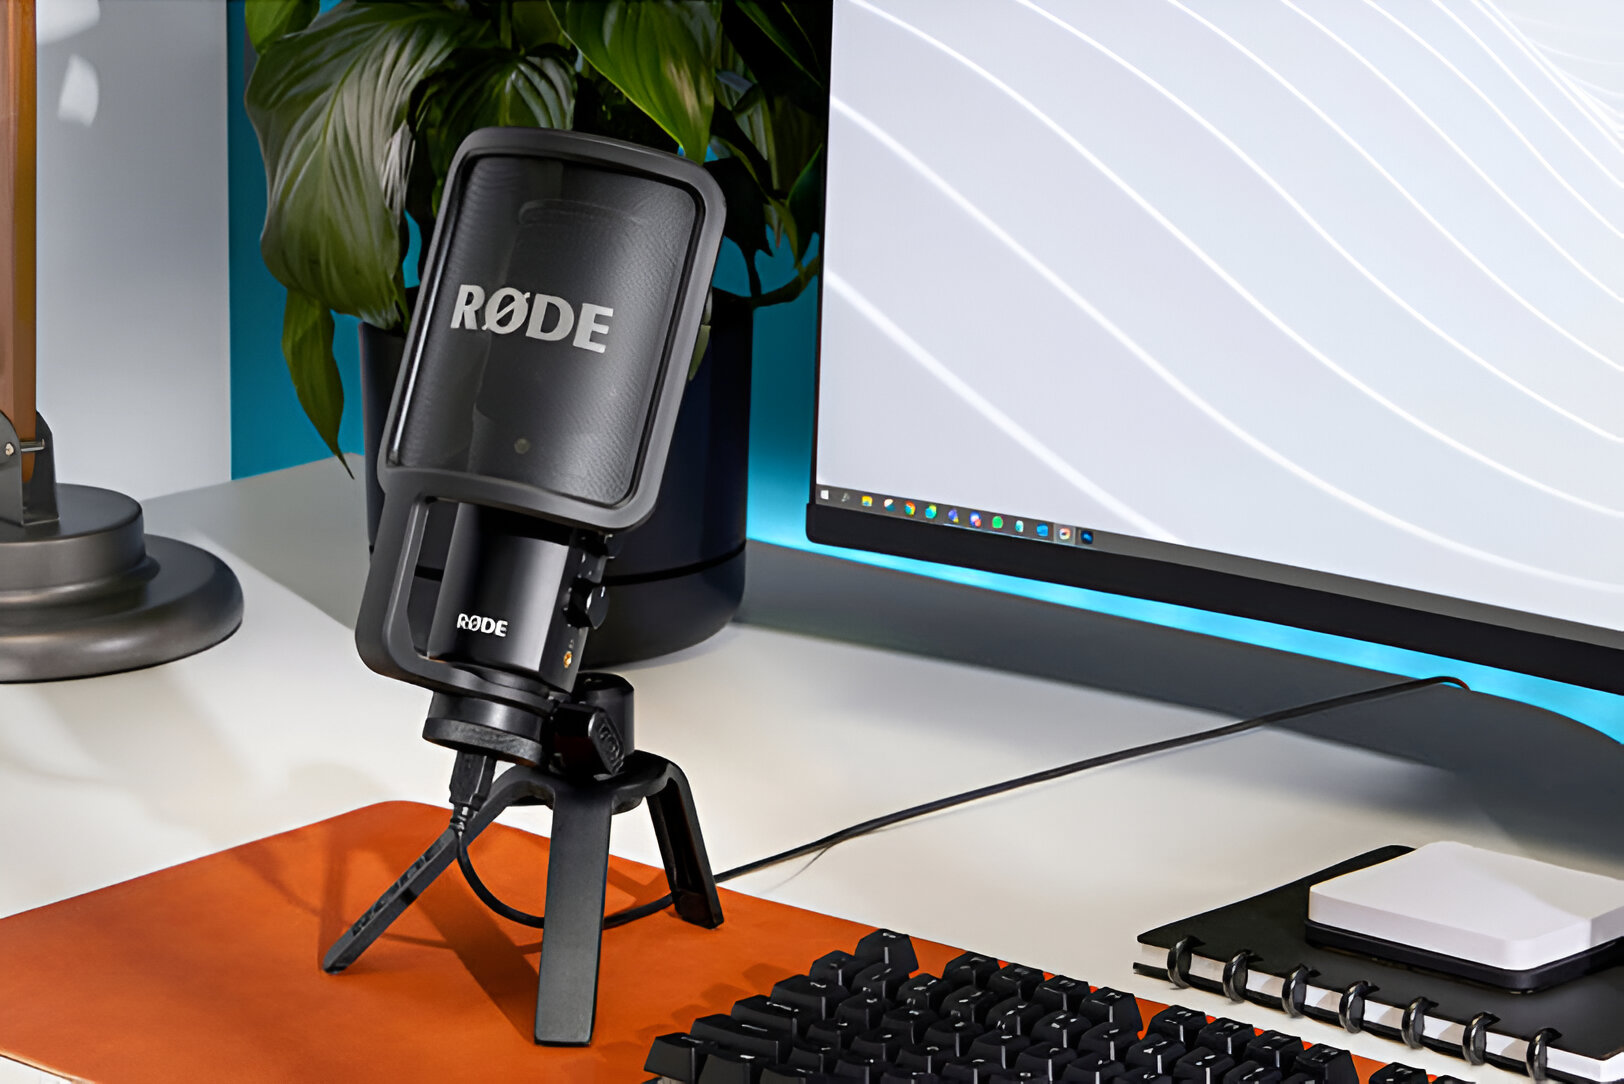
If your package includes a tripod stand or microphone arm, unfold or assemble it according to the instructions provided. This is an essential accessory that will securely hold your microphone in place during recordings. Alternatively, if you have a microphone arm, you can mount the Floureon USB Microphone on it for a more flexible and adjustable setup.
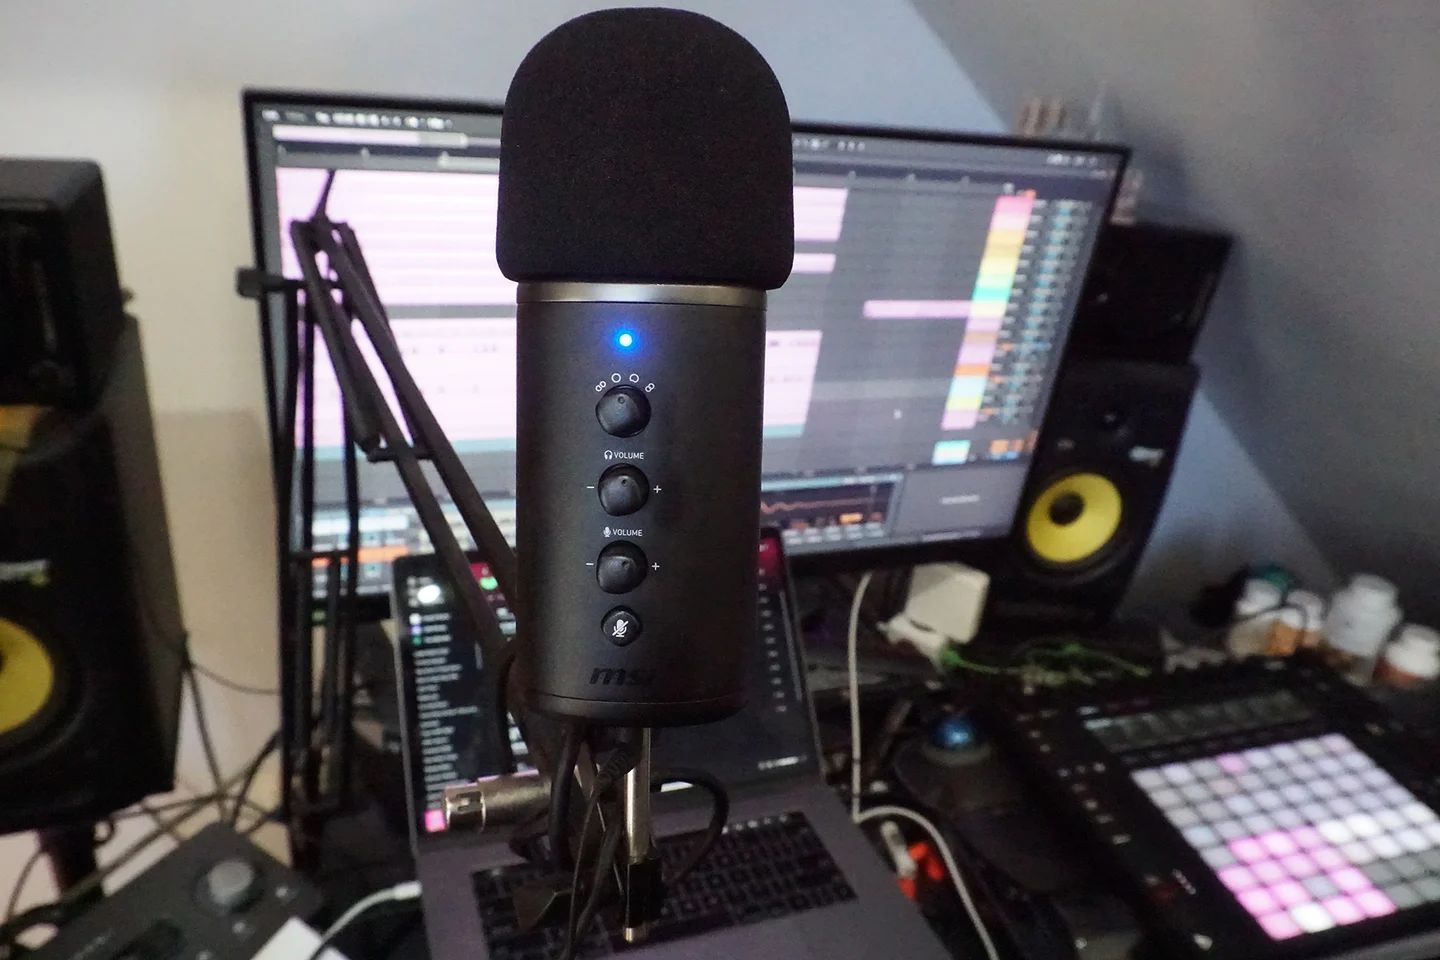
The foam windscreen is an important accessory that helps reduce plosive sounds caused by breath hitting the microphone. Gently slide the windscreen onto the microphone’s head, ensuring it covers the entire microphone capsule. This will improve the overall sound quality and make your recordings sound more professional.
Lastly, locate the USB cable included in the package. This cable is used to connect the Floureon USB Microphone to your computer. Make sure the cable is in good condition without any visible damage or fraying. If you encounter any issues with the cable, it’s advisable to contact the manufacturer for a replacement.
Now that you have unboxed the Floureon USB Microphone and familiarized yourself with its components, you are ready to move on to the next step: checking the compatibility of the microphone with your computer.
Step 2: Checking the Compatibility
Before proceeding with the installation of your Floureon USB Microphone, it is essential to ensure that your computer is compatible with the device. This will help avoid any potential compatibility issues and enable a smooth installation process.
The Floureon USB Microphone is designed to work with a wide range of operating systems, including Windows, Mac, and Linux. To check the compatibility, follow these steps:
- Refer to the documentation provided with your Floureon USB Microphone or visit the manufacturer’s website to verify the system requirements. This will confirm whether your operating system is supported.
- Make sure that your computer has an available USB port. The Floureon USB Microphone connects to your computer via a USB cable, so ensure that you have a free USB port to accommodate the device.
- Ensure that your computer’s sound settings are properly configured. Sometimes, compatibility issues can arise due to incorrect sound settings or outdated audio drivers. Check for any necessary updates or adjustments in your computer’s sound control panel.
If you encounter any compatibility issues or have concerns about compatibility, it is best to reach out to the Floureon customer support or consult the user manual for troubleshooting assistance.
By taking the time to check the compatibility of your computer and the Floureon USB Microphone, you can ensure a seamless installation and optimal performance of the device. Once you have confirmed compatibility, you can proceed to the next step: connecting the microphone to your computer.
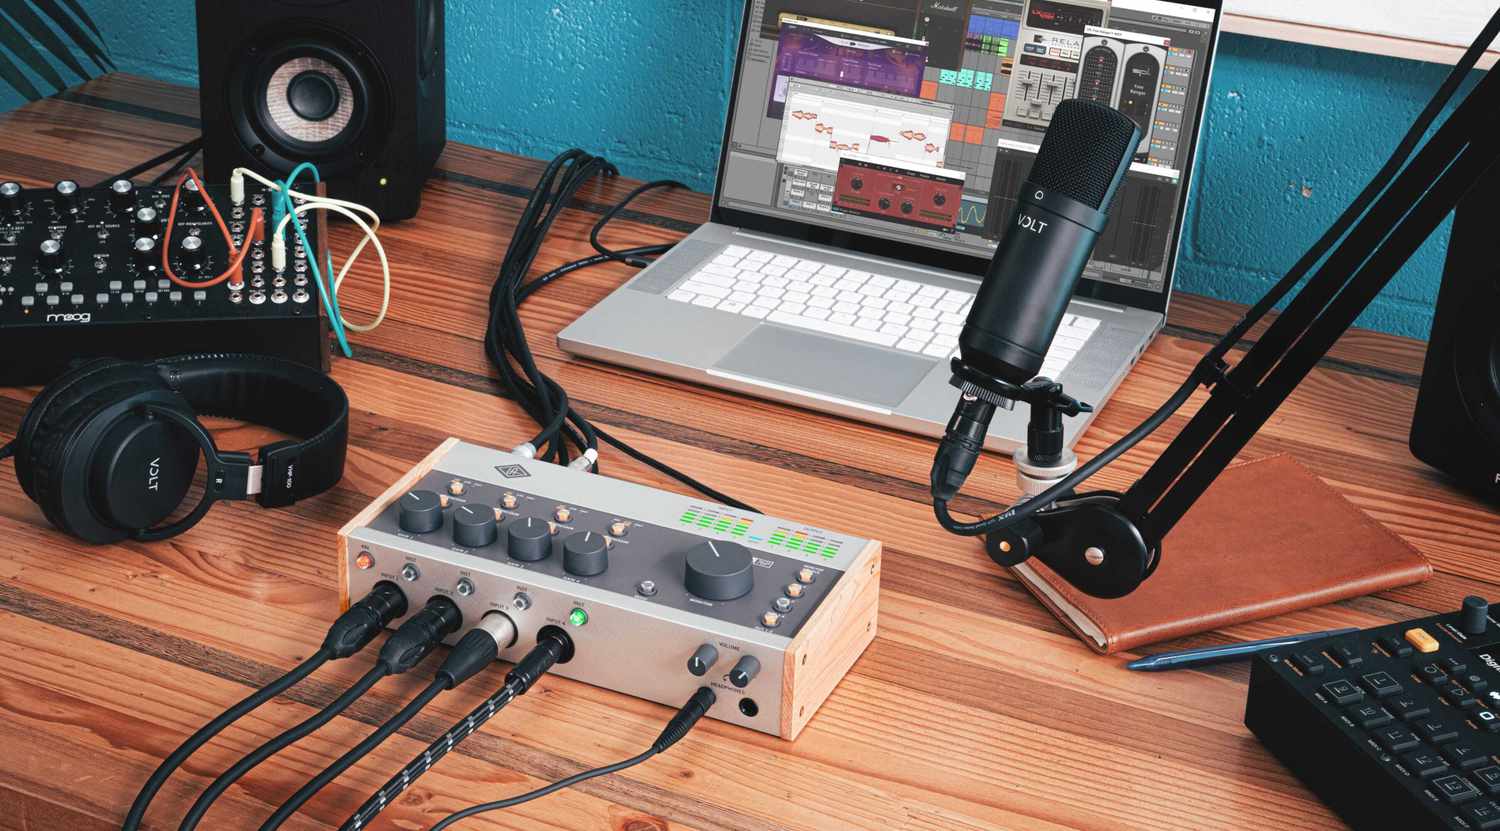
Step 3: Connecting the Microphone to Your Computer
Now that you have verified the compatibility of your computer with the Floureon USB Microphone, it’s time to connect the microphone to your computer. Follow the steps below to establish a connection:
- Locate an available USB port on your computer. The Floureon USB Microphone uses a USB connection to interface with your computer, so ensure that you have an open USB port.
- Take the USB cable that came with the microphone and insert one end into the USB port on your computer. You should hear a satisfying click, indicating a secure connection.
- Connect the other end of the USB cable to the USB port on the microphone itself. Again, ensure that it is securely plugged in.
- Once the microphone is connected, your computer should recognize it and automatically install any necessary drivers. Depending on your operating system, you may see a notification or hear a sound indicating a successful connection.
If your computer does not automatically install the drivers, you may need to download and install them manually. Check the user manual or the manufacturer’s website for specific driver instructions.
Now that the Floureon USB Microphone is successfully connected to your computer, you can proceed to the next step: adjusting the microphone settings.
Step 4: Adjusting the Microphone Settings
After connecting the Floureon USB Microphone to your computer, it’s important to properly adjust the microphone settings to ensure optimal performance. Follow the steps below to adjust the settings:
- Open the audio settings on your computer. Depending on your operating system, this can usually be found in the control panel or system preferences.
- Select the Floureon USB Microphone as the default recording device. This step ensures that your computer recognizes the microphone and uses it for audio input.
- Set the desired microphone input level. This will vary depending on your specific requirements and the sound environment you’re recording in. Start with a moderate level and make adjustments as needed.
- Enable any additional features or enhancements offered by the microphone. Some microphones, including the Floureon USB Microphone, may have built-in features such as adjustable gain or a low-cut filter. Explore the options available and adjust them to suit your preferences.
- Test the microphone to ensure it is working properly. Open a recording software or application and speak into the microphone to confirm that it is capturing sound. Make any necessary adjustments to the settings if needed.
When adjusting the microphone settings, it’s important to consider the specific requirements of your audio recordings. Experiment with different settings to achieve the best sound quality for your intended purpose, whether it’s podcasting, gaming, voiceovers, or any other type of content creation.
Remember to also consider the acoustics of your recording space. If you encounter any issues with background noise or echo, you may need to make additional adjustments or invest in soundproofing materials to improve the overall recording quality.
After adjusting the microphone settings to your satisfaction, you’re ready for the final step: testing the microphone to ensure it is functioning correctly.
Step 5: Testing the Microphone
Once you have adjusted the settings of your Floureon USB Microphone, it’s essential to perform a quick test to ensure that the microphone is functioning correctly. This will help you verify the audio quality and make any necessary adjustments. Follow the steps below to test your microphone:
- Launch a recording software or application on your computer. You can use the default voice recorder app or download a third-party recording software for more advanced options.
- Select the Floureon USB Microphone as the input device within the recording software. This will ensure that the microphone is the source of audio input for your recordings.
- Start recording and speak or make sounds into the microphone. Monitor the audio levels and listen for any distortions, background noise, or other issues that may affect the audio quality.
- Play back the recording and carefully listen to the playback. Pay attention to the clarity, volume, and overall quality of the recorded sound.
- If you notice any issues or unsatisfactory audio quality, revisit the microphone settings and make any necessary adjustments. Test again until you achieve the desired audio quality.
During the testing phase, it’s recommended to test the microphone in different scenarios to ensure its versatility. For example, try recording your voice at different distances and angles to see how the microphone captures sound. This will help you determine the optimal positioning for your specific needs.
Additionally, perform background noise tests by recording in different environments and listening for any unwanted noise or interference. Adjust the microphone settings accordingly to minimize any unwanted sounds.
Once you are satisfied with the test results and confident in the audio quality of your Floureon USB Microphone, you are ready to start using it for your podcasting, gaming, content creation, or any other purposes you have in mind!
Remember to keep the microphone and its accessories in a safe place when not in use to maintain their longevity and performance.
Congratulations on successfully installing and setting up your Floureon USB Microphone. Enjoy capturing high-quality audio with this excellent piece of equipment!
Conclusion
Congratulations! You have successfully installed and set up your Floureon USB Microphone. By following the steps outlined in this guide, you have unboxed the microphone, checked its compatibility with your computer, connected it properly, adjusted the settings, and tested its functionality. Now you are ready to embark on your audio recording journey with confidence.
The Floureon USB Microphone offers exceptional audio quality and ease of use, making it a popular choice among podcasters, gamers, and content creators. Its plug-and-play functionality eliminates the need for additional drivers or sound cards, streamlining the installation process.
Remember to explore the various features and settings of the microphone to customize it according to your specific requirements. Adjust the microphone input level, enable any enhancements, and test different recording scenarios to achieve the best sound quality for your intended purpose.
Whether you are a professional or just starting on your audio recording journey, the Floureon USB Microphone is a reliable and versatile tool that will help elevate the quality of your recordings. Its cardioid polar pattern effectively captures sound from the front while minimizing background noise.
As you continue to use the Floureon USB Microphone, keep in mind the importance of maintaining a suitable recording environment. Consider using acoustic treatments or soundproofing materials to eliminate unwanted echo or ambient noise, ensuring the best recording quality possible.
Now that you are equipped with the knowledge of installing and setting up your Floureon USB Microphone, it’s time to unleash your creativity and produce top-notch audio content. Whether you are recording podcasts, gaming commentary, voiceovers, or any other type of audio production, your Floureon USB Microphone will deliver exceptional results.
Thank you for choosing the Floureon USB Microphone and following this installation guide. We hope it has been helpful in getting your microphone up and running. Happy recording!