Introduction
Welcome to the world of professional audio recording! If you’re looking to improve the quality of your recordings or delve into podcasting or streaming, you’ve come to the right place. In this article, we will guide you through the process of hearing audio from your USB microphone through your headphones.
USB microphones have gained significant popularity due to their ease of use and high-quality sound output. They are a convenient solution for content creators, musicians, podcasters, and gamers looking to achieve professional-grade audio without the need for complex setup. However, using them in conjunction with headphones can be a little tricky if you’re not familiar with the process.
The ability to hear what you’re recording in real-time through your headphones is crucial for monitoring and ensuring the quality of your audio. Whether you’re conducting podcast interviews, recording vocals, or streaming gameplay commentary, having this functionality is essential.
In this article, we’ll explain the steps you need to take to connect your USB microphone to your headphones and adjust your computer’s audio settings accordingly. We’ll also discuss how to configure your recording software to enable audio playback through your headphones. Additionally, we’ll cover some common troubleshooting tips to help you overcome any issues you may encounter along the way.
So, if you’re ready to take your audio recording experience to the next level, let’s dive in and learn how to hear your USB microphone through your headphones!
Understanding USB Microphones and Headphones
Before we dive into the process of hearing audio from your USB microphone through your headphones, it’s important to have a basic understanding of these two essential components.
USB microphones are popular among content creators because of their simplicity and versatility. Unlike traditional microphones, which typically require an audio interface or mixer, USB microphones can be directly connected to your computer via the USB port. This eliminates the need for additional equipment and makes them incredibly user-friendly.
USB microphones are available in various shapes, sizes, and price ranges, catering to different recording needs. Whether you’re a musician, podcaster, voiceover artist, or gamer, there’s a USB microphone out there that suits your requirements.
Headphones, on the other hand, are essential for monitoring your audio while recording or editing. They allow you to hear exactly what is being captured by your USB microphone, ensuring that you can make adjustments and maintain the desired level of quality.
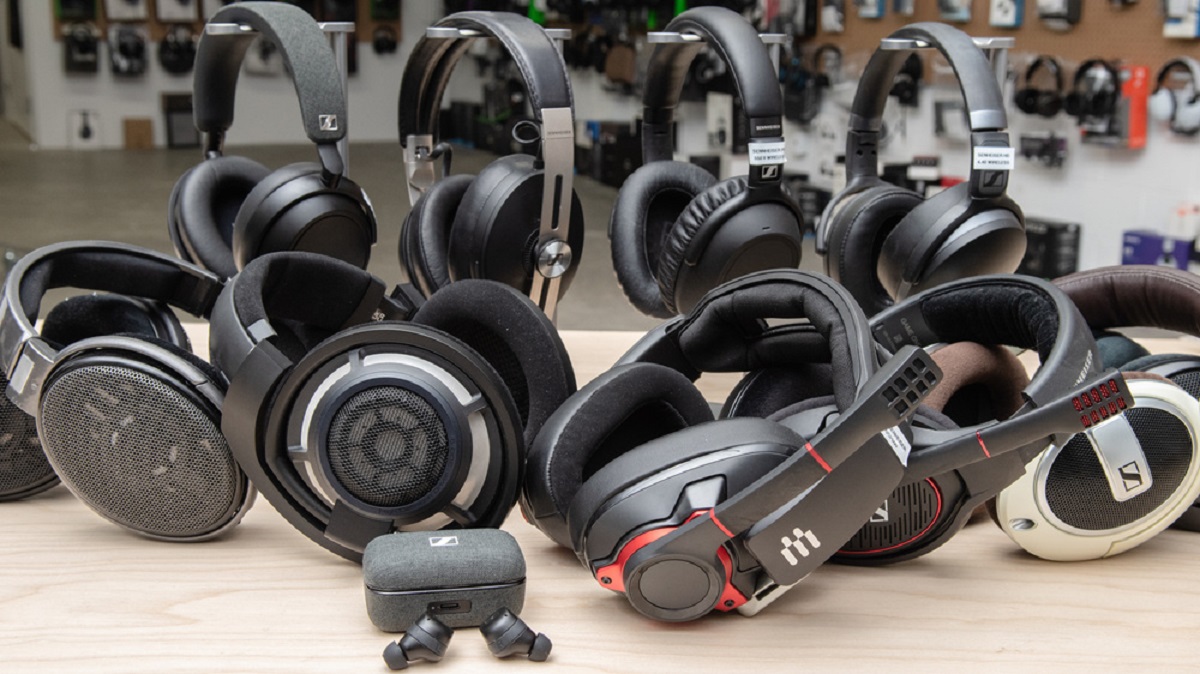
When shopping for headphones, it’s important to consider factors such as comfort, audio quality, and closed-back or open-back designs. Closed-back headphones can provide better isolation by blocking out external noise, while open-back headphones deliver a more spacious and natural sound.
Both USB microphones and headphones come with their own unique features and specifications, so it’s crucial to choose options that best suit your recording setup and personal preferences.
Now that we have a basic understanding of USB microphones and headphones, let’s move on to the next section to learn how to connect them to your computer and configure the audio settings.
Connecting Your USB Microphone and Headphones to Your Computer
Now that you have a clear understanding of USB microphones and headphones, let’s talk about how to connect them to your computer for optimal audio monitoring.
The first step is to locate the USB port on your computer. Most computers have multiple USB ports, so choose one that is easily accessible and preferably located on the front or side panel of your machine.
Next, take the USB cable that came with your USB microphone and plug it into the USB port on your computer. This establishes the connection between the microphone and your computer.
Once your USB microphone is connected, locate the headphone jack on your computer. This is typically located on the front or side panel as well. If your computer doesn’t have a dedicated headphone jack, you can use a USB headphone adapter to connect your headphones.
Take the 3.5mm headphone jack of your headphones and plug it into the headphone jack on your computer or the USB headphone adapter, if necessary.
With both the USB microphone and headphones connected to your computer, you’re almost ready to start enjoying real-time audio monitoring. However, before you can hear sound through your headphones, you’ll need to adjust your computer’s sound settings.
It’s worth noting that different operating systems may have slightly different sound settings layouts. The steps outlined here are general guidelines, but you can adapt them to your specific operating system and version.
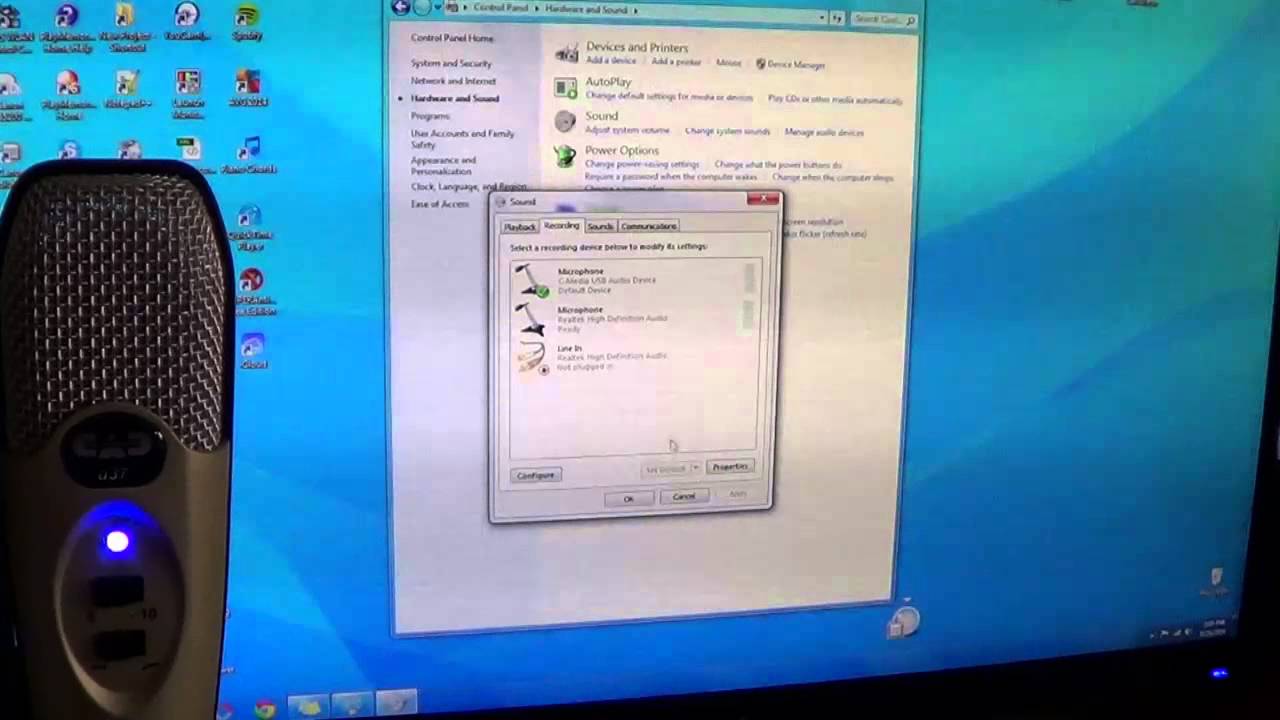
On Windows, right-click on the speaker icon in the system tray at the bottom right corner of your screen. Select “Sounds” from the context menu, and a Sound window will open. Go to the “Playback” tab and select your headphones as the default playback device.
On macOS, click the Apple menu and navigate to “System Preferences.” Select “Sound,” then go to the “Output” tab and choose your headphones as the default output device.
On Linux, open the “Settings” menu and select “Sound” or “Sound Settings.” Choose your headphones as the default output device.
Once you’ve set your headphones as the default playback device, you should be able to hear audio from your USB microphone directly through your headphones.
In the next section, we’ll discuss how to configure your recording software to ensure audio playback through your headphones.
Adjusting Your Computer’s Sound Settings
After connecting your USB microphone and headphones to your computer, the next step is to adjust your computer’s sound settings. This ensures that the audio is properly routed to your headphones for real-time monitoring.
The specific steps to adjust your sound settings may vary depending on your operating system. The instructions provided here are general guidelines, and you can adapt them to your specific system and version.
If you’re using Windows, you’ll need to access the Sound settings. Right-click on the speaker icon in the system tray at the bottom right corner of your screen. From the context menu, select “Sounds.” The Sound window will open, and you’ll want to navigate to the “Playback” tab.
In the Playback tab, look for your headphones. They should be labeled with their specific make and model. Right-click on your headphones and select “Set as Default Device.” This will ensure that audio playback is directed to your headphones.
If you’re using macOS, adjusting the sound settings is equally straightforward. Click the Apple menu in the top left corner of your screen and navigate to “System Preferences.” In System Preferences, click on “Sound.” In the Output tab, you’ll see a list of available devices. Select your headphones from the list, and they will become the default output device.
Linux users can adjust their sound settings through the system’s Settings menu. Look for an option labeled “Sound” or “Sound Settings.” In the Sound settings, you’ll find a list of available playback devices. Choose your headphones from the list, and they will be set as the default output device.
Once you have successfully adjusted your computer’s sound settings and set your headphones as the default playback device, you should be able to hear audio from your USB microphone through your headphones.
It’s essential to periodically check your sound settings, especially after system updates or software changes, as they may reset your default playback device.
In the next section, we’ll discuss how to configure the audio settings in your recording software to ensure proper playback through your headphones.
Configuring Your Recording Software
To ensure proper audio playback through your headphones while using your USB microphone, you’ll need to configure the settings in your recording software. The specific steps may vary depending on the software you are using, but the general principles remain the same.
Start by opening your recording software and accessing the settings or preferences menu. Look for an option related to audio settings or devices.
In the audio settings, you’ll typically find options to select the input device (your USB microphone) and the output device (your headphones). Choose your USB microphone as the input device to ensure that the software is capturing audio from the correct source.
Next, select your headphones as the output device. This setting directs the recorded audio to your headphones, allowing you to monitor your recordings in real-time.
Some recording software may have additional settings related to latency or buffer size. These settings control the delay between when you speak into the USB microphone and when you hear the audio through your headphones. It’s generally recommended to set a lower latency value to minimize delay and enable more accurate monitoring.
After configuring the audio settings, save your changes and close the settings menu. Your recording software will now be configured to play audio through your headphones while recording.
It’s important to note that each recording software may have its unique interface and terminology, but the core principles of configuring the input and output devices remain consistent across applications.
If you’re uncertain about the specific steps for configuring your recording software, consult the software’s documentation or online resources for detailed instructions. Additionally, many software providers offer customer support that can assist you in setting up your audio devices correctly.
With your recording software properly configured, you’re now ready to start recording and monitor the audio through your headphones in real-time.
In the next section, we’ll explore some common issues that may arise while setting up your USB microphone and headphones and provide troubleshooting tips to help you resolve them.
Troubleshooting Common Issues
While setting up your USB microphone and headphones, you may encounter some common issues that can hinder proper audio monitoring. Here, we’ll discuss these issues and provide troubleshooting tips to help you overcome them.
No sound in headphones: If you’re not hearing any audio in your headphones, ensure that they are properly connected to your computer’s headphone jack or USB adapter. Check the volume settings on your headphones and make sure they are not muted or set to a very low level. Additionally, verify that your headphones are selected as the default playback device in your computer’s sound settings.
Microphone not detected: If your USB microphone is not being detected by your computer or recording software, try plugging it into a different USB port. Make sure that the USB cable is securely connected both to the microphone and the computer. If the issue persists, try restarting your computer. If none of these solutions work, it may be a driver compatibility issue. Visit the manufacturer’s website to download and install the latest driver for your USB microphone.
Low volume or distorted audio: If the audio from your USB microphone is too low or distorted, check the input volume settings in your recording software. Increase the input gain or volume level until the sound is at an appropriate level. Make sure that no other applications on your computer are using the microphone, as this can cause conflicts and affect the volume or quality of the audio.
Audio delay: If you notice a delay between speaking into the USB microphone and hearing the sound through your headphones, adjust the latency or buffer settings in your recording software. Decreasing the latency value can help minimize the delay. Keep in mind that setting the latency too low may overload your computer’s processor and cause audio glitches, so find a balance that works best for your setup.
Interference or background noise: If you experience interference or background noise in your recordings, try moving the USB microphone and headphones away from any sources of electromagnetic interference, such as routers, smartphones, or fluorescent lights. You can also use a foam windscreen or pop filter on the microphone to reduce plosives and unwanted noise.
If you have tried these troubleshooting tips and are still experiencing issues, it’s recommended to consult the user manual or contact the manufacturer for further assistance. They may have specific troubleshooting steps tailored to your USB microphone and headphones.
Remember, troubleshooting is a process of elimination, so be patient and methodical in identifying and resolving any issues you encounter. With determination and the right troubleshooting techniques, you’ll be able to enjoy seamless audio monitoring through your USB microphone and headphones.
Conclusion
Congratulations! You have now learned how to hear audio from your USB microphone through your headphones. By understanding the basics of USB microphones and headphones, connecting them to your computer, adjusting the sound settings, configuring your recording software, and troubleshooting common issues, you are well-equipped to achieve professional audio monitoring during your recording sessions.
Remember to choose a USB microphone and headphones that suit your recording needs and personal preferences. Ensure proper connections between your USB microphone and computer, as well as between your headphones and computer or USB headphone adapter.
Take the time to familiarize yourself with your computer’s sound settings and designate your headphones as the default playback device. Similarly, configure the audio settings in your recording software to route the audio to your headphones for real-time monitoring.
If any issues arise, don’t panic. Troubleshoot by checking connections, adjusting volume levels, updating drivers, and addressing any interference or background noise. Consult the documentation or contact the manufacturer for further assistance if needed.
Now that you have successfully set up your USB microphone and headphones, you can enjoy the benefits of hearing your recordings with clarity and accuracy. Whether you’re recording podcasts, music, voiceovers, or gaming commentary, the ability to monitor your audio in real-time ensures top-notch quality.
Keep exploring and experimenting with your USB microphone and headphones, as well as different recording techniques and software features. With practice and dedication, you can take your audio recordings to new heights and create content that captivates your audience.
So get ready to unleash your creativity, unleash your passion, and let your voice be heard with the perfect combination of USB microphone and headphones!