Introduction
Understanding How to Get More Gain from a Condenser Microphone Without Feedback
When it comes to capturing high-quality audio, condenser microphones are a popular choice due to their sensitivity and ability to capture subtle nuances. However, using a condenser microphone effectively requires a good understanding of various factors such as positioning, gain levels, and environmental considerations. One common challenge that many audio enthusiasts and professionals encounter when using condenser microphones is achieving optimal gain without encountering feedback issues. Feedback occurs when the microphone picks up the sound from the speakers, resulting in a loop of amplified sound that can be disruptive and unpleasant.
In this comprehensive guide, we will delve into the techniques and strategies for maximizing the gain from a condenser microphone while mitigating the risk of feedback. Whether you are a podcaster, musician, content creator, or audio engineer, mastering these techniques will empower you to capture pristine audio without the interference of feedback, ultimately elevating the quality of your recordings and live performances.
Throughout this guide, we will explore the fundamental principles of condenser microphones, the importance of proper microphone positioning, the use of accessories such as pop filters, and the strategic adjustment of gain and filters on your audio interface. Additionally, we will discuss the creation of a feedback-free environment to ensure that your recordings and live sound reinforcement remain clear and free from disruptive feedback.
By implementing the strategies outlined in this guide, you will be equipped with the knowledge and techniques to harness the full potential of your condenser microphone, allowing you to achieve optimal gain and exceptional audio quality in various recording and live sound scenarios. Let's embark on this journey to unlock the true potential of your condenser microphone and elevate the quality of your audio productions.
Understanding Condenser Microphones
The Intricacies of Condenser Microphones
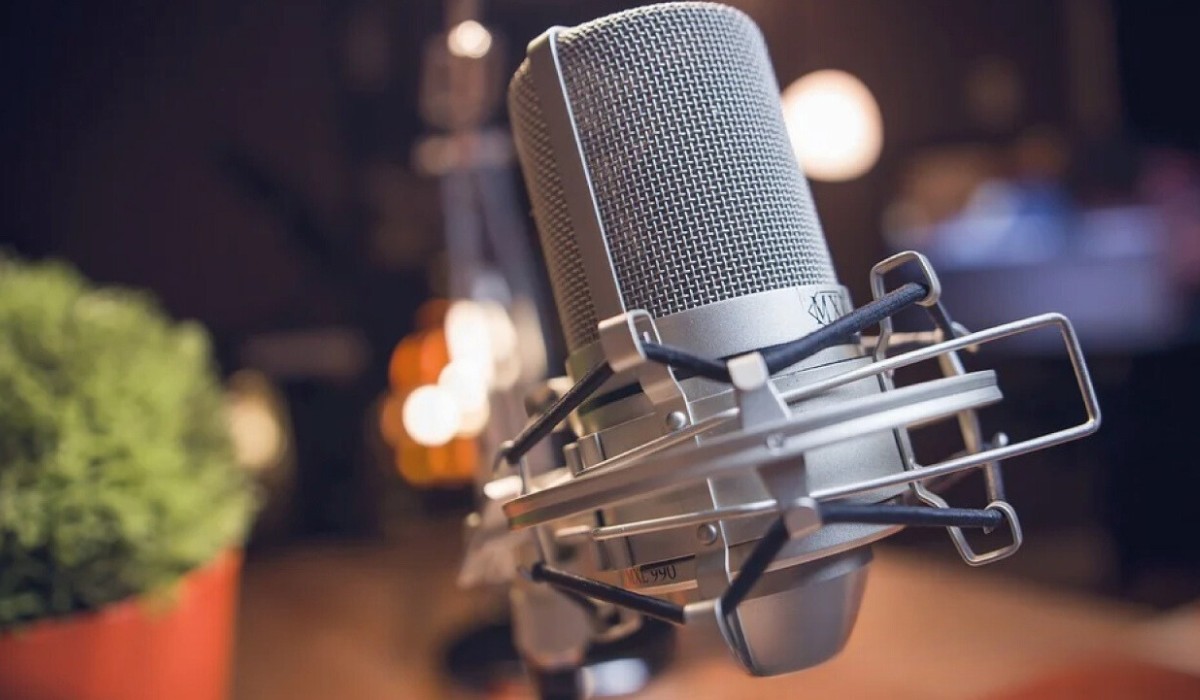
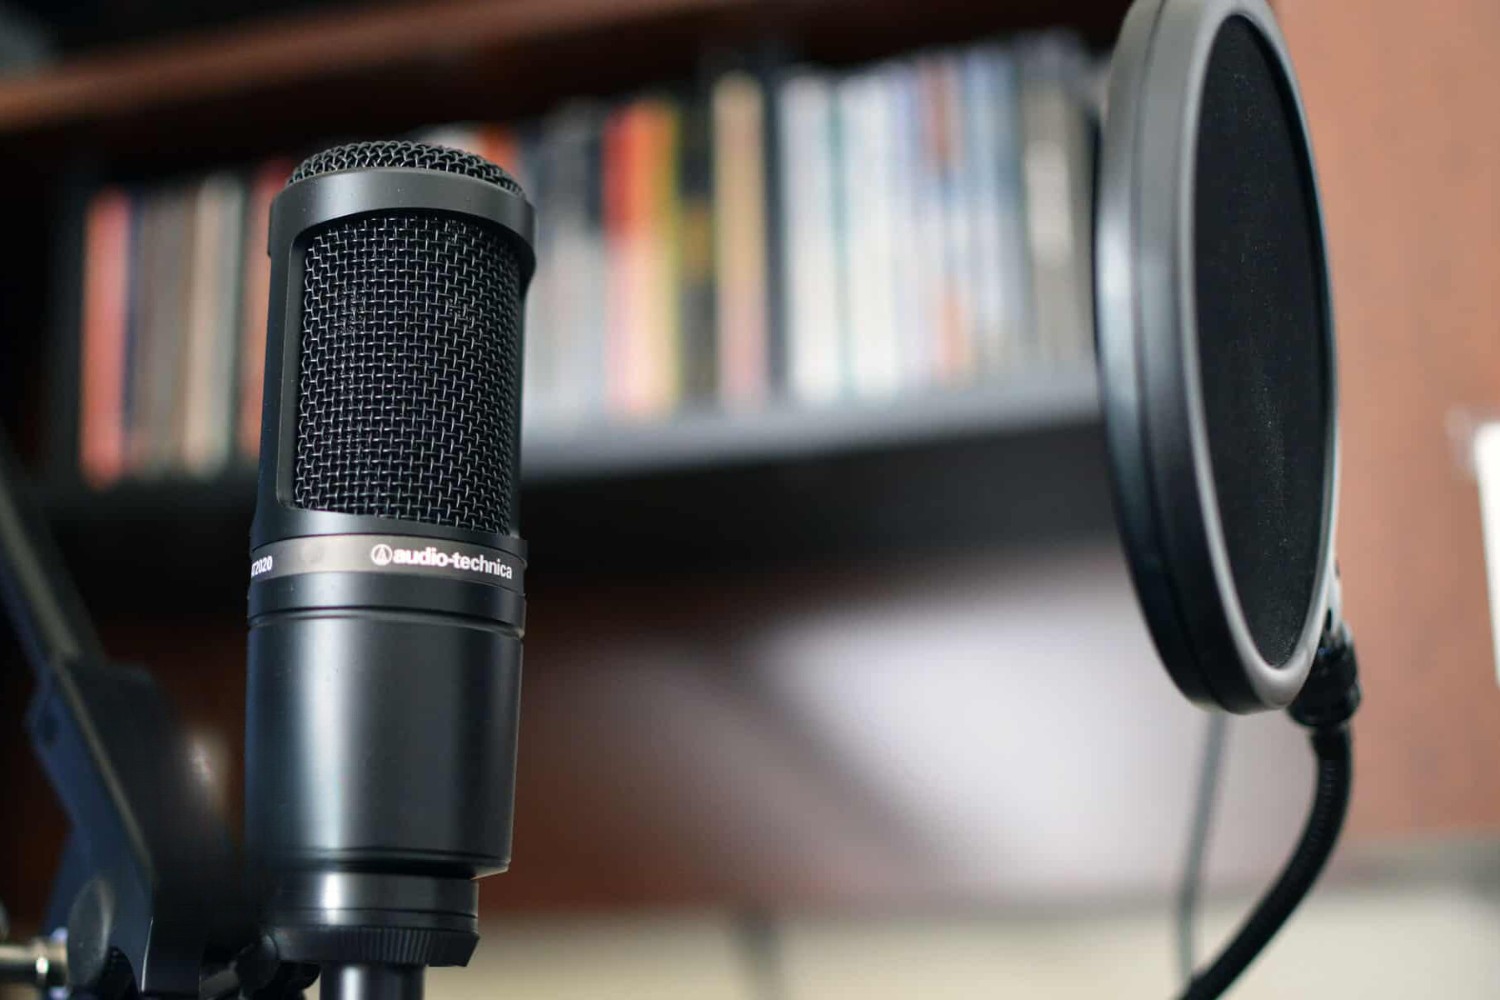
Condenser microphones, also known as capacitor microphones, are revered for their ability to capture detailed audio with exceptional clarity and sensitivity. Unlike dynamic microphones, which rely on electromagnetic induction to generate an electrical signal, condenser microphones utilize an electrostatic principle to convert sound waves into electrical signals. This mechanism involves a diaphragm that acts as one plate of a capacitor, with the vibrations from sound waves causing the distance between the diaphragm and a backplate to fluctuate, thereby modulating the capacitance and generating an electrical signal.
One of the defining characteristics of condenser microphones is their ability to capture a wide frequency range, making them well-suited for recording vocals, acoustic instruments, and ambient sounds. Additionally, condenser microphones exhibit a transient response that accurately captures the fast transients present in percussive sounds and the subtle nuances of vocal performances.
It is important to note that condenser microphones require power to operate, typically in the form of phantom power supplied by an audio interface or mixing console. This power is essential for polarizing the diaphragm and enabling the microphone to function effectively. Some condenser microphones also feature internal circuitry powered by batteries, offering greater flexibility in terms of compatibility with various audio devices.
When considering gain and feedback management, it is crucial to understand that condenser microphones are inherently more sensitive than dynamic microphones, making them more susceptible to feedback in live sound reinforcement scenarios. This heightened sensitivity, while advantageous for capturing intricate details, necessitates a strategic approach to gain adjustment and microphone placement to mitigate the risk of feedback.
By grasping the technical intricacies and unique characteristics of condenser microphones, you can harness their full potential to achieve pristine audio recordings and live sound reinforcement with remarkable clarity and fidelity.
Positioning the Microphone
Optimizing the Placement of Your Condenser Microphone
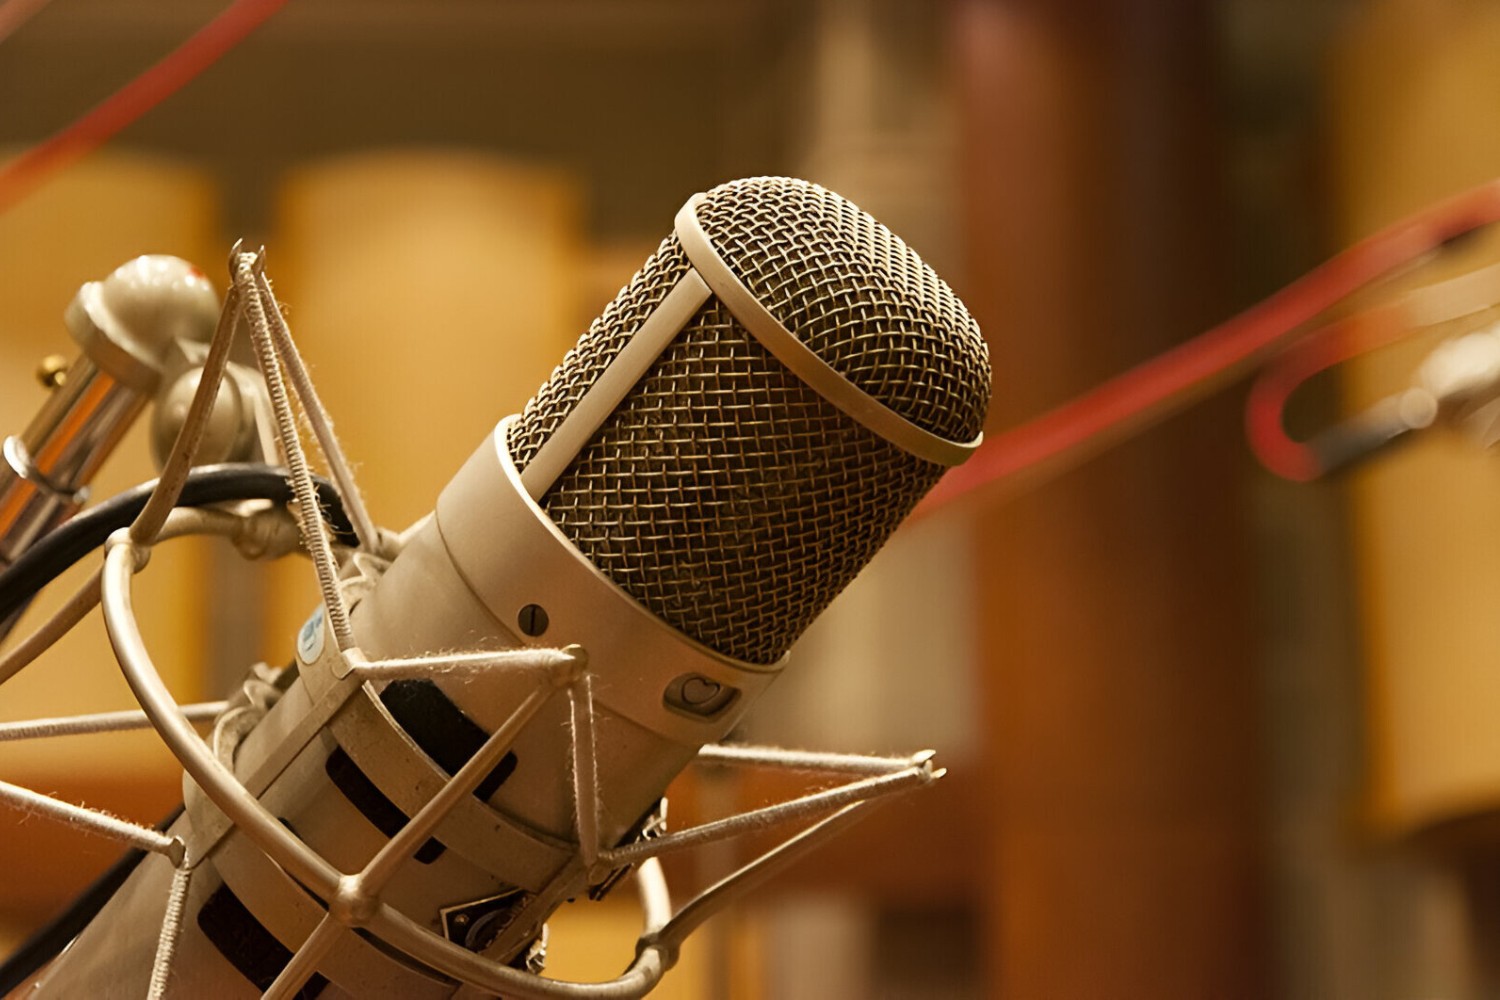
Proper microphone positioning plays a pivotal role in maximizing the gain from a condenser microphone while minimizing the risk of feedback. Whether you are recording vocals, instruments, or capturing sound for live performances, the strategic placement of the microphone significantly influences the audio quality and the potential for encountering feedback.
When positioning a condenser microphone for vocal recordings, it is essential to consider the proximity effect, which refers to the increase in bass response when the microphone is placed close to the sound source. This can be advantageous for achieving a rich and full-bodied vocal tone, but it also necessitates careful monitoring of the gain levels to prevent excessive low-frequency buildup and the potential for feedback. Additionally, maintaining a consistent distance and angle between the microphone and the vocalist is crucial for capturing a balanced and uniform sound.
For instrument recordings, the placement of the condenser microphone relative to the sound source is instrumental in capturing the desired tonal characteristics and spatial imaging. When recording acoustic instruments such as guitars or pianos, experimenting with microphone placement around the instrument, including variations in distance and angle, can yield diverse sonic textures and nuances. Similarly, when miking drum kits or percussion instruments, the placement of condenser microphones in strategic locations can capture the transient impact and resonant qualities of the instruments while mitigating the potential for feedback.
In live sound reinforcement scenarios, the strategic placement of condenser microphones is crucial for achieving optimal gain before feedback. When miking vocalists or instrumentalists on stage, carefully positioning the microphones to minimize the pickup of monitor speakers and stage monitors can help mitigate the risk of feedback. Utilizing cardioid or supercardioid polar patterns can also aid in focusing the microphone’s pickup pattern toward the intended sound source while rejecting off-axis sound, contributing to feedback prevention.
By understanding the nuances of microphone positioning and tailoring the placement to suit the specific sound source and recording environment, you can optimize the gain from your condenser microphone while minimizing the likelihood of feedback, ultimately enhancing the clarity and fidelity of your audio recordings and live sound reinforcement.
Using a Pop Filter
Enhancing Audio Clarity and Minimizing Plosives
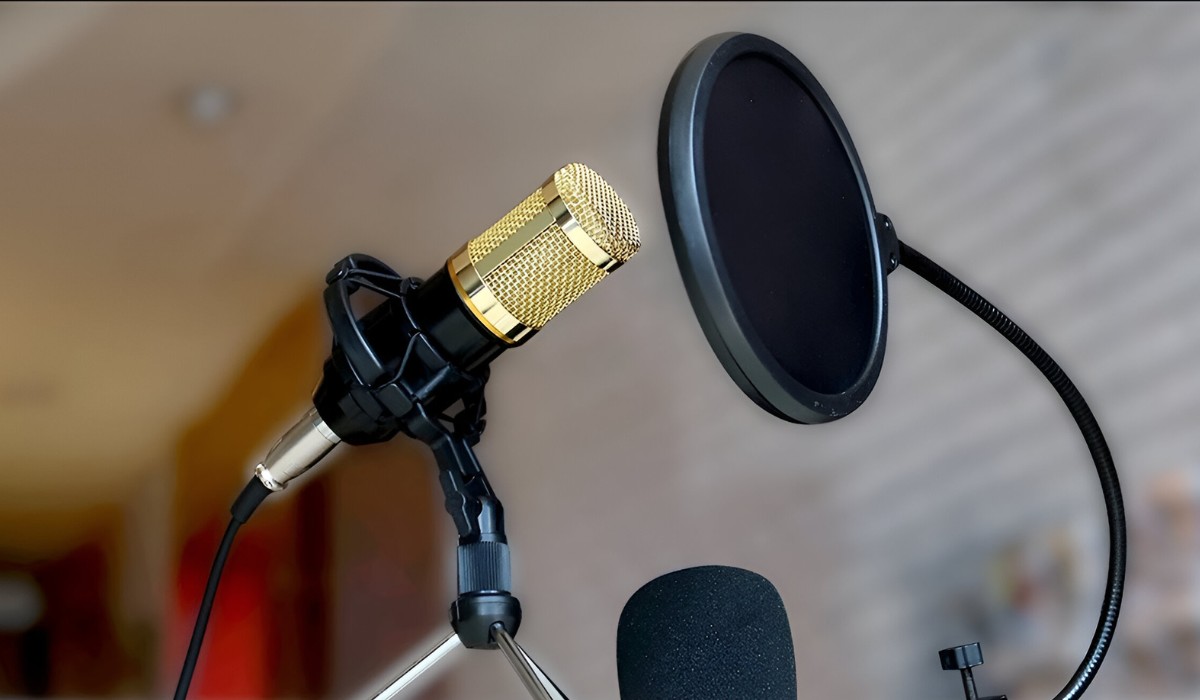
When utilizing a condenser microphone for vocal recordings, the presence of plosives—sudden bursts of air that result in disruptive low-frequency sounds—can compromise the overall audio quality. Plosives often occur when pronouncing plosive consonants such as “p” and “b,” causing an unwanted gust of air to hit the microphone diaphragm and create a distracting low-frequency thump. To address this issue and enhance audio clarity, the use of a pop filter is indispensable.
A pop filter, also known as a pop shield or windscreen, is a simple yet effective accessory designed to attenuate plosives and alleviate the impact of strong puffs of air on the microphone diaphragm. Typically composed of a fine mesh or fabric stretched over a circular frame, the pop filter is positioned between the vocalist and the microphone, serving as a barrier to disperse and diffuse the airflow before it reaches the microphone.
By intercepting and dispersing the airflow, a pop filter mitigates the abrupt pressure changes caused by plosives, thereby preventing the diaphragm from being overloaded by low-frequency energy. This results in cleaner, more intelligible vocal recordings with reduced instances of disruptive plosives, contributing to a more professional and polished sound.
Furthermore, the implementation of a pop filter allows vocalists to maintain a consistent and optimal microphone placement without the need to consciously alter their singing or speaking technique to avoid plosives. This facilitates a more natural and uninhibited performance, empowering vocalists to deliver their best performances while the pop filter effectively safeguards against unwanted plosive artifacts.
It is important to position the pop filter at an appropriate distance from the microphone, typically a few inches away, to ensure optimal plosive attenuation without impeding the microphone’s ability to capture the nuances and subtleties of the vocal performance. Additionally, the use of a pop filter is not limited to vocal recordings; it can also be beneficial when miking acoustic instruments, particularly those that produce strong air currents, such as brass and woodwind instruments.
By incorporating a pop filter into your recording setup, you can elevate the clarity and professionalism of vocal recordings while effectively managing plosives, ultimately enhancing the overall quality of your audio productions.
Adjusting the Gain on Your Audio Interface
Optimizing Input Levels for Pristine Audio Capture
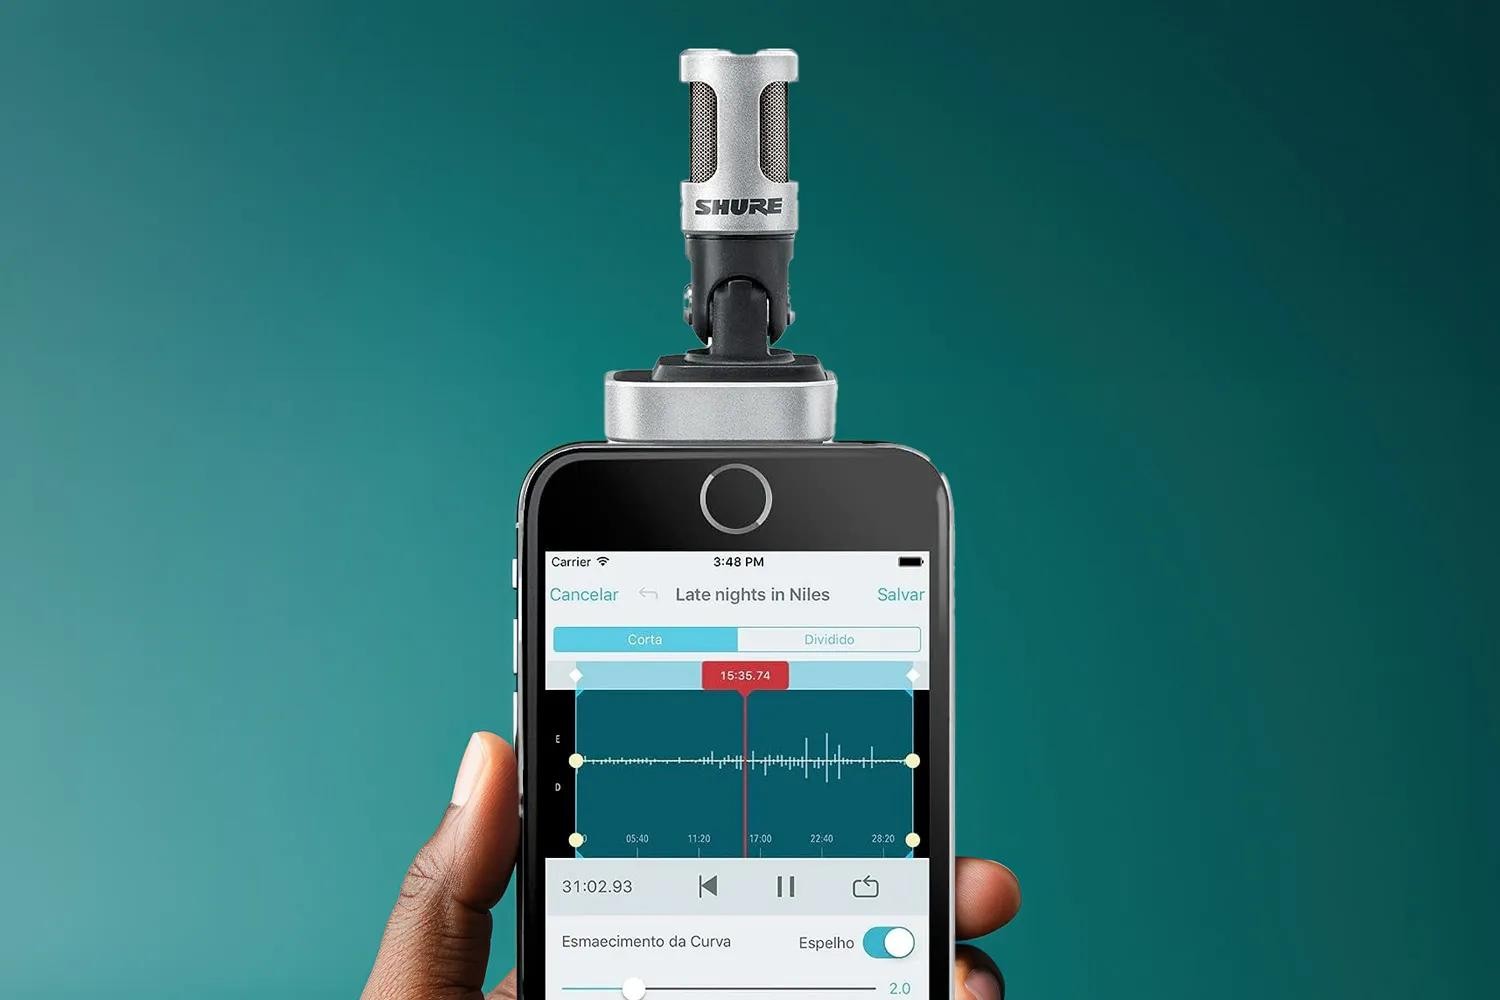
When working with condenser microphones, the proper adjustment of gain on your audio interface is a critical aspect of achieving optimal audio capture without encountering feedback or signal distortion. The gain control on an audio interface, also referred to as the preamp gain or input level, governs the amplification of the microphone signal before it is converted into a digital format for recording or processing.
One of the primary considerations when adjusting the gain for a condenser microphone is to set the input level at an optimal point that allows for a healthy signal-to-noise ratio without overloading the input and introducing distortion. It is essential to strike a balance between maximizing the microphone’s sensitivity and ensuring that the input level does not exceed the interface’s headroom, which could lead to clipping and undesirable artifacts in the recorded audio.
When setting the gain for vocal recordings, it is advisable to perform sound checks with the vocalist to gauge the dynamic range of their performance. This involves having the vocalist sing at both quiet and loud passages while monitoring the input level on the audio interface. By adjusting the gain to accommodate the dynamic range of the performance without allowing the signal to peak into the red (indicating clipping), you can capture the nuances of the vocal performance with precision and clarity.
For instrument recordings, such as acoustic guitars or pianos, the gain adjustment process involves attentively monitoring the input level while the instrument is being played across its full dynamic range. This allows for the optimization of the input level to capture the instrument’s transient attacks and sustained tones without compromising the integrity of the audio signal.
In live sound reinforcement scenarios, where condenser microphones are utilized for capturing vocals or instruments, the gain adjustment on the audio interface is crucial for achieving a robust and intelligible sound without the risk of feedback. Careful monitoring of the input levels and making incremental adjustments during sound checks can help ensure that the microphones are set to an appropriate gain level that allows for clear and articulate sound reinforcement.
By mastering the art of adjusting gain on your audio interface to suit the specific requirements of vocal and instrumental performances, you can optimize the input levels for pristine audio capture, ultimately enhancing the overall quality of your recordings and live sound reinforcement endeavors.
Using a Low-Cut Filter
Enhancing Clarity and Mitigating Low-Frequency Interference
One powerful tool for refining the audio captured by a condenser microphone is the implementation of a low-cut filter, also known as a high-pass filter. This feature, commonly found on audio interfaces, mixing consoles, and microphone preamps, enables the selective attenuation of low-frequency content below a specified cutoff point, effectively reducing rumble, handling noise, and other undesirable low-frequency artifacts that can compromise the clarity and fidelity of the audio signal.
When recording vocals or acoustic instruments, the use of a low-cut filter can significantly diminish the impact of low-frequency rumble caused by environmental factors, microphone handling, or incidental vibrations. By engaging the low-cut filter at an appropriate frequency, typically between 80Hz and 120Hz for vocal recordings and higher for instruments, you can effectively mitigate the intrusion of low-frequency interference without compromising the essential tonal characteristics of the audio source.
Furthermore, the strategic application of a low-cut filter can be particularly advantageous in live sound reinforcement scenarios where condenser microphones are employed for capturing vocals or acoustic instruments. By implementing a low-cut filter on the microphone channels, you can attenuate low-frequency energy that may contribute to feedback issues, especially in settings where the sound reinforcement system is susceptible to low-end resonance or rumble.
When recording in environments with ambient noise, such as air conditioning hum or traffic rumble, the judicious use of a low-cut filter can help isolate the desired audio signal while minimizing the impact of extraneous low-frequency disturbances. This is especially beneficial for podcasters, content creators, and voiceover artists seeking to achieve clear and intelligible recordings in less-than-ideal acoustic environments.
It is important to approach the application of a low-cut filter with a discerning ear, as excessive filtering can lead to a thin or unnatural sound. By carefully adjusting the cutoff frequency and monitoring the impact on the audio signal, you can tailor the low-cut filter to effectively address low-frequency interference while preserving the essential warmth and depth of the audio source.
By leveraging the capabilities of a low-cut filter, you can enhance the clarity and intelligibility of vocal recordings, mitigate low-frequency interference in instrument recordings, and create a more controlled and focused sonic landscape in live sound reinforcement applications, ultimately elevating the overall quality of your audio productions.
Creating a Feedback-Free Environment
Strategies for Mitigating Feedback in Live Sound Reinforcement
When utilizing condenser microphones in live sound reinforcement scenarios, the management of feedback is a paramount concern. Feedback, characterized by the disruptive loop of amplified sound between the microphone and the speakers, can detract from the clarity and intelligibility of the audio, posing a significant challenge for sound engineers and performers alike. Implementing strategic techniques to create a feedback-free environment is essential for ensuring a seamless and professional live sound experience.
One effective approach to minimizing the risk of feedback is to carefully select and position the microphones based on the specific polar patterns and directional characteristics of the condenser microphones. Utilizing microphones with cardioid or supercardioid polar patterns can aid in focusing the microphone’s pickup pattern toward the intended sound source while attenuating off-axis sound, thereby reducing the potential for feedback from ambient sources such as monitor speakers and stage monitors.
Additionally, the strategic placement of monitor speakers and stage monitors in relation to the microphones is instrumental in mitigating feedback. By positioning the monitors in a manner that minimizes sound spillage into the microphone pickup patterns, sound engineers can reduce the likelihood of feedback while providing performers with clear and articulate monitor mixes.
Utilizing graphic or parametric equalizers to identify and attenuate frequencies that are prone to feedback can be an effective strategy for creating a feedback-free environment. By surgically addressing problematic frequencies and making precise cuts using the equalization tools, sound engineers can reduce the susceptibility to feedback without compromising the overall tonal balance of the audio system.
Sound reinforcement professionals can also leverage advanced signal processing tools such as feedback suppressors and automatic feedback eliminators, which are designed to detect and dynamically attenuate feedback frequencies in real time. These intelligent devices analyze the audio signal and apply targeted reductions to prevent feedback from occurring, providing an additional layer of protection against disruptive feedback during live performances.
Furthermore, fostering clear communication between performers, sound engineers, and venue staff is crucial for addressing potential feedback issues proactively. Establishing sound check protocols that allow performers to provide feedback on their monitor mixes and signal levels can facilitate the early detection and resolution of feedback-related concerns, contributing to a smoother and more feedback-resistant live sound environment.
By incorporating these strategic techniques and leveraging the capabilities of modern audio technology, sound engineers and performers can work collaboratively to create a feedback-free environment, ensuring that the audience experiences clear, immersive, and uninterrupted live sound reinforcement.
Conclusion
Empowering Your Audio Journey with Condenser Microphones
As we conclude this comprehensive guide on maximizing the gain from condenser microphones without encountering feedback, it is evident that condenser microphones offer unparalleled capabilities for capturing pristine audio across various recording and live sound reinforcement applications. By understanding the technical nuances of condenser microphones and implementing strategic techniques, audio enthusiasts, musicians, content creators, and sound engineers can harness the full potential of these versatile microphones while mitigating the challenges associated with feedback.
From the meticulous positioning of condenser microphones to the strategic adjustment of gain levels and the utilization of accessories such as pop filters and low-cut filters, this guide has provided a wealth of insights and strategies for optimizing the gain from condenser microphones. The emphasis on creating a feedback-free environment in live sound reinforcement scenarios underscores the importance of proactive measures and advanced signal processing tools in ensuring a seamless and immersive audio experience for performers and audiences alike.
By integrating these techniques into your audio production and live sound workflow, you can elevate the clarity, fidelity, and professionalism of your recordings and performances, setting the stage for captivating and immersive sonic experiences. Whether you are a vocalist delivering emotive performances, a musician crafting intricate musical arrangements, or a sound engineer orchestrating seamless live sound reinforcement, the knowledge and techniques shared in this guide empower you to overcome the challenges of feedback and achieve optimal gain from your condenser microphones.
As you embark on your audio journey, remember that the pursuit of pristine sound is a continuous evolution, guided by a commitment to innovation, creativity, and the relentless pursuit of sonic excellence. By embracing the principles and strategies outlined in this guide, you are equipped to navigate the complexities of condenser microphone usage with confidence and precision, ultimately shaping captivating audio productions that resonate with clarity and artistry.
May your endeavors in audio production and live sound reinforcement be enriched by the knowledge and techniques presented in this guide, propelling you toward new heights of sonic excellence and creative expression.