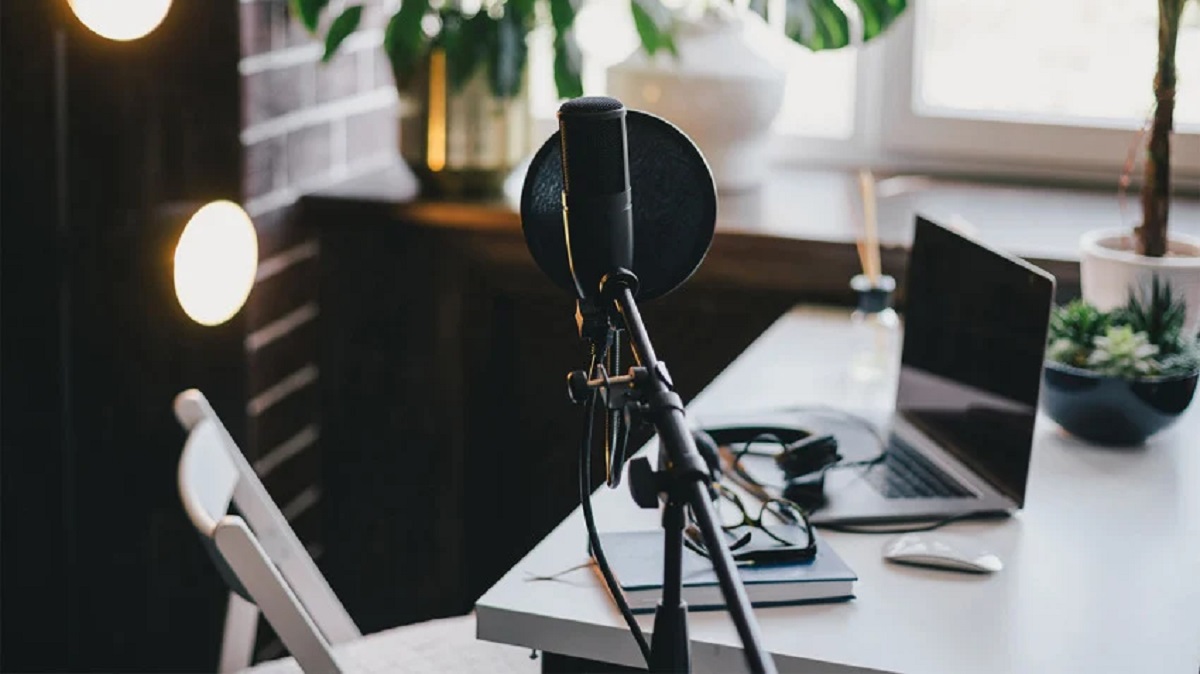
Introduction
Are you an aspiring musician, podcaster, or content creator looking to elevate the audio quality of your recordings using your iPhone? The good news is that you can achieve professional-grade sound by using a condenser microphone with your iPhone. Whether you're capturing vocals, musical instruments, or ambient sounds for your projects, a condenser microphone can significantly enhance the clarity and richness of the audio. In this comprehensive guide, we'll walk you through the essential steps to effectively use a condenser microphone with your iPhone, allowing you to unlock its full potential and achieve remarkable audio results.
Harnessing the power of a condenser microphone with your iPhone opens up a world of possibilities for creating captivating audio content. From capturing pristine vocals for music recordings to conducting crystal-clear interviews for podcasts, the versatility of a condenser microphone combined with the convenience of an iPhone offers a seamless and portable recording solution. Whether you're a seasoned professional or a passionate enthusiast, this guide will equip you with the knowledge and techniques needed to maximize the performance of your condenser microphone with your iPhone.
By understanding the nuances of selecting the right condenser microphone, connecting it to your iPhone, and optimizing the settings for optimal performance, you'll be well on your way to producing studio-quality audio recordings with ease. Additionally, we'll explore valuable tips and tricks to help you achieve the best sound quality possible, ensuring that your recordings stand out with exceptional clarity and depth.
So, if you're ready to take your audio recordings to the next level and unleash the full potential of your iPhone in capturing pristine sound, let's dive into the world of using a condenser microphone with your iPhone. Whether you're a musician, podcaster, journalist, or simply someone who appreciates high-quality audio, this guide is tailored to help you harness the power of your condenser microphone and iPhone to create captivating and professional-grade recordings. Let's embark on this exciting journey of elevating your audio production capabilities with the seamless integration of a condenser microphone and your iPhone.
Choosing the Right Condenser Microphone
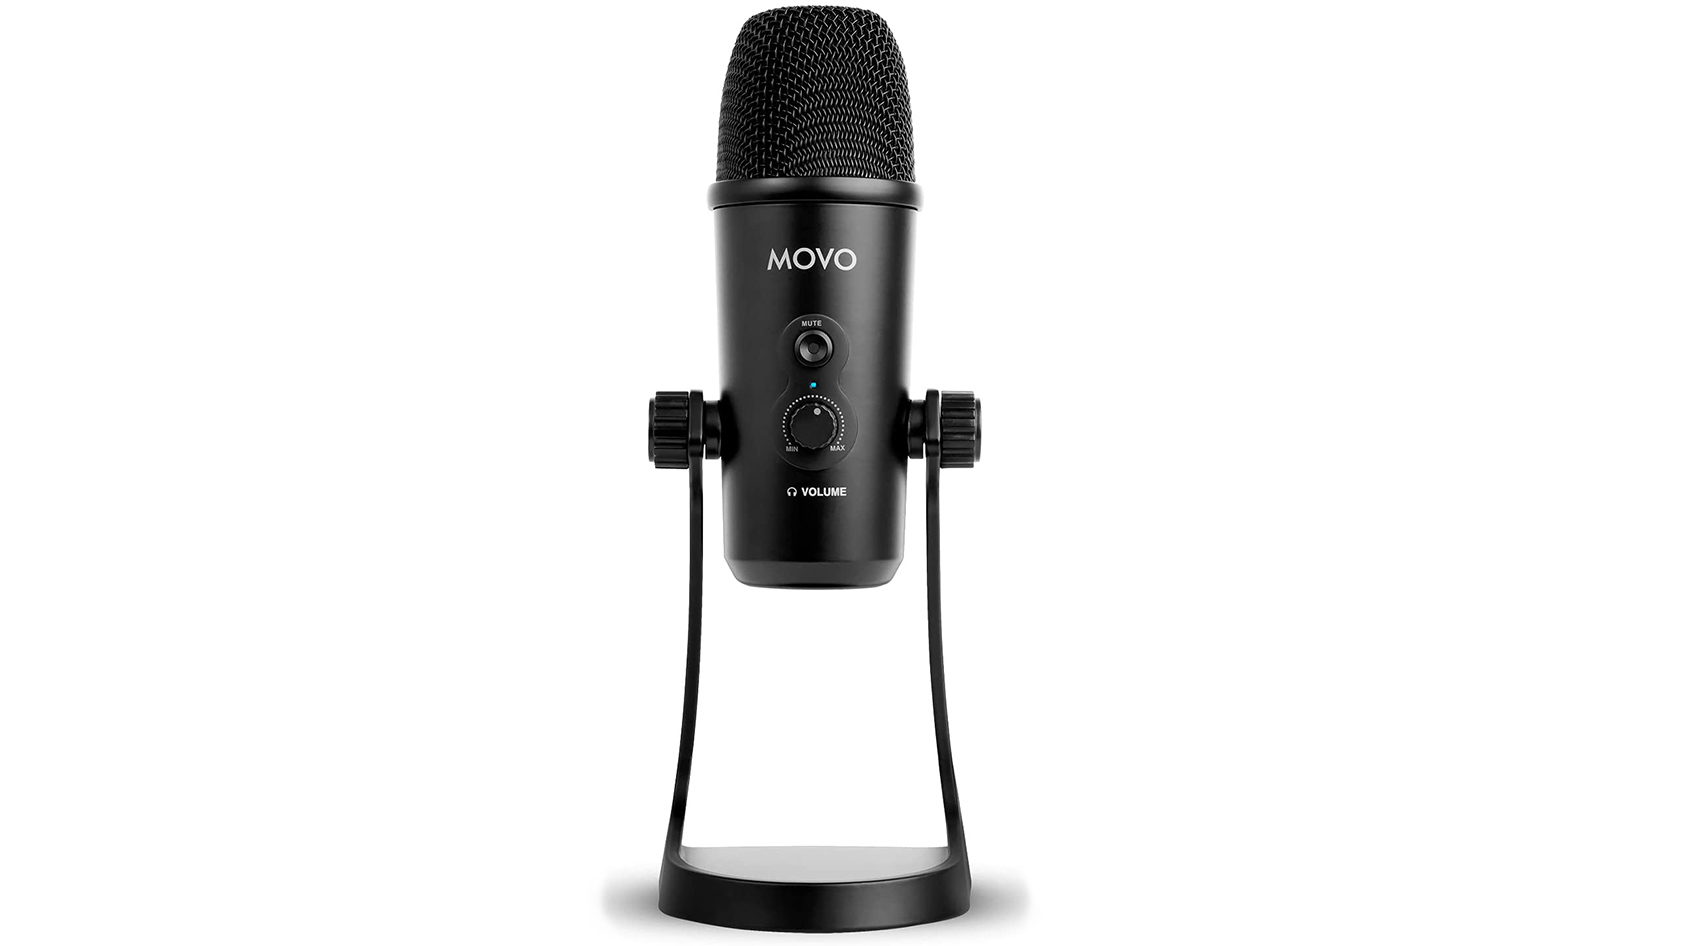
When it comes to selecting the ideal condenser microphone for use with your iPhone, it’s crucial to consider several key factors to ensure that you achieve the best possible audio quality. The market offers a wide array of condenser microphones, each tailored to specific recording needs and preferences. To make an informed decision, it’s essential to weigh various considerations, including the microphone’s polar pattern, frequency response, and compatibility with your iPhone.
One of the primary considerations when choosing a condenser microphone is its polar pattern. This characteristic determines the microphone’s sensitivity to sound from different directions. For recording solo vocals or instruments, a cardioid condenser microphone is often the preferred choice, as it captures sound predominantly from the front while minimizing background noise. If you anticipate recording multiple sound sources or want to capture a more ambient sound, a microphone with an omnidirectional polar pattern may be more suitable.
Additionally, the microphone’s frequency response plays a significant role in capturing the nuances of the audio source. A flat and wide frequency response ensures that the microphone accurately captures the entire spectrum of sound, from the low-end richness to the high-end clarity, resulting in a well-balanced and natural reproduction of the audio. Consider the specific tonal characteristics of the sound you intend to capture and choose a microphone with a frequency response that complements your recording objectives.
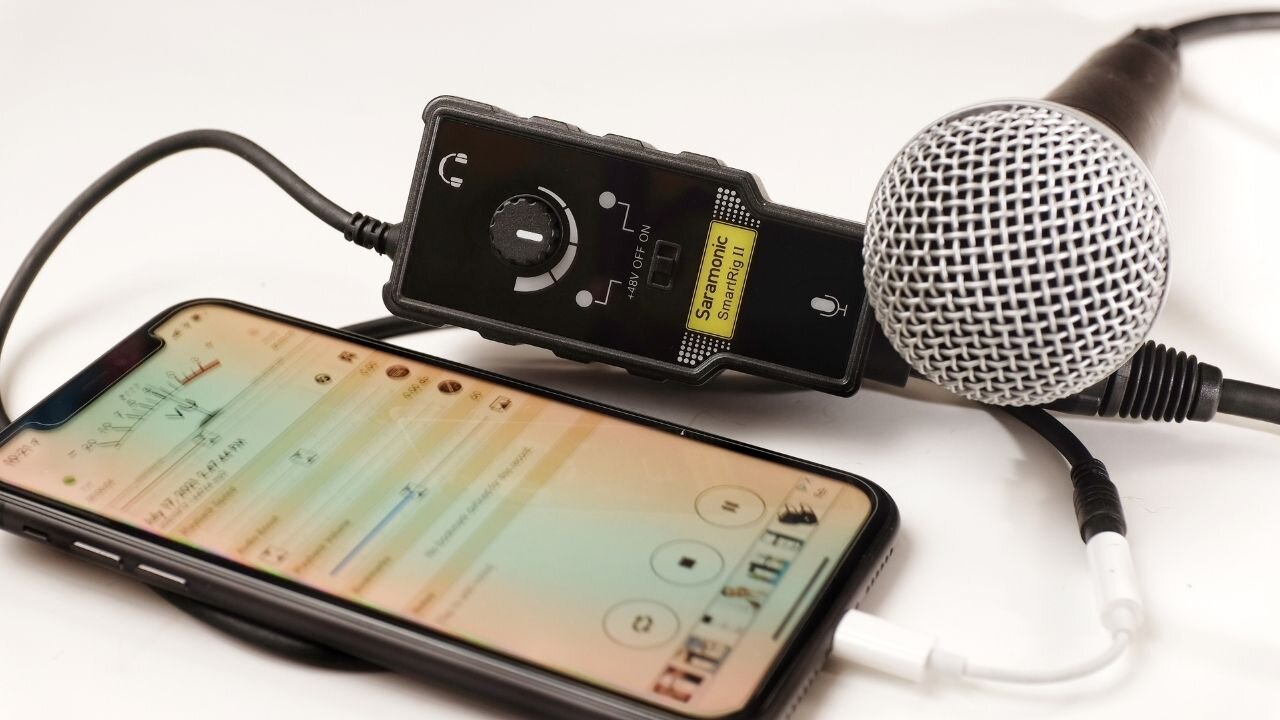
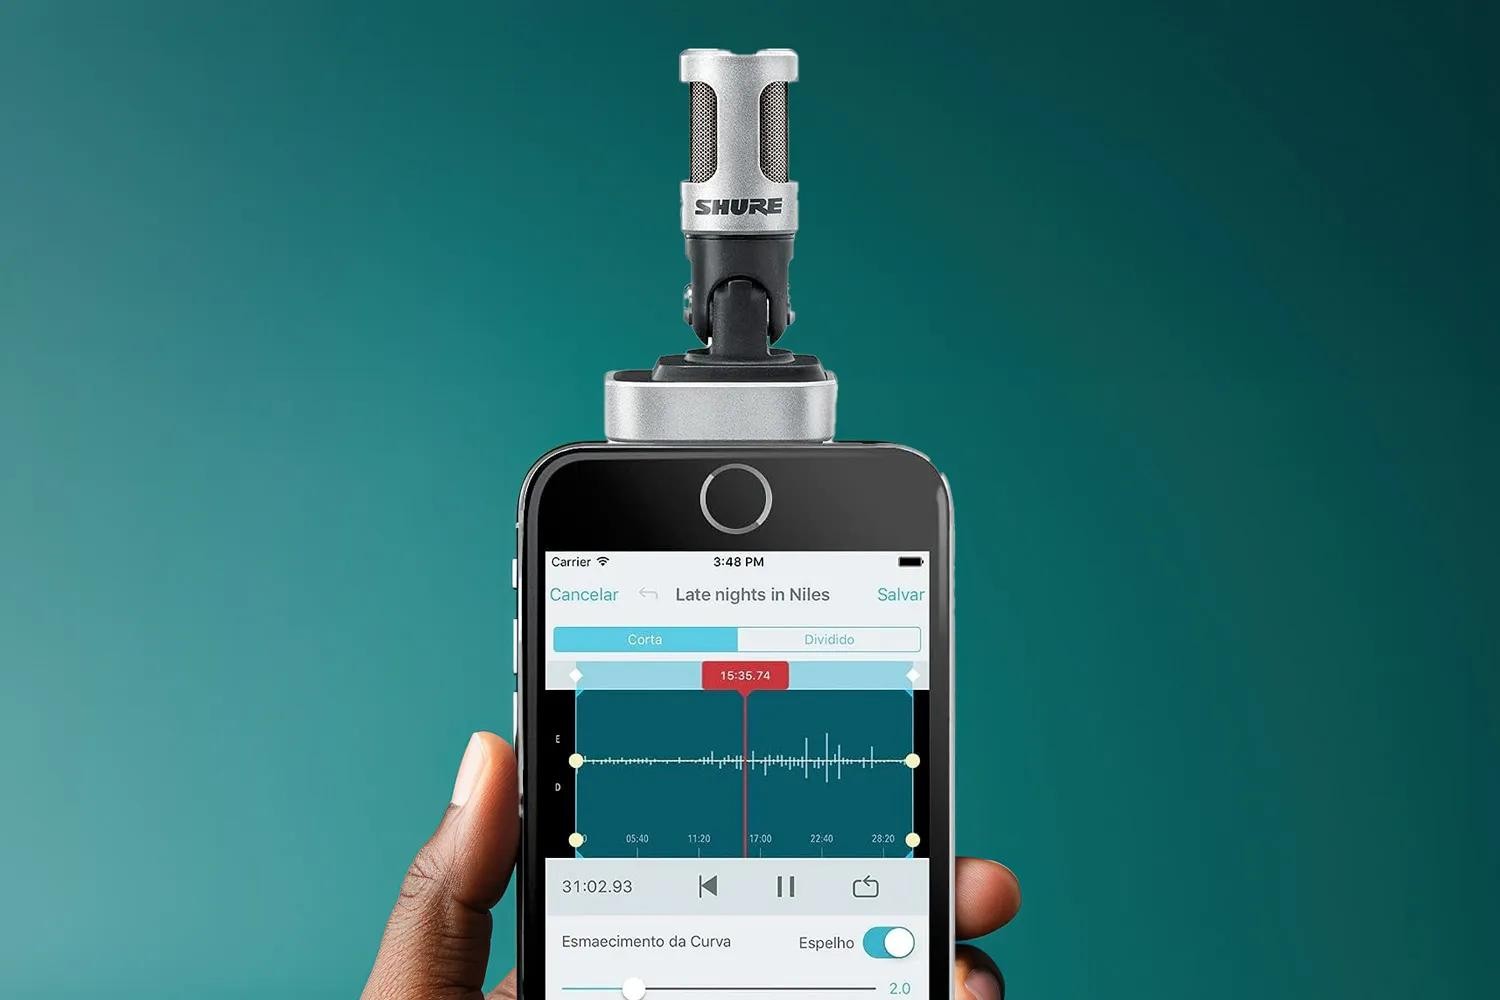
Furthermore, the compatibility of the condenser microphone with your iPhone is paramount. Ensure that the microphone you select is designed to work seamlessly with iOS devices, offering plug-and-play functionality without the need for additional adapters or complex setup procedures. Look for condenser microphones equipped with Lightning connectors or those that are compatible with the standard headphone jack on earlier iPhone models, ensuring a hassle-free connection process.
Finally, consider the build quality, size, and additional features of the condenser microphone. Opt for a microphone that is durable, portable, and equipped with features such as built-in shock mounts or adjustable gain control, enhancing its versatility and convenience for on-the-go recording with your iPhone.
By carefully evaluating these factors and aligning them with your specific recording requirements, you can confidently choose the right condenser microphone that complements your creative vision and elevates the quality of your audio recordings when paired with your iPhone.
Connecting the Condenser Microphone to Your iPhone
Once you’ve selected the ideal condenser microphone for your recording needs, the next step is to seamlessly integrate it with your iPhone for a streamlined and efficient recording setup. The process of connecting a condenser microphone to your iPhone is straightforward, allowing you to harness the microphone’s capabilities and achieve exceptional audio quality with ease.
First and foremost, it’s essential to ensure that your condenser microphone is compatible with your iPhone. If your microphone utilizes a Lightning connector, simply plug it directly into the Lightning port on your iPhone. For condenser microphones that feature a standard headphone jack connection, such as those designed for earlier iPhone models, connect the microphone to the headphone jack using the appropriate adapter, if necessary.
Upon connecting the condenser microphone to your iPhone, the device should automatically recognize the microphone as the primary audio input source. This seamless integration eliminates the need for complex setup procedures or additional configuration, allowing you to focus on capturing your desired audio content without technical distractions.
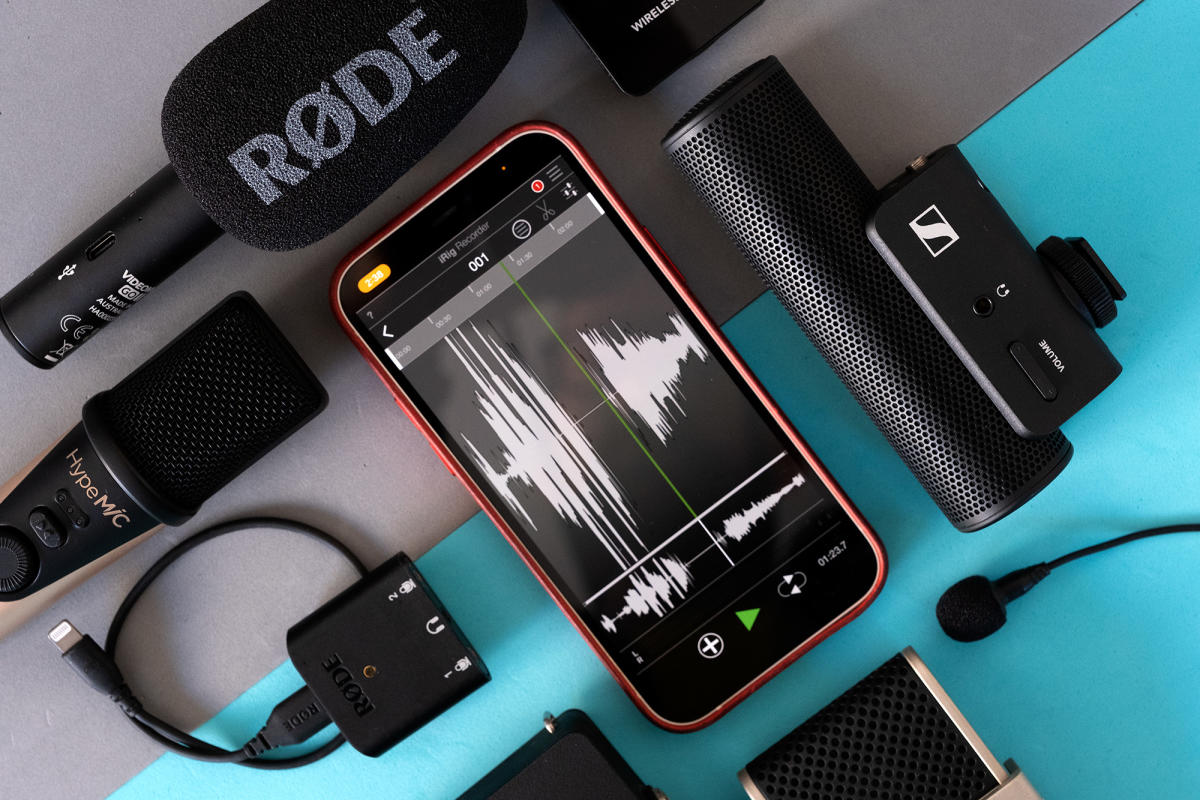
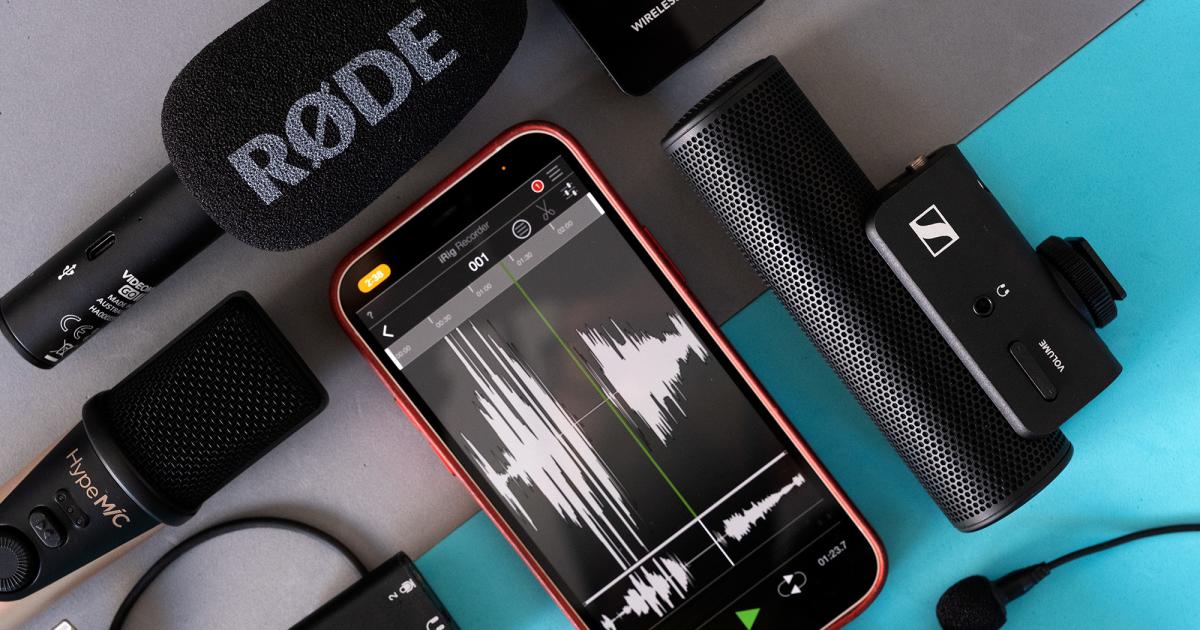
It’s important to note that some condenser microphones may require the use of dedicated recording apps or software to fully leverage their capabilities with an iPhone. In such cases, download and install the recommended recording app from the App Store, ensuring compatibility with your microphone and providing access to essential features such as gain control, monitoring options, and audio processing tools.
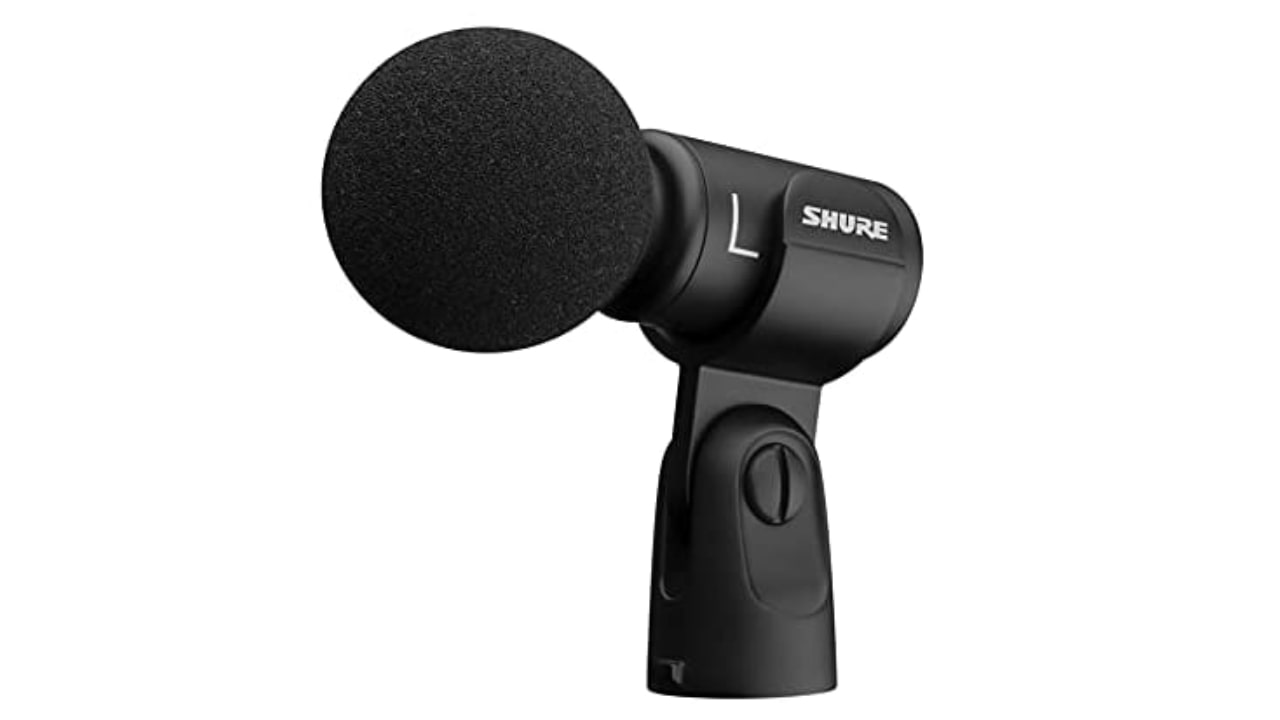
Furthermore, consider utilizing a pop filter or windscreen with your condenser microphone to minimize unwanted plosives and ambient noise during recording sessions. These accessories help maintain consistent audio quality and reduce the need for extensive post-processing, ensuring that your recordings are clean, clear, and free from distracting artifacts.
By seamlessly connecting your condenser microphone to your iPhone and leveraging the available recording apps and accessories, you can establish a reliable and versatile recording setup that empowers you to capture professional-grade audio content effortlessly. With the technical aspects in place, you can focus on unleashing your creativity and capturing captivating soundscapes, vocals, or musical performances with confidence and precision.
Adjusting Settings for Best Results
Optimizing the settings on your iPhone when using a condenser microphone is essential to achieve the best possible audio results. By fine-tuning various settings and parameters, you can ensure that your recordings exhibit exceptional clarity, tonal balance, and minimal noise, allowing your creative vision to shine through with pristine audio quality.
Firstly, consider adjusting the input gain or microphone sensitivity to suit the sound source and recording environment. Many condenser microphones offer adjustable gain control, allowing you to optimize the input level to prevent distortion while capturing the full dynamic range of the audio. Experiment with different gain settings to find the optimal balance between capturing nuanced details and avoiding clipping or excessive noise.
Additionally, explore the available monitoring options on your recording app or software to facilitate real-time audio feedback while recording with your condenser microphone. Monitoring your recordings through headphones allows you to assess the captured audio in real time, enabling you to make on-the-fly adjustments to microphone placement, performance dynamics, and environmental factors to achieve the desired sound.
Consider engaging features such as low-cut filters or high-pass filters, if available, to attenuate low-frequency rumble or unwanted ambient noise that may compromise the clarity of your recordings. These filters can effectively enhance the focus and intelligibility of your audio content, particularly when capturing vocals, acoustic instruments, or dialogue in controlled or acoustically challenging environments.
Furthermore, explore the potential for utilizing additional audio processing tools within your recording app or software, such as equalization, compression, and reverb effects. While it’s crucial to exercise restraint and maintain a natural sonic character, subtle application of these tools can enhance the overall cohesiveness and professional polish of your recordings, elevating them to a higher standard of sonic excellence.
When recording in diverse environments, consider utilizing external accessories such as microphone stands, shock mounts, and acoustic panels to optimize the microphone’s positioning and mitigate unwanted vibrations, handling noise, and reflections. These accessories contribute to a more controlled and consistent recording environment, allowing the condenser microphone to capture the intended sound with precision and fidelity.
By carefully adjusting the settings and leveraging the available tools and accessories, you can harness the full potential of your condenser microphone when paired with your iPhone, ensuring that your recordings exhibit exceptional clarity, tonal balance, and professional-grade sonic characteristics. With a keen focus on optimizing the technical aspects, you can channel your creative energy into capturing captivating audio content that resonates with depth and authenticity.
Recording with Your Condenser Microphone on iPhone
Once you have selected the right condenser microphone, connected it to your iPhone, and adjusted the settings for optimal performance, you are ready to embark on the exciting journey of capturing captivating audio content. Whether you are recording vocals, musical performances, interviews, or ambient sounds, the seamless integration of your condenser microphone with your iPhone empowers you to unleash your creativity and produce professional-grade recordings with remarkable ease.
Prior to commencing your recording session, ensure that you are in a conducive environment that minimizes external distractions and unwanted ambient noise. By selecting a quiet and acoustically controlled space, you can set the stage for capturing pristine audio that is free from intrusive artifacts and sonic imperfections, allowing your recordings to shine with clarity and depth.
Position the condenser microphone appropriately to optimize its capture of the intended sound source. Whether you are recording vocals, instruments, or environmental sounds, consider the microphone’s polar pattern and adjust its placement to achieve the desired balance of direct sound and ambient characteristics. Experiment with microphone positioning to find the sweet spot that best captures the nuances and sonic nuances of the audio source.
As you commence recording, focus on delivering a consistent and controlled performance, whether it involves singing, speaking, or playing a musical instrument. By maintaining a steady performance dynamic and articulation, you contribute to the overall coherence and expressiveness of the recording, ensuring that the captured audio resonates with authenticity and emotional impact.
Engage with your recording app or software to monitor the captured audio in real time, allowing you to make immediate adjustments to microphone placement, performance dynamics, and environmental factors. This real-time feedback empowers you to fine-tune the recording process, ensuring that each take reflects your artistic vision and technical precision.
Throughout the recording session, maintain a sense of spontaneity and creativity, allowing room for experimentation and artistic expression. Embrace the nuances and imperfections that contribute to the organic and emotive qualities of the audio, recognizing that these elements can imbue your recordings with character and individuality.
By approaching the recording process with intention, creativity, and technical finesse, you can harness the synergy between your condenser microphone and iPhone to capture audio content that transcends mere sound, resonating with depth, emotion, and sonic excellence. Each recording becomes a canvas for your artistic expression, inviting listeners to immerse themselves in a world of captivating and evocative audio experiences.
Tips for Getting the Best Sound Quality
When aiming to achieve the highest possible sound quality while using a condenser microphone with your iPhone, implementing the following tips can significantly enhance the clarity, richness, and overall sonic excellence of your recordings:
- Optimize the Recording Environment: Select a quiet and acoustically treated space for recording to minimize ambient noise and intrusive artifacts. Consider utilizing acoustic panels or soundproofing materials to create an environment conducive to capturing pristine audio.
- Experiment with Microphone Placement: Explore different microphone positions to find the optimal placement for capturing the desired sound source. Pay attention to the microphone’s polar pattern and adjust its orientation to achieve the best balance of direct sound and ambient characteristics.
- Utilize Pop Filters and Windscreens: Employ pop filters or windscreens to mitigate plosives and minimize wind noise, ensuring that vocals and speech are captured with clarity and intelligibility, free from distracting artifacts.
- Maintain Consistent Performance Dynamics: Whether singing, speaking, or playing instruments, strive to deliver a consistent and controlled performance, contributing to the overall coherence and expressiveness of the recordings.
- Monitor Audio in Real Time: Utilize the monitoring capabilities of your recording app or software to assess the captured audio in real time, allowing for immediate adjustments to microphone placement, performance dynamics, and environmental factors.
- Optimize Input Gain and Monitoring Levels: Adjust the input gain of the condenser microphone to prevent distortion while capturing the full dynamic range of the audio. Additionally, set monitoring levels at a comfortable volume to ensure accurate assessment of the recorded audio.
- Engage Low-Cut Filters When Necessary: Activate low-cut filters or high-pass filters to attenuate low-frequency rumble or unwanted ambient noise, enhancing the focus and clarity of the recordings, particularly when capturing vocals or acoustic instruments.
- Embrace Artistic Expression: Allow room for spontaneity and creativity during the recording process, recognizing that imperfections and nuances contribute to the organic and emotive qualities of the audio, infusing recordings with character and individuality.
- Utilize External Accessories: Consider the use of microphone stands, shock mounts, and acoustic treatment to optimize the microphone’s positioning and mitigate unwanted vibrations, handling noise, and reflections, ensuring consistent recording quality.
By implementing these tips and techniques, you can elevate the sonic quality of your recordings, harnessing the full potential of your condenser microphone when paired with your iPhone. Each recording becomes an immersive sonic experience, resonating with depth, emotion, and technical precision, inviting listeners to engage with captivating audio content that transcends mere sound.
Conclusion
As we conclude this comprehensive guide on using a condenser microphone with your iPhone, it’s evident that the seamless integration of these tools empowers creators to capture captivating audio content with remarkable clarity and depth. From selecting the right condenser microphone to optimizing settings and recording techniques, this guide has provided valuable insights and practical strategies to elevate the sonic quality of your recordings.
By carefully considering factors such as polar patterns, frequency response, and compatibility, you can confidently choose a condenser microphone that aligns with your creative vision and recording objectives, ensuring that it complements the capabilities of your iPhone seamlessly. The process of connecting the condenser microphone to your iPhone and adjusting settings for optimal performance is streamlined and straightforward, allowing you to focus on capturing exceptional audio content without technical distractions.
Recording with your condenser microphone on iPhone becomes an immersive and expressive endeavor, characterized by a balance of technical precision and artistic spontaneity. Through thoughtful microphone placement, performance dynamics, and real-time monitoring, you can capture audio that resonates with authenticity and emotional impact, transcending mere sound to evoke immersive sonic experiences.
Furthermore, the tips and techniques shared in this guide serve as valuable resources for enhancing the sonic excellence of your recordings. By optimizing the recording environment, experimenting with microphone placement, and embracing artistic expression, you can harness the full potential of your condenser microphone and iPhone, delivering audio content that captivates and engages listeners with its depth, emotion, and technical finesse.
As you embark on your creative journey with the integration of a condenser microphone and iPhone, remember that each recording represents an opportunity to convey your artistic vision and connect with your audience on a profound level. The synergy between technology and creativity allows you to capture moments, performances, and sonic landscapes with unparalleled clarity and richness, inviting listeners to immerse themselves in a world of captivating audio experiences.
With a deep understanding of the techniques and considerations outlined in this guide, you are well-equipped to harness the power of your condenser microphone and iPhone, elevating your audio production capabilities and delivering professional-grade recordings that leave a lasting impression. Embrace the art of sonic storytelling, and let your recordings resonate with the depth and authenticity that define your creative vision.