Introduction
If you're an electric guitar enthusiast, you know how crucial the input jack is for producing those electrifying sounds. However, wear and tear over time can lead to a faulty or non-responsive input jack, hampering your musical endeavors. Fear not, as this guide will walk you through the process of fixing the input jack on your electric guitar, allowing you to restore its functionality and get back to creating captivating melodies.
Whether you're a seasoned musician or a passionate beginner, understanding the inner workings of your electric guitar and being able to perform basic repairs is an invaluable skill. By learning how to fix the input jack, you can save time and money by avoiding professional repair services. This hands-on approach not only empowers you as a musician but also deepens your connection with your instrument.
In the following sections, we will delve into the step-by-step process of replacing a faulty input jack on an electric guitar. From the tools and materials needed to the intricate task of soldering, this guide will equip you with the knowledge and confidence to tackle this repair with ease. So, grab your guitar, roll up your sleeves, and let's embark on this rewarding journey of reviving your instrument's input jack.
Tools and Materials Needed
Before diving into the repair process, it’s essential to gather the necessary tools and materials to ensure a smooth and efficient experience. Here’s a comprehensive list of what you’ll need:
- Screwdriver: A small Phillips or flathead screwdriver to remove the panel covering the electronics compartment of the guitar.
- Soldering Iron: A soldering iron and solder wire for securely connecting the wires to the new input jack.
- New Input Jack: Ensure you have a replacement input jack that is compatible with your electric guitar model.
- Wire Cutters/Strippers: These tools are essential for cutting and stripping the wires connected to the old input jack.
- Electrical Tape: To insulate and protect the soldered connections.
- Work Area: Set up a well-lit and spacious work area to comfortably maneuver and work on your guitar.
- Cloth or Towel: Use a soft cloth or towel to lay the guitar on to prevent scratches during the repair.
- Multi-meter (Optional): A multi-meter can be handy for testing the continuity of the connections after the repair.
By ensuring you have all the necessary tools and materials at your disposal, you can proceed with the repair process seamlessly, minimizing interruptions and ensuring a successful outcome. Now that you’re equipped with the essentials, let’s move on to the step-by-step process of fixing the input jack on your electric guitar.
Step 1: Remove the Old Input Jack
Before delving into the intricate process of replacing the input jack, the first step involves safely removing the old, malfunctioning component from your electric guitar. Follow these detailed steps to ensure a smooth removal process:
- Prepare Your Work Area: Find a well-lit and spacious area to comfortably work on your guitar. Lay a soft cloth or towel on the surface to protect the guitar’s finish.
- Unscrew the Panel: Using the appropriate screwdriver, carefully remove the screws holding the panel covering the electronics compartment of the guitar. Place the screws in a secure location to prevent misplacement.
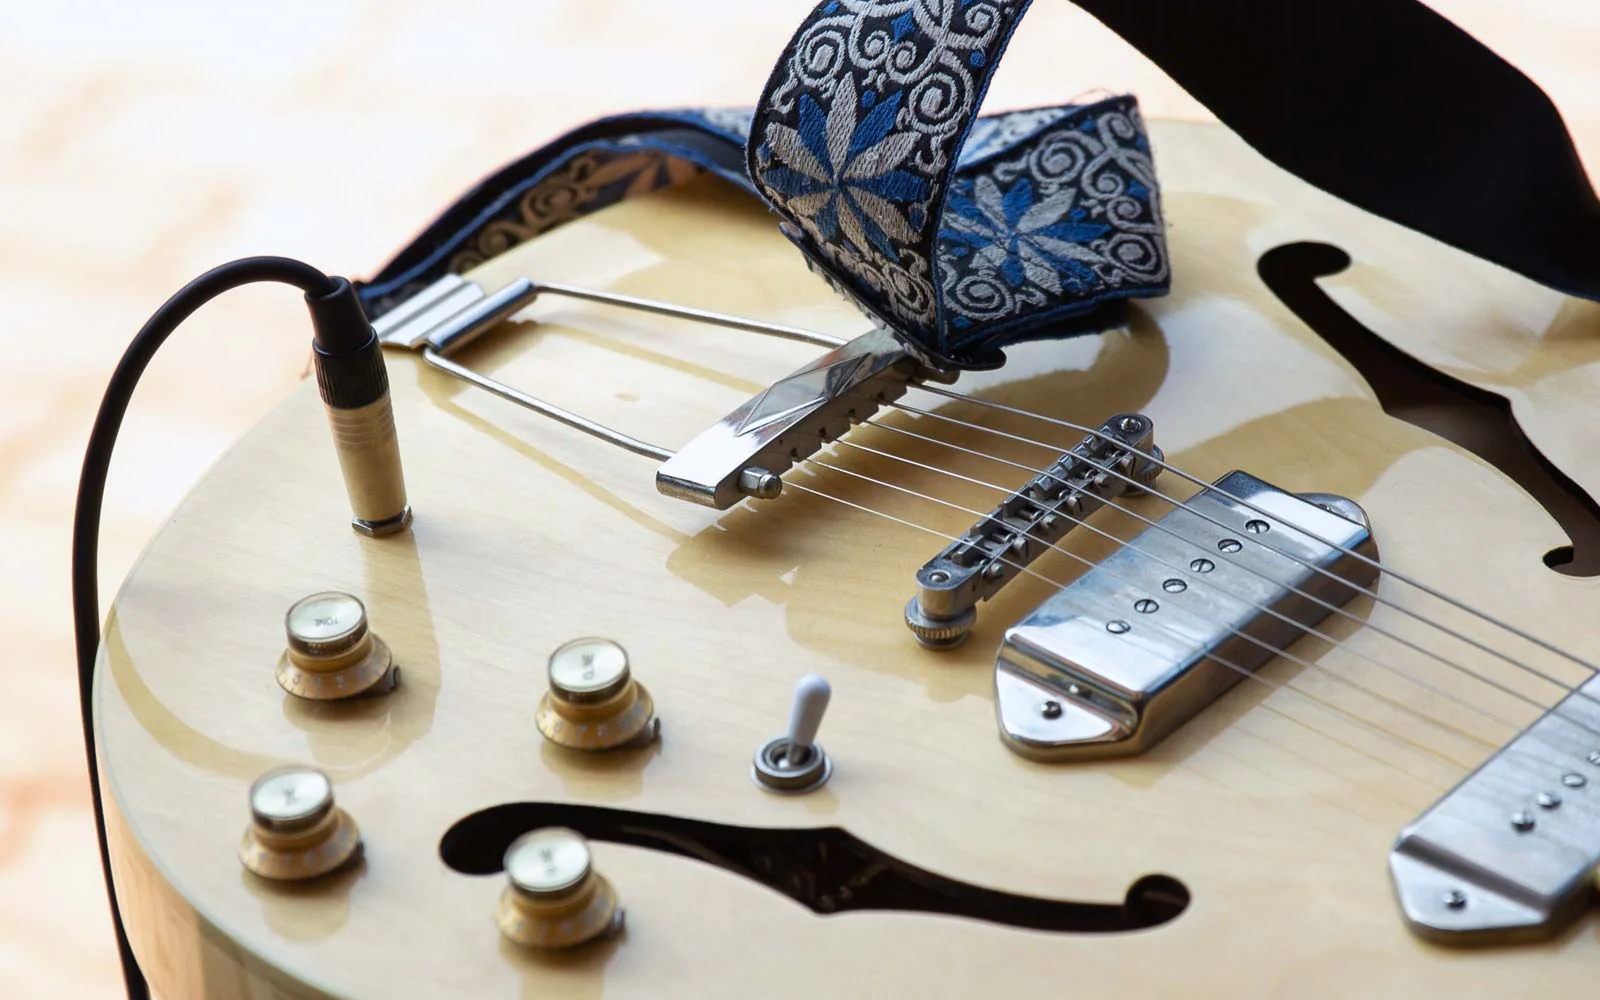
- Locate the Input Jack: Once the panel is removed, locate the input jack within the electronics compartment. Take note of the wires connected to the jack and their respective positions.
- Disconnect the Wires: Gently disconnect the wires attached to the input jack. It’s advisable to take a photograph or make a diagram of the wire connections to aid in reassembly later.
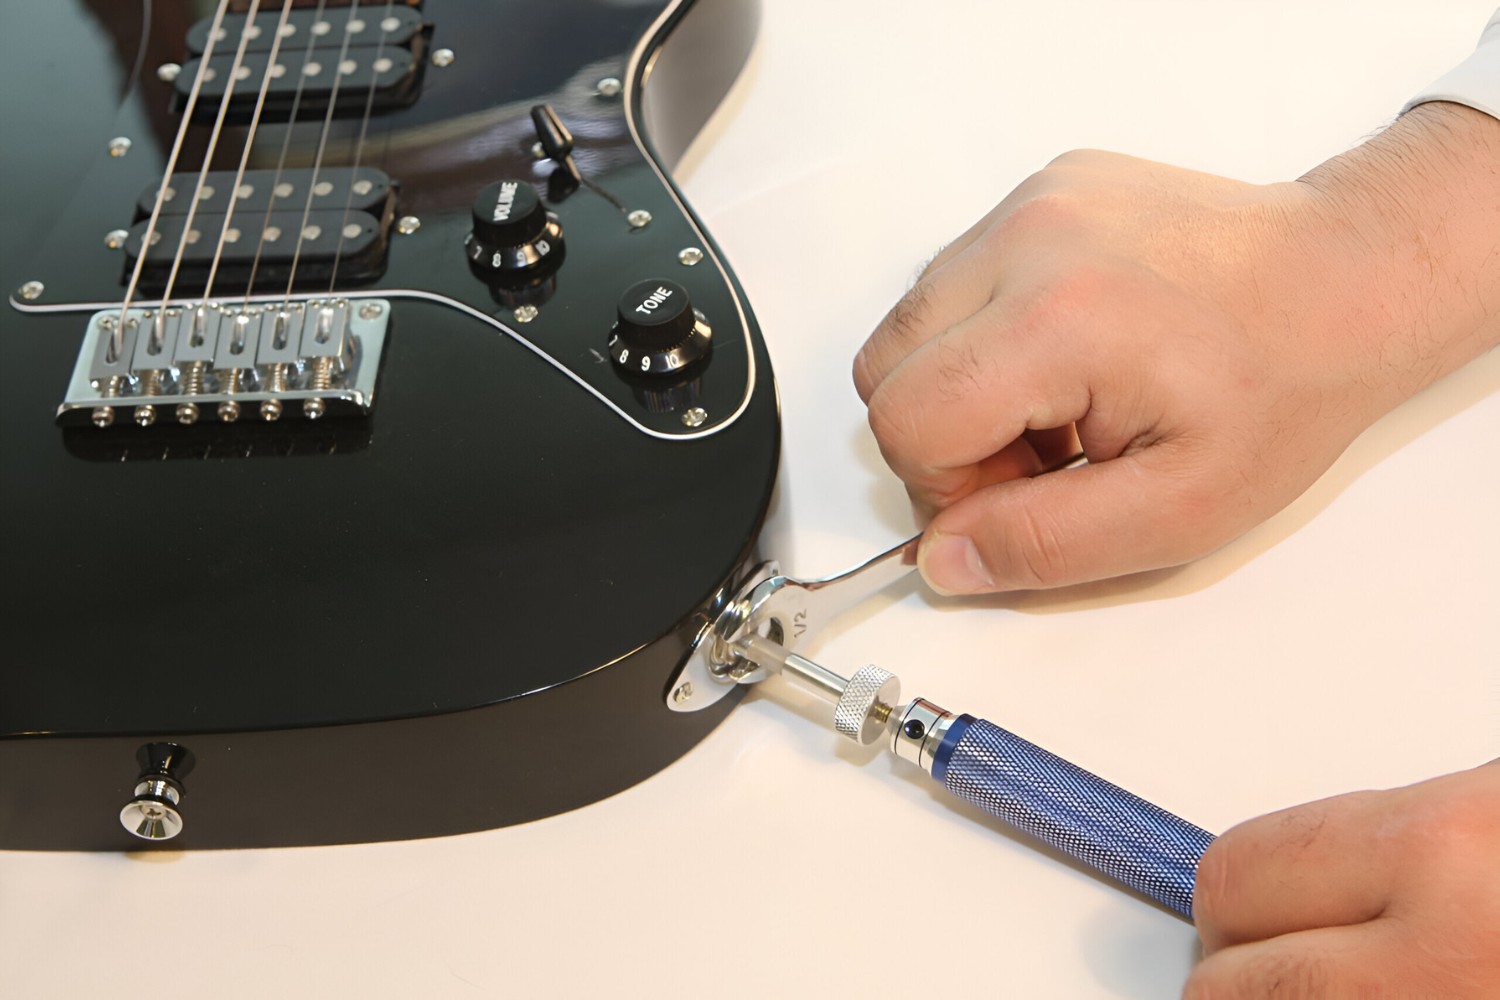
- Remove the Old Input Jack: With the wires detached, carefully unscrew and remove the old input jack from the guitar’s body. Take note of any nuts or washers that may be securing the jack in place.
- Inspect the Cavity: While the old input jack is removed, take a moment to inspect the cavity and ensure it’s clean and free from any debris that may interfere with the installation of the new jack.
By meticulously following these steps, you can safely and effectively remove the old input jack from your electric guitar, setting the stage for the subsequent installation of the new component. With the old jack out of the way, you’re now ready to prepare the new input jack for installation.
Step 2: Prepare the New Input Jack
With the old input jack successfully removed, the next crucial step is to prepare the new input jack for installation. This phase involves ensuring that the new component is compatible with your electric guitar and making the necessary adjustments for a seamless integration. Follow these steps to prepare the new input jack:
- Verify Compatibility: Before proceeding, double-check that the new input jack is compatible with your electric guitar model. Ensure that the size, shape, and connector configuration align with the specifications of your guitar.
- Inspect the Wires: Examine the wires connected to the new input jack. If they are excessively long, consider trimming them to an appropriate length, keeping in mind the positioning within the electronics compartment of the guitar.
- Strip the Wire Ends: Using wire strippers, carefully strip the insulation from the ends of the wires attached to the new input jack. This will prepare the wires for soldering and ensure a secure connection.
- Check the Mounting Hardware: Ensure that any nuts, washers, or mounting hardware accompanying the new input jack are in place and compatible with the design of your guitar’s body. Make any adjustments as necessary.
- Positioning the New Input Jack: Before proceeding with soldering, position the new input jack in the designated location within the guitar’s body. Ensure that it aligns correctly with the pre-drilled mounting holes and sits flush against the surface.
By meticulously preparing the new input jack and ensuring its compatibility and proper positioning, you set the stage for a successful installation and seamless integration with your electric guitar. With the new jack primed and ready, the next step involves the intricate task of soldering the connections to complete the repair process.
Step 3: Soldering the New Input Jack
As you embark on the pivotal phase of replacing the input jack on your electric guitar, the process of soldering the connections is a critical step that demands precision and attention to detail. Soldering ensures secure and reliable electrical connections, essential for the proper functioning of the new input jack. Follow these meticulous steps to master the art of soldering the new input jack:
- Secure the Wires: Position the stripped ends of the wires from the new input jack to their respective terminals or lugs on the jack. Ensure that each wire is securely fastened and aligned with the designated connection point.
- Heat the Soldering Iron: Power on the soldering iron and allow it to reach the appropriate operating temperature. A properly heated soldering iron ensures efficient and effective soldering without overheating the components.
- Apply Solder: Once the soldering iron is ready, carefully apply a small amount of solder to the tip of the iron. This helps facilitate the transfer of heat to the wires and terminals during the soldering process.
- Soldering Technique: With precision and a steady hand, touch the soldering iron to the exposed wire and terminal lug, allowing the heat to transfer and melt the solder. Apply the solder to the junction, ensuring a smooth and uniform flow to create a secure bond.
- Inspect the Connections: After soldering each connection, visually inspect the joints to ensure that the solder has formed a solid and continuous bond between the wires and the input jack terminals. Avoid excessive solder, as it can lead to unintended bridging between connections.
- Insulate the Connections: Once the soldered connections have cooled, carefully insulate each connection with electrical tape to prevent any accidental contact or short circuits. This step ensures the safety and integrity of the electrical connections.
By mastering the art of soldering and meticulously completing each connection with precision, you ensure the reliable and enduring functionality of the new input jack on your electric guitar. With the soldering process completed, the next step involves reassembling the guitar and conducting thorough testing to validate the success of the repair.
Step 4: Reassemble the Guitar
With the new input jack securely soldered into place, the final phase of the repair process involves reassembling your electric guitar, ensuring that all components are properly reinstated and the instrument is ready for use. Follow these meticulous steps to seamlessly reassemble your guitar:
- Position the New Input Jack: Carefully position the newly soldered input jack in its designated location within the guitar’s body. Ensure that it aligns correctly with the pre-drilled mounting holes and sits flush against the surface.
- Secure the Mounting Hardware: If the new input jack requires nuts, washers, or other mounting hardware, ensure that they are securely fastened to hold the jack in place. Use the appropriate tools to tighten the hardware without exerting excessive force.
- Reconnect the Wires: Referencing the photograph or diagram you made during the removal process, reconnect the wires to their respective terminals on the new input jack. Ensure that each connection is secure and properly aligned.
- Replace the Panel: With the input jack successfully reconnected, replace the panel covering the electronics compartment of the guitar. Align the panel with the body of the guitar and securely fasten the screws to hold it in place.
- Test the Controls: Before considering the reassembly complete, conduct a brief test of the guitar’s controls and input jack. Plug in the guitar cable and ensure that the input jack is responsive, transmitting the signal to the amplifier without any issues.
- Final Inspection: Once the guitar is fully reassembled, visually inspect the input jack and surrounding area to ensure that all components are properly positioned and secured. Check for any loose screws or irregularities that may require attention.
By meticulously reassembling your electric guitar and conducting thorough tests, you ensure that the repair process is comprehensive and the instrument is fully restored to its optimal functionality. With the guitar reassembled, the final step involves testing the input jack to validate the success of the repair.
Testing the Input Jack
After completing the meticulous process of replacing the input jack on your electric guitar, it’s essential to conduct thorough testing to ensure that the repair has been successful and that the input jack is fully functional. Follow these steps to effectively test the input jack and validate the success of the repair:
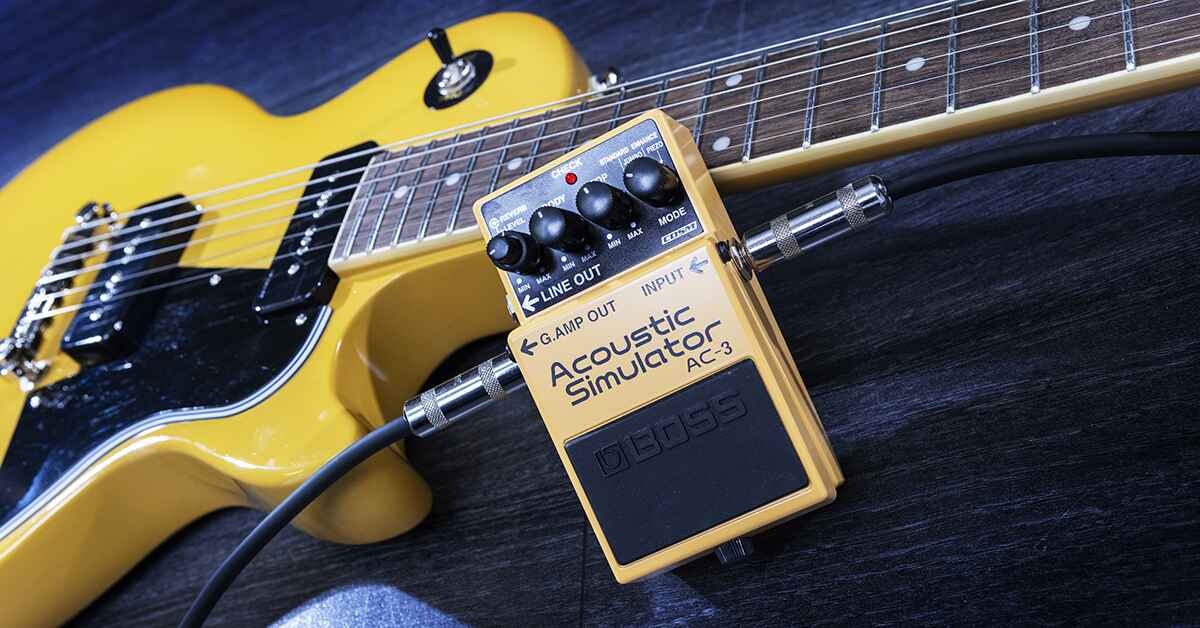
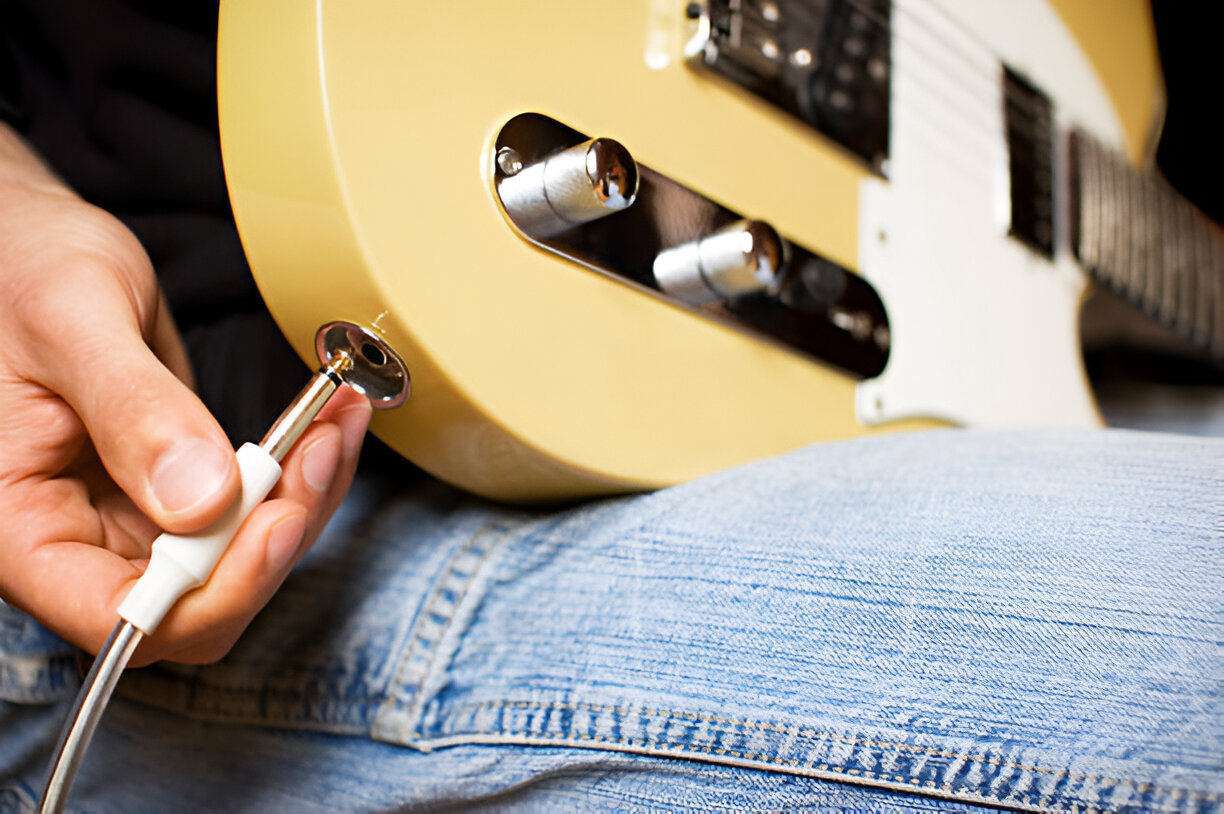
- Connect the Guitar Cable: Plug in a guitar cable to the newly installed input jack, ensuring a secure and snug connection. The cable should fit comfortably without any excessive play or looseness.
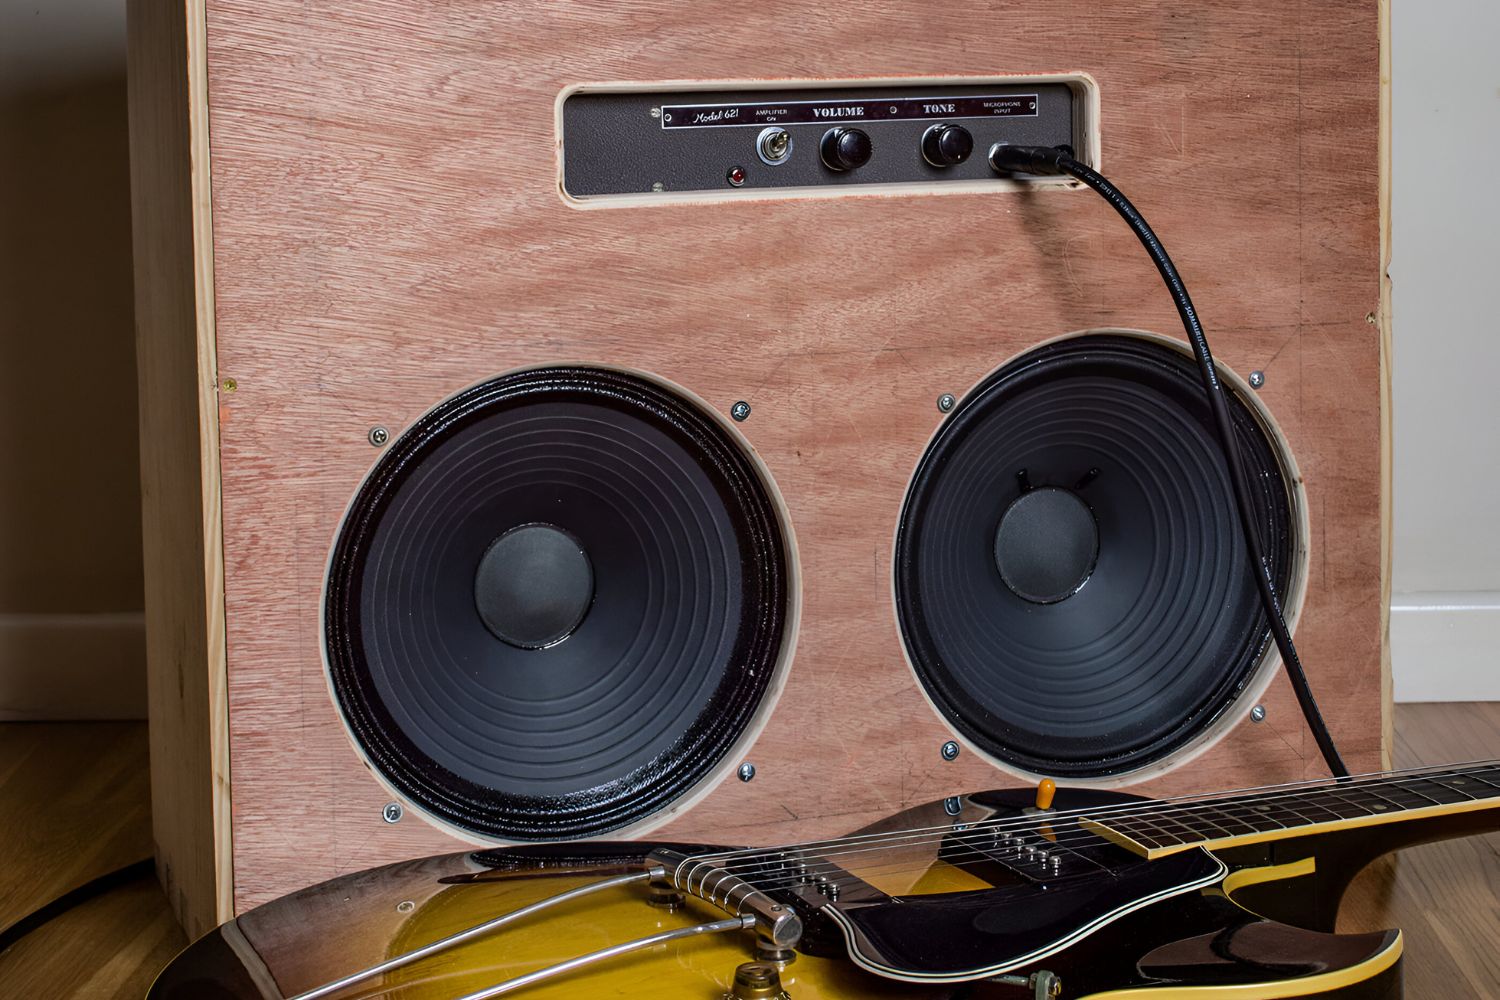
- Amplifier Connection: Connect the other end of the guitar cable to an amplifier or audio interface. Ensure that the amplifier is powered on and set to an appropriate volume level for testing.
- Signal Transmission: Strum the guitar strings or play a few notes to test the signal transmission through the input jack. Listen for any distortions, crackling sounds, or intermittent signal loss that may indicate an issue with the connection.
- Check for Grounding Issues: While playing, listen for any unwanted humming or buzzing that may indicate grounding issues with the input jack. This can be a sign of improper soldering or connection problems.
- Test the Controls: Verify that the guitar’s volume and tone controls, if present, are functioning as expected. Adjust the controls and listen for changes in the sound output to ensure that the input jack is effectively transmitting the signal.
- Recheck the Connections: While testing, visually inspect the input jack and the soldered connections to ensure that no wires have come loose and that the connections remain secure during use.
By meticulously testing the input jack and evaluating the quality of the signal transmission, you can confidently ascertain the success of the repair and the reliable functionality of the new input jack on your electric guitar. With the input jack validated and performing optimally, your guitar is now ready to unleash captivating melodies and electrifying performances.
Conclusion
Embarking on the journey of fixing the input jack on an electric guitar is not only a practical endeavor but also a testament to your dedication to the craft of instrument maintenance and repair. By following the step-by-step process outlined in this guide, you have gained invaluable insights into the inner workings of your electric guitar and honed essential skills in soldering and component replacement.
Throughout this repair process, you have demonstrated patience, precision, and a commitment to preserving the functionality of your instrument. From the initial removal of the old input jack to the meticulous soldering of connections and the comprehensive testing phase, you have navigated each step with diligence and care, ensuring that your electric guitar is restored to its optimal state.
As you reassemble your guitar and revel in the successful testing of the input jack, take pride in the fact that you have not only resolved a technical issue but also deepened your bond with your instrument. The hands-on approach to repairing the input jack has empowered you as a musician and enriched your understanding of the intricate components that contribute to the guitar’s sonic prowess.
With the input jack now seamlessly integrated and fully functional, your electric guitar stands ready to accompany you on countless musical endeavors, from soul-stirring performances to inspiring practice sessions. The skills you have acquired through this repair process serve as a testament to your dedication to maintaining and enhancing the performance of your musical equipment.
As you reflect on the journey of fixing the input jack on your electric guitar, may this experience fuel your passion for music and inspire you to explore further avenues of instrument maintenance and repair. Your commitment to nurturing the health and vitality of your guitar ensures that it will continue to be a faithful companion in your musical odyssey for years to come.