Introduction
When it comes to playing the acoustic guitar, the bridge is an essential component that plays a crucial role in producing rich, resonant tones. Over time, however, the bridge of your acoustic guitar may develop issues such as loosening, cracks, or even complete breakage. These issues can not only affect the sound quality but also make it difficult to play the instrument comfortably.
Fortunately, with a bit of skill and the right tools, it is possible to fix an acoustic guitar bridge yourself. This guide will walk you through the step-by-step process of identifying and repairing common bridge issues.
Before we dive into the repair methods, it is important to note that some repairs may require more advanced woodworking skills. If you are unsure about your abilities or if the damage seems severe, it is always a good idea to consult a professional guitar technician to avoid any further damage to your instrument.
In this guide, we will cover the necessary tools you will need, as well as the steps to remove the strings, inspect the bridge for damage, and fix common bridge issues such as tightening a loose bridge, repairing a cracked or broken bridge, and gluing a lifted bridge. We will also discuss how to refit the bridge and re-string the guitar after completing the repairs.
So, if you’re ready to breathe new life into your acoustic guitar and restore it to its full potential, let’s dive into the world of bridge repair and get your instrument back in playing shape!
Tools you will need
Before you start repairing the bridge of your acoustic guitar, it is important to gather the necessary tools to ensure a smooth and efficient process. Here are the tools you’ll need:
- Guitar repair kit: This kit usually includes tools such as screwdrivers, pliers, and hex wrenches. It is essential for various aspects of bridge repair, such as tightening screws or adjusting saddle height.
- Guitar strings: You may need to replace the strings after completing the repairs, so make sure to have a fresh set of strings on hand.
- Guitar bridge clamp: This tool is useful for firmly holding the bridge in place during repairs.
- Sandpaper: You may need sandpaper to smooth out any rough edges or surfaces on the bridge.
- Guitar glue: In case you need to glue a lifted bridge, a wood glue specifically designed for musical instruments is recommended.
- Small chisel: A small chisel can be helpful for removing excess glue or making precise adjustments during the repair process.
- Lint-free cloth: This cloth is useful for wiping away excess glue or cleaning the guitar after the repairs.
It’s essential to have these tools readily available before you begin the repair process. This way, you won’t have to interrupt your progress to search for something you need and can complete the repairs more efficiently.
Now that you have all the necessary tools, let’s move on to the step-by-step process of repairing the acoustic guitar bridge.
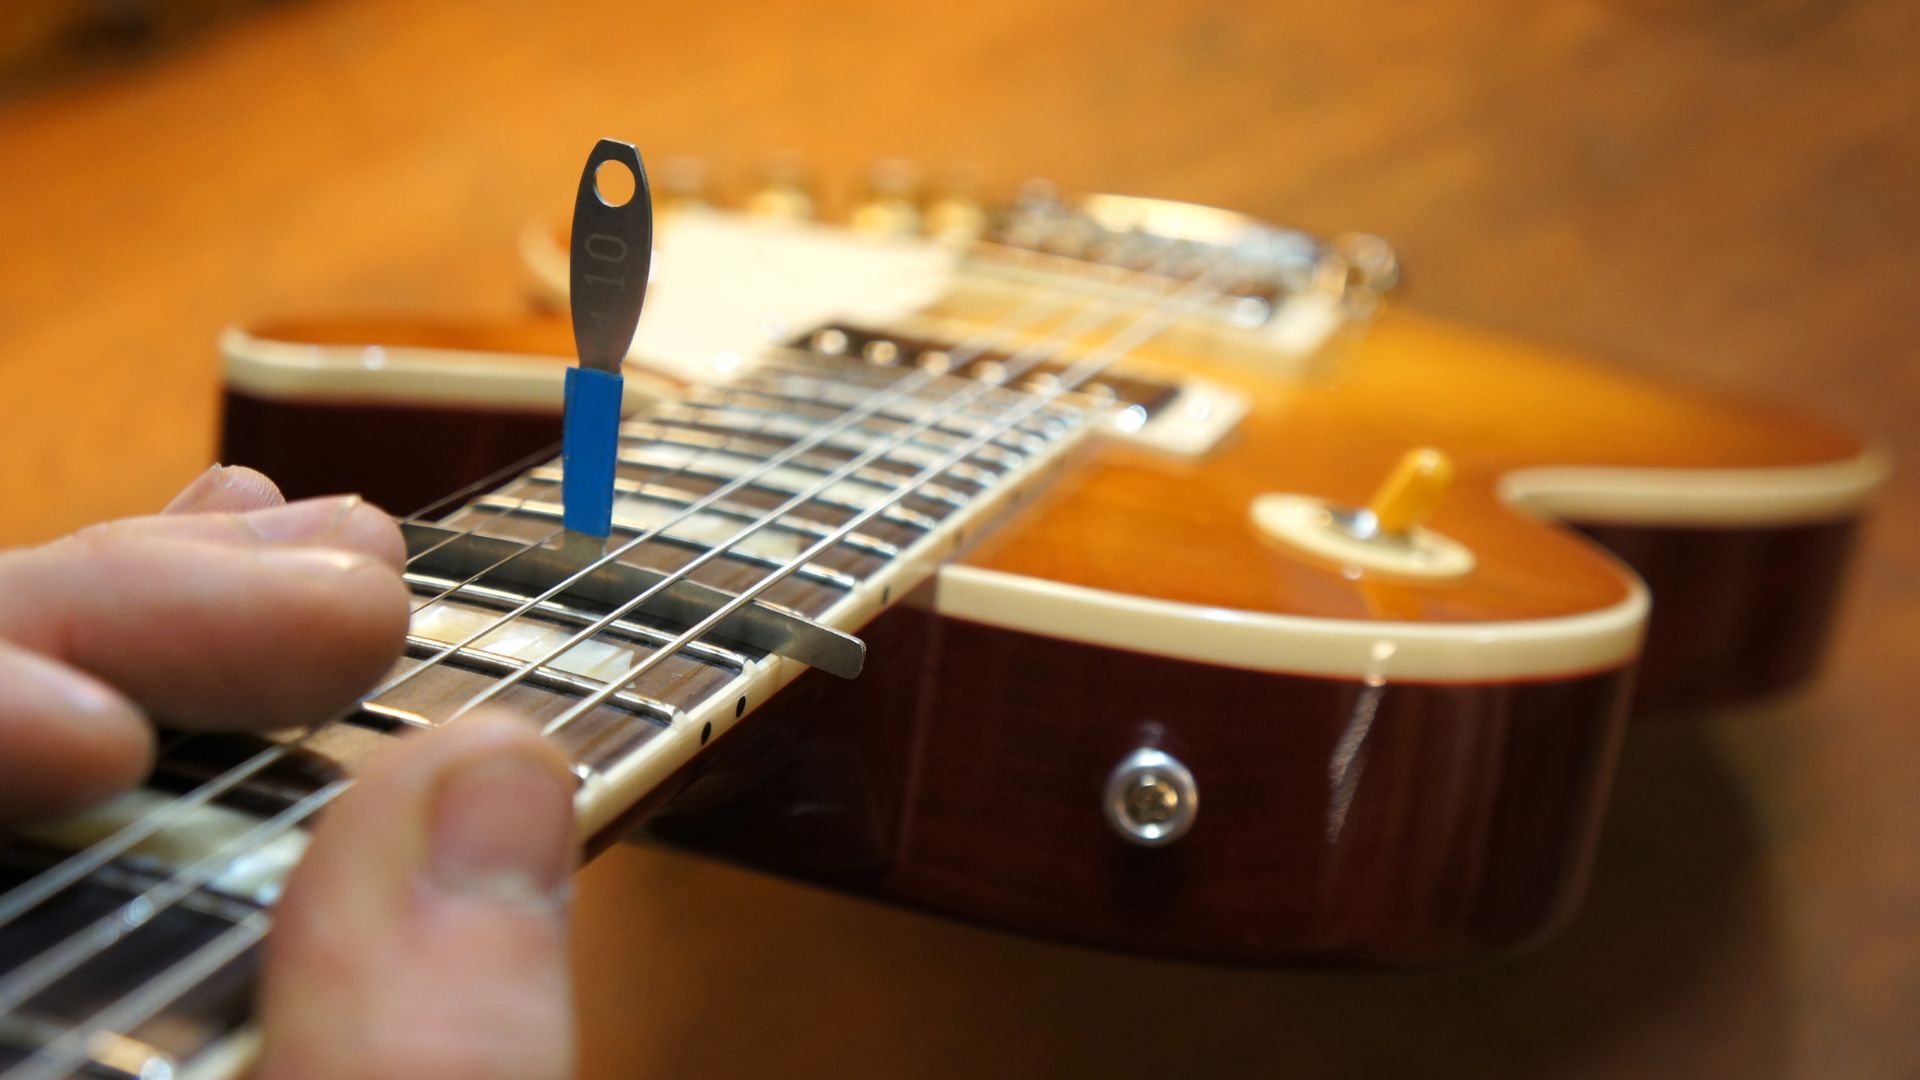
Step 1: Remove the strings
Before you can start repairing the bridge of your acoustic guitar, you need to remove the strings. This step is crucial as it allows you to have easy access to the bridge and ensures that no tension is applied during the repair process.
Here’s how to remove the strings:
- Start by loosening the tension of each string by turning the tuning pegs counterclockwise. Keep turning until the strings are loose enough to remove easily.
- Once the strings are loose, use a string winder or your fingers to completely unwind each string from the tuning pegs.
- Gently lift the strings off the bridge and carefully remove them from the guitar.
- Store the removed strings in a safe place if you plan to reuse them or dispose of them properly if necessary.
Removing the strings not only allows you to access the bridge more easily but also protects the strings from any potential damage during the repair process.
Once you have successfully removed the strings, you can move on to the next step of inspecting the bridge for any signs of damage.
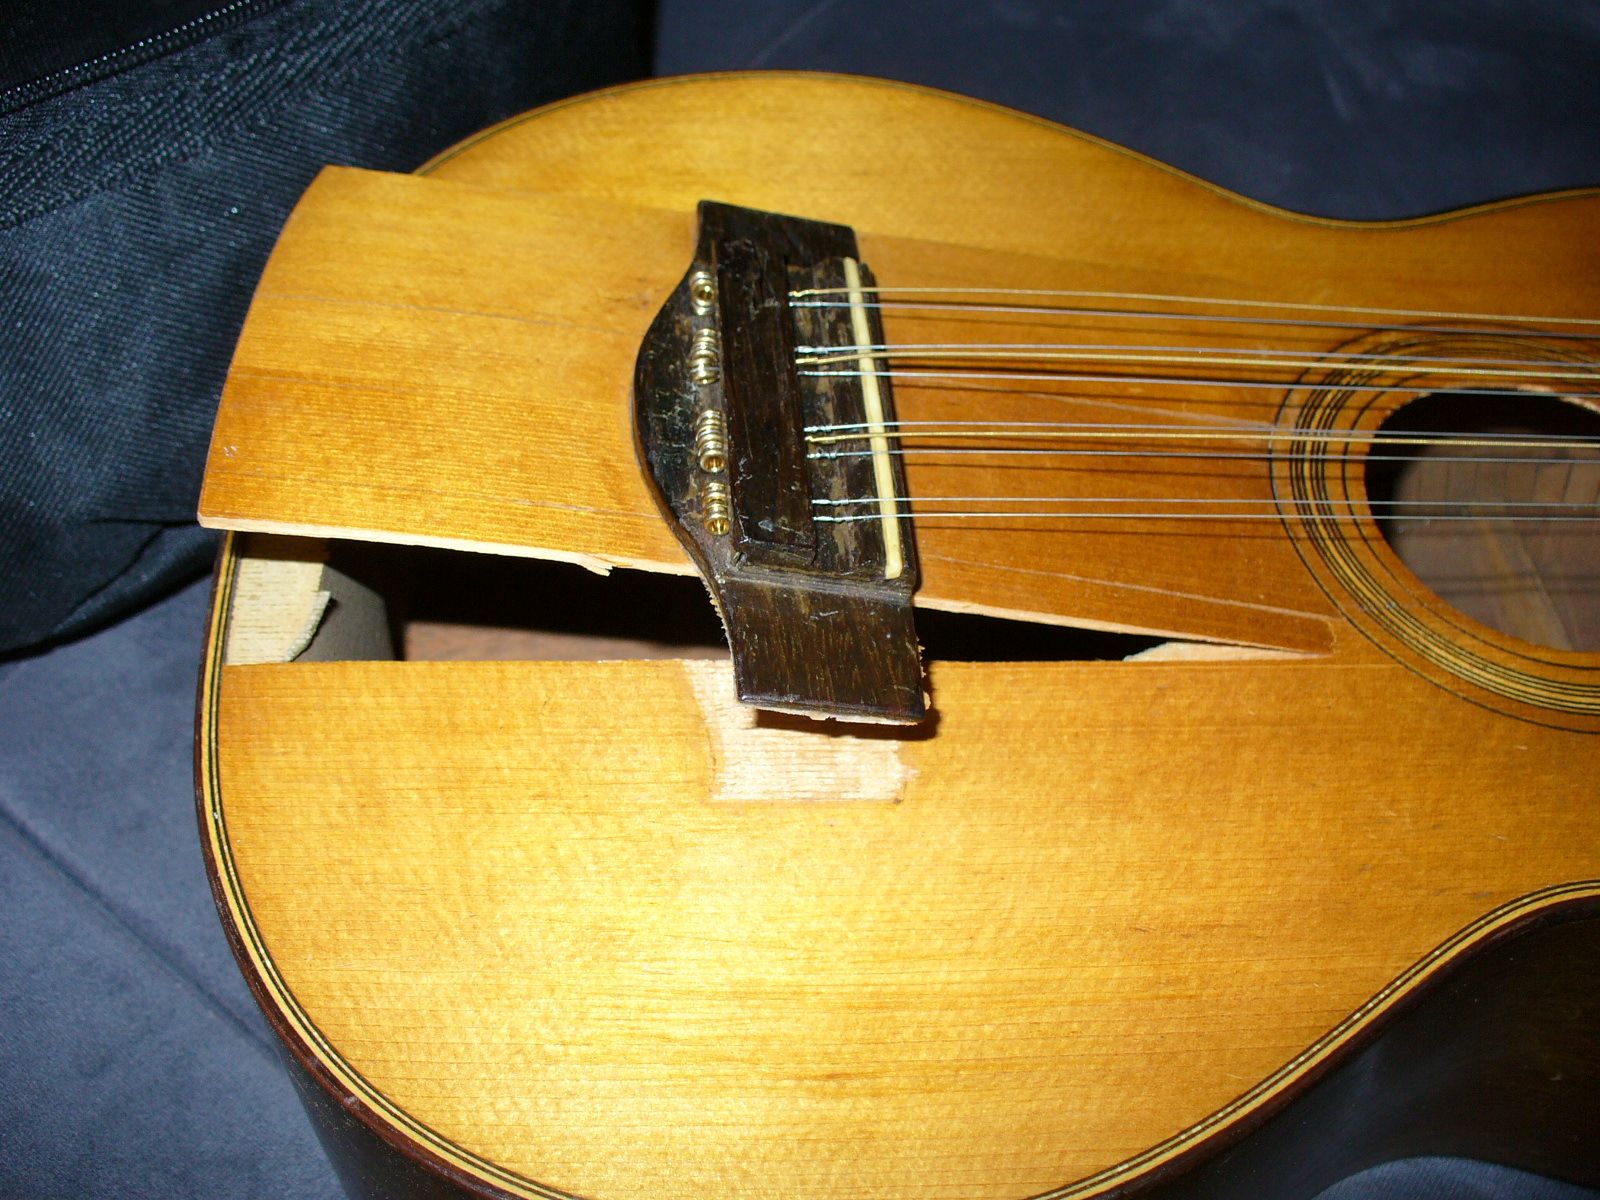
Step 2: Inspect the bridge for damage
After removing the strings, it’s time to carefully inspect the bridge of your acoustic guitar for any signs of damage. This step is crucial as it helps you determine the extent of the repair needed and the appropriate course of action.
Here are the key things to look for during the inspection:
- Looseness: Check if the bridge is loose or wobbly. Gently press down on the bridge to see if there is any noticeable movement. A loose bridge can lead to poor intonation and affect the overall sound quality of your guitar.
- Cracks: Inspect the bridge closely for any cracks or splits. Cracks can result from excessive tension, impact, or changes in humidity. They need to be addressed promptly to prevent further damage.
- Lifted bridge: Look for signs of a lifted bridge, where the bridge has become detached from the guitar’s top. This can cause buzzing, poor intonation, and even structural issues if left unresolved.
- Wear and tear: Examine the bridge for any signs of wear and tear, such as worn-out saddle slots, rough edges, or excessive grooves. These issues can impact string height and cause buzzing or intonation problems.
If you notice any of these issues during the inspection, it’s important not to proceed with the repair until the necessary steps have been taken. Minor repairs like tightening screws or gluing a lifted bridge can be done by yourself, but more severe damage may require professional assistance.
By thoroughly inspecting the bridge, you will have a clear idea of the specific repair needed and can proceed with the appropriate steps to fix the issue. Now, let’s move on to the next section to learn how to repair a loose bridge.
Step 3: Fixing a loose bridge
If you have identified that the bridge of your acoustic guitar is loose during the inspection, it is essential to fix it before proceeding with any other repairs. A loose bridge can cause buzzing, poor intonation, and even structural issues if left unresolved. Here’s how you can fix a loose bridge:
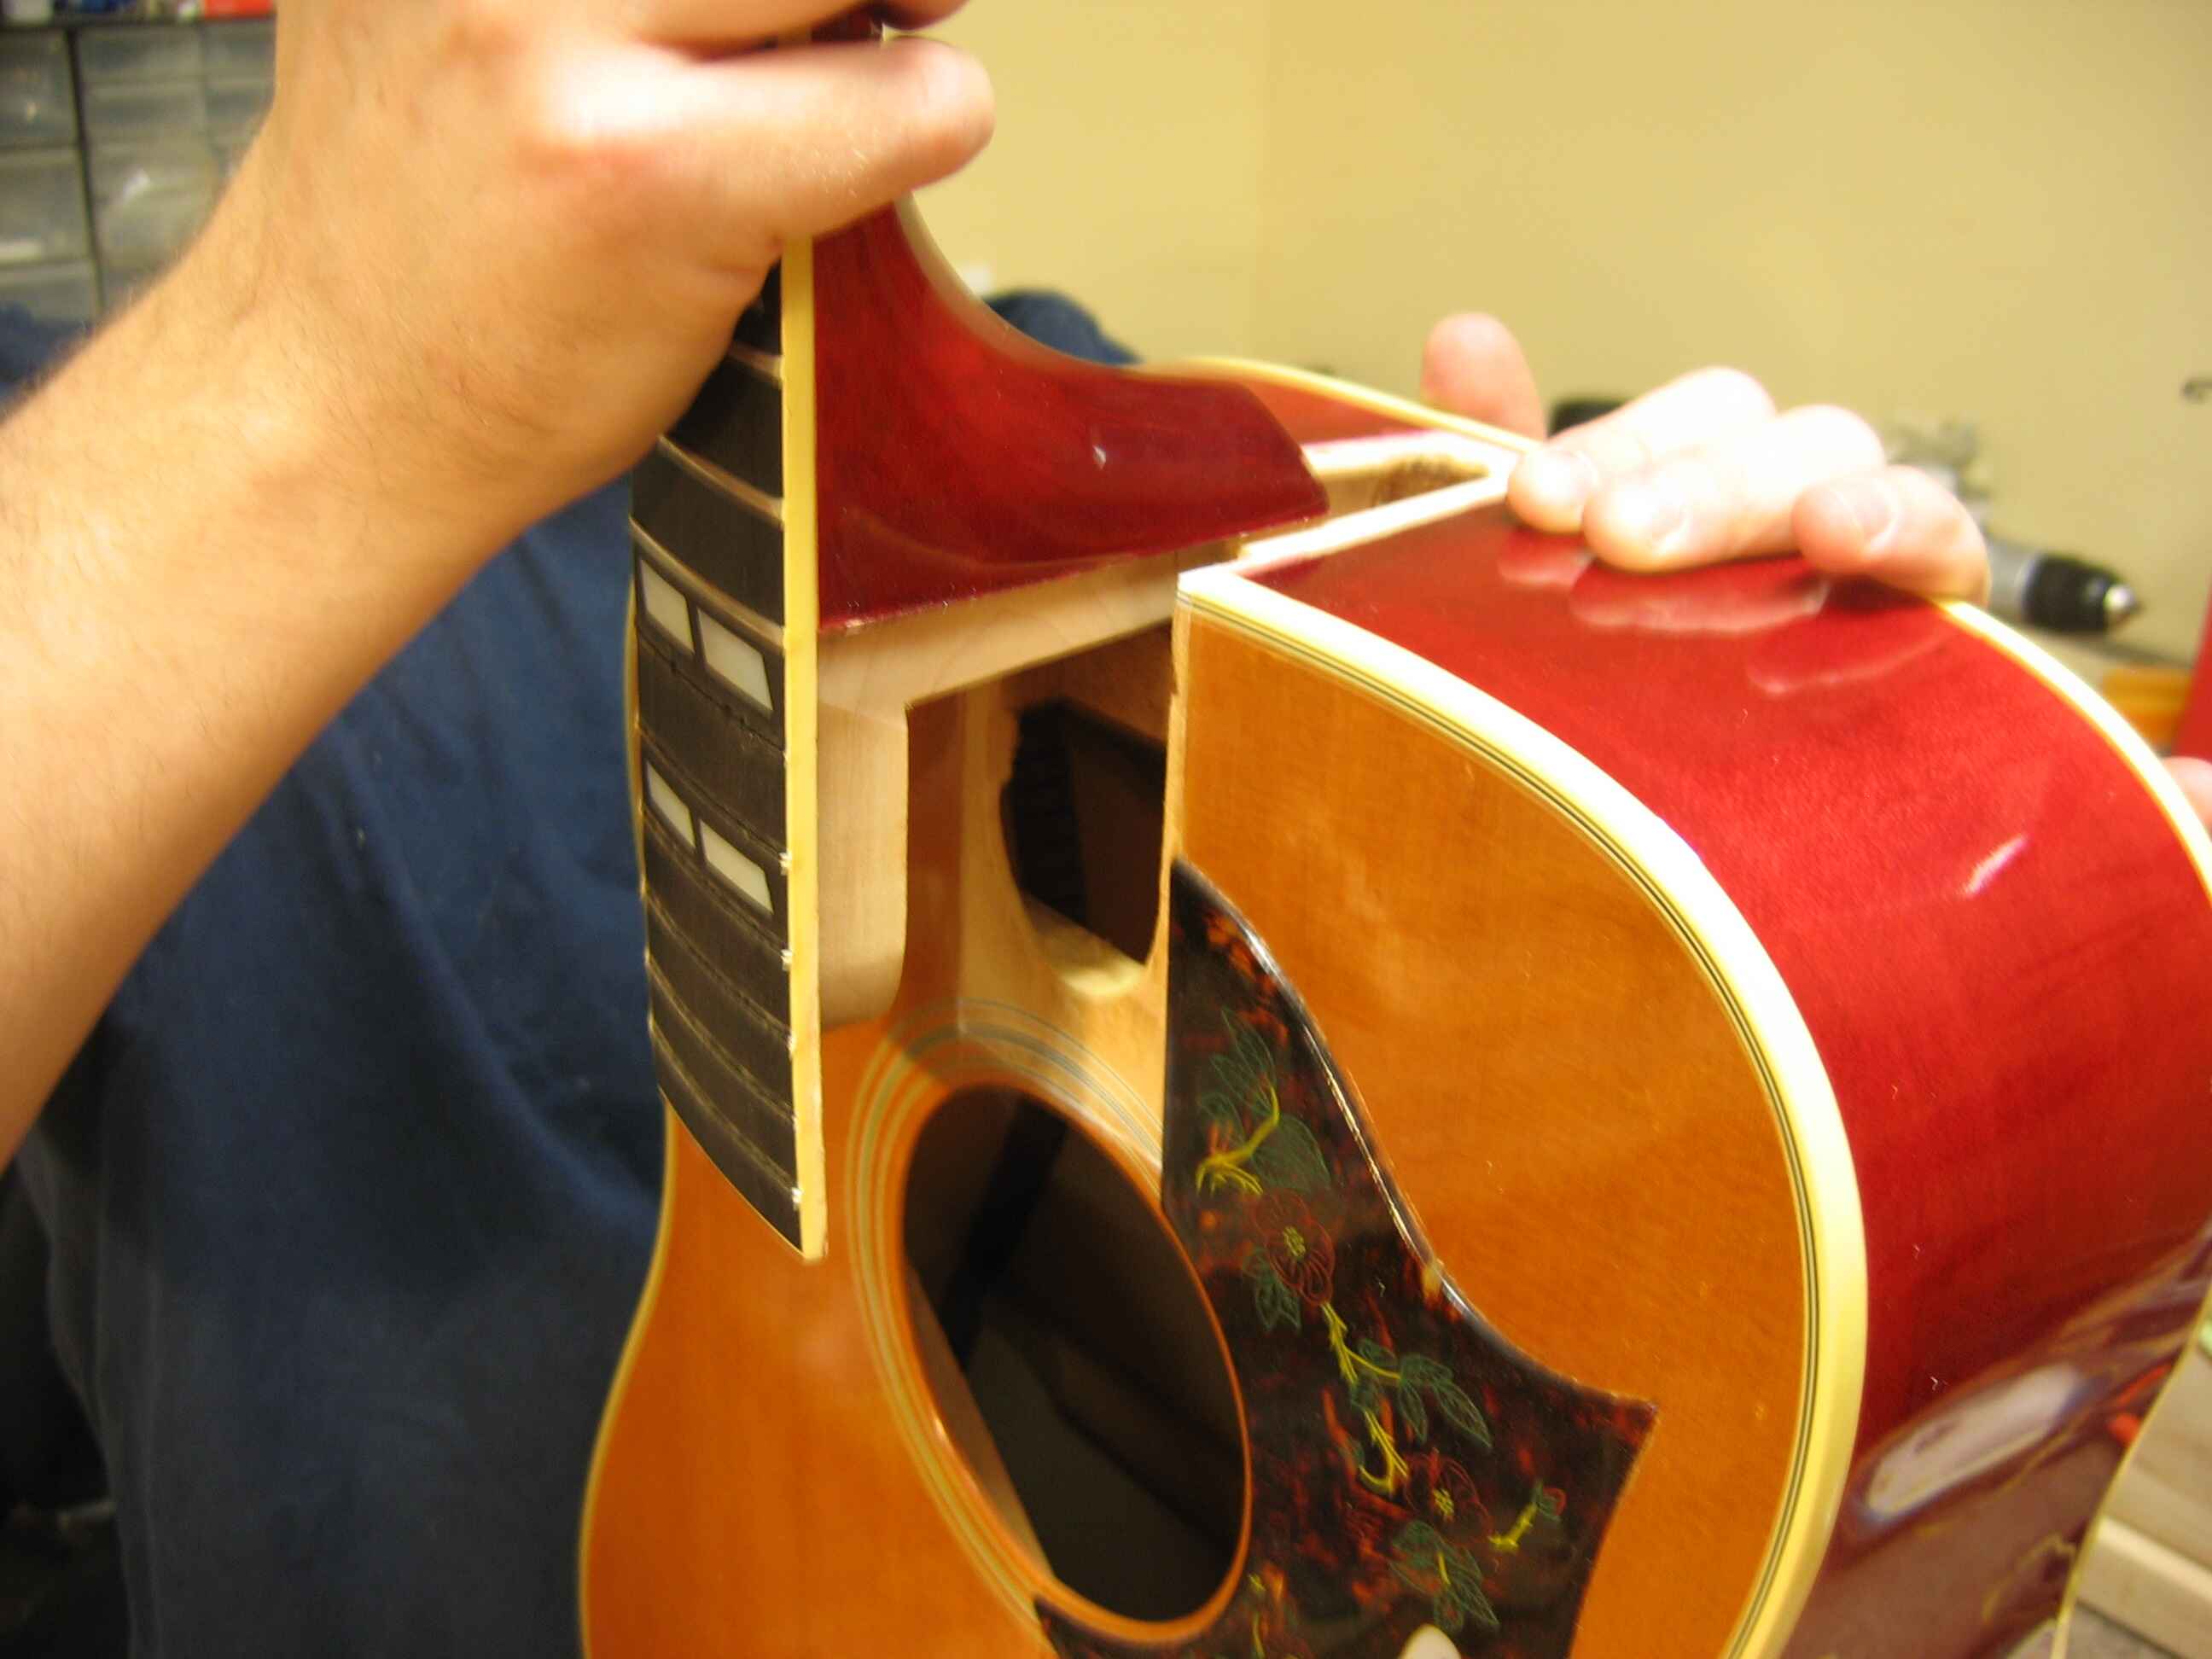
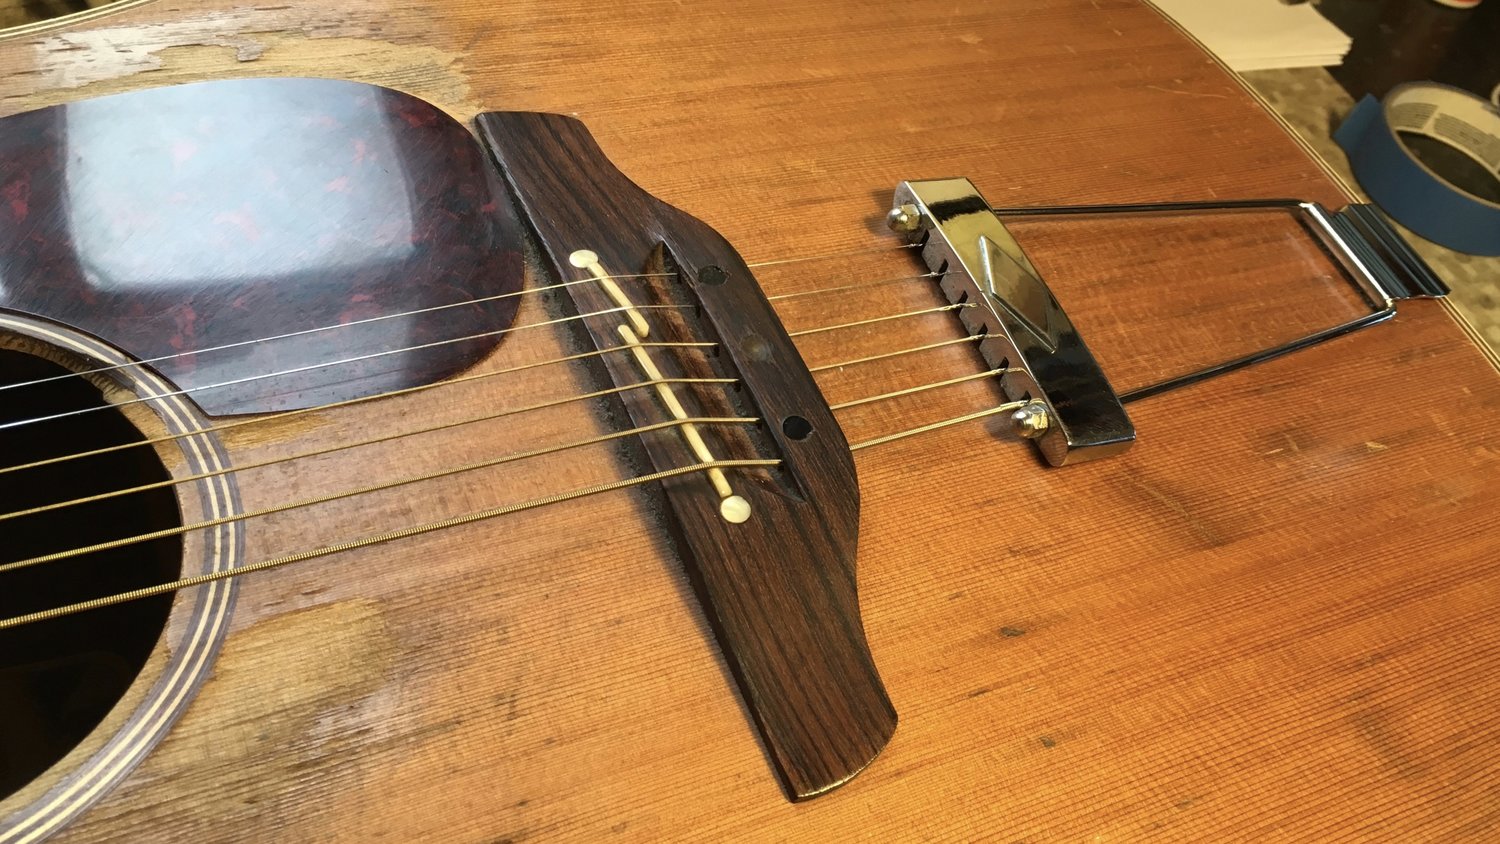
- Removing the bridge: If the bridge is completely loose, gently remove it from the guitar. Use a small chisel or a putty knife to carefully pry it off, taking care not to damage the guitar’s top.
- Cleaning the bridge and guitar top: Thoroughly clean the bridge and the area where it was attached on the guitar top. Remove any old glue residue or debris using a lint-free cloth and a small chisel if necessary.
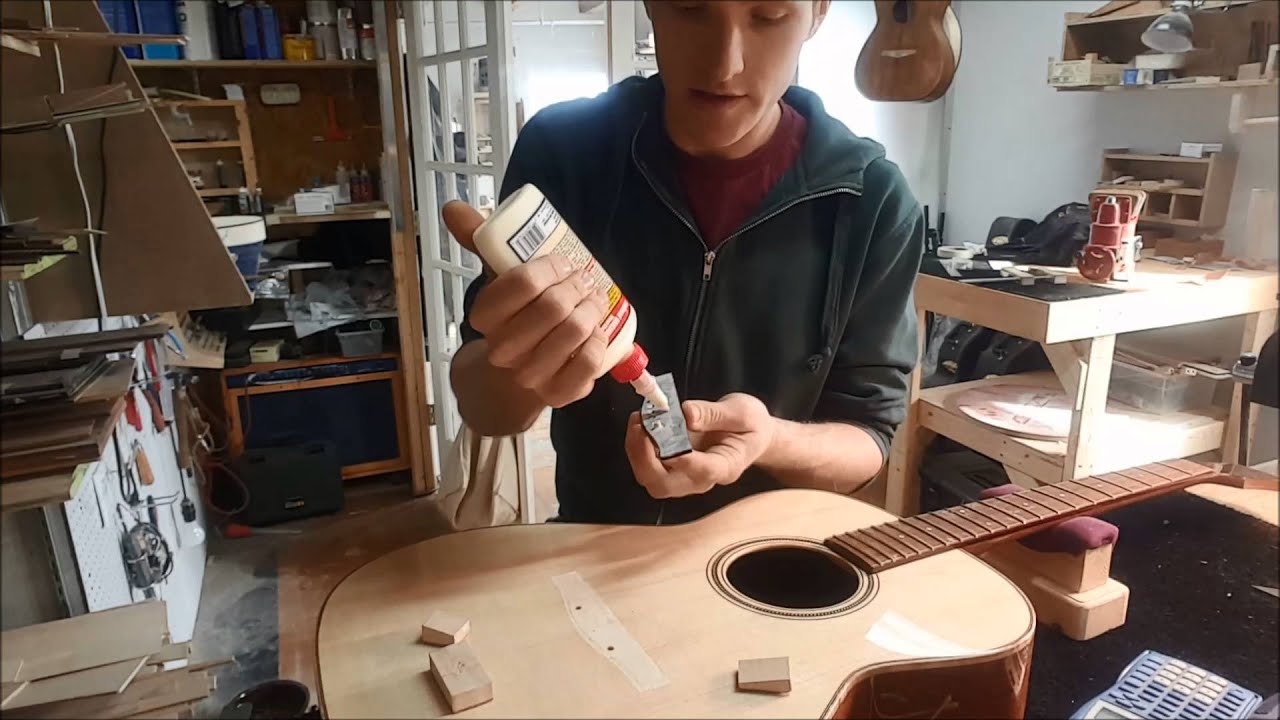
- Applying wood glue: Apply a small amount of wood glue to both the bridge and the area on the guitar top where the bridge will be reattached. Make sure to use a wood glue specifically designed for musical instruments.
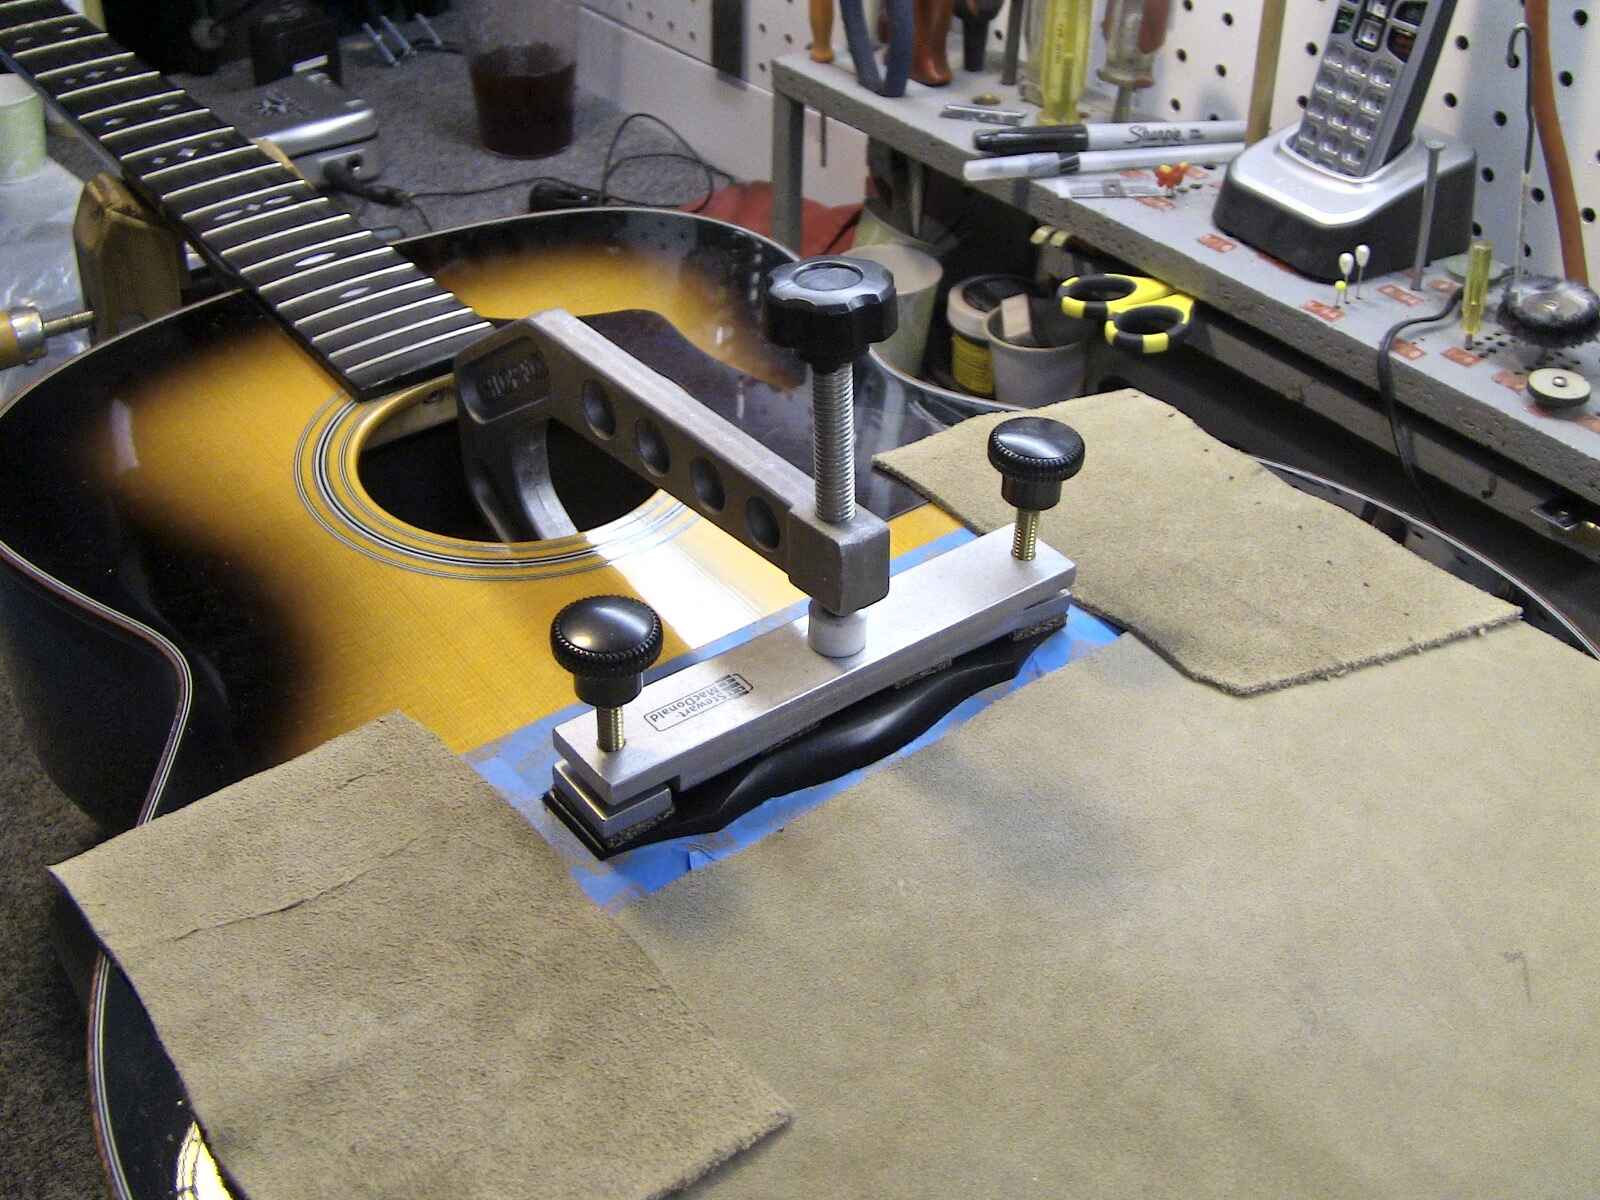
- Reattaching the bridge: Carefully align the bridge with the guitar top and press it firmly into place. Use a guitar bridge clamp to hold the bridge securely while the glue dries. Follow the manufacturer’s instructions for the clamp.
- Drying time: Allow the glue to dry completely as per the manufacturer’s instructions. This usually takes several hours or overnight.
- Removing the clamp: Once the glue is fully dried, remove the bridge clamp and inspect the bridge to ensure it is securely attached to the guitar top.
By following these steps, you can effectively fix a loose bridge and restore the stability and functionality of your acoustic guitar. Now that you have successfully repaired the loose bridge, you can move on to other potential bridge issues, such as repairing a cracked or broken bridge.
Step 4: Repairing a cracked or broken bridge
If you have discovered cracks or complete breakage in the bridge during the inspection, it is crucial to repair it to ensure the structural integrity of your acoustic guitar. Here’s how you can repair a cracked or broken bridge:
- Assessing the damage: Evaluate the severity of the crack or break in the bridge. If it is a small crack, you may be able to repair it. However, if the bridge is completely broken or the damage is extensive, it may be necessary to replace the entire bridge.
- Cleaning the area: Clean the cracked or broken area of the bridge and the corresponding area on the guitar top using a lint-free cloth. Remove any debris or old glue residue.
- Applying wood glue: Apply a small amount of wood glue directly into the crack or on the broken surfaces of the bridge. Use a specialized wood glue designed for musical instruments.
- Securing the repair: Carefully align the cracked or broken pieces of the bridge and press them together firmly. Use clamps or a makeshift bridge press to hold the pieces in place while the glue dries. Make sure to follow the manufacturer’s instructions for the clamps or bridge press.
- Drying time: Allow the glue to dry completely as per the manufacturer’s instructions. This may take several hours or overnight.
- Inspecting the repair: Once the glue is completely dried, remove the clamps or bridge press and inspect the repaired bridge. Ensure that the crack or break is well-sealed and the bridge is stable.
Repairing a cracked or broken bridge can restore the structural integrity of your acoustic guitar and prevent further damage. However, it is important to note that extensive damage may require professional repair or even bridge replacement. Consulting a professional guitar technician is advisable if you are unsure about your abilities or the severity of the damage.
Now that you have dealt with a loose bridge and repaired a cracked or broken bridge, you can move on to the next section to learn how to address a lifted bridge.
Step 5: Gluing a lifted bridge
If you have noticed that the bridge of your acoustic guitar has lifted from the guitar’s top, it is important to address this issue promptly. A lifted bridge can cause buzzing, poor intonation, and structural problems. Here’s how you can glue a lifted bridge back into place:
- Removing the strings: Before proceeding, remove the strings from the guitar as we did in Step 1.
- Inspecting the lifting: Assess the extent of the lifting. If the bridge is only slightly lifted, you may be able to resolve the issue with glue. However, if the lifting is severe or if there are other structural issues, it is recommended to seek professional assistance.
- Cleaning the surfaces: Clean both the underside of the bridge and the corresponding area on the guitar top using a lint-free cloth. Remove any debris, old glue residue, or dirt.
- Applying wood glue: Apply a thin and even layer of wood glue to both the underside of the bridge and the area on the guitar top. Be mindful not to apply too much glue as it can create a messy and ineffective bond.
- Placing the bridge: Carefully align the bridge with the correct placement on the guitar top and press it down firmly. You may use a guitar bridge clamp or other clamping devices to secure the bridge in place until the glue dries. Make sure to follow the manufacturer’s instructions for the clamp.
- Drying time: Allow the glue to dry completely based on the manufacturer’s instructions. This usually takes several hours or overnight.
- Removing the clamps: Once the glue is completely dried, remove the clamps and inspect the bridge to ensure it is securely attached to the guitar top.
By following these steps, you can effectively glue a lifted bridge back into place, restoring its stability and ensuring optimal sound quality and playability. If you are unsure about your abilities or the severity of the lifting, it is always recommended to seek professional guidance to avoid further damage to your instrument.
Now that you have repaired a lifted bridge, it’s time to move on to the next section and learn about refitting the bridge.
Step 6: Refitting the bridge
After successfully repairing any issues with your acoustic guitar’s bridge, the next step is to refit the bridge back into its proper position on the guitar top. Refitting the bridge ensures proper alignment and stability, allowing for optimal sound projection and playability. Here’s how you can refit the bridge:
- Cleaning the surfaces: Use a lint-free cloth to clean both the underside of the bridge and the corresponding area on the guitar top. Remove any debris, old glue residue, or dirt that may interfere with the fitting.
- Aligning the bridge: Carefully position the bridge on the guitar top, ensuring that it is aligned correctly with the scale length and the center of the soundhole. Take your time with this step to ensure precise placement.
- Verifying saddle alignment: Check the alignment of the bridge saddle with the nut and the 12th fret. The saddle should be centered and parallel to the fretboard to ensure proper intonation. Make any necessary adjustments if needed.
- Checking string spacing: Ensure that the strings are evenly spaced across the bridge. Use a ruler or specialized string spacing tool to achieve equal distances between each string.
- Pressing down firmly: Once you are satisfied with the positioning and alignment of the bridge, firmly press it down onto the guitar top to ensure a secure fit. Apply even pressure to create a strong bond with the adhesive.
- Drying time: Allow the bridge to set and bond with the guitar top as per the manufacturer’s instructions. This typically ranges from several hours to overnight.
By following these steps, you can successfully refit the bridge of your acoustic guitar. A properly fitted and aligned bridge allows for optimal transfer of vibrations and ensures that the instrument performs at its best. If you are uncertain about the refitting process or require additional guidance, it is recommended to consult with a professional guitar technician.
After completing the bridge refitting, the final step is to re-string the guitar, which we will cover in the next section.
Step 7: Re-stringing the guitar
After successfully repairing and refitting the bridge of your acoustic guitar, the final step is to re-string the instrument. Re-stringing your guitar not only allows you to enjoy playing it again but also ensures proper tension, tone, and intonation. Here’s how you can re-string your guitar:
- Selecting the strings: Choose a set of guitar strings that best suits your playing style and preferences. Consider factors such as string gauge, material, and desired tone.
- Attaching the strings: Start by inserting the ball end of the first string through the bridge pin hole, then secure it in place by pushing the bridge pin back into the hole. Repeat this step for each string.
- Winding the strings: Begin winding the other end of each string onto the corresponding tuning peg. Make sure to wind the strings in the correct direction, following the natural curve of the headstock. Leave enough slack so that you can wrap the string around the peg multiple times for stability.
- Tuning the guitar: Once all the strings are attached and wound onto the tuning pegs, use a guitar tuner to tune the strings to the desired pitch. Start with the lowest string (E) and work your way up to the highest string (E or B, depending on your string set).
- Stretching the strings: After tuning, gently stretch each string by pulling it away from the guitar, being careful not to apply excessive force. This helps to stabilize the strings and reduce the likelihood of them going out of tune quickly.
- Final tuning adjustments: After stretching the strings, re-tune each string using the guitar tuner. Make slight adjustments as needed until each string is in tune.
By following these steps, you can re-string your acoustic guitar and ensure that it is ready to be played once again. Regularly changing your guitar strings is important for maintaining good tone, playability, and overall instrument health.
Congratulations! You have now successfully completed the process of fixing an acoustic guitar bridge, from removing the strings to re-stringing the instrument. Take some time to enjoy your revitalized acoustic guitar and explore the beautiful sounds it produces!
Conclusion
Repairing an acoustic guitar bridge can seem like a daunting task, but with the right tools, patience, and guidance, it is a manageable endeavor. By following the step-by-step process outlined in this guide, you can address common bridge issues such as a loose bridge, cracked or broken bridge, and a lifted bridge. These repairs can significantly improve the sound quality, playability, and overall lifespan of your instrument.
Remember, while DIY repairs are possible, it is important to assess the severity of the damage and seek professional help if needed. Some repairs may require more advanced woodworking skills or specialized tools, in which case consulting a professional guitar technician is advisable.
Maintaining the bridge and overall health of your acoustic guitar is vital for optimal performance. Regular inspections, proper string tension, and keeping the instrument in a controlled humidity environment can prevent potential issues and extend the lifespan of your guitar.
Now that you have acquired the knowledge to repair and maintain the acoustic guitar bridge, you can confidently take on this task whenever necessary. By ensuring the stability, functionality, and sound quality of your guitar, you can continue to enjoy playing your instrument for years to come.
So, grab your tools, take care of your acoustic guitar, and let the music resonate with every strum and chord!