Introduction
Adding a bridge to an acoustic guitar is a fantastic way to enhance its playability, tone, and overall performance. Whether you are looking to replace a worn-out bridge or simply upgrade to a better one, the process can be done with just a few tools and some basic woodworking skills.
A guitar bridge plays a crucial role in transmitting the vibrations from the strings to the guitar body, which in turn produces sound. Over time, bridges can become worn, damaged, or even detach from the guitar body. By replacing the bridge, you can ensure that your guitar maintains its optimal performance.
In this guide, we will walk you through the step-by-step process of putting a new bridge on an acoustic guitar. From removing the old bridge to making precise measurements and gluing the new one in place, we will cover all the necessary steps to help you complete this project successfully.
Before we begin, it’s important to note that adding a new bridge to an acoustic guitar requires some intermediate woodworking skills. If you’re not confident in your abilities, it may be best to seek the assistance of a professional guitar technician. However, if you’re up for the challenge, let’s gather the necessary tools and materials and get started!
Tools and Materials Needed
Before you begin the process of putting a new bridge on an acoustic guitar, it’s important to gather all the necessary tools and materials. Having everything prepared ahead of time will make the process smoother and more efficient. Here’s a list of what you’ll need:
- Guitar bridge: Choose a replacement bridge that matches the dimensions and style of your guitar. There are various types of bridges, including fixed bridges and adjustable bridges.
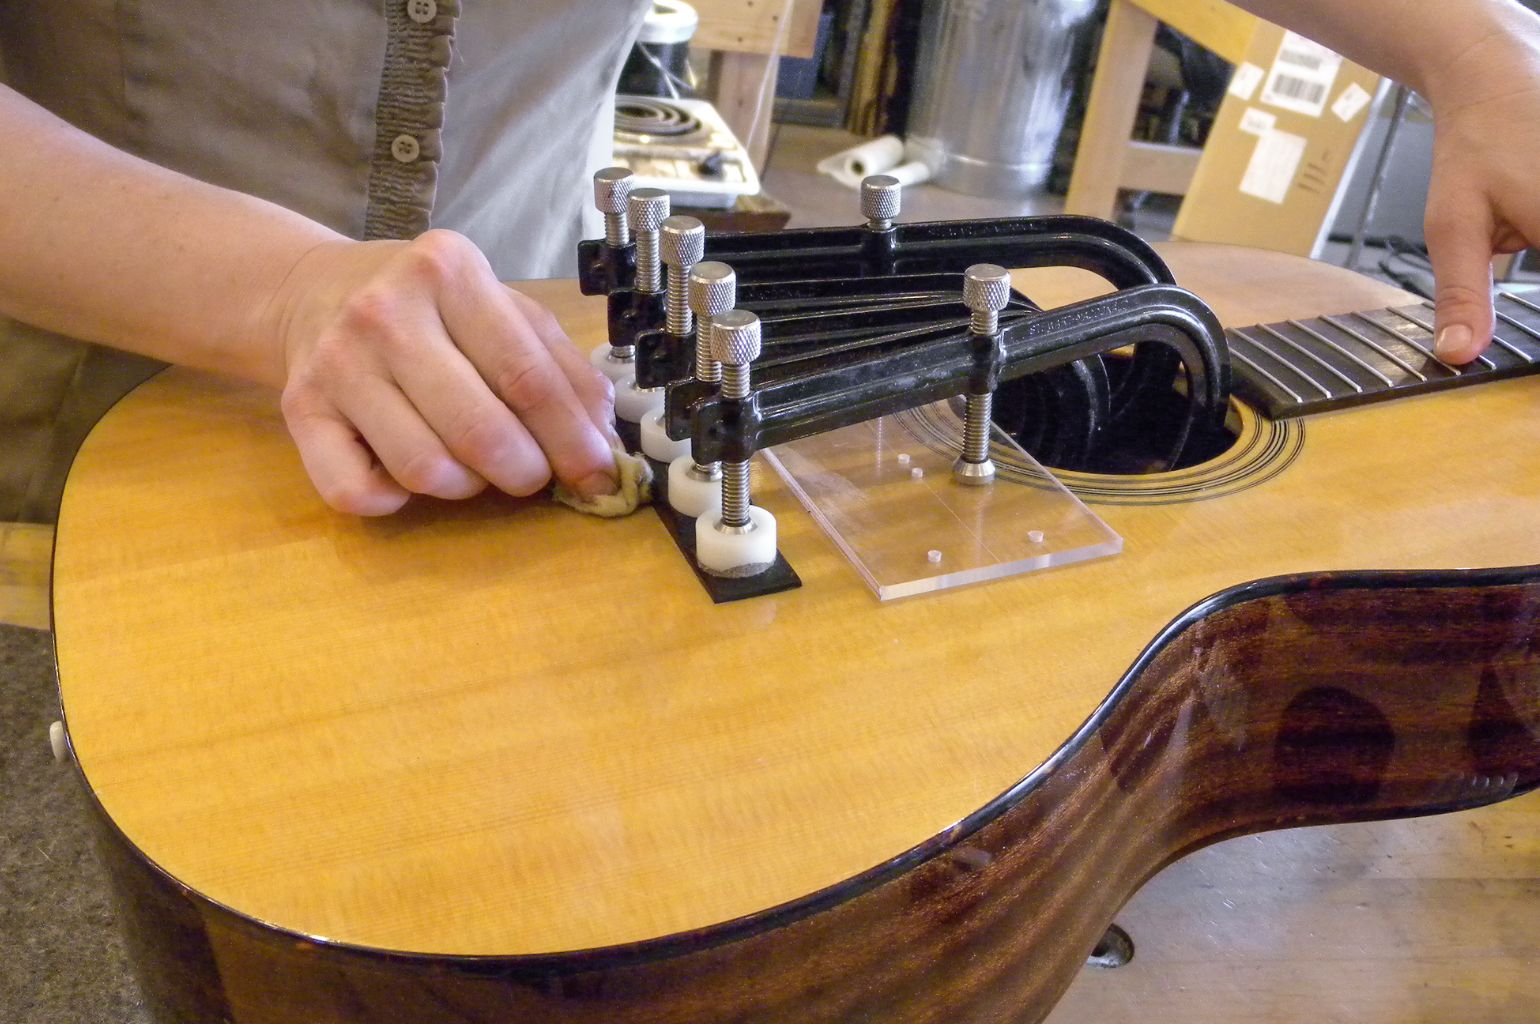
- Bridge clamp: This tool is essential for securing the bridge while the adhesive is drying. Make sure to get a clamp that is suitable for your guitar’s body size.
- Guitar strings: It’s a good idea to replace the strings when adding a new bridge. Choose strings that suit your playing style and preferences.
- Wood glue: To secure the new bridge to the guitar body, you’ll need a high-quality wood glue designed for musical instruments.
- Sandpaper: You may need sandpaper to remove any excess adhesive and to smooth the surface of the guitar body.
- Measuring tape or ruler: Accurate measurements are crucial for placing the new bridge correctly. A measuring tape or ruler will help you determine the precise position.
- Clamps or weights: Additional clamps or weights might be necessary to ensure the glue sets properly and holds the bridge in place during drying.
- Woodworking tools: Depending on the specific needs of your guitar, you may require various woodworking tools such as chisels, files, and a small saw.
- Protective equipment: Safety goggles and gloves are recommended to protect your eyes and hands during the woodworking process.
Ensure that you have all the tools and materials ready before you start working on adding the new bridge. This will help you complete the project efficiently and with minimal interruptions. Now that we have everything prepared, let’s move on to the first step: removing the old bridge.
Step 1: Removing the Old Bridge
Before you can install a new bridge on your acoustic guitar, you’ll need to remove the old bridge. This step requires precision and care to avoid damaging the guitar body. Here’s how to do it:
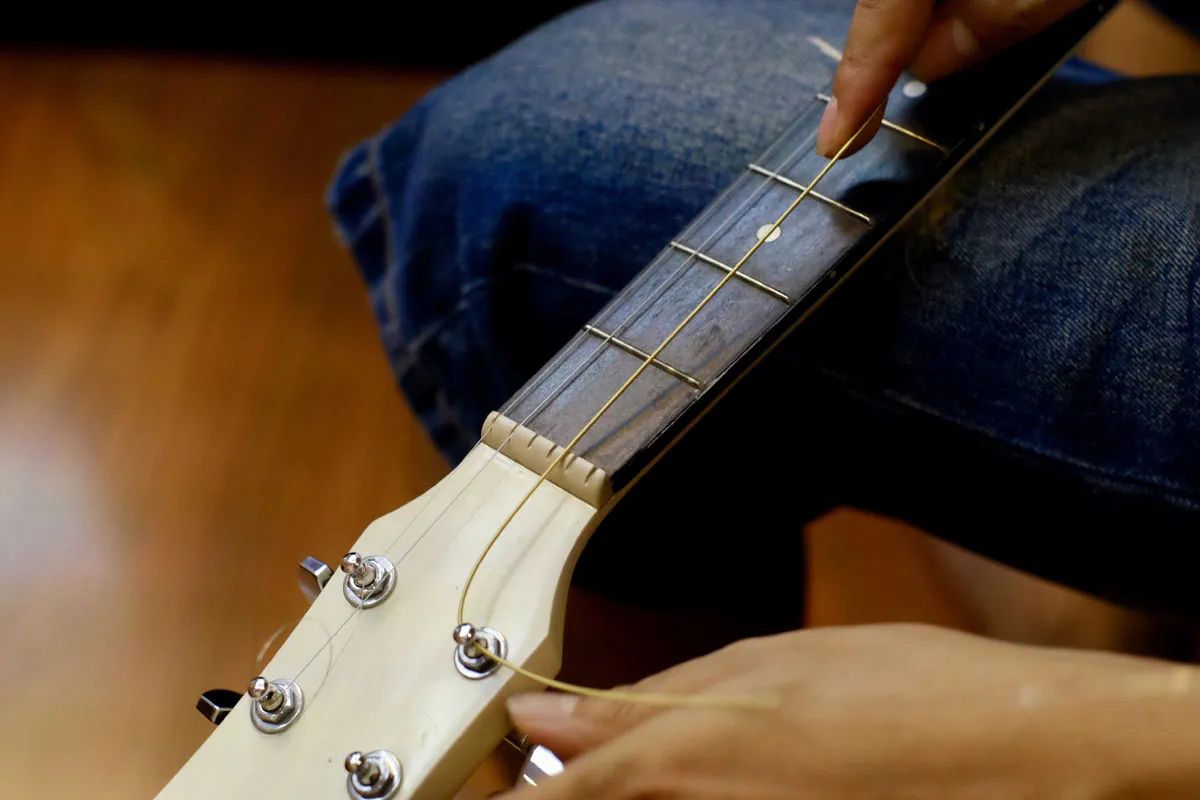
- Loosen the strings: Start by loosening the guitar strings. This will relieve tension on the bridge and make it easier to remove. Use a string winder or manually turn the tuning pegs to loosen each string.
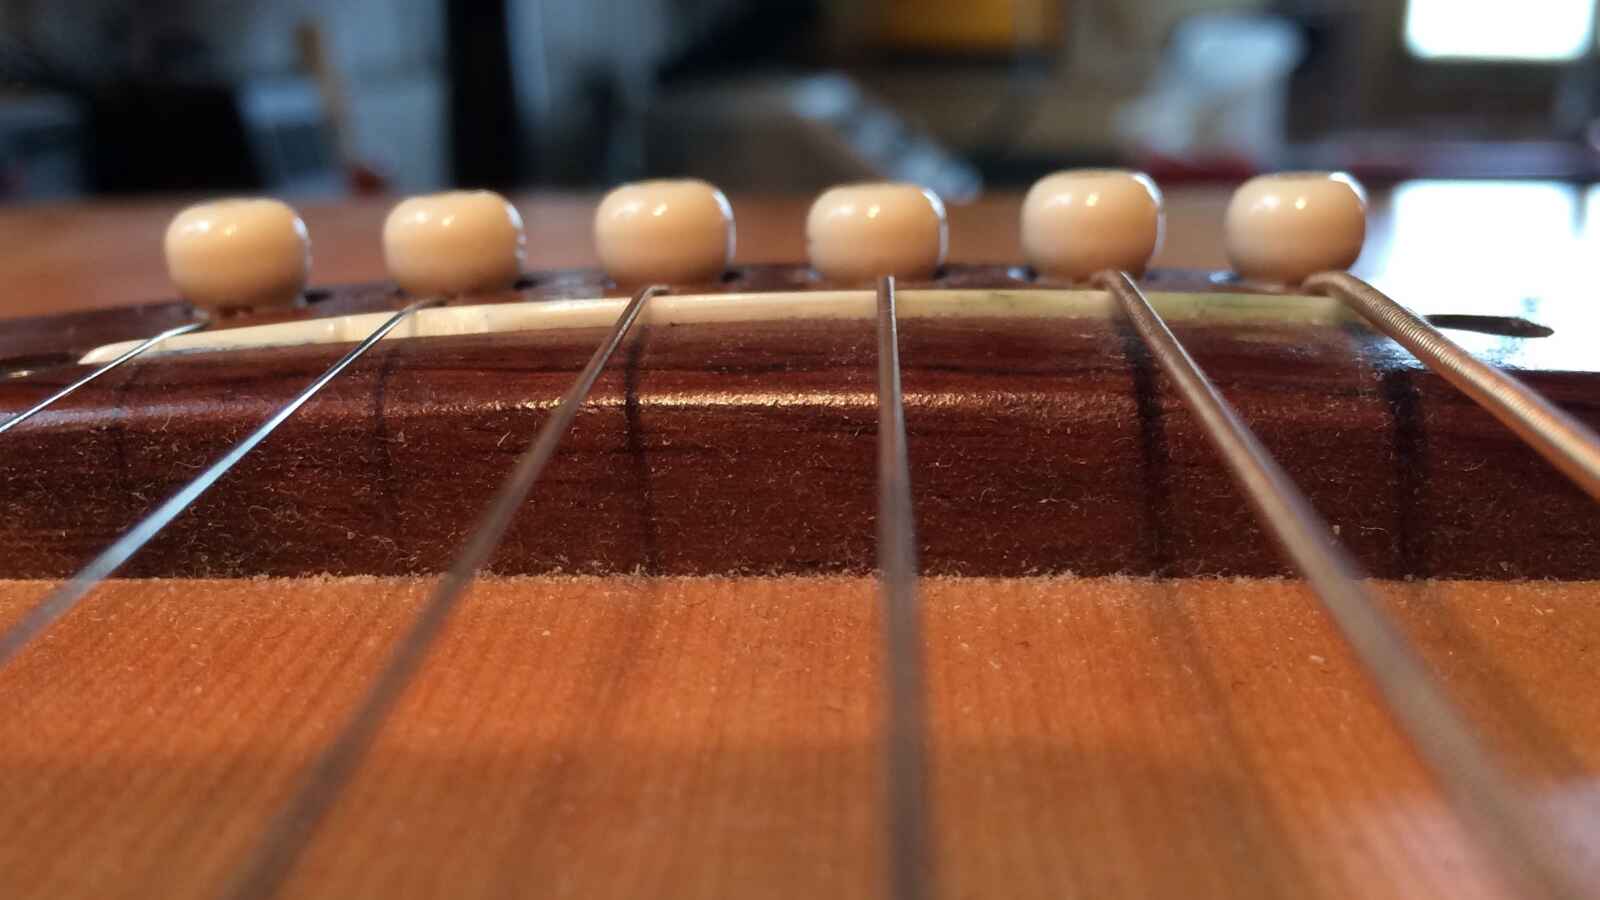
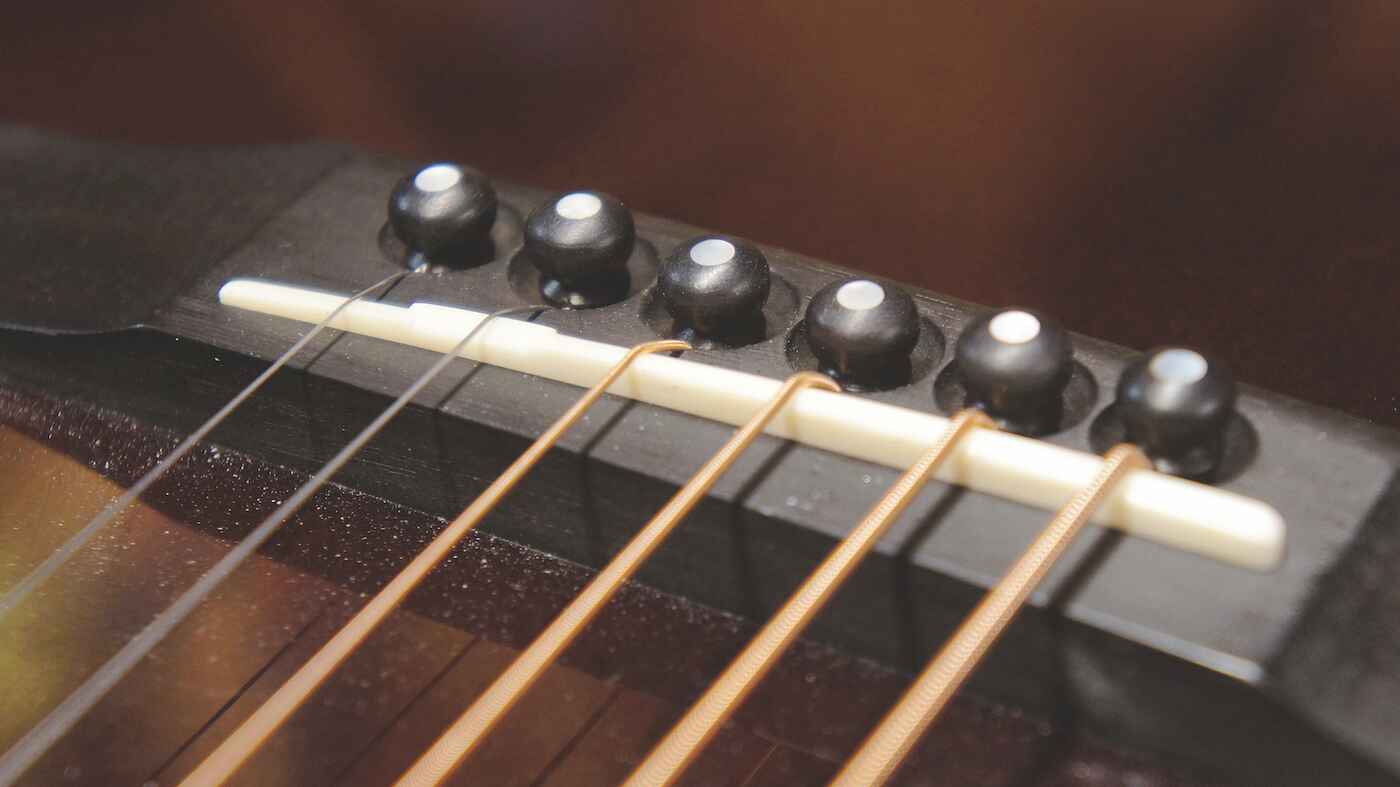
- Remove the pins: Locate the bridge pins that secure the strings to the bridge. Use a bridge pin puller or a pair of pliers to carefully remove each pin. Gently wiggle and lift the pins until they come loose.
- Apply heat (if necessary): In some cases, the bridge may be glued to the guitar body. To soften the adhesive, apply heat using a hairdryer or a heat gun on low. Move the heat source back and forth over the bridge for a few minutes until the adhesive becomes more pliable.
- Insert a thin spatula or knife: Once the adhesive is warmed, gently insert a thin spatula or knife between the bridge and the guitar body. Slowly and carefully work the blade under the bridge, separating it from the body. Be cautious not to apply too much pressure to avoid damaging the guitar top.
- Gradually lift the bridge: With the spatula or knife in place, gently lift the bridge away from the guitar body. Move the tool along the length of the bridge, gradually lifting it higher until it is completely detached. Take your time to ensure a clean removal without any excessive force.
- Clean the guitar top: After removing the old bridge, clean any adhesive residue from the guitar top using a soft cloth or a gentle adhesive remover. Ensure the top surface is free from any debris before proceeding to the next step.
By following these steps, you can safely remove the old bridge from your acoustic guitar. Remember to take your time and exercise caution to prevent any damage to the guitar body. Once the old bridge is removed and the guitar top is clean, you’re ready to move on to the next step: preparing the guitar body.
Step 2: Preparing the Guitar Body
After successfully removing the old bridge, it’s time to prepare the guitar body before installing the new bridge. This step involves ensuring that the surface is clean, level, and ready for the new bridge to be securely attached. Here’s what you need to do:
- Clean the guitar top: Use a soft cloth or a mild cleaning solution to gently wipe the guitar top, removing any dust, debris, or adhesive residue left behind from the old bridge. Ensure that the surface is clean and free from any obstructions that may affect the adhesion of the new bridge.
- Inspect the guitar top: Take a close look at the guitar top to identify any irregularities or damage that may interfere with the installation of the new bridge. Look out for cracks, dents, or uneven surfaces that might require repair before proceeding.
- Level the guitar top (if needed): If you notice any unevenness on the guitar top, you may need to level it before attaching the new bridge. This can be done by carefully sanding down any high points or using a leveling tool to ensure a flat surface. Take care not to remove too much material and compromise the integrity of the guitar top.
- Measure the bridge placement: Before you can determine the precise placement for the new bridge, measure the scale length of your guitar. This is the distance from the nut to the bridge saddle. Refer to the manufacturer’s specifications or consult a reliable guide to ensure accurate measurements.
- Make guidelines: Use a pencil and a straightedge to mark guidelines on the guitar top, indicating where the new bridge will be placed. Ensure that these guidelines align with the scale length measurements and are symmetrical with the guitar body.
By carefully preparing the guitar body, you are taking the necessary steps to ensure a proper fit and secure attachment of the new bridge. Cleaning the surface, inspecting for any damage, and making the necessary adjustments will contribute to the successful installation of the bridge. With the guitar body prepared, you can now move on to the next step: measuring the bridge placement.
Step 3: Measuring the Bridge Placement
Once the guitar body is prepared, it’s time to measure and determine the precise placement for the new bridge. Proper bridge placement is crucial for accurate intonation and optimal playability. Here’s how you can measure the bridge placement:
- Measure the scale length: Using a measuring tape or ruler, measure the distance from the nut to the 12th fret on your guitar. This measurement represents half of the total scale length.
- Mark the 12th fret position: Make a small mark or place a piece of tape on the 12th fret, indicating its position on the fingerboard. This mark will serve as a reference point for bridge placement.
- Double the scale length: Multiply the measurement of the scale length by 2. This will give you the total scale length for your guitar.
- Measure from the 12th fret: Starting from the mark or tape on the 12th fret, measure the total scale length towards the guitar body. This will determine the position where the saddle of the new bridge should be placed.
- Mark the bridge placement: Using a pencil or masking tape, make a mark on the guitar top where the saddle of the new bridge will be positioned. Ensure that the mark is symmetrical and aligned with the centerline of the guitar body.
By accurately measuring the bridge placement, you are ensuring that the guitar’s intonation will be precise and in tune across all frets. Take the time to double-check your measurements and verify the symmetry and alignment of the bridge placement. With the bridge position marked, you are now ready to move on to the next step: preparing the new bridge.
Step 4: Preparing the New Bridge
With the bridge placement determined, it’s time to prepare the new bridge for installation. This step involves ensuring that the new bridge is compatible with your guitar and making any necessary adjustments. Here’s what you need to do:
- Check the fit: Place the new bridge on the marked position on the guitar top. Ensure that it aligns properly with the centerline and that the saddle slot is correctly positioned for intonation.
- Inspect the saddle slot: Examine the saddle slot of the new bridge to ensure that it has a clean, straight, and properly sized channel for the guitar strings. If necessary, use a small file or sandpaper to make any adjustments for a better fit.
- Sand the bottom: If the bottom of the new bridge is not perfectly flat, use sandpaper to sand it down until it is smooth and even. This will improve the contact between the bridge and the guitar top.
- Check bridge height: Verify that the height of the new bridge is suitable for your playing style. If desired, you can carefully sand down the bottom of the bridge to lower its height or add shims to increase it.
- Test for stability: Once the necessary adjustments have been made, place the new bridge on the marked position and check its stability. It should sit firmly on the guitar top without any wobbling or movement.
By properly preparing the new bridge, you are ensuring a secure and stable fit on the guitar top. Checking the fit, inspecting the saddle slot, sanding the bottom, adjusting the bridge height, and testing for stability are important steps to ensure that the bridge will function properly once installed. Once the new bridge is prepared, you’re ready to move on to the next step: gluing the bridge to the guitar body.
Step 5: Gluing the Bridge
Now that the new bridge is prepared, it’s time to securely attach it to the guitar body using a high-quality wood glue. Proper adhesive application and clamping techniques will ensure a strong and long-lasting bond. Follow these steps to glue the bridge:
- Apply wood glue: Using a small brush or a toothpick, apply a thin, even layer of wood glue to the bottom of the new bridge. Make sure to cover the entire surface that will come into contact with the guitar top.
- Position the bridge: Carefully place the bridge on the marked position, aligning it with the centerline and making sure it sits flat without any gaps or misalignment. Take your time to ensure its precise placement.
- Secure the bridge: Once the bridge is in position, use a bridge clamp to firmly hold it against the guitar top. Apply even pressure to ensure proper contact between the bridge and the guitar body. If a bridge clamp is not available, you can use weights or additional clamps to secure the bridge.
- Clean up excess glue: Take a damp cloth or a cotton swab and gently remove any excess glue that may have squeezed out from under the bridge. Be careful not to disturb the position of the bridge while doing this.
- Allow the glue to dry: Follow the manufacturer’s instructions on the wood glue for the recommended drying time. It’s essential to allow sufficient time for the glue to fully cure and create a strong bond between the bridge and the guitar top.
By properly gluing the bridge, you are ensuring a solid connection between the bridge and the guitar body, which is essential for transmitting the vibrations from the strings to the soundboard. Take your time during this step to ensure accurate placement and proper clamping, and allow the glue to fully dry before moving on to the next step.
Step 6: Setting the Bridge Height
Once the glued bridge has fully dried and is securely in place, it’s time to set the bridge height. This step involves adjusting the height of the saddle to achieve the desired action and playability. Follow these steps to set the bridge height:
- Remove the bridge clamp: Carefully remove the bridge clamp or weights that were holding the bridge in place during the glue drying process. Take caution not to disturb the position of the bridge.
- String the guitar: Install new strings onto the guitar, following the manufacturer’s instructions or your preferred stringing method. Make sure to securely fasten the strings to the bridge using the bridge pins.
- Check the action: With the strings properly tensioned, assess the action of the guitar. The action refers to the height of the strings above the fretboard. It should be comfortable and playable without excessive buzzing or string tension.
- Adjust the saddle height: If necessary, you can modify the saddle height to achieve the desired action. This can be done by sanding down the bottom of the saddle to lower the height or adding shims under the saddle to raise it. Make small adjustments at a time and check the action regularly to avoid going too low or too high.
- Recheck the action and intonation: After making the adjustments, check the action again to ensure it meets your preferences. Additionally, play each string open and at different frets to check the intonation. Adjust the saddle as needed to achieve accurate intonation across the entire fretboard.
Setting the bridge height is crucial for achieving comfortable playability and accurate intonation on your acoustic guitar. Taking the time to properly adjust the saddle height will ensure that your instrument sounds and performs at its best. Once you’ve achieved the desired action and intonation, you’re ready to move on to the final step: making any necessary adjustments and fine-tuning the guitar.
Step 7: Final Adjustments and Fine-Tuning
Now that the bridge height is set, it’s time to make final adjustments and fine-tune your acoustic guitar. These steps will ensure that your instrument is in optimal playing condition and provides the best possible sound. Follow these final adjustments:
- Check the nut slots: Examine the slots in the guitar nut to ensure that they are properly cut and free from any debris. If necessary, use a small file to adjust the height and width of the slots to ensure smooth string movement.
- Tune the guitar: Use an electronic tuner or tune-by-ear method to bring each string to its correct pitch. Make any necessary adjustments to achieve accurate tuning across all strings.
- Assess string action: Play each string at various frets to assess the action and adjust it if needed. The action should be comfortable and consistent across the entire fretboard.
- Check for buzzing: Play each string individually and listen for any buzzing or unwanted vibrations. If you encounter buzzing, check the saddle height, nut slots, and overall setup to identify and address the issue.
- Evaluate intonation: Play some chords and melodic passages up and down the neck to assess the intonation. If certain frets sound sharp or flat, adjust the saddle position slightly to achieve accurate intonation across the fretboard.
- Make any necessary adjustments: Depending on your personal preferences and playing style, you may want to make small adjustments to the setup such as neck relief, string gauge, or pickup height. Listen to how the guitar responds and feels, and make the necessary tweaks to achieve your desired sound and playability.
By performing these final adjustments and fine-tuning, you can ensure that your acoustic guitar is in optimum condition for playing. Take your time, listen carefully, and make any necessary refinements until you are satisfied with the instrument’s performance. With the final adjustments complete, your new bridge installation process is finished, and you can now enjoy playing your acoustic guitar with its enhanced tone and playability.
Conclusion
Adding a new bridge to an acoustic guitar can greatly improve its playability, tone, and overall performance. While the process may require some intermediate woodworking skills, following the steps outlined in this guide will help you successfully complete the task.
From removing the old bridge to preparing the guitar body, measuring the bridge placement, and gluing the new bridge, each step is important in ensuring a secure and accurate installation. Additionally, setting the bridge height, making final adjustments, and fine-tuning the guitar will result in optimal playability and sound.
It’s essential to take your time during each step and exercise caution to avoid damaging the guitar. If you’re unsure about any aspect of the process, it’s always recommended to seek the assistance of a professional guitar technician.
By successfully adding a new bridge to your acoustic guitar, you’re not only prolonging the life of your instrument but also enhancing its performance capabilities. The right bridge can improve sustain, intonation, and overall tone, allowing you to enjoy playing your guitar to its full potential.
Remember to consider the dimensions, style, and compatibility of the bridge with your guitar, and gather all the necessary tools and materials before starting the process. With patience, attention to detail, and a love for your instrument, you can successfully put a new bridge on your acoustic guitar and enjoy the rewarding results for years to come.