Introduction
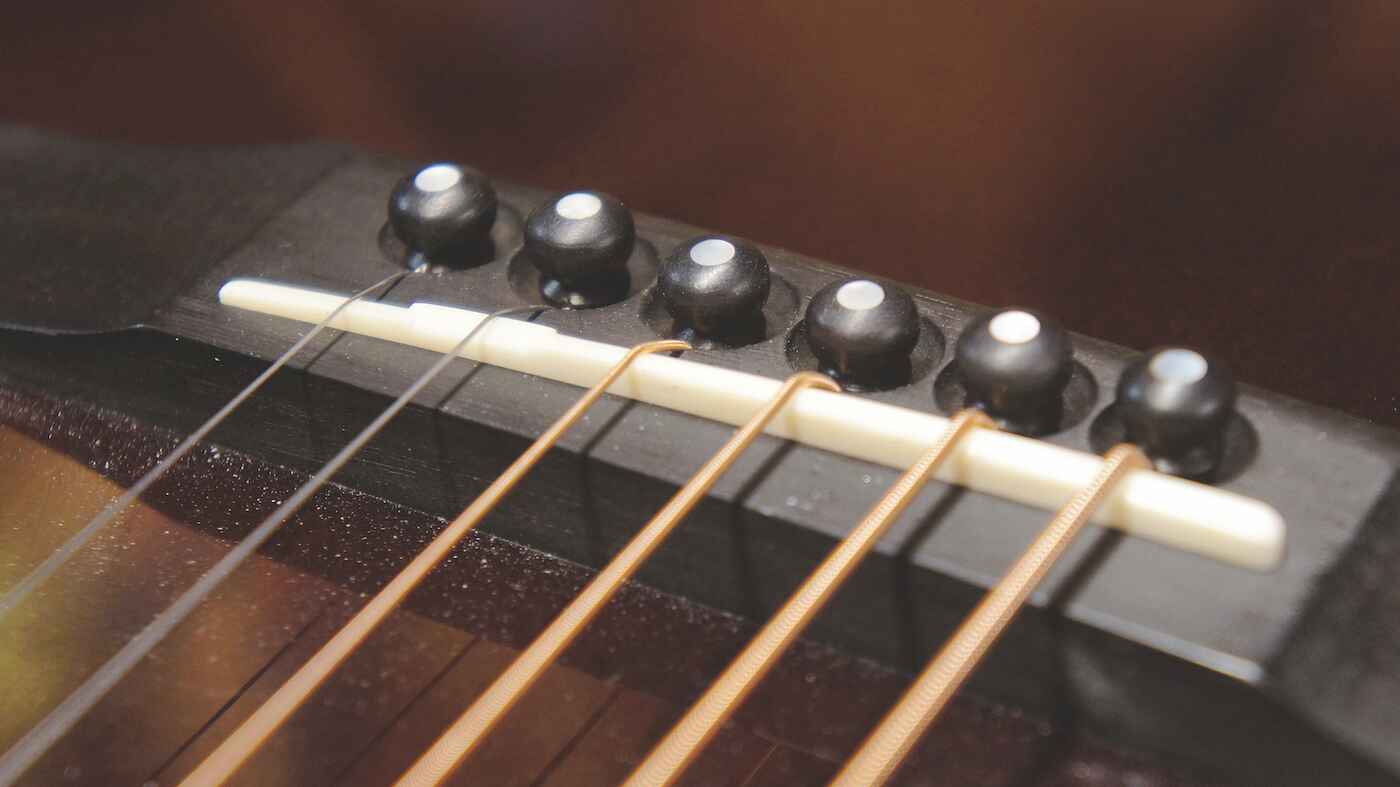
Replacing the saddle on your acoustic guitar is an essential maintenance task that can significantly impact the instrument’s playability and sound quality. The saddle, located at the bridge, affects the guitar’s action (string height) and transfer of vibrations to the soundboard.
Over time, the saddle may become worn, cracked, or improperly fitted, resulting in buzzing strings, high action, or a loss of tone. By replacing the saddle, you can restore optimal performance and improve your guitar-playing experience.
In this guide, we will walk you through the process of replacing the saddle on your acoustic guitar. Whether you are a seasoned guitarist or a beginner, this step-by-step tutorial will help you tackle this task confidently and efficiently.
Before we dive into the details, it is important to note that if you are uncomfortable with performing any adjustments on your guitar or lack the necessary tools, it is always best to seek assistance from a professional guitar technician.
Now, let’s gather the tools required for the saddle replacement process.
Tools Required
Before you begin the process of replacing the saddle on your acoustic guitar, make sure you have the following tools on hand:
- Guitar String Winder: This handy tool will make removing the strings from your guitar much easier and faster.
- Guitar Bridge Pin Puller: Essential for safely removing and reinstalling the bridge pins that secure the strings to the bridge.
- Saddle Routing Jig (optional): If you need to adjust the height or length of the replacement saddle, a saddle routing jig can be helpful in achieving precise measurements.
- Saddle Material: Choose a material that suits your preferences and playing style. Common options include bone, synthetic bone, and various types of composite materials.
- Ruler or Measuring Tape: Used to measure the dimensions of the existing saddle or to determine the desired dimensions for the new saddle.
Having these tools readily available before starting the saddle replacement process will help ensure a smooth and efficient transition. Once you have gathered all the necessary tools, you can proceed to the next step – removing the old saddle.
Removing the Old Saddle
The first step in replacing the saddle on your acoustic guitar is to remove the old saddle. Follow these steps to safely remove the saddle:
- Loosen the strings: Use a string winder to loosen the tension of each string. This will make it easier to remove the saddle without putting excessive stress on the strings or the guitar’s bridge.
- Remove the strings: Once the strings are loosened, use a bridge pin puller to carefully lift the bridge pins out of the bridge. Set the pins aside in a safe place.
- Take out the old saddle: Gently lift the old saddle out of the saddle slot in the bridge. You may need to use a small screwdriver or an allen wrench to remove any screws or bolts that hold the saddle in place, depending on your guitar’s design.
- Inspect the saddle slot: With the old saddle removed, take a moment to inspect the saddle slot in the bridge. Look for any debris or excess glue that may have accumulated over time. Clean the slot if necessary, using a soft brush or cloth.
Now that the old saddle has been successfully removed and the saddle slot is clean, you are ready to prepare the replacement saddle.
Preparing the Replacement Saddle
Once the old saddle has been removed, it’s time to prepare the replacement saddle. Follow these steps to ensure the new saddle is ready for installation:
- Measure the dimensions: If you’re replacing the saddle with a new one of the same dimensions, take precise measurements of the old saddle using a ruler or measuring tape. This will help ensure the replacement saddle is a suitable fit. If you’re looking to adjust the action or tone of your guitar, you can use these measurements as a starting point for customizing the new saddle.
By following these steps, you’ll ensure that the replacement saddle is properly prepared for installation. Once the saddle is ready, it’s time to move on to the next step of fitting the new saddle into the guitar’s bridge.
Fitting the New Saddle
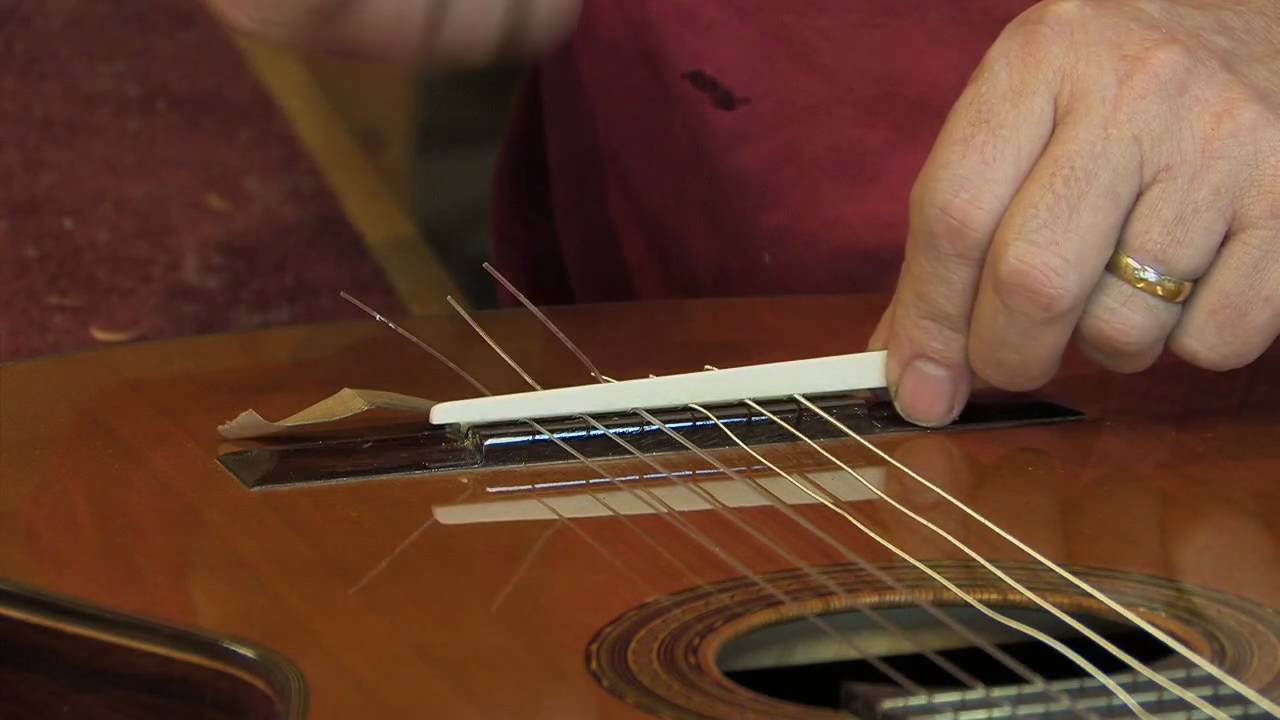
Now that the replacement saddle has been prepared, it’s time to fit it into the bridge of your acoustic guitar. Follow these steps to ensure a proper fit:
- Place the saddle into the saddle slot: Gently insert the new saddle into the saddle slot on the bridge. Ensure that it sits flat and snugly in the slot. You may need to use a small amount of pressure to push it down fully.
- Check the height: Take a moment to assess the height of the new saddle. It should align with your desired action preference. If it’s too high, you may need to remove the saddle and file it down slightly. If it’s too low, you can add a shim under the saddle to raise it.
- Align the saddle with the strings: Pay attention to the alignment of the saddle with the strings. It should be aligned parallel to the fretboard to ensure proper intonation and playability. Make any necessary adjustments to achieve this alignment.
- Reinstall the bridge pins: Carefully reinsert the bridge pins into the bridge, making sure they are fully seated. Gently pull up on each string to ensure a secure fit. Avoid over-tightening the pins, as this can cause damage to the bridge or saddle.
- Tune the guitar: With the new saddle in place and the strings secured, tune your acoustic guitar to the desired pitch. Monitor the action and adjust as necessary, ensuring that the strings are neither too high nor too low above the fretboard.
By following these fitting steps, you’ll ensure that the new saddle is properly in place and aligned with the strings. Once you’ve completed this step, it’s time to move on to the next stage of adjusting the action to optimize your guitar’s playability.
Adjusting the Action
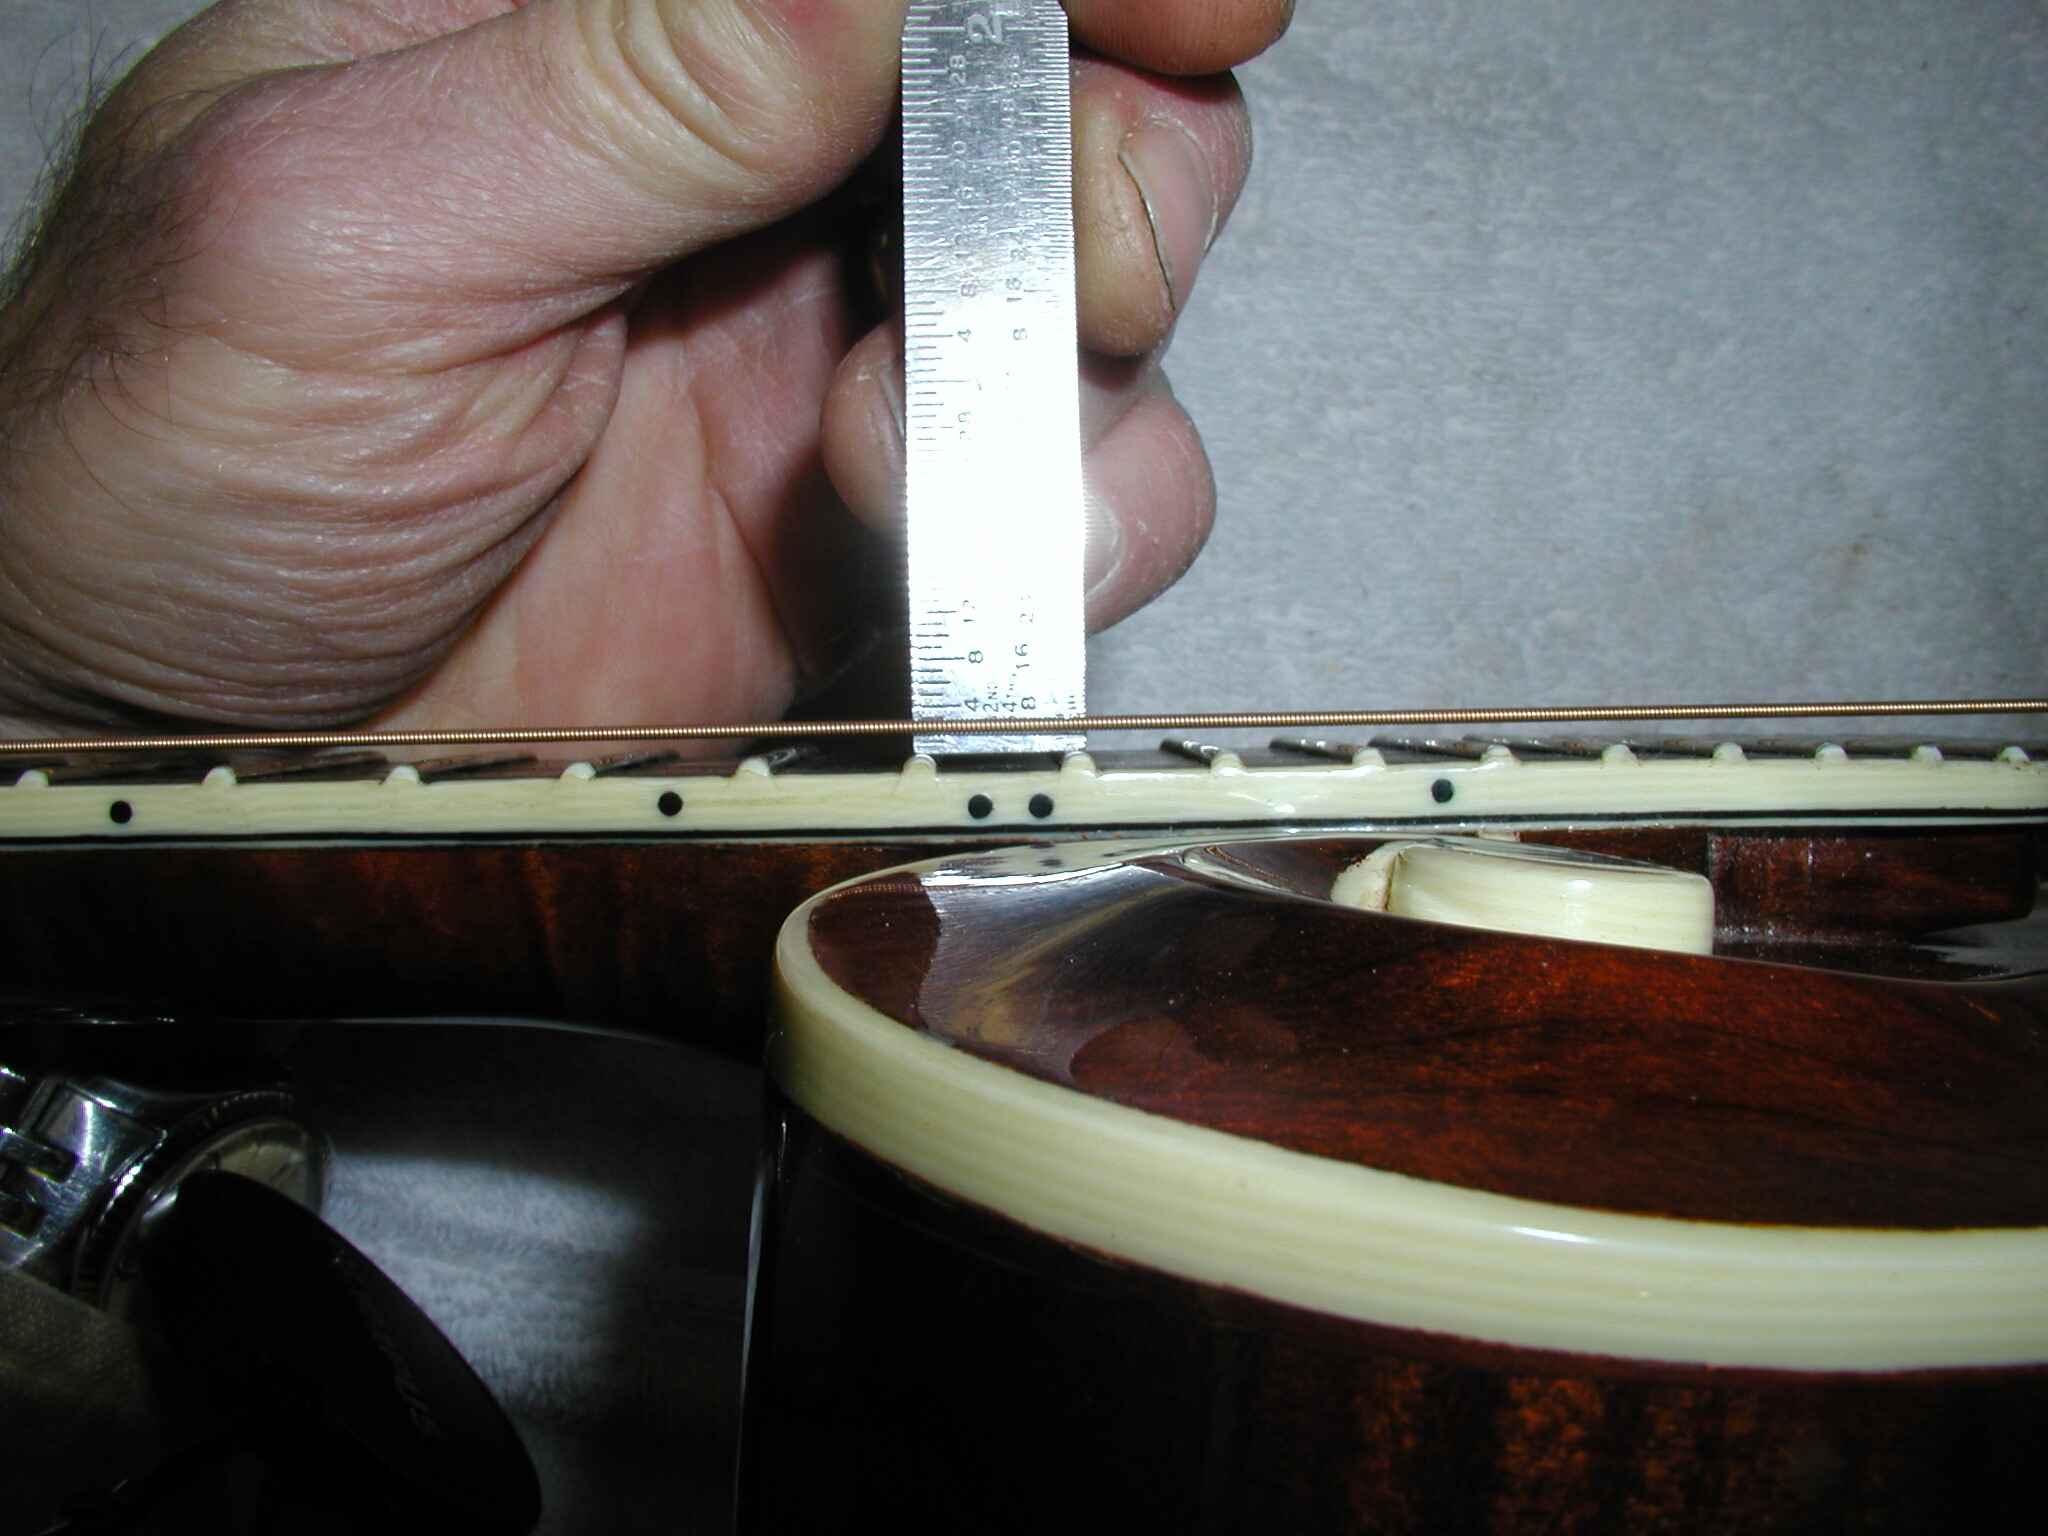
After fitting the new saddle, it’s important to check and adjust the action of your acoustic guitar. The action refers to the height of the strings above the fretboard, which directly affects playability and comfort. Follow these steps to make necessary adjustments:
- Evaluate the action: Play the guitar and assess the current action. If the strings feel too high and require excessive force to fret, you may need to lower the action. Conversely, if the strings buzz against the frets when played, the action may be too low.
Keep in mind that adjusting the action may require trial and error, as individual preferences and guitar characteristics vary. Take your time and make incremental changes to achieve the optimal setup for your playing style.
Once you’ve completed the action adjustment, it’s time to move on to the final step of testing the new saddle.
Testing the New Saddle
With the new saddle in place and the action adjusted, it’s time to put the guitar to the test and ensure that the replacement saddle has improved the instrument’s playability and sound quality. Follow these steps to properly test the new saddle:
- Tune the guitar: Start by tuning the guitar to your desired pitch. Make sure all the strings are properly in tune.
- Play various chords and scales: Test the guitar across different chords, scales, and playing techniques. Pay attention to any buzzing, inconsistencies in tone, or difficulties in fretting notes.
- Assess the intonation: Play notes at different positions on the fretboard and check if they are in tune. If you notice any intonation issues, you may need to make further adjustments to the saddle or consult a professional guitar technician for more precise adjustments.
- Listen to the tone: Evaluate the overall sound of the guitar. Does it sound balanced and resonate well? Note any improvements or changes in tone with the new saddle.
- Recheck the action: Double-check the action of the strings to ensure they are still at a comfortable height and without any buzzing. Make final adjustments if necessary.
By thoroughly testing the new saddle, you can ensure that it has successfully improved the playability and sound quality of your acoustic guitar. If any issues or concerns arise during the testing process, don’t hesitate to seek assistance from a professional guitar technician who can offer further guidance and adjustments, if needed.
Remember that the saddle plays a crucial role in the performance of your guitar, and regular maintenance and replacements can help maintain its optimal condition. With proper care and attention, your acoustic guitar will continue to deliver wonderful sounds and provide enjoyable playing experiences for years to come.