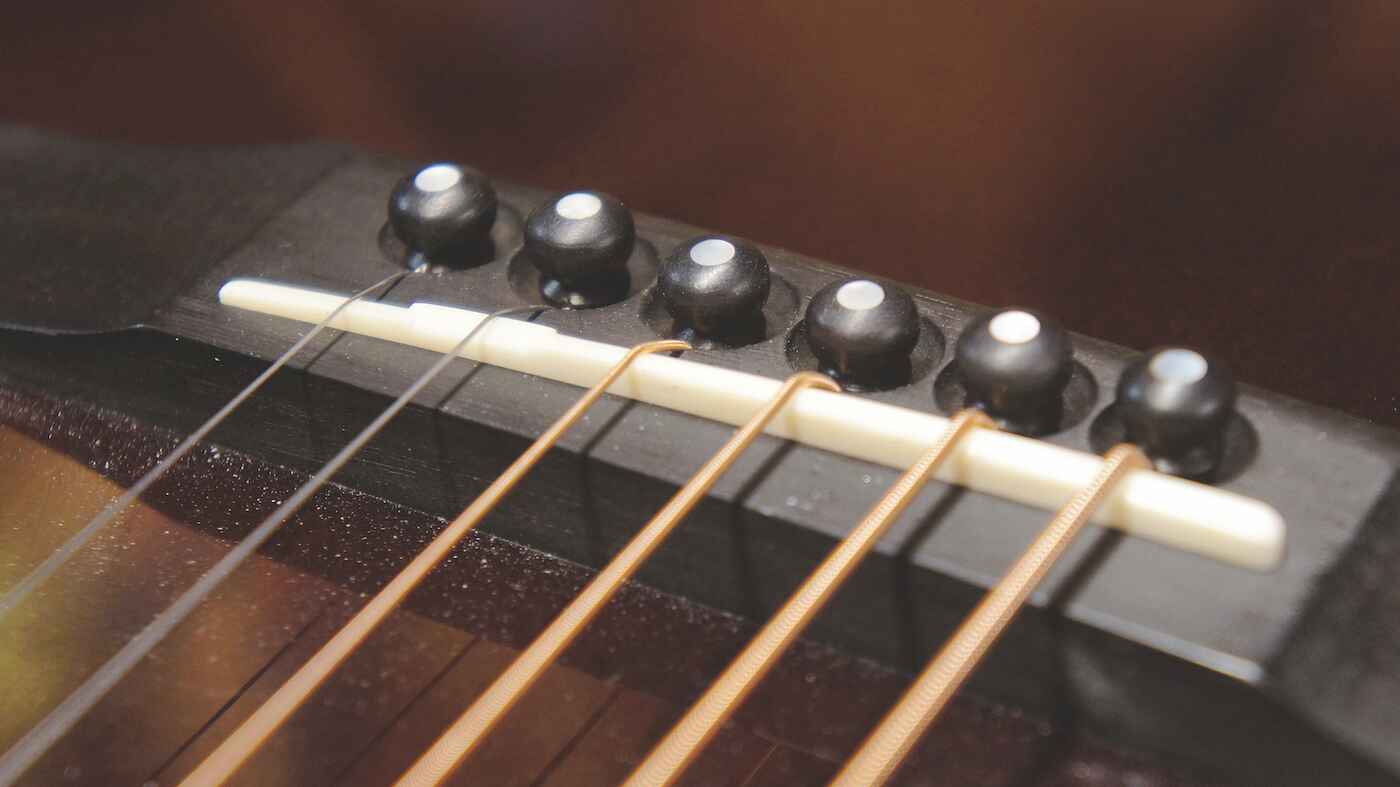
Before You Make an Acoustic Guitar Saddle: Setup Checks
To make an acoustic guitar saddle that truly improves your instrument, you must first ensure the rest of the guitar is properly set up. The saddle is the final adjustment point in a complete setup, not a cure-all for other issues. Before you even pick up a blank, check the truss rod and nut slot depths. If the neck has too much or too little relief, or if the nut slots are cut too high or too low, no amount of saddle work will give you correct action or intonation. Adjust the truss rod to get a slight, intentional relief, typically a hair's breadth of gap at the 7th fret when you capo the 1st fret and press the 6th string at the 12th. Then verify the nut slots: press each string at the 3rd fret and check for a tiny gap (about the thickness of a piece of paper) between the string and the 1st fret. Only when the neck and nut are correct should you proceed to craft a new saddle. This ensures your saddle work is the final, precise step that dials in your ideal playability.
Tools and Materials for a Bespoke Saddle
Making a custom saddle requires specific tools and materials. Do not use a pre-cut, generic saddle; every guitar's slot and geometry are unique, and a bespoke saddle is the only way to achieve perfect fit and tone. Here is what you need:
- Oversized saddle blank: Choose bone for maximum sustain and tonal clarity, or Tusq for a bright, clear voice. Buy a blank that is longer, wider, and taller than your existing saddle, you will shape it down.
- Digital calipers: Essential for precise measurement of the slot and saddle dimensions. A ruler is not accurate enough for this work.
- Files: A flat file for the bottom and sides, plus a small needle file set for shaping the compensation peaks.
- Sandpaper: Grits from 120 (coarse) up to 600 (fine) and then 1000+ for polishing. Use a flat sanding block for the bottom.
- Dust mask: Non-negotiable. Bone dust is hazardous to inhale; always wear a mask when filing or sanding.
- Pencil and small saw: For marking and cutting the blank to rough length.
Step 1: Measure the Slot and Prepare the Blank
Begin by removing the old saddle. Loosen the strings and gently tap the saddle from the side with a small block and hammer, or use a specialized saddle puller. Never pry with a screwdriver, you risk chipping the bridge. Once removed, clean the slot of debris. Now, use your calipers to measure the slot's length, width, and depth. Record these numbers. The slot length is measured from the inside edges, and the width is the distance between the slot walls. The depth is measured from the top of the bridge to the bottom of the slot. Mark these dimensions on your oversized blank with a pencil. Do not cut to exact length yet, you will fine-tune this later.
Step 2: Shape the Blank for a Perfect Fit
Now you will shape the blank to fit the slot exactly. The goal is a snug, slip-fit: the saddle should slide in with light finger pressure but not fall out when the guitar is inverted. A saddle that is too tight will bind and can crack the bridge's saddle slot walls, a costly repair. A loose saddle will rattle and kill sustain. Use your flat file to reduce the blank's thickness. Work slowly, checking frequently with calipers. File the sides straight and square, removing material evenly. A slight rounding here will cause poor contact with the slot bottom, especially if you have an under-saddle pickup, which relies on even pressure for balanced output. Test the fit regularly by sliding the blank into the slot. It should enter smoothly without any rocking. Once the thickness fits, check the length. File the ends down until the saddle sits flush with the bridge's front and back edges. The saddle should not overhang or sit short.
Step 3: Set the Saddle Height and Radius
With the saddle fitting the slot, focus on height and top curvature. Install the low E and high E strings (the outer two) and bring them to pitch. Measure the action at the 12th fret, the distance from the top of the fret to the bottom of the string. Use the 2:1 rule: to lower the action at the 12th fret by 1/32", you must remove 2/32" (1/16") from the bottom of the saddle. Remove the saddle and sand the bottom on a flat surface with 120-grit paper, checking flatness frequently. Reinstall and re-measure. Repeat until the action is correct. If you need to raise the action, you cannot add material, you must start over with a taller blank. Now, shape the top radius. Use a radius gauge to find your fingerboard's curvature. Place the gauge on the saddle's top and sand the top surface to match. Use a flat sanding block with the radius gauge as a guide, or carefully file by hand. The top should be a smooth, continuous arc matching the fingerboard. This ensures even string height across all six strings and prevents buzzing on the middle strings.
Step 4: Compensate the Saddle for Accurate Intonation
Intonation is the saddle's final, crucial job. A straight, flat saddle top cannot achieve perfect intonation across all strings because each string has a different gauge, tension, and winding. Compensation involves shaping the saddle's top to adjust the speaking length of each string. The standard approach is to file the saddle's peak diagonally, creating individual string contact points that are slightly longer for the wound strings (E, A, D) and shorter for the plain strings (B, high E). The most critical area is between the B and G strings. The B string, being plain and relatively thin, often plays sharp, so you need to move its contact point slightly backward (toward the bridge pins). The G string, being wound, often plays flat, so its contact point moves slightly forward. Use a small needle file to create a subtle diagonal ramp on the saddle top. The peak of the saddle, the highest point where the string rests, should be a single, sharp point, not a flat area. Start with the low E: file the top back slightly from the center of the string's resting spot. Then move to the A, D, and G, each with progressively less backward compensation. The B string gets the most forward compensation, and the high E gets a small backward file. After shaping, restring the guitar and check intonation with a tuner: play the 12th fret harmonic and compare it to the fretted 12th fret note. If the fretted note is sharp, move the string's contact point backward (file more material behind the peak). If flat, file forward. Make small adjustments, re-string, and re-check. This iterative process is the difference between a guitar that plays in tune up the neck and one that sounds sour.
Step 5: Polish and Install the Finished Saddle
Once the height, radius, and compensation are correct, polish the saddle. The goal is a smooth, glass-like finish that reduces friction on the strings and looks professional. Do not polish the bottom, it must remain flat for maximum contact. Wipe off all dust with a dry cloth. Install the saddle into the slot. It should seat fully and firmly with no rocking. Restring the guitar and bring it to pitch. Check the action again at the 12th fret, as string tension can slightly alter the neck relief. Verify that all strings sit evenly on the saddle's peaks and that no string buzzes against the frets when played open or fretted. If any string buzzes or feels uneven, remove the saddle and make micro-adjustments to the top radius or individual string heights. The final test is playing the guitar: listen for clarity, sustain, and balanced tone across all strings. A well-made saddle will transform your guitar's voice, adding richness and definition. With patience and precision, you have crafted a component that is truly bespoke to your instrument, a saddle that delivers optimal action, perfect intonation, and the best possible tone from your acoustic guitar.
\nRelated reading: How To Set Up An Acoustic Guitar, What Are The Notes On The Acoustic Guitar?, and How To Tune A 6-String Acoustic Guitar.